Goal
To gain experience practical experience with and to observe the entire process and variables involved in making mycelium/lignocellulose composites (with Ganoderma mycelium as the matrix, Flax as the substrate and Spray Millet as the grain spawn).
The Ganoderma mycelium used has been isolated and grown by myself and was taken from the centre of a bag of colonised grain spawn which had been in the fridge for some months by a colleague at the lab. The species wasn’t listed.
Preparatory Stage:
To make the mycelium/ flax composite material it is first recommended to grow out the mycelium in a nutrient dense food source like a seed/ grain. By doing this the mycelium already has a food source and has begun growing when it is introduced to the flax, meaning it’s more resilient to contamination and can grow faster.
Some say that grains with a smaller size are best as they give the mycelium many inoculation points to begin growing through the flax from once added.
This grain with mycelium colonized throughout is commonly called “grain spawn”.
Preparing Grain Spawn
To understand the process a bit, I bought so called “Spray Millet”, still on the stalk, and went through the process of separating the grains myself:
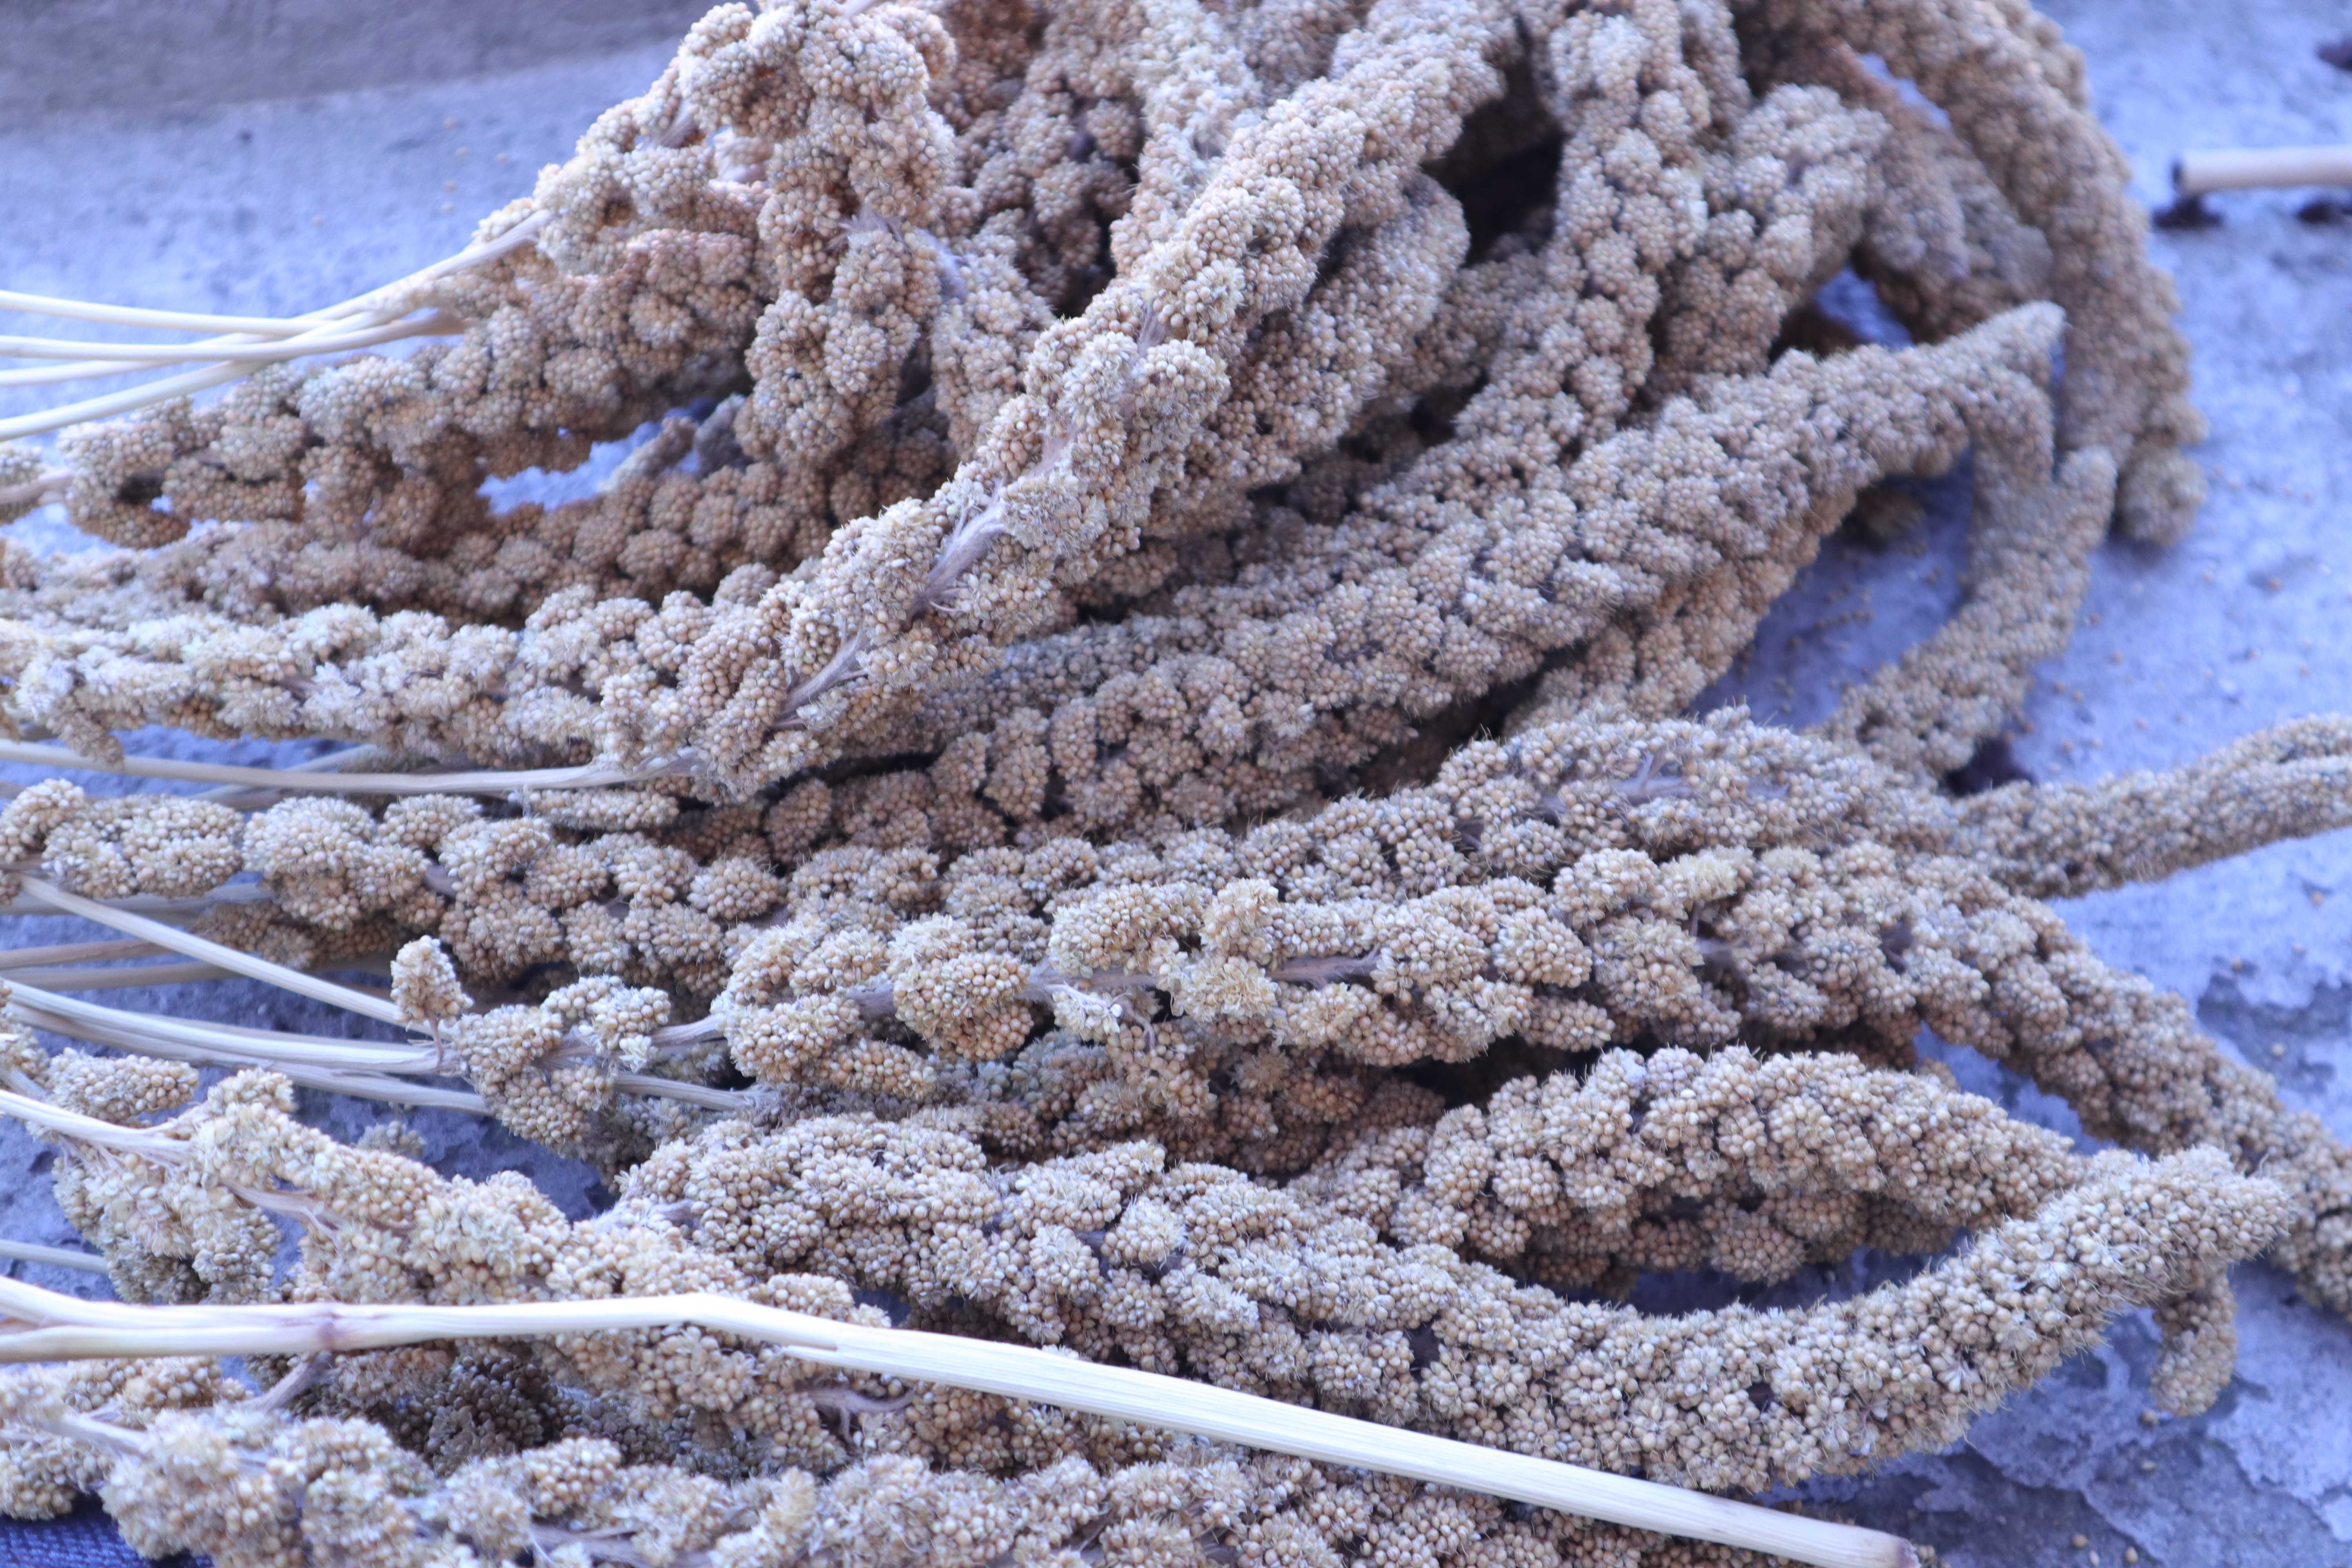 Spray Millet on the stalk
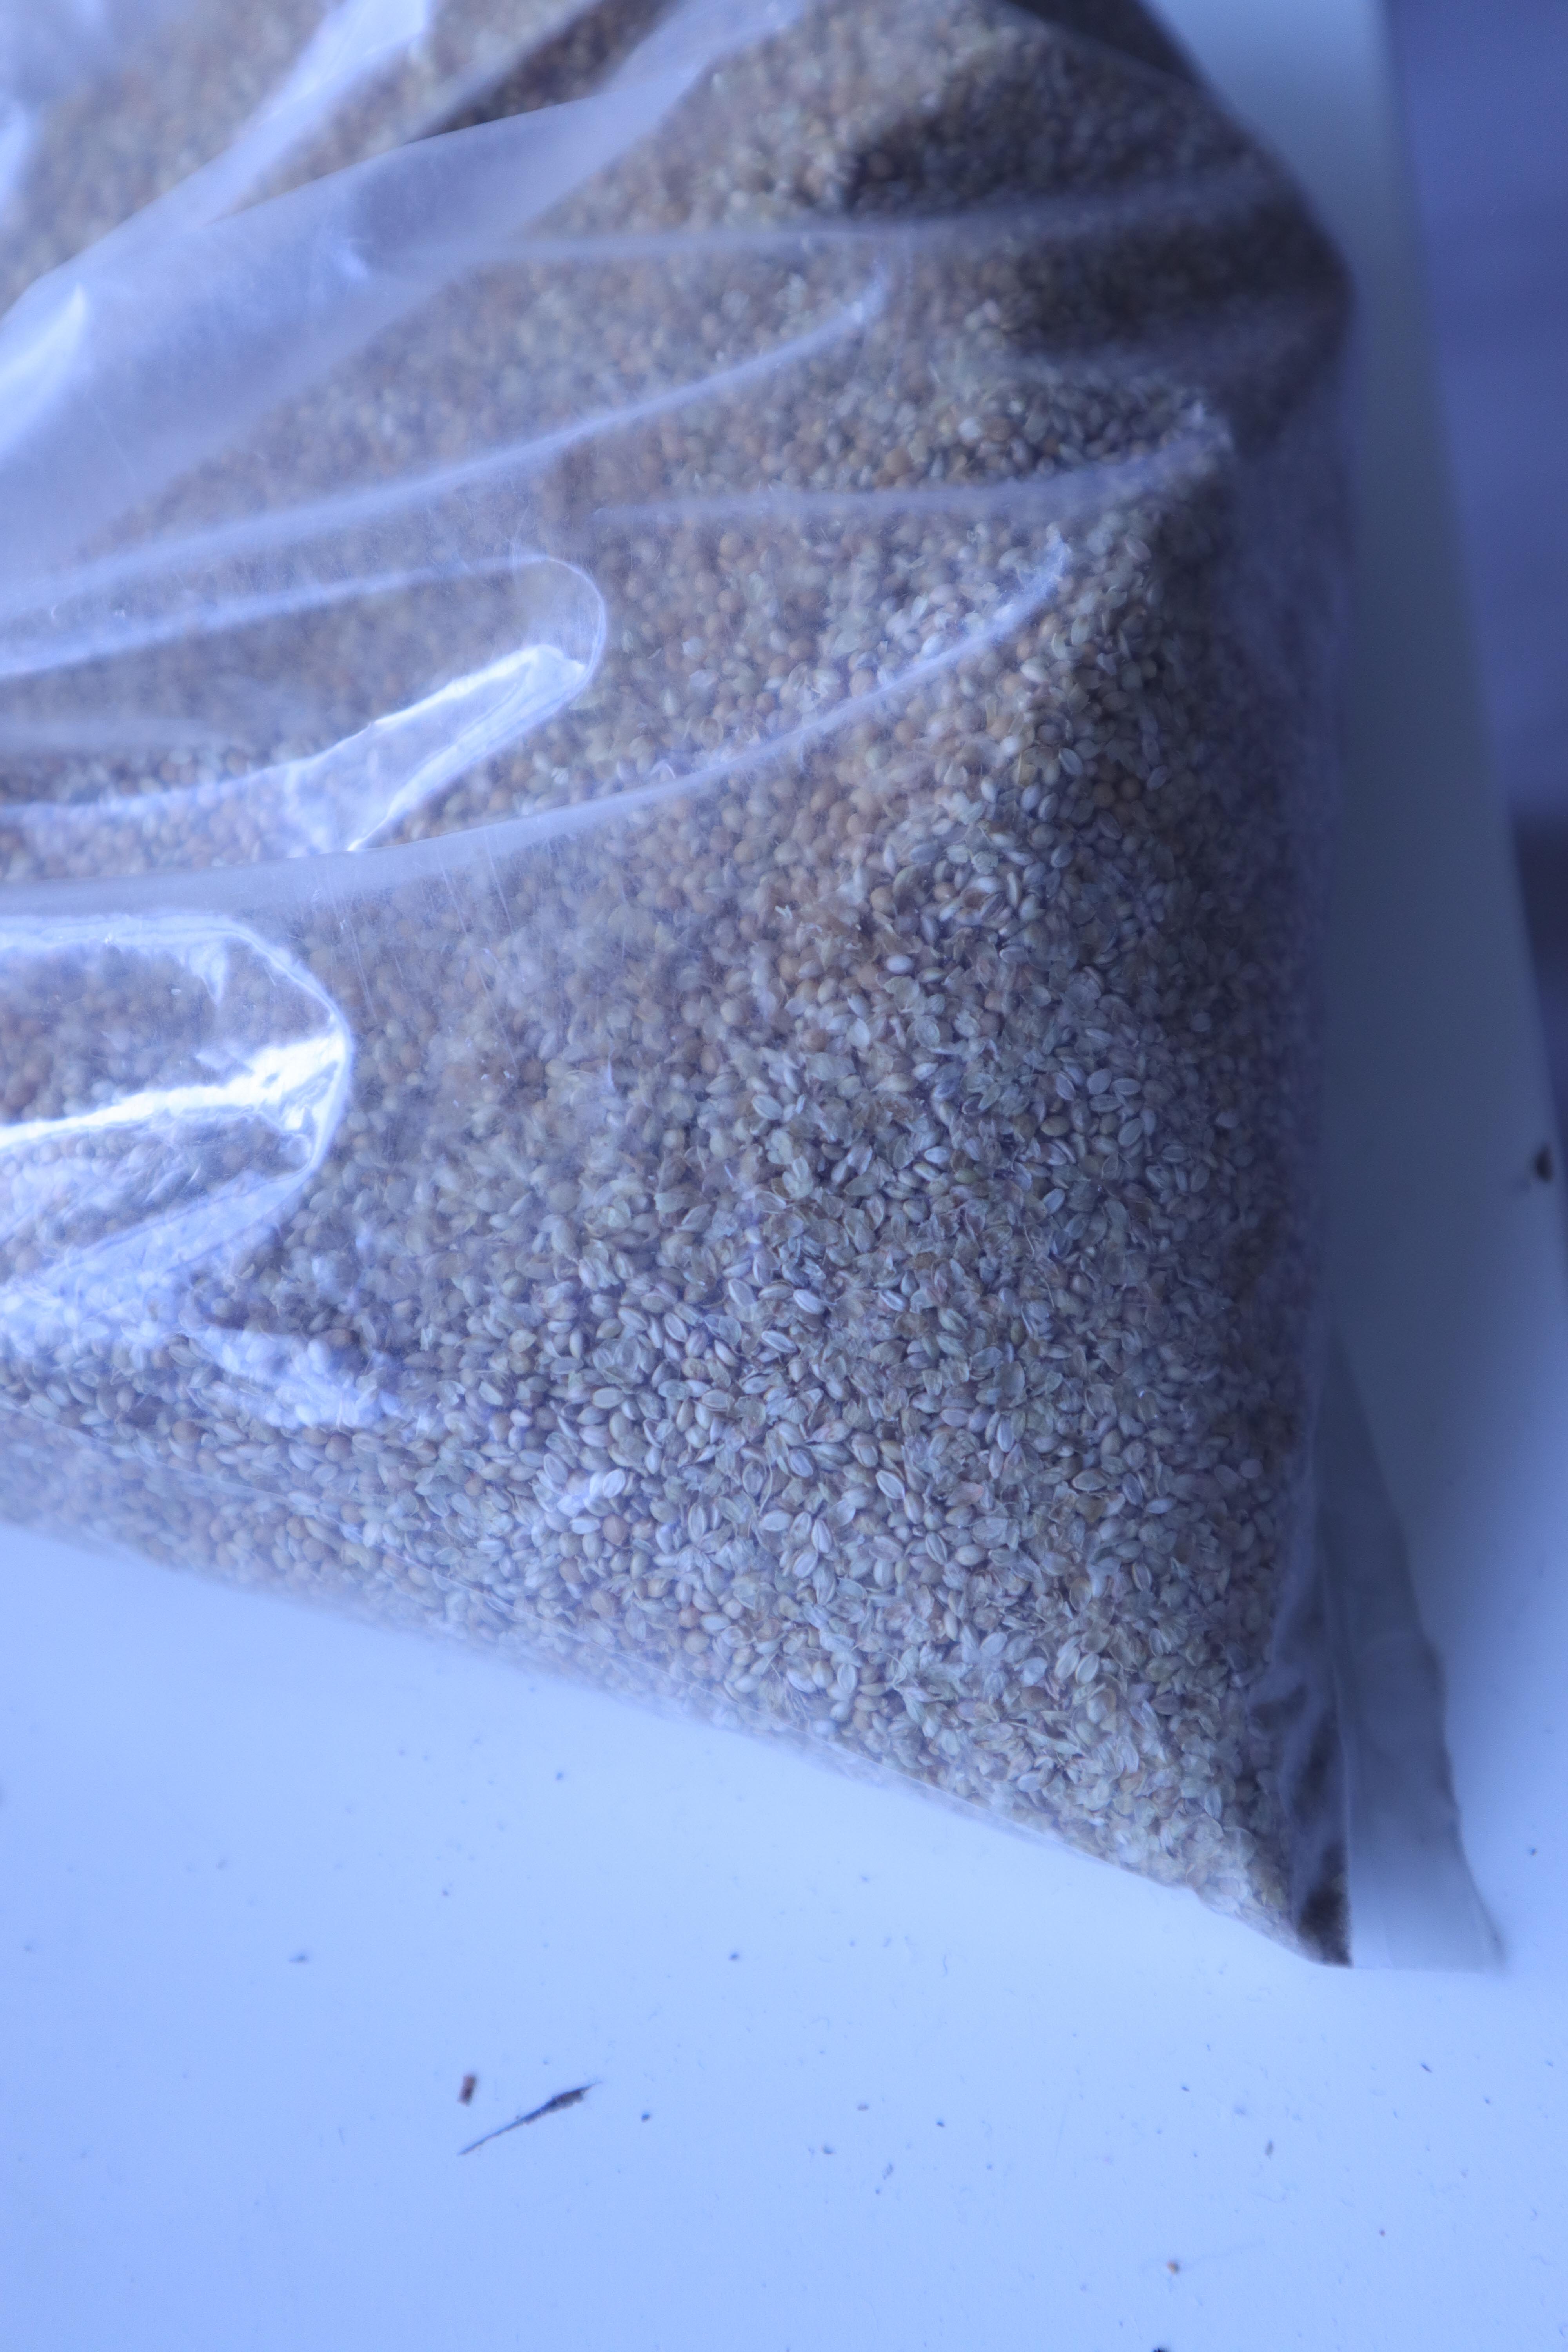 After shaking the grains free from the stalks. You can see there is still a lot of dirt and broken shells.
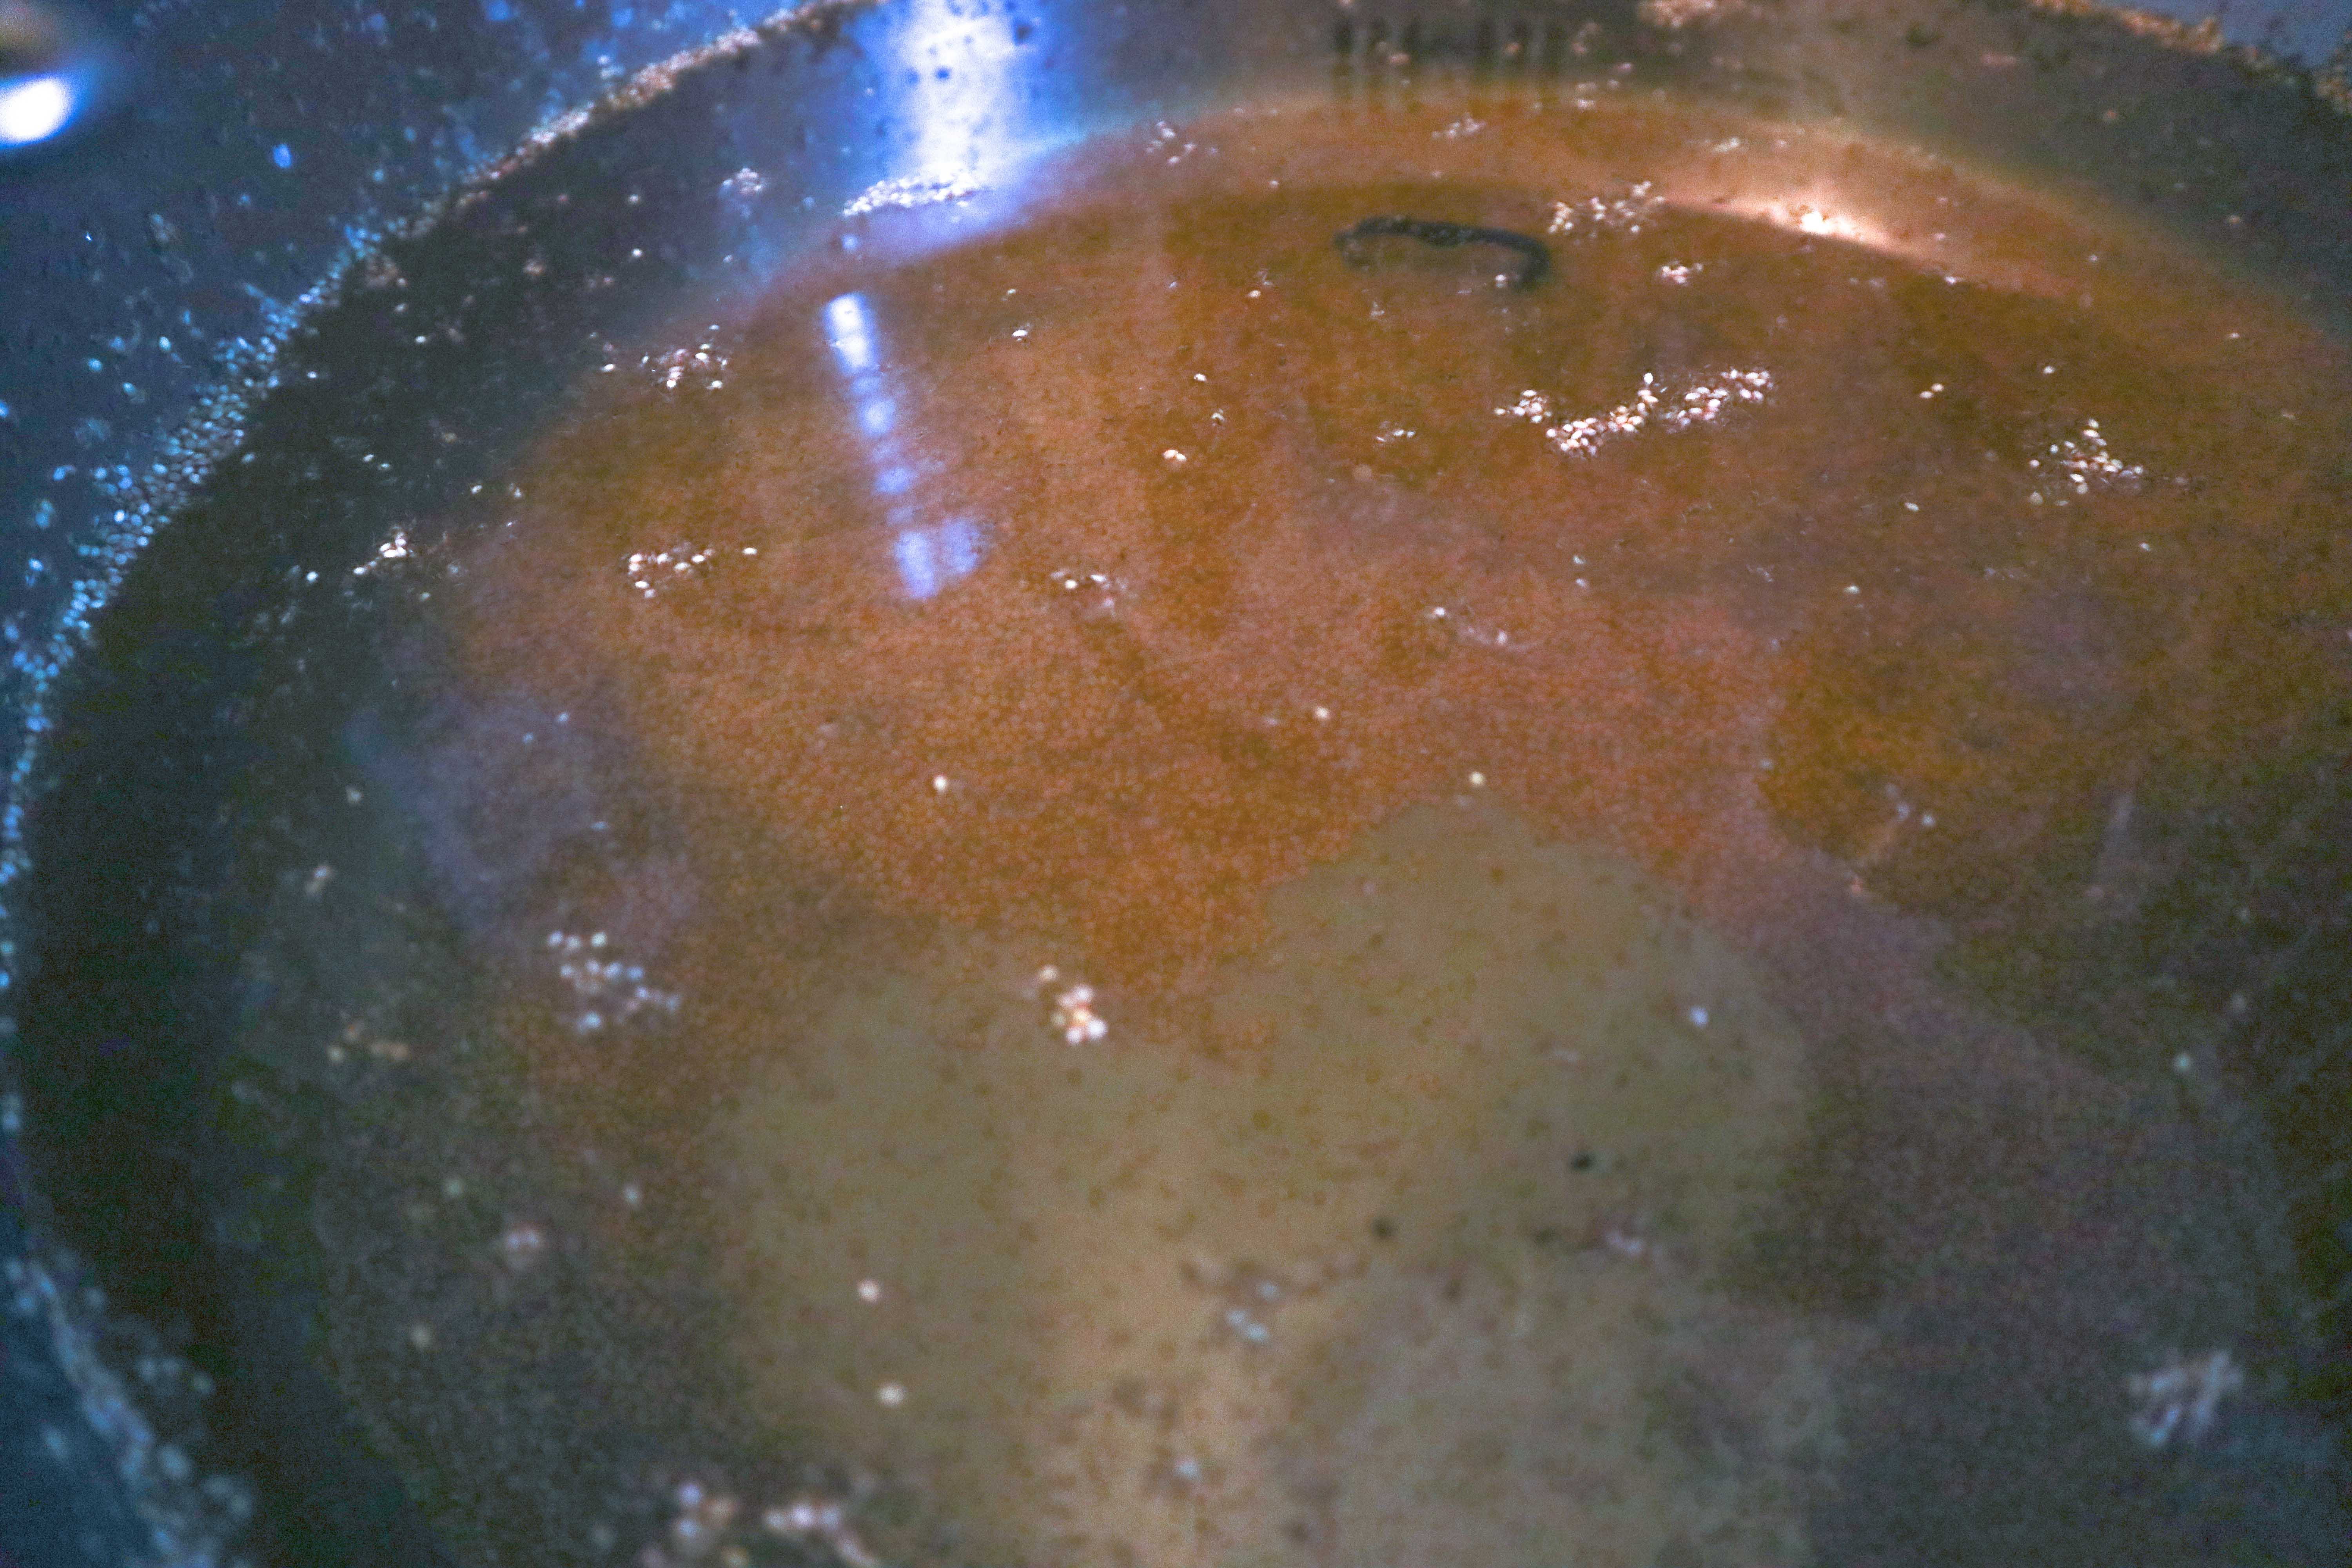 By pouring the millet into water, the full grains sink and the shells and broken grains float to the surface.
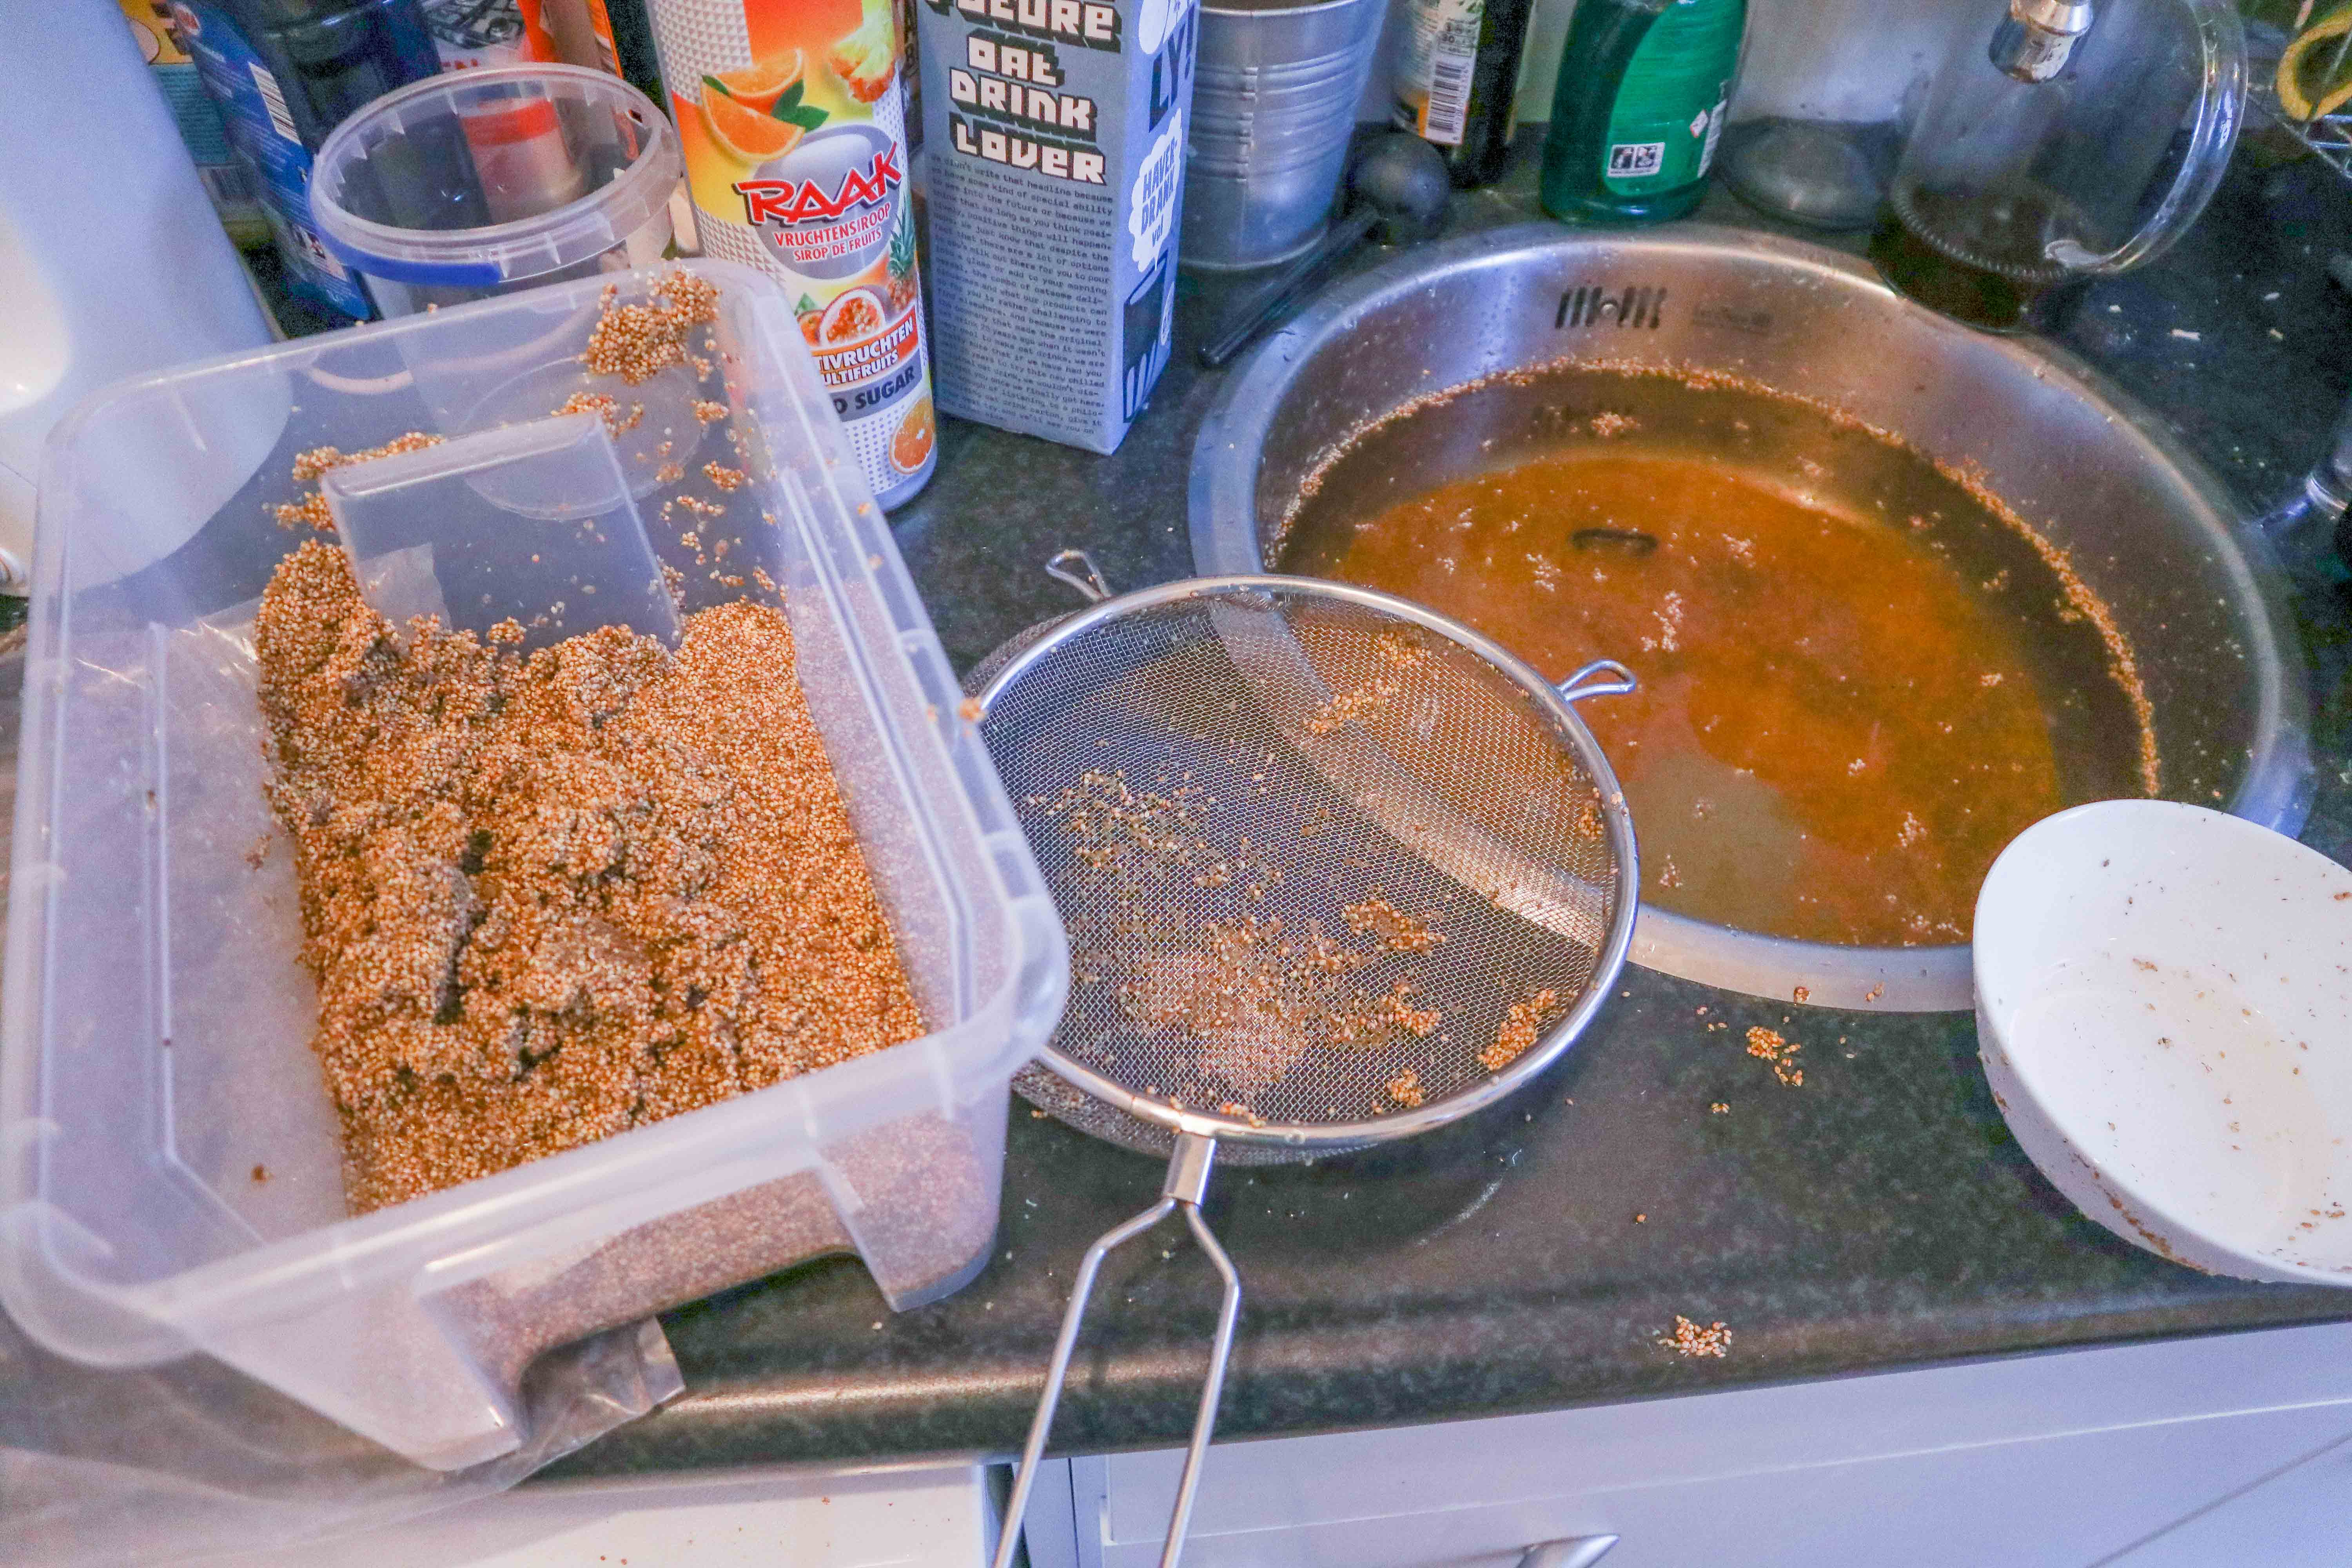 These can then be collected with a sieve.
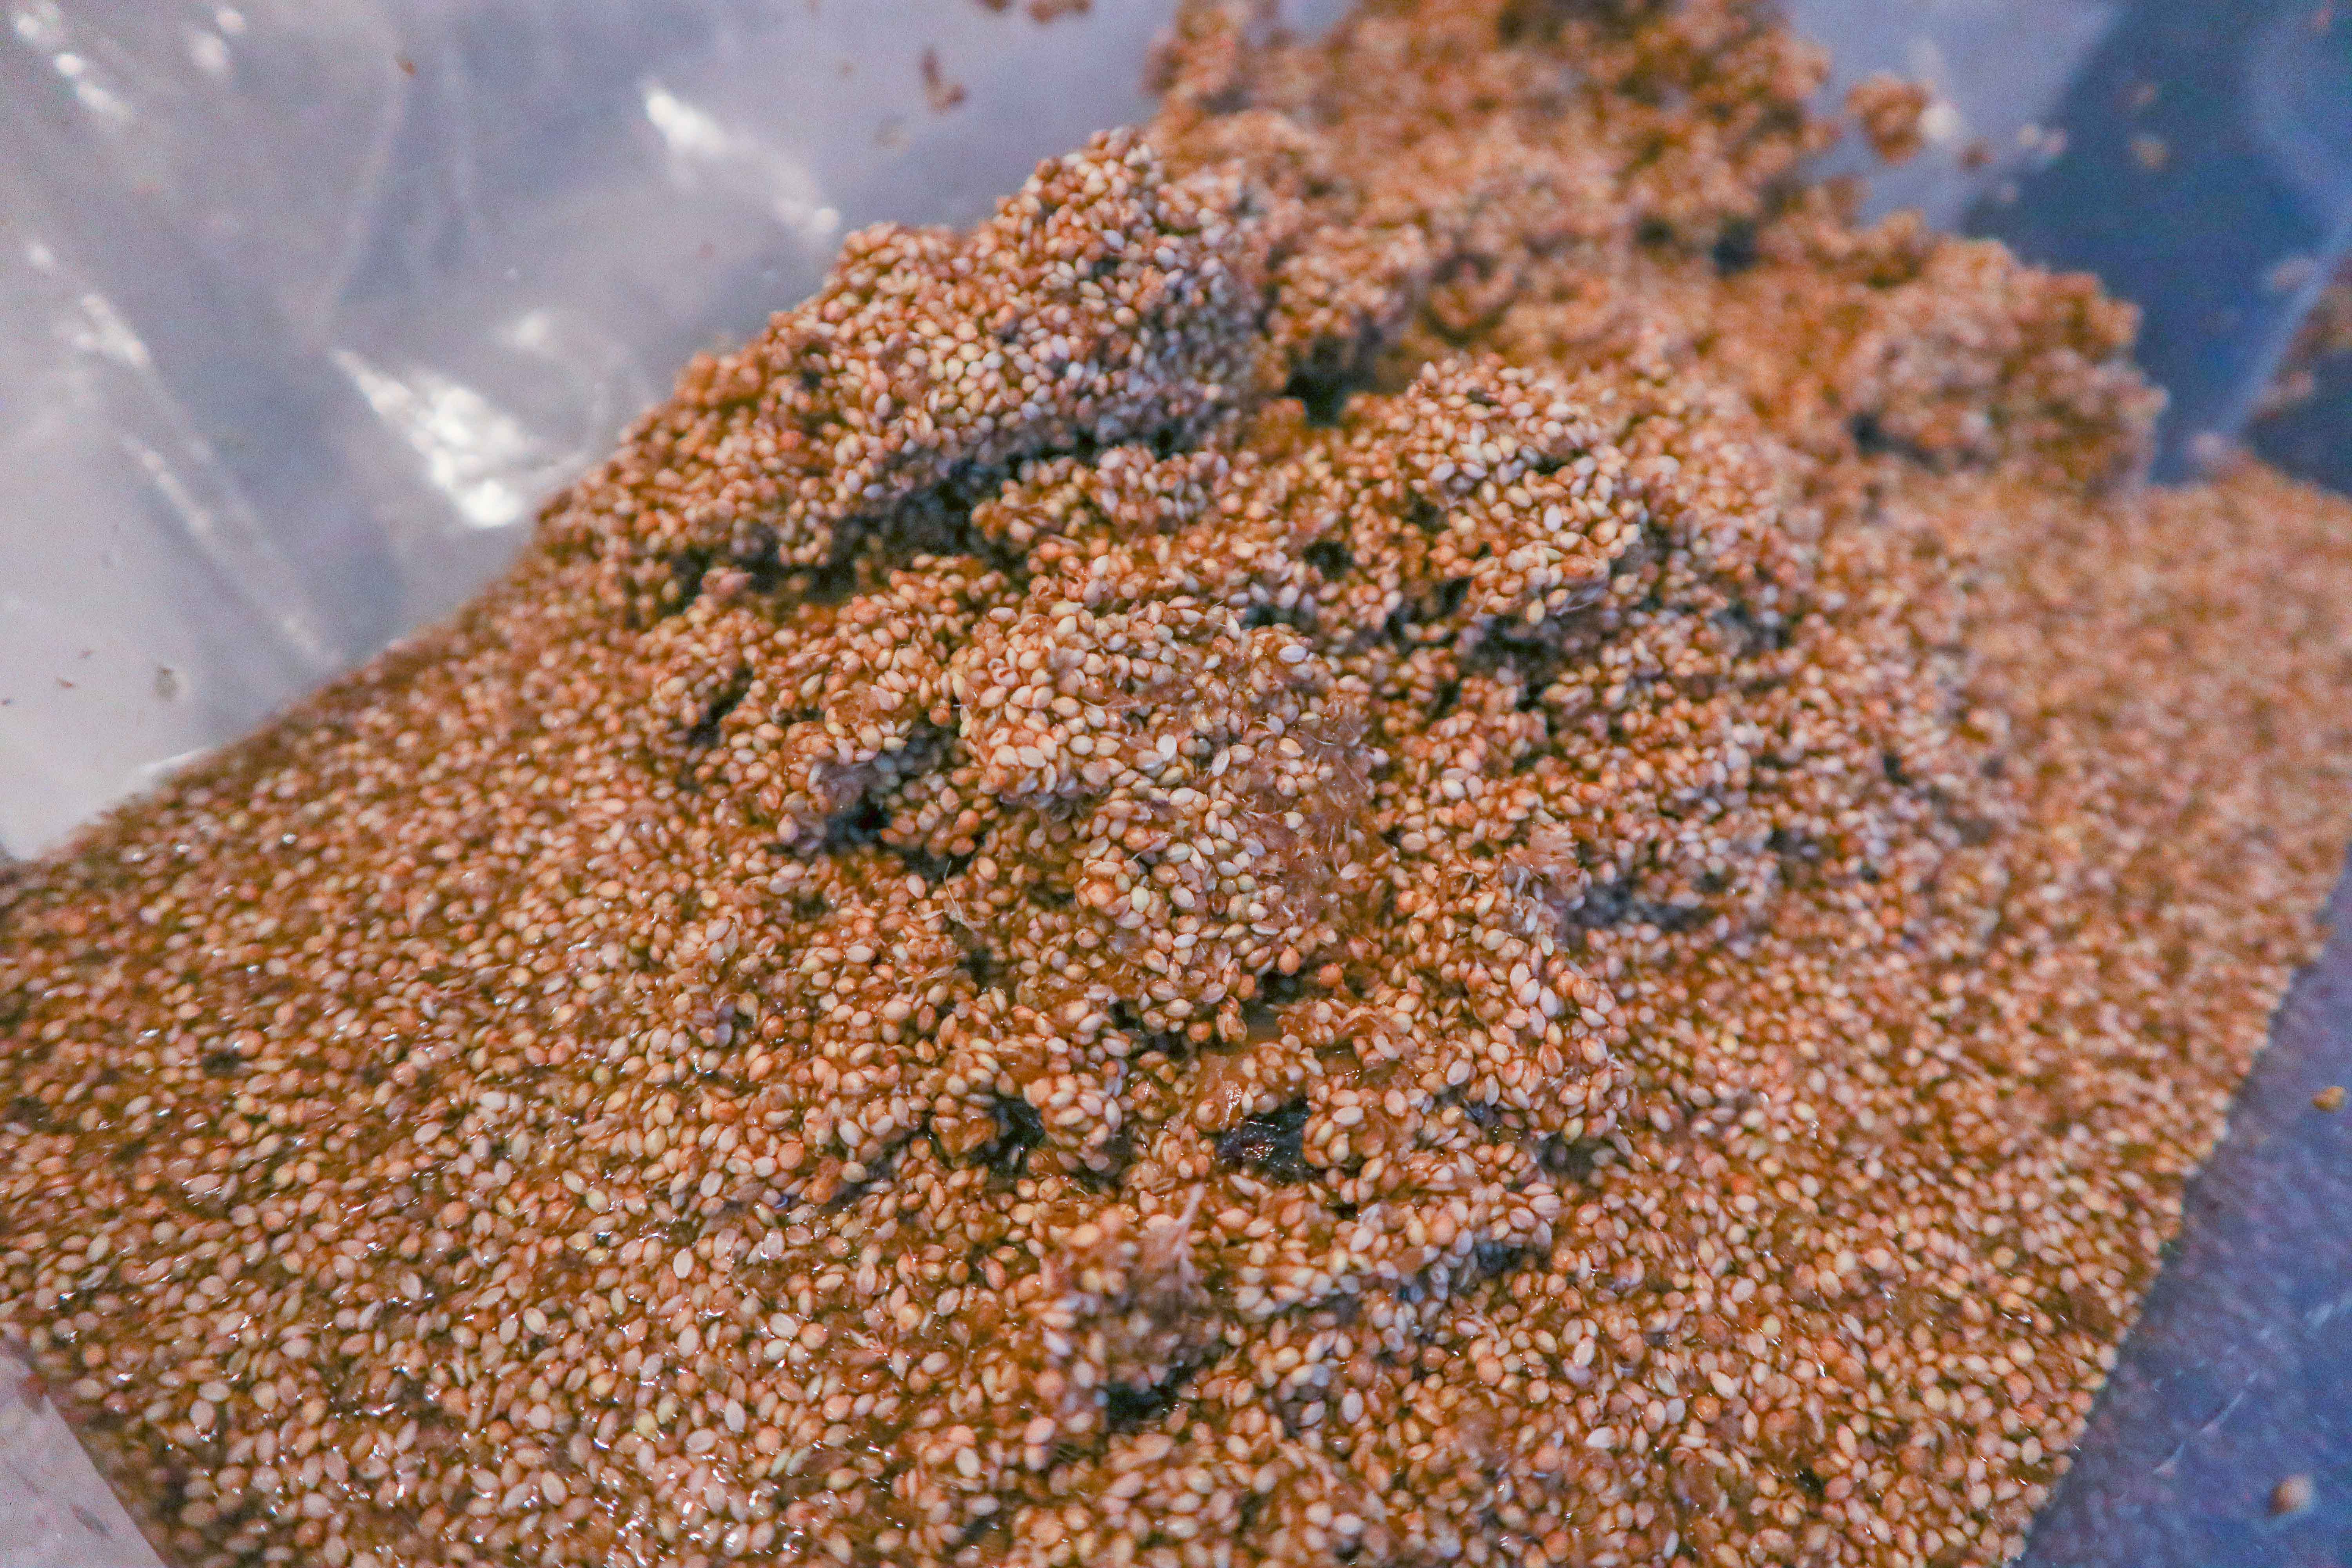 The removed shells
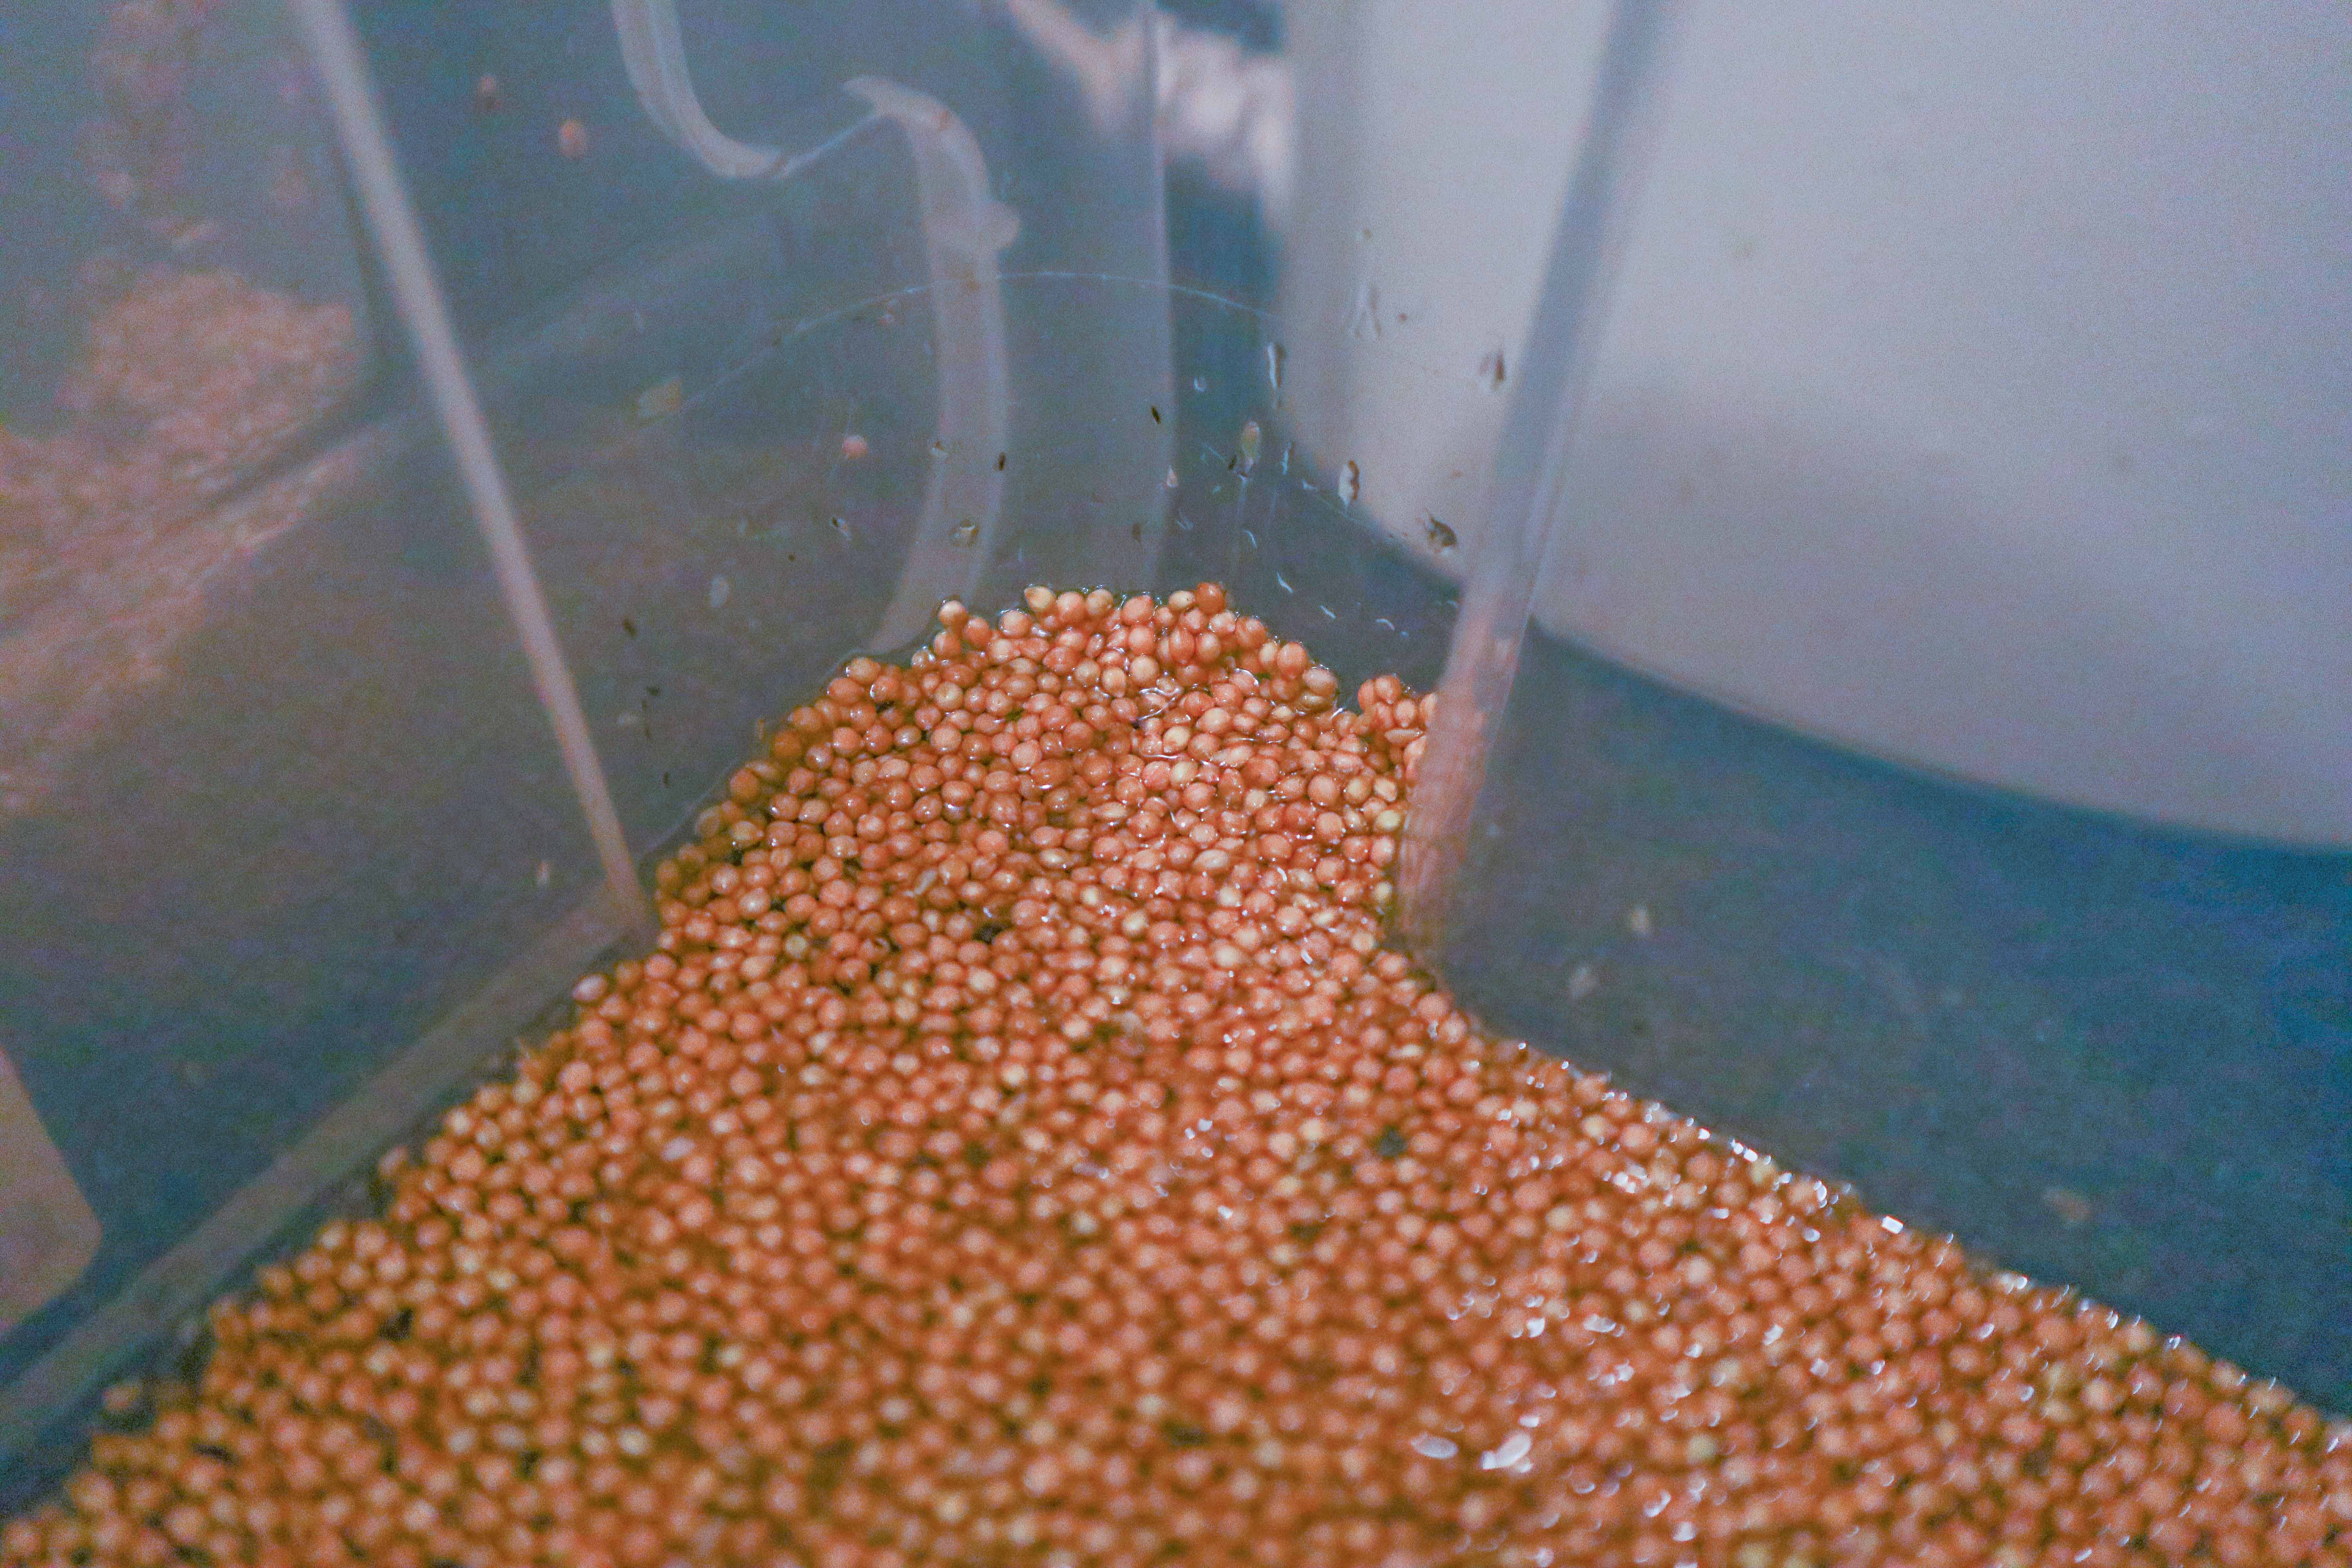 The full seeds. They should be soaked for 24 hours to soften up the seeds to allow the mycelium to grow into them more easily. The soaking also allows contaminants present to grow out, meaning they can be killed by the pressure cooking later.
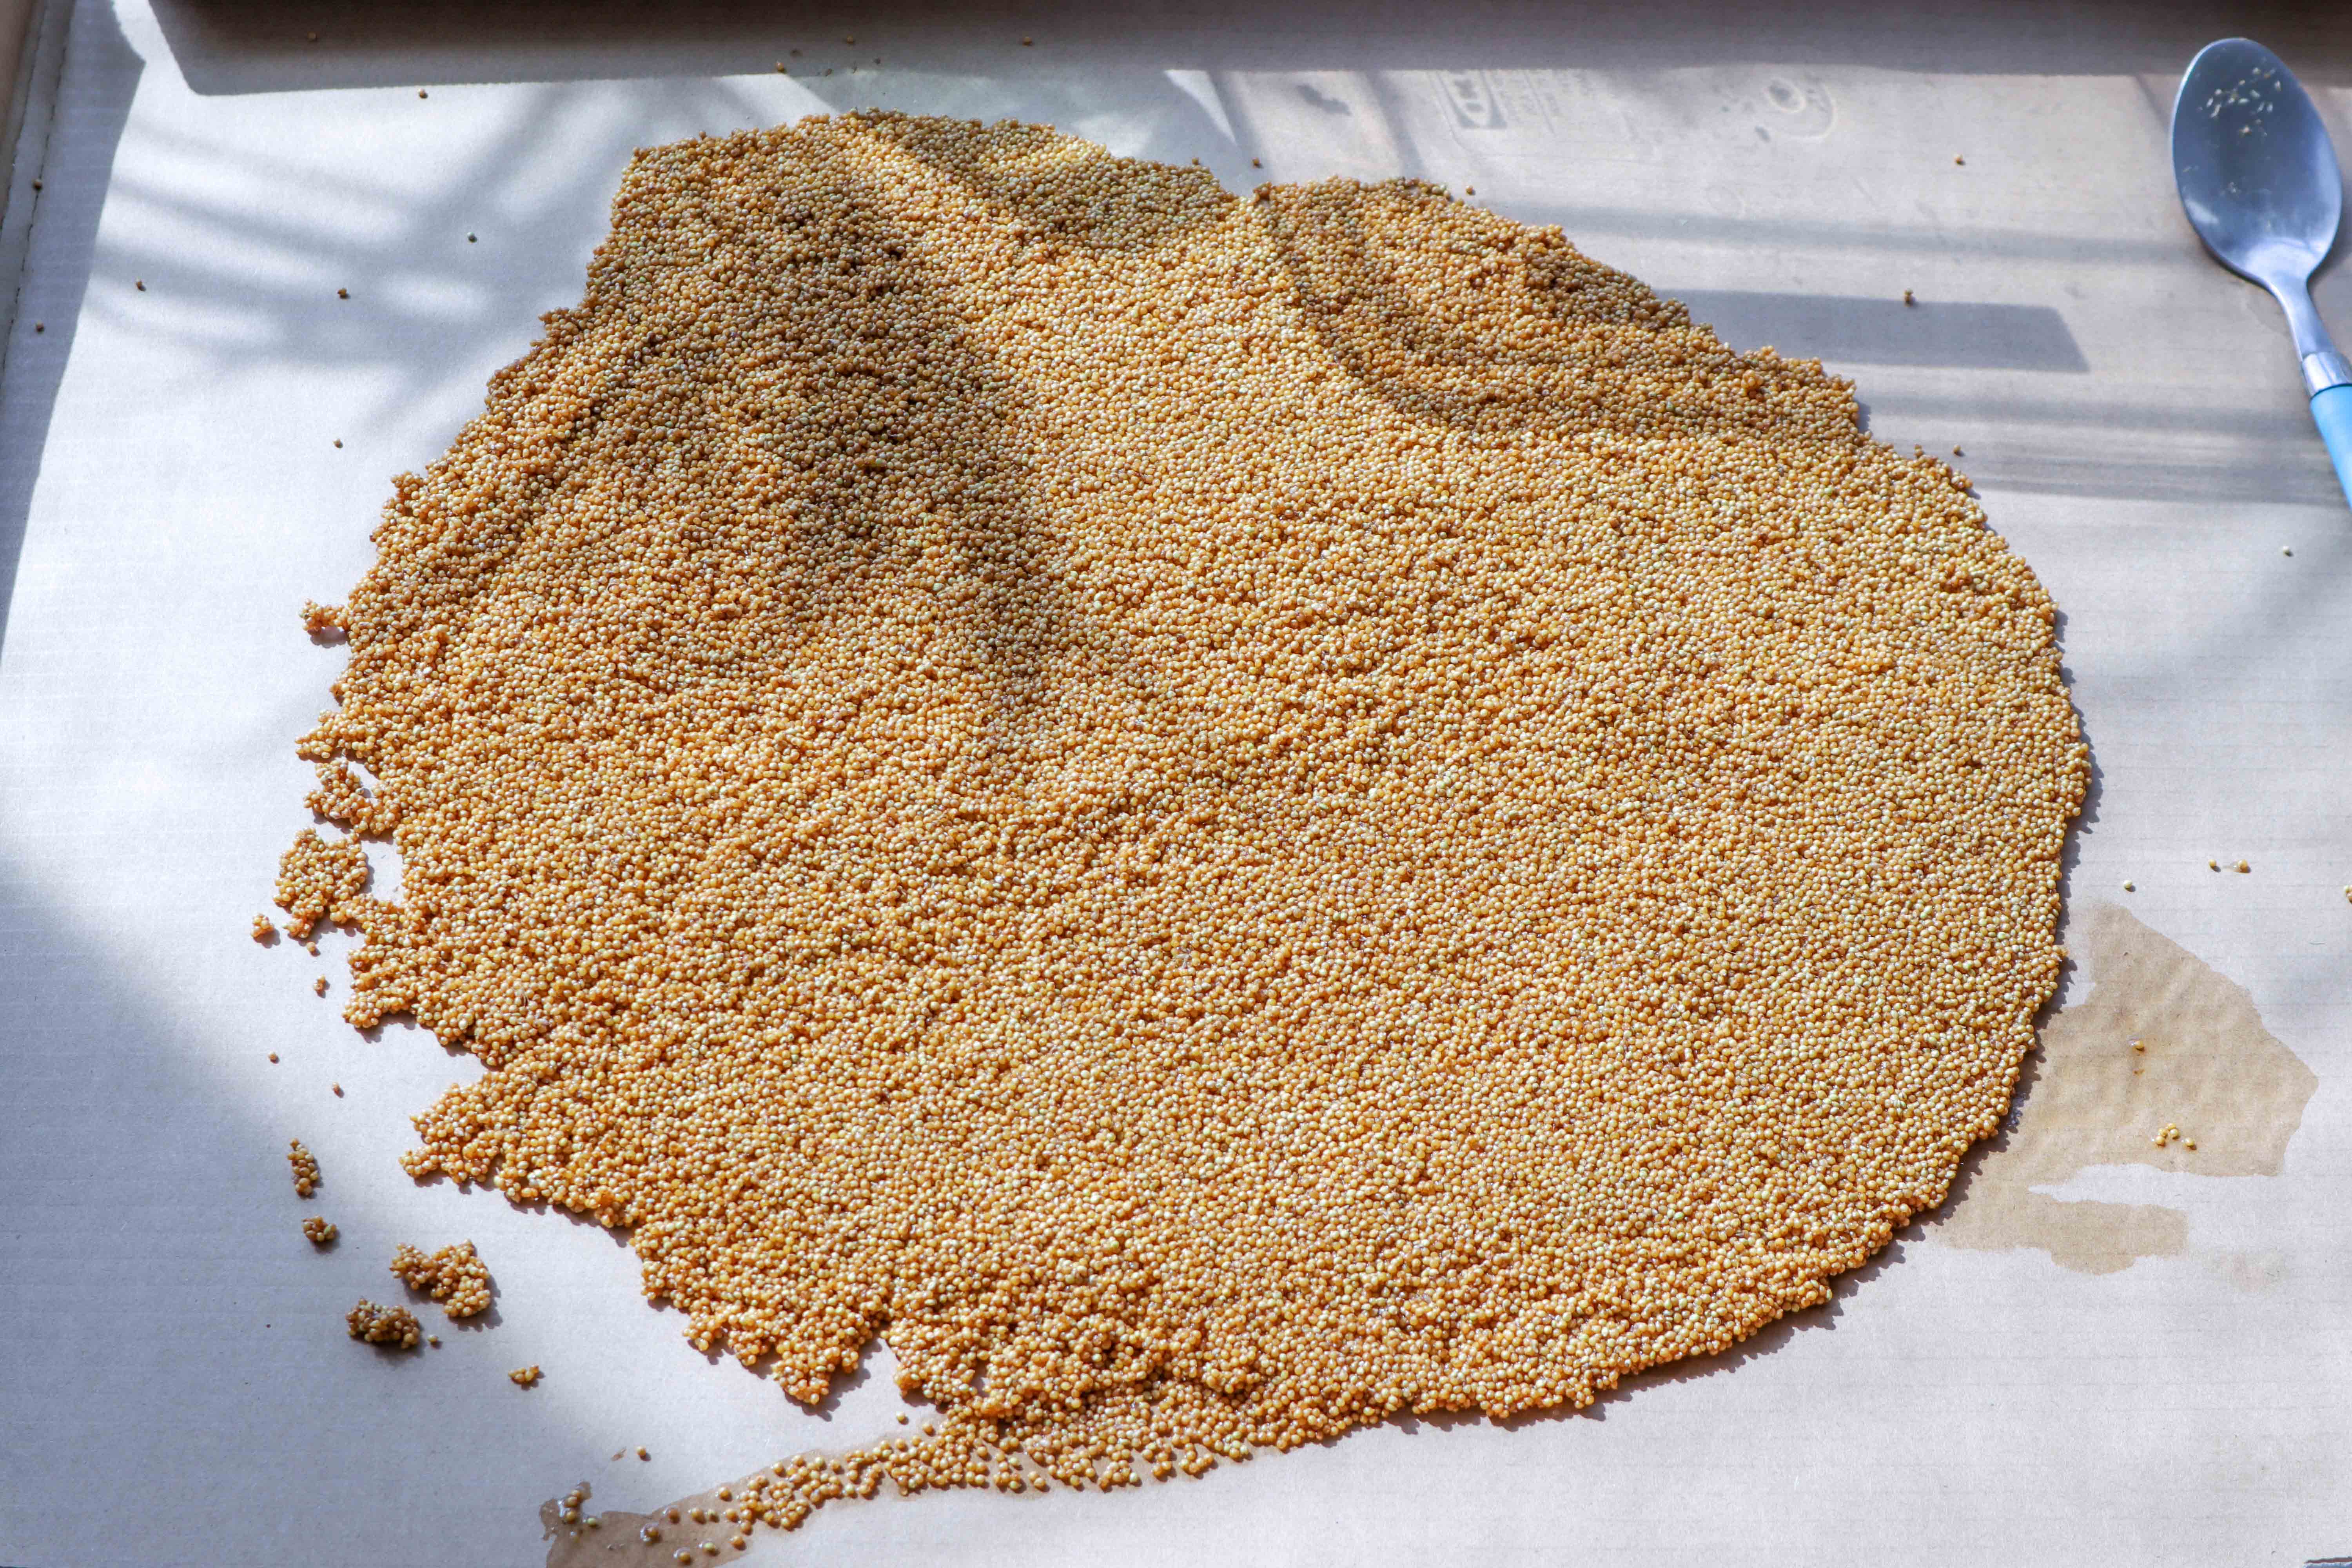 Now the seeds must be simmered for 15 mins to further soften the shells and fill the grains with moisture. Then they should be spread out to dry until the outside of the shells feel dry to the touch but still swollen with water.
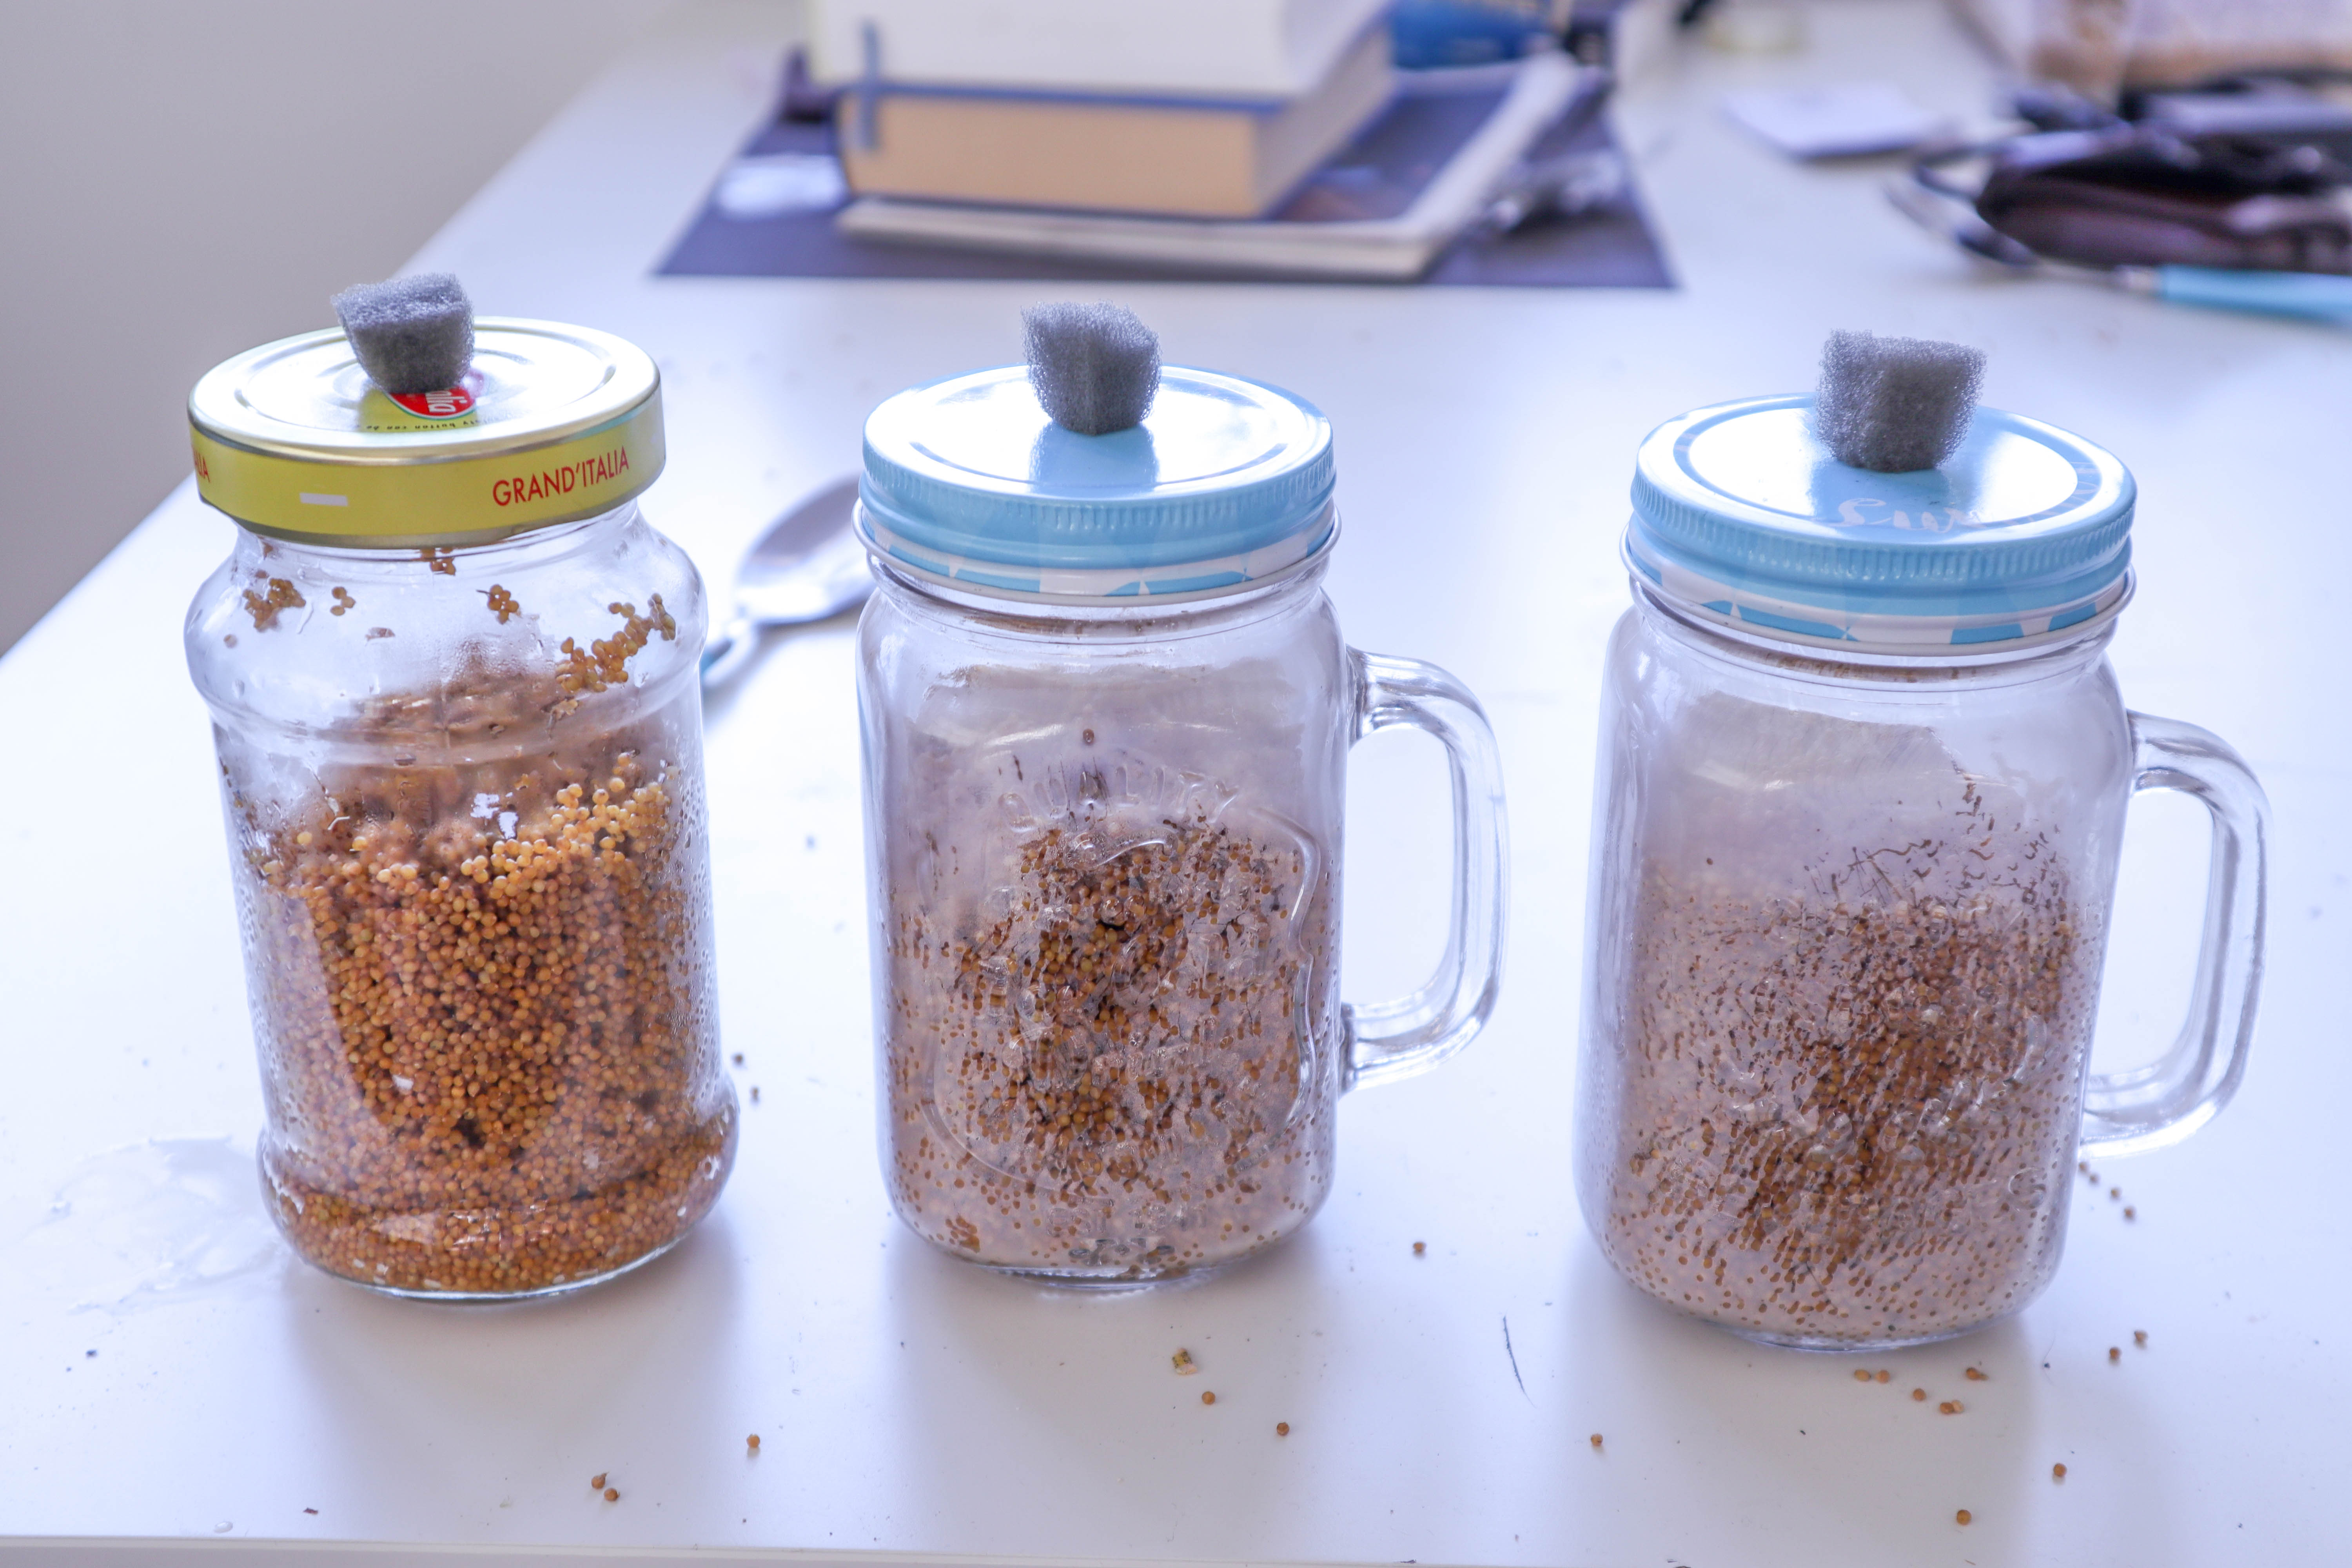
The grains are then added to jars with some kind of air exchange. I used a hole in the lid with some polyurethane foam stuffed in.
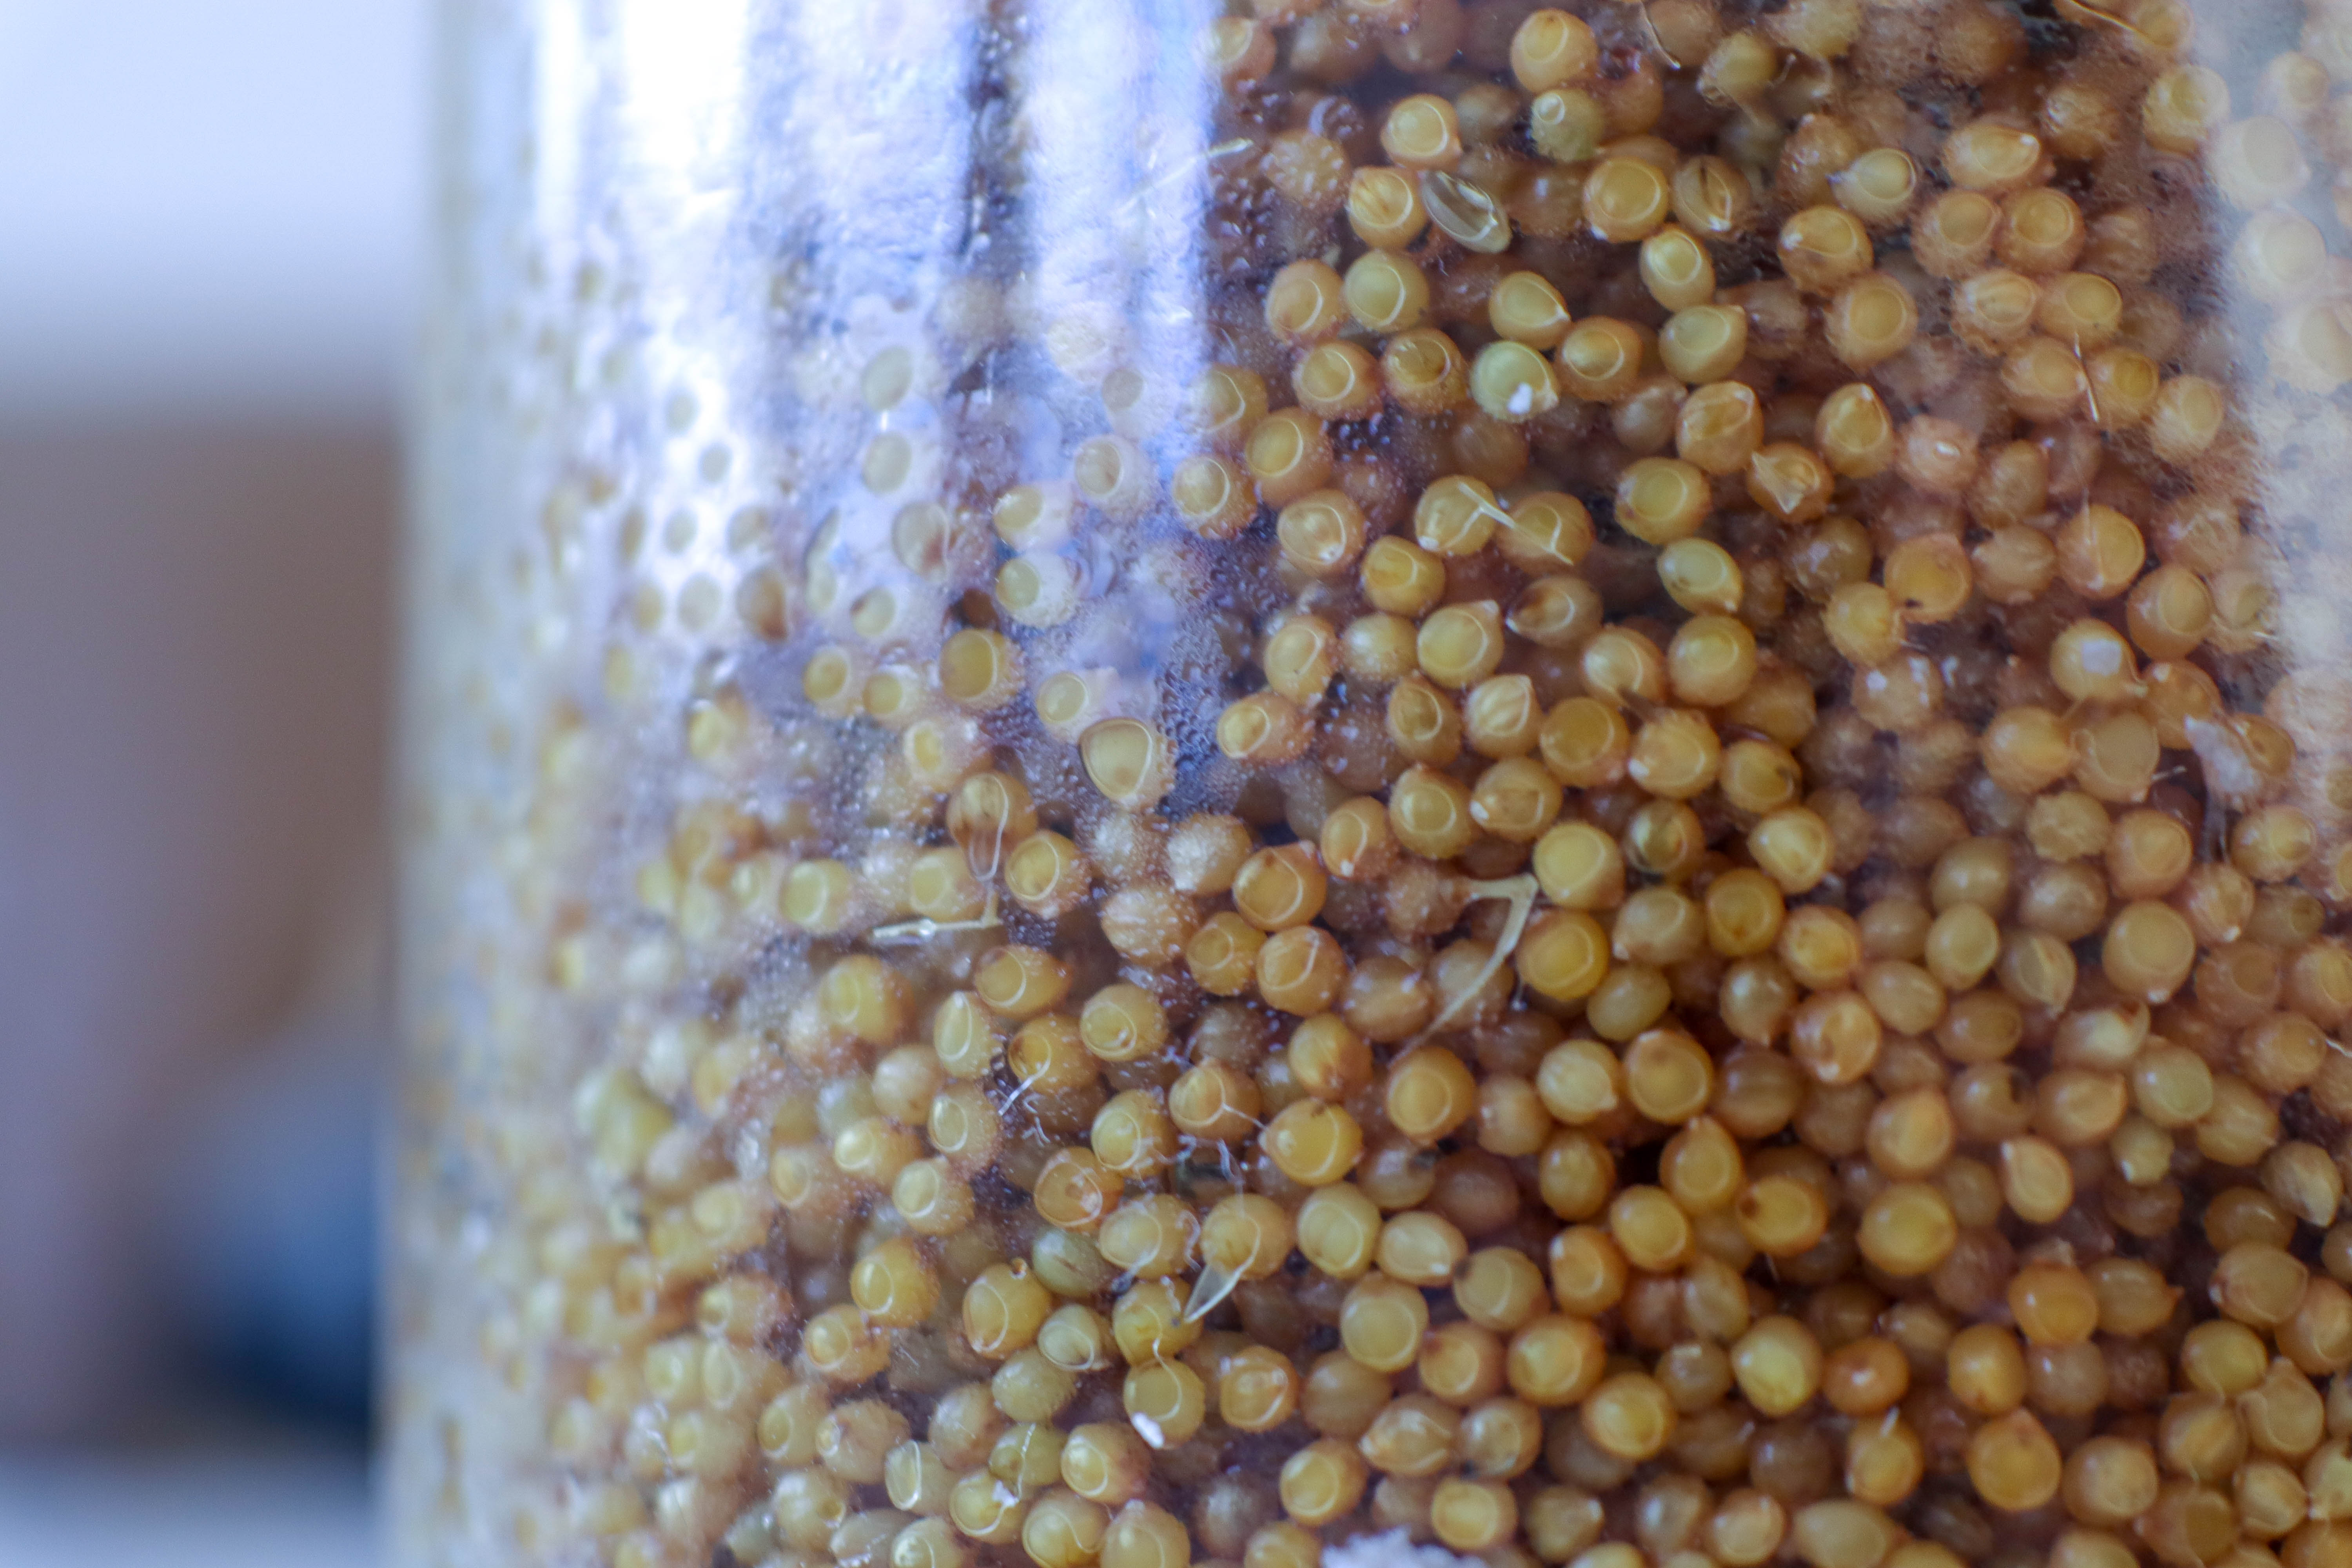 The grains are now ready to be pressure cooked or autoclaved.
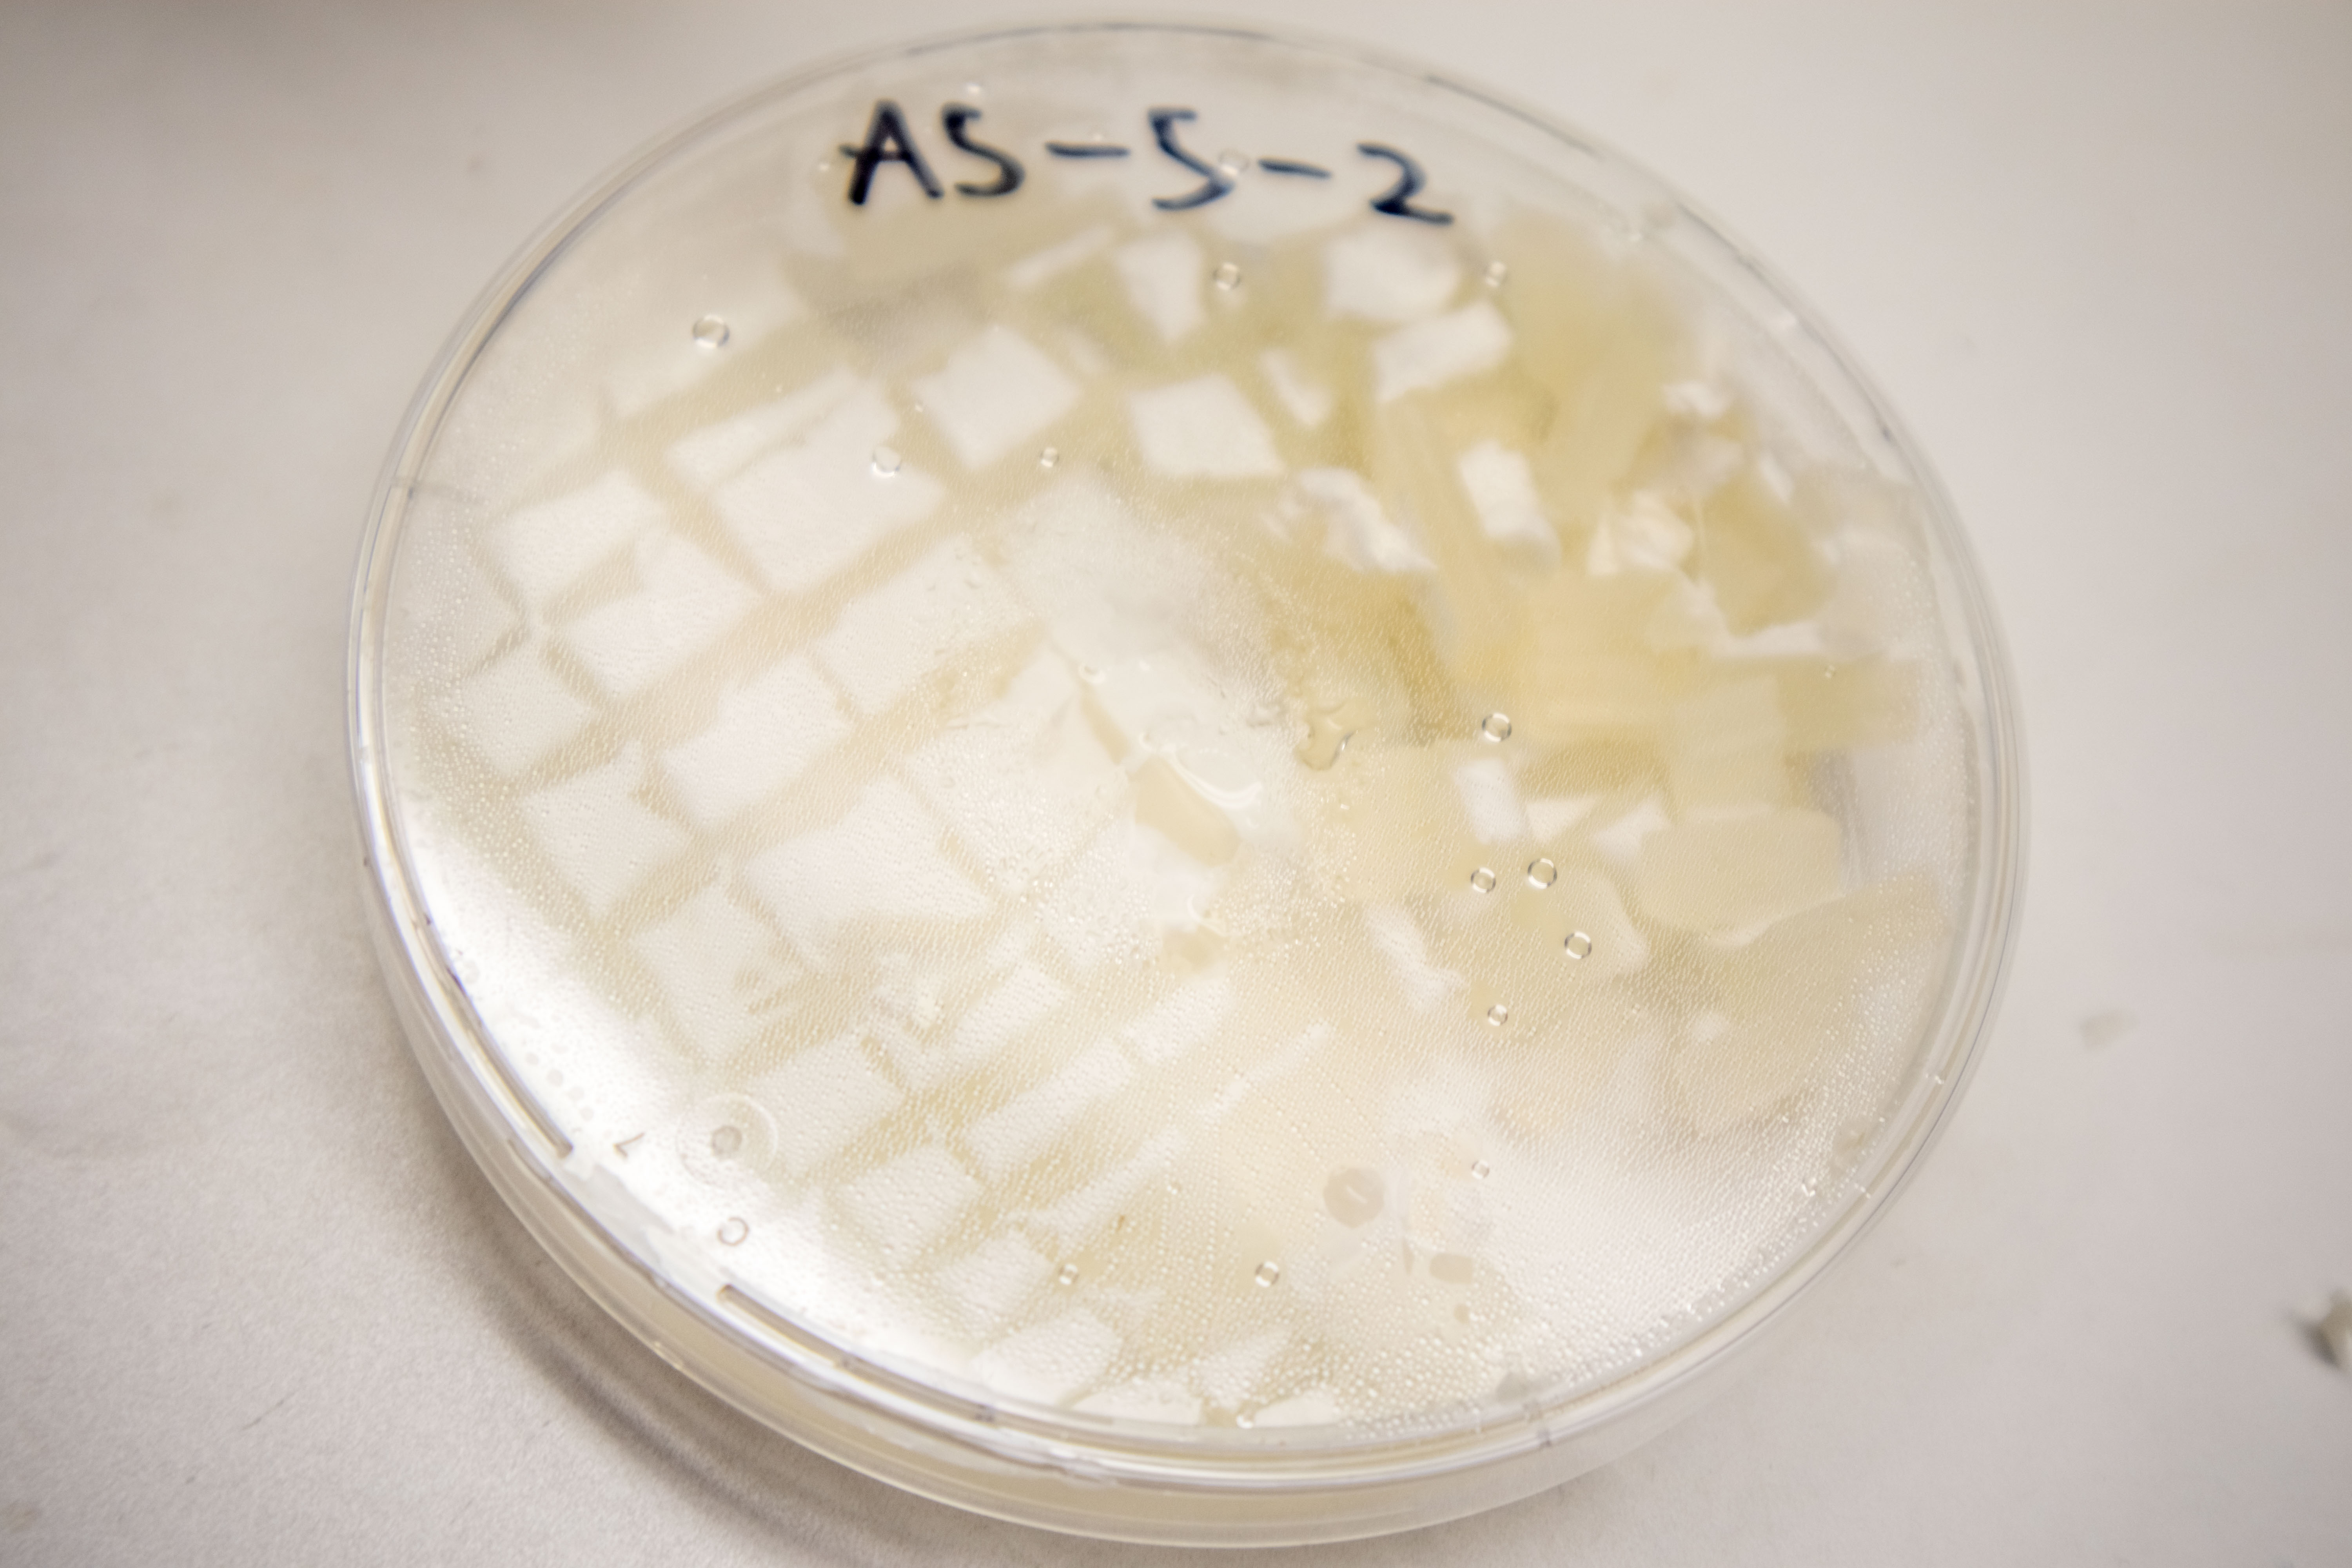 In this case I added half a petri dish of Ganoderma from Experiment 1 to each jar.
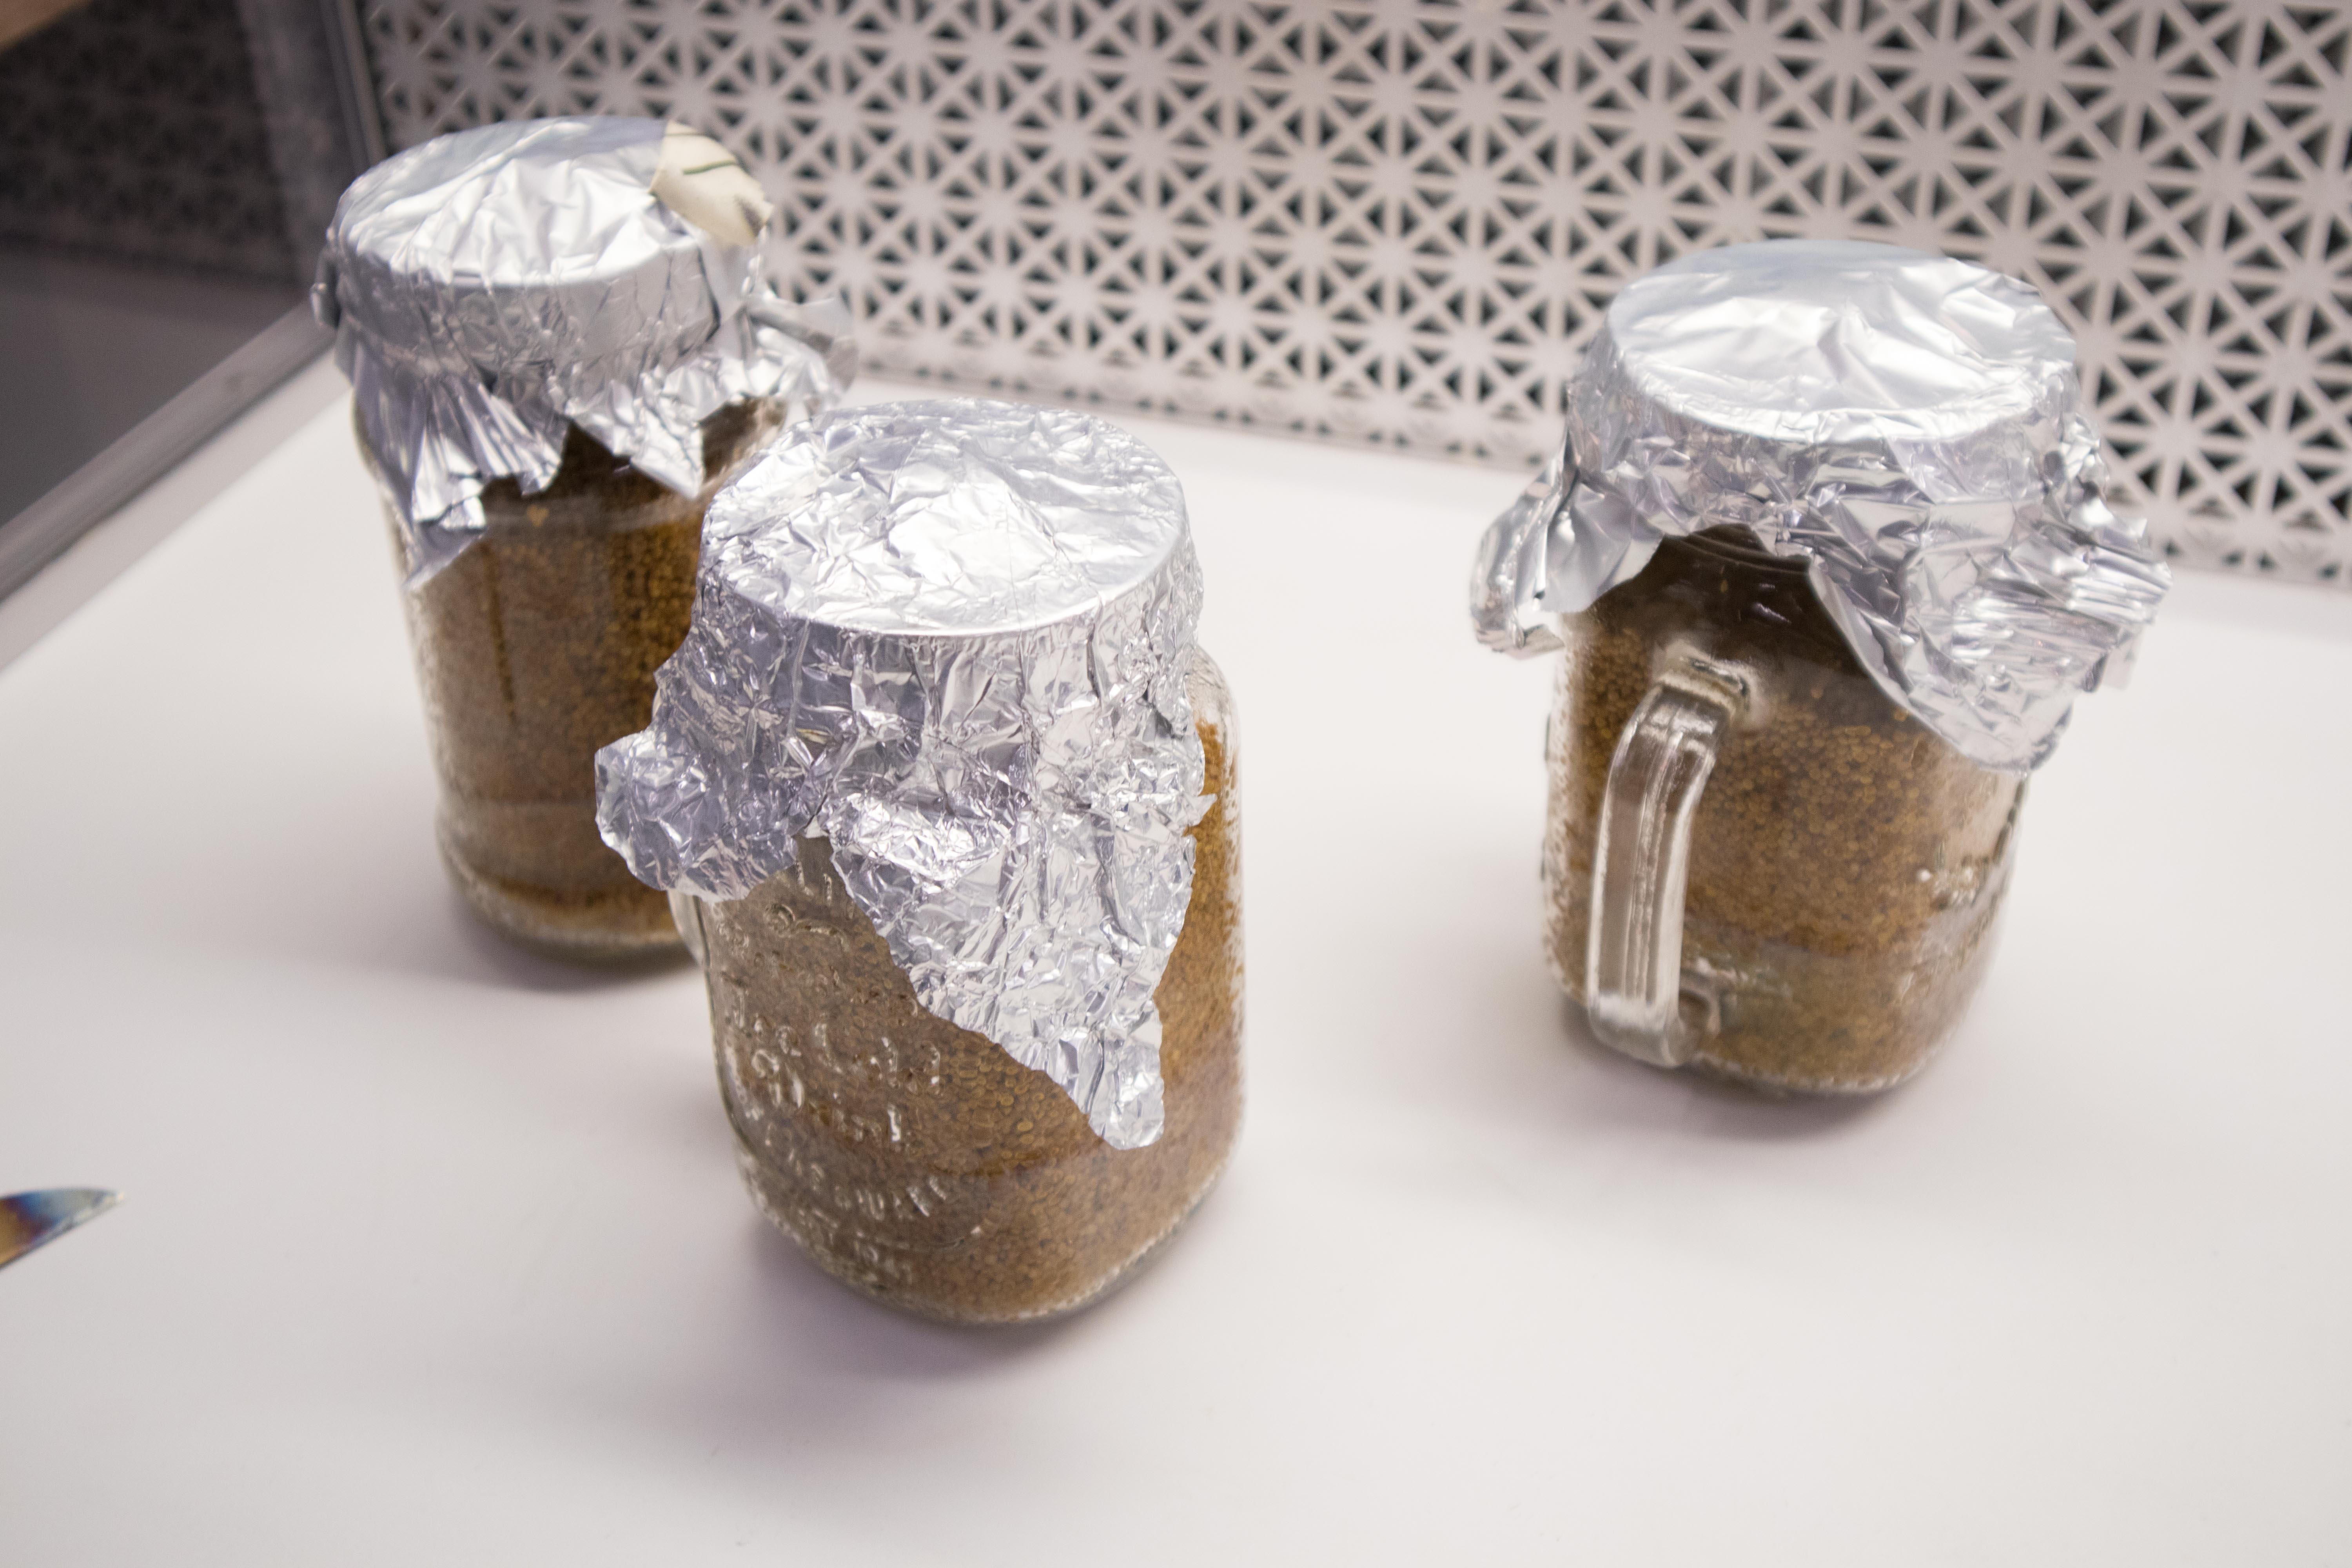
Make sure the lids aren’t tightened completely. Cover them with foil to protect from steam or water entering the jar during autoclaving.
5 Days
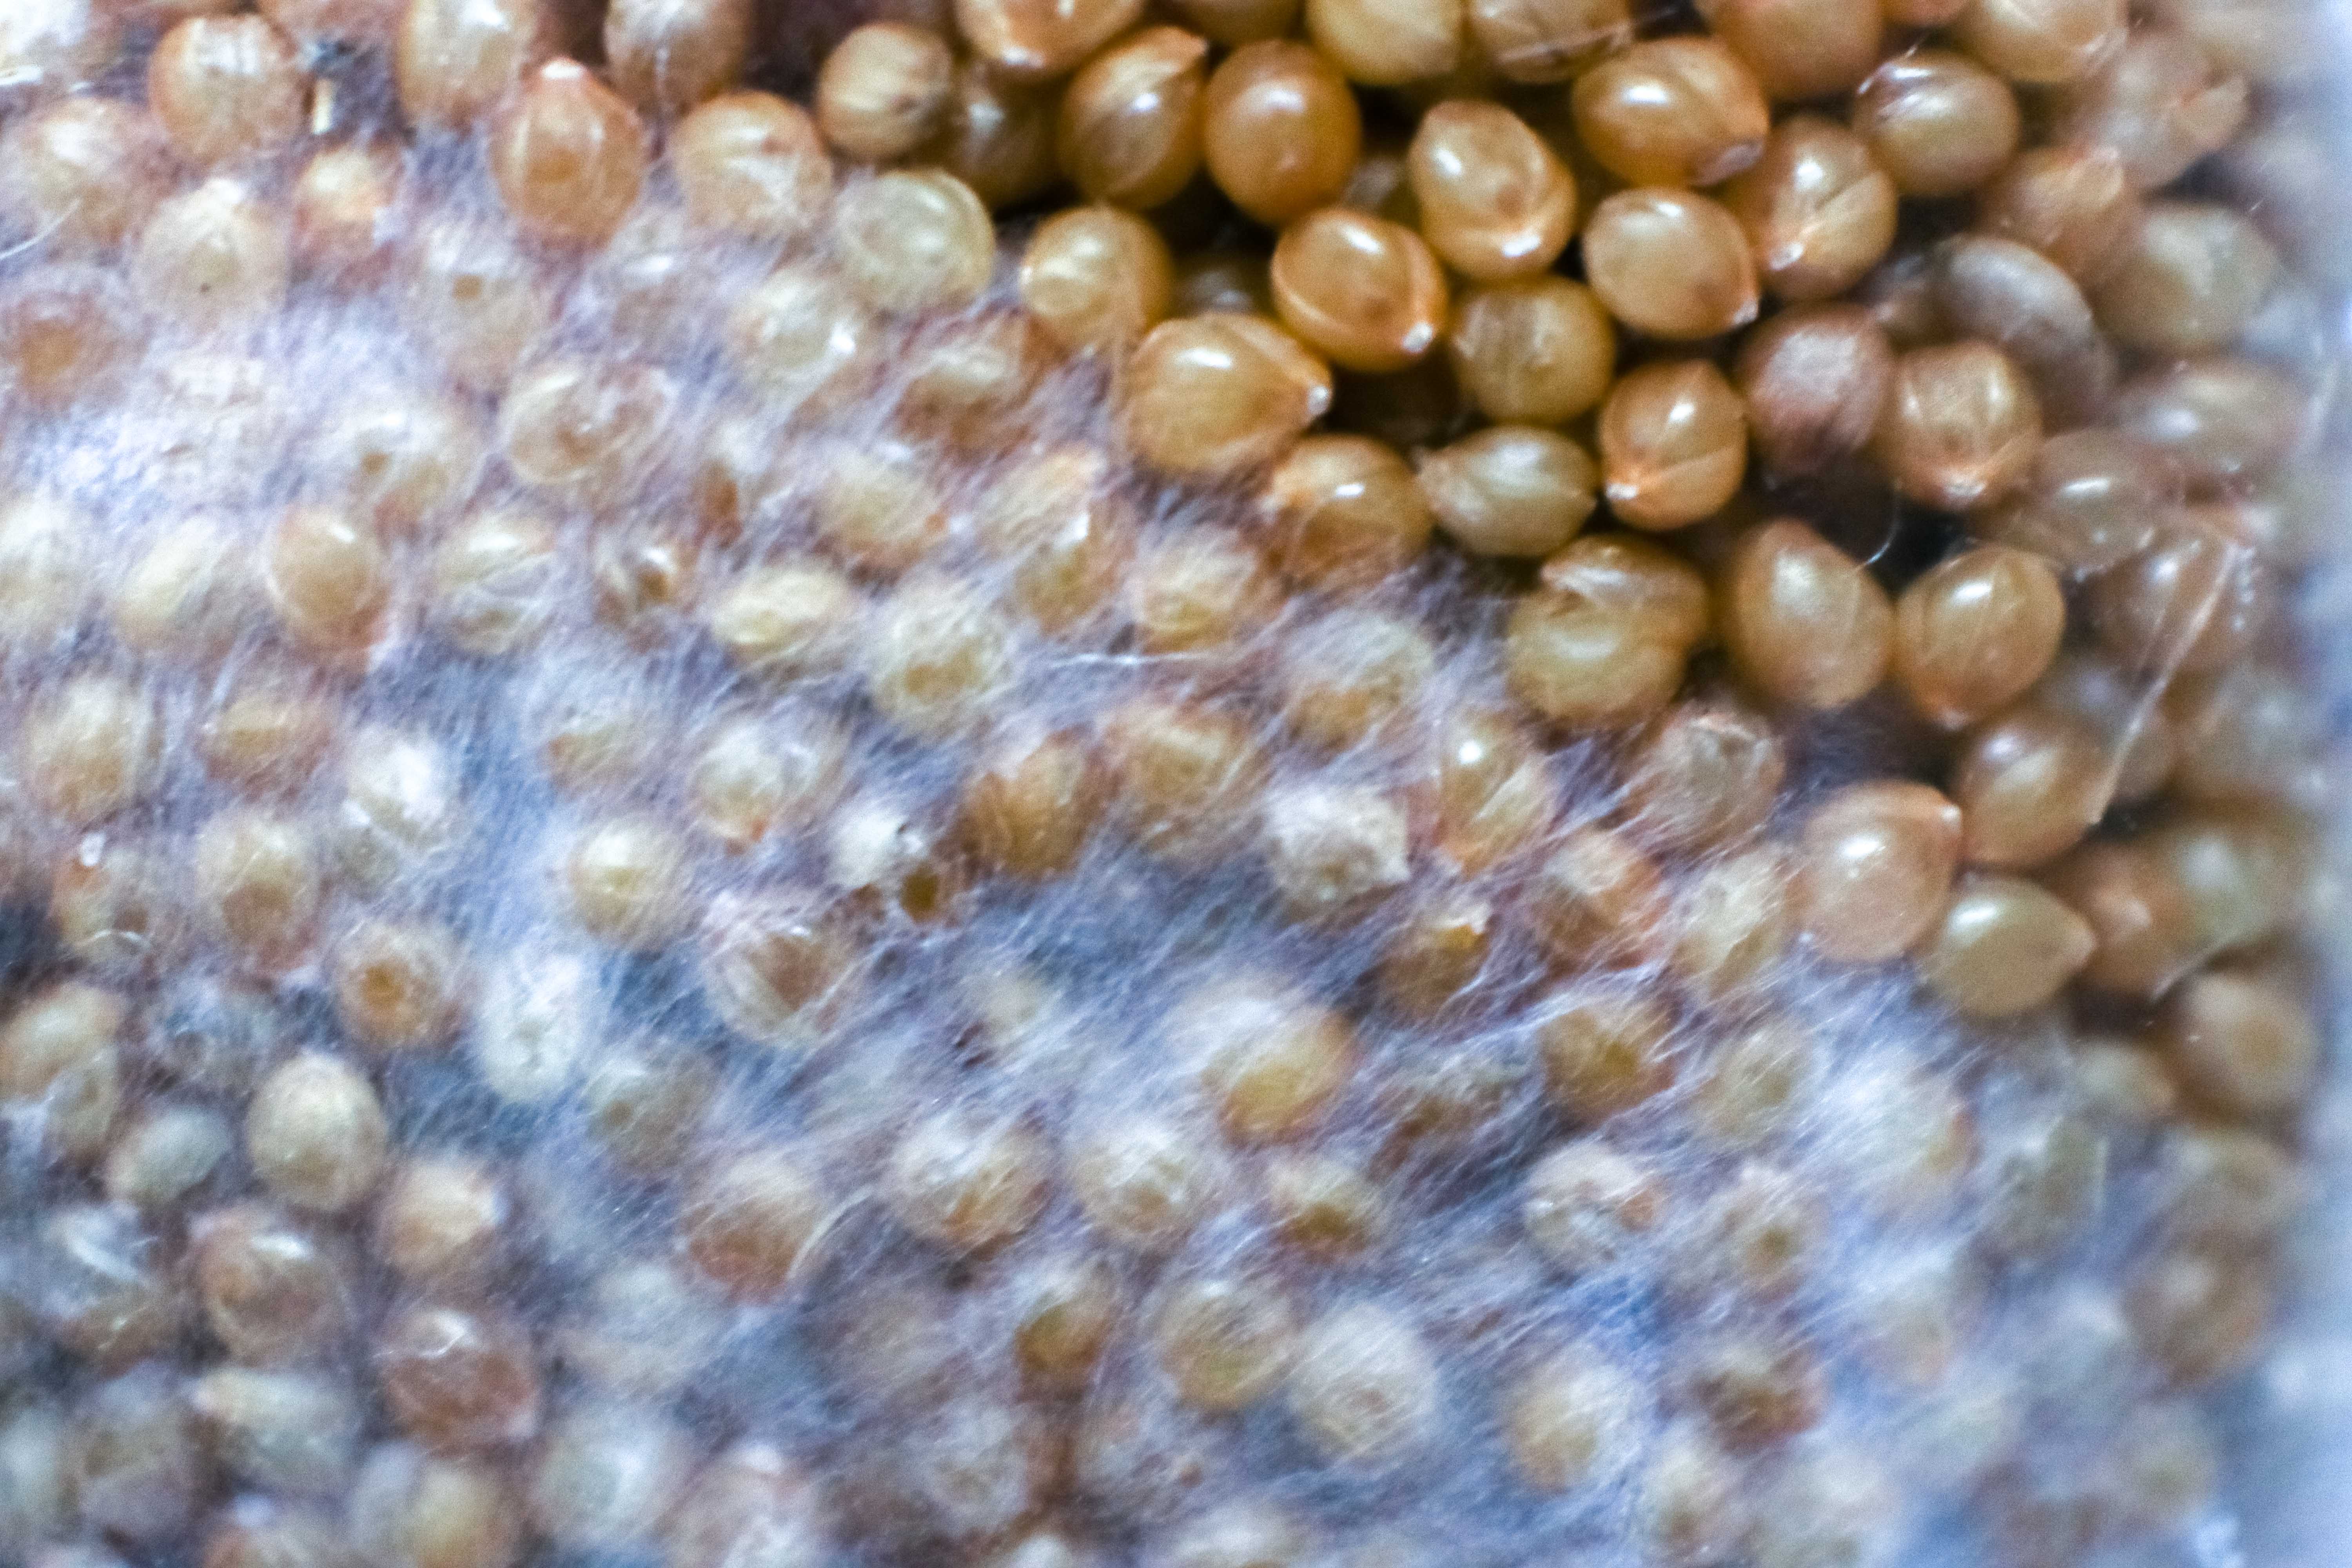
11 Days
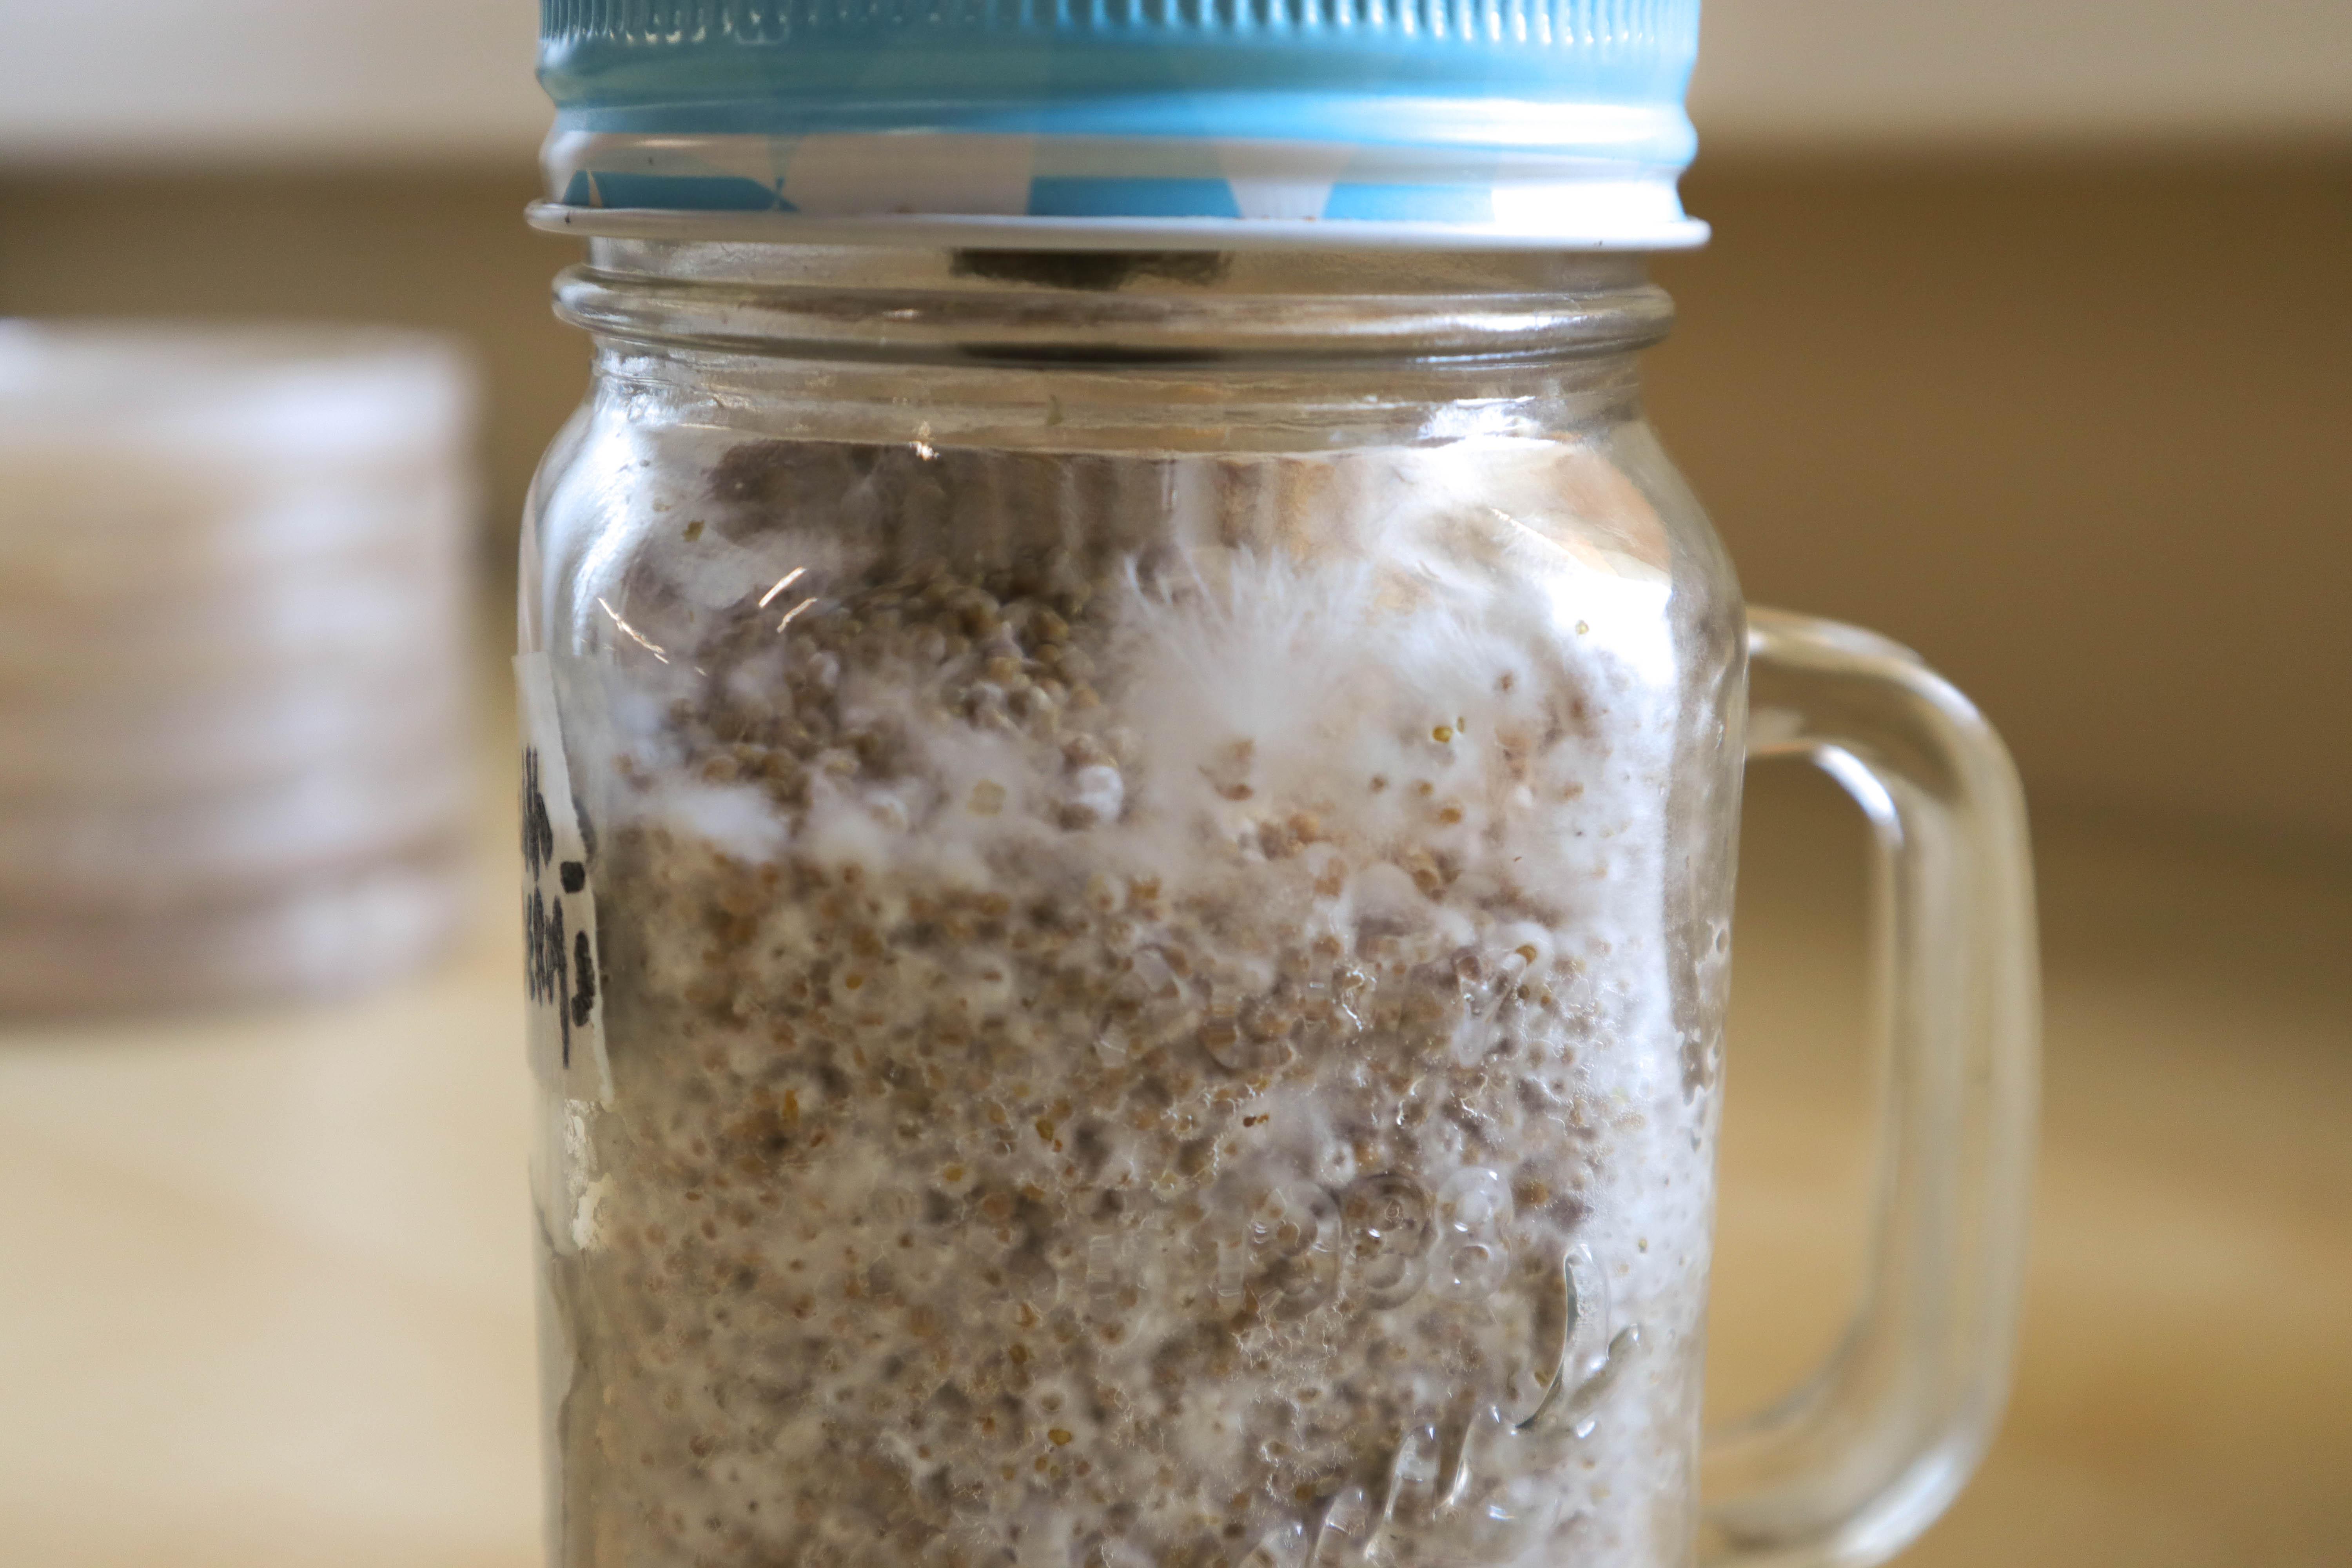
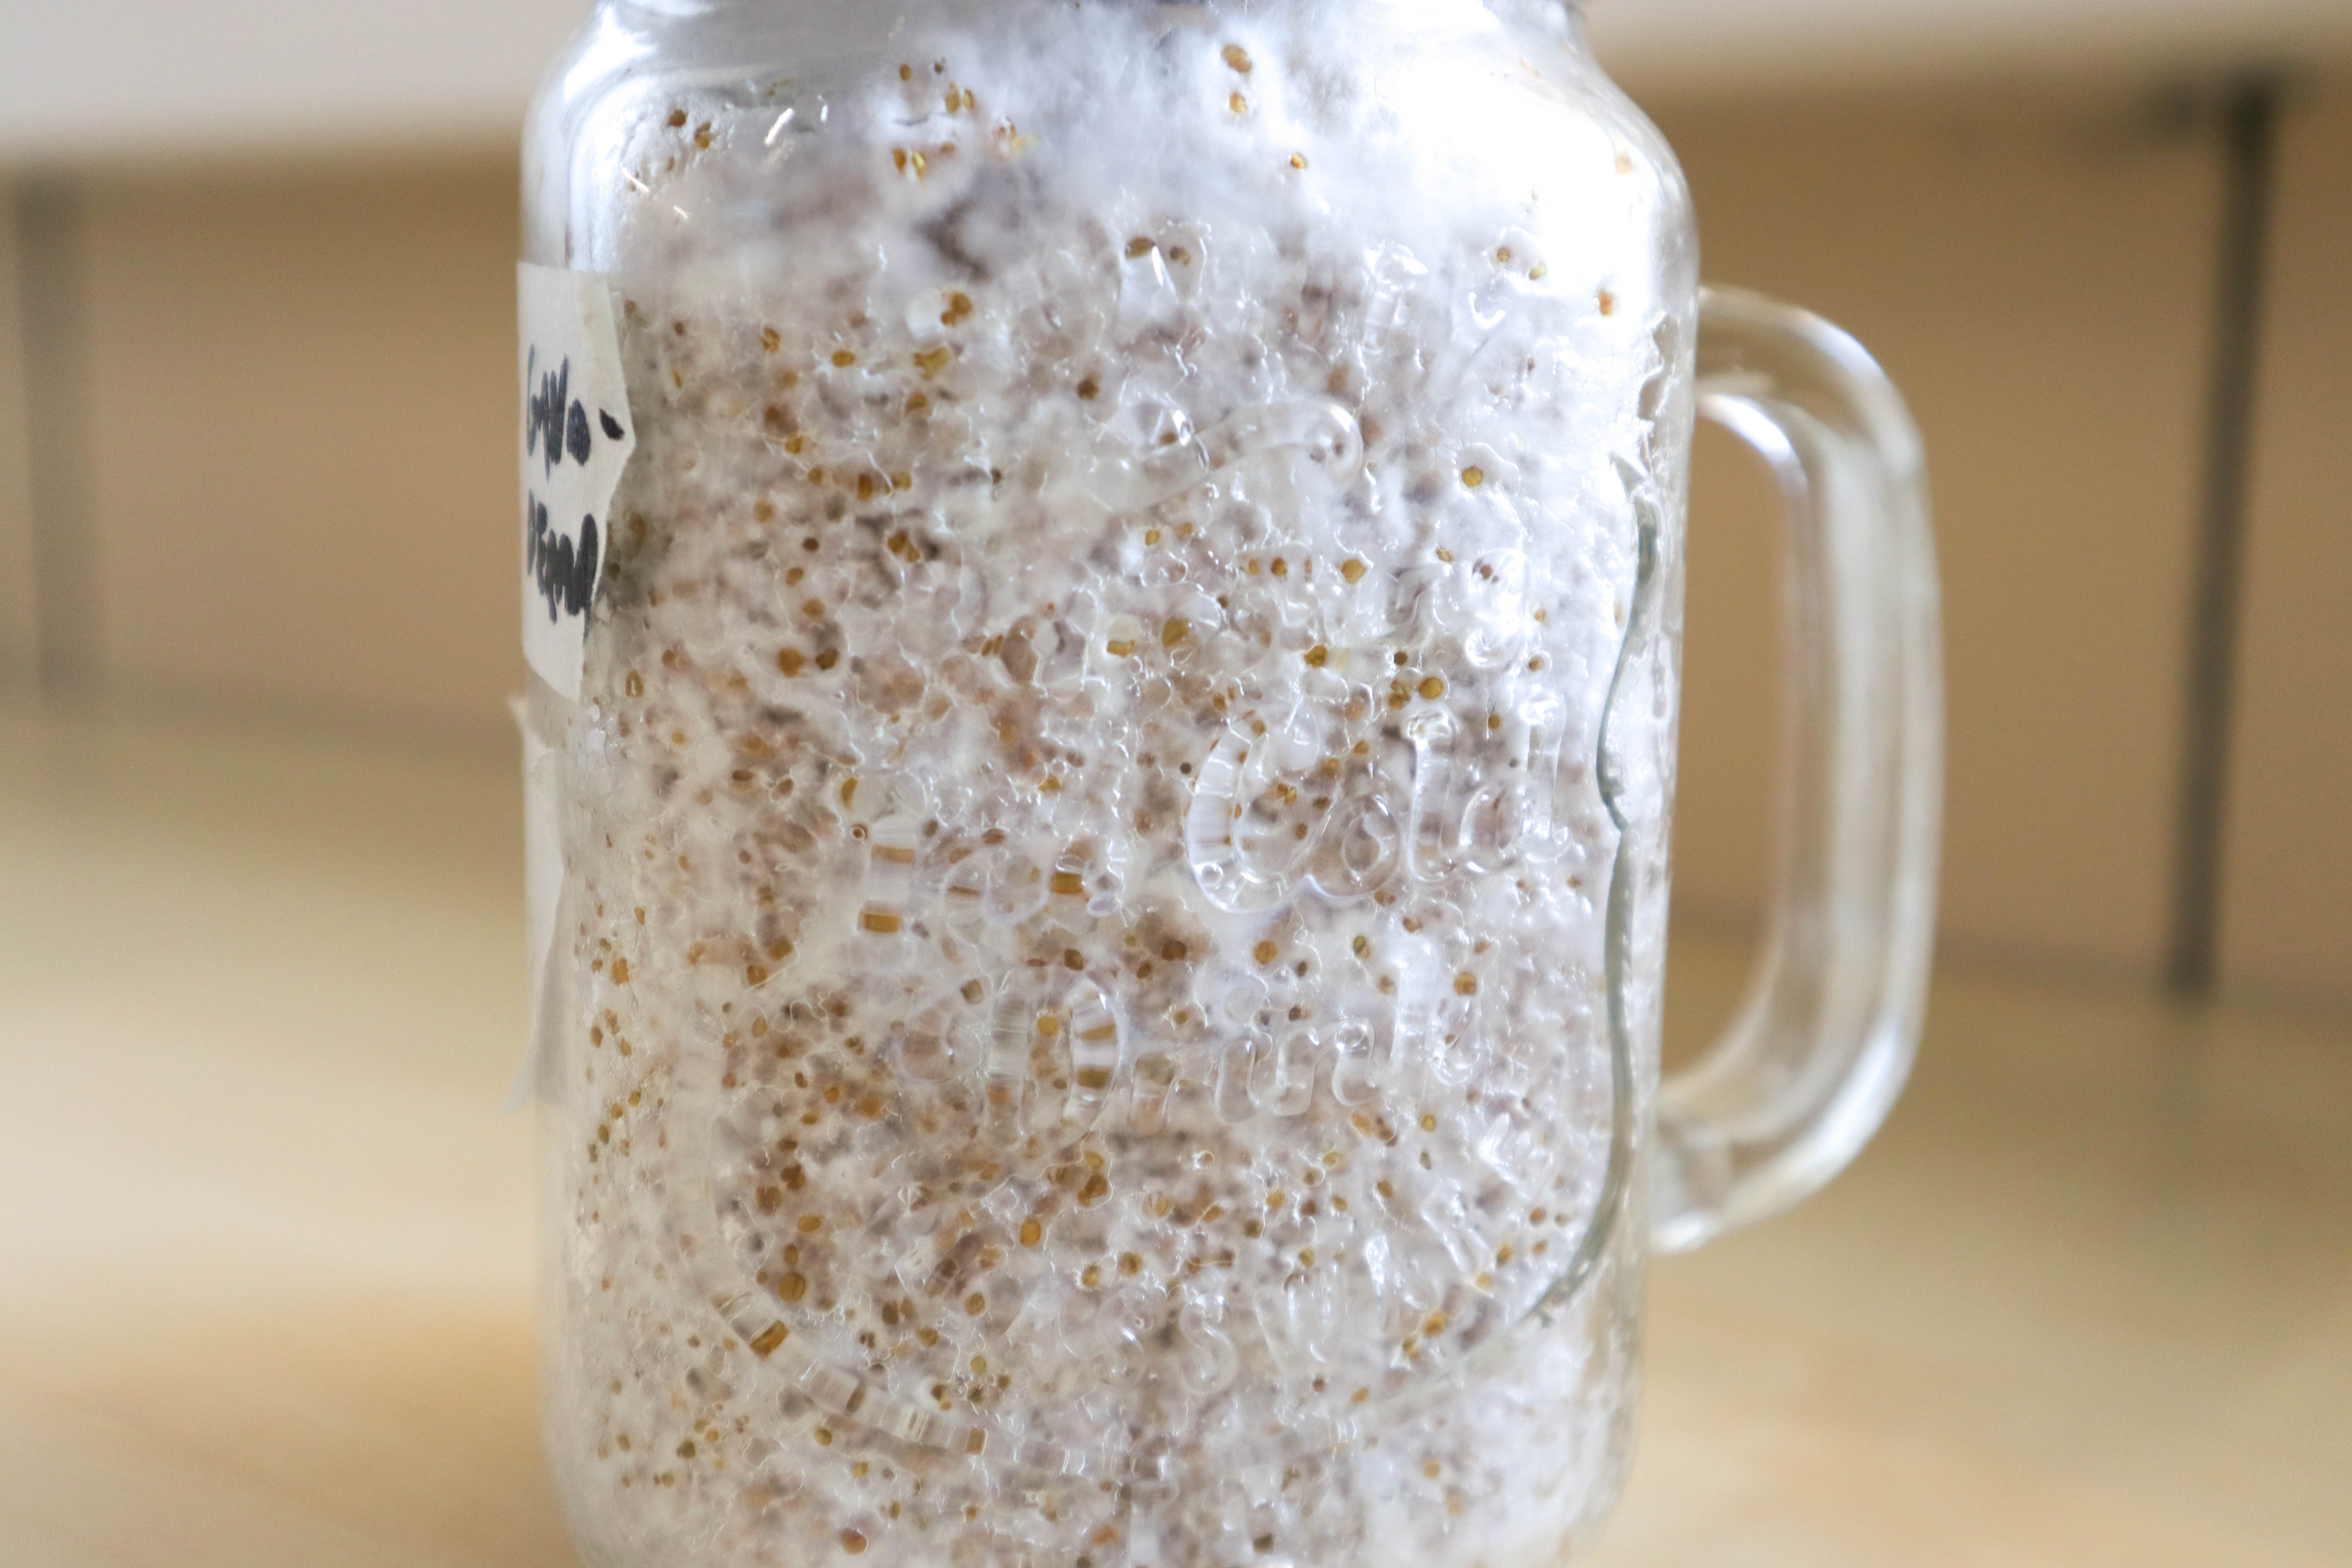
When the molds were filled the grain spawn had been colonising for 19 days
Flax Preparation
I purchased a 20KG bale of flax waste which would normally be used for animal (usually horse) bedding.
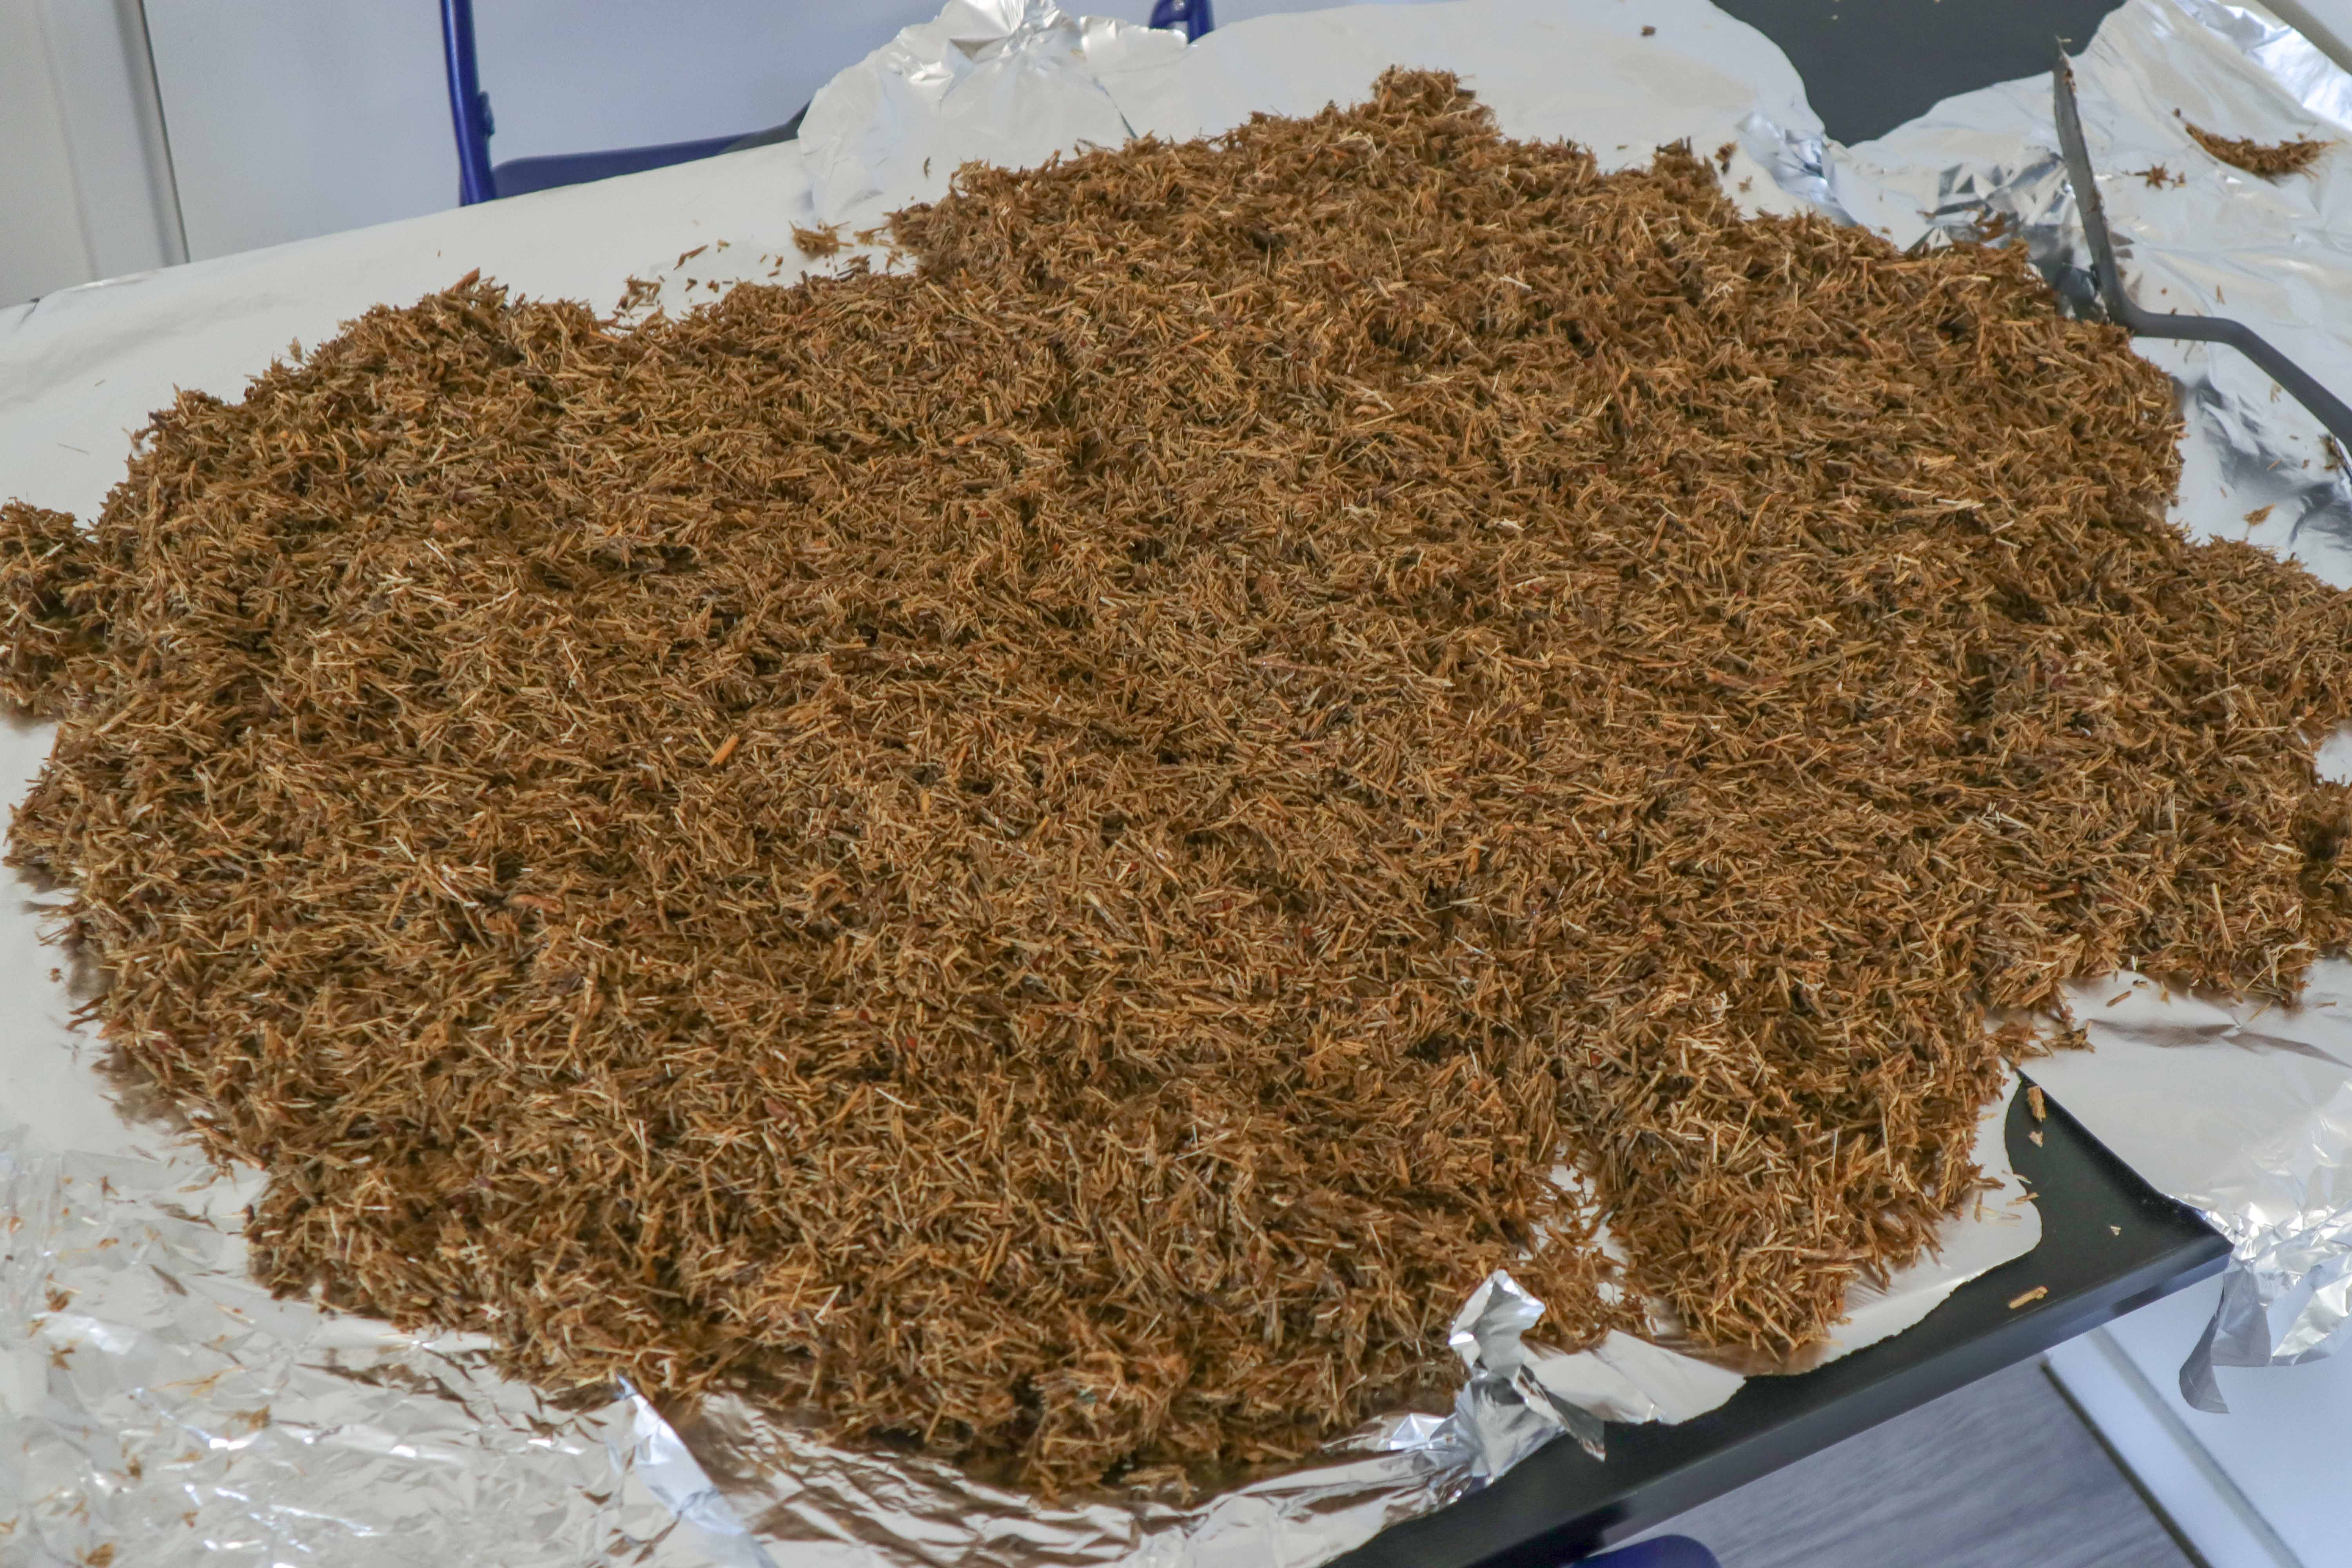
Here is what it looked like, consisting mostly of so-called “shrives”, waste from processing the fibre from flax stalks:
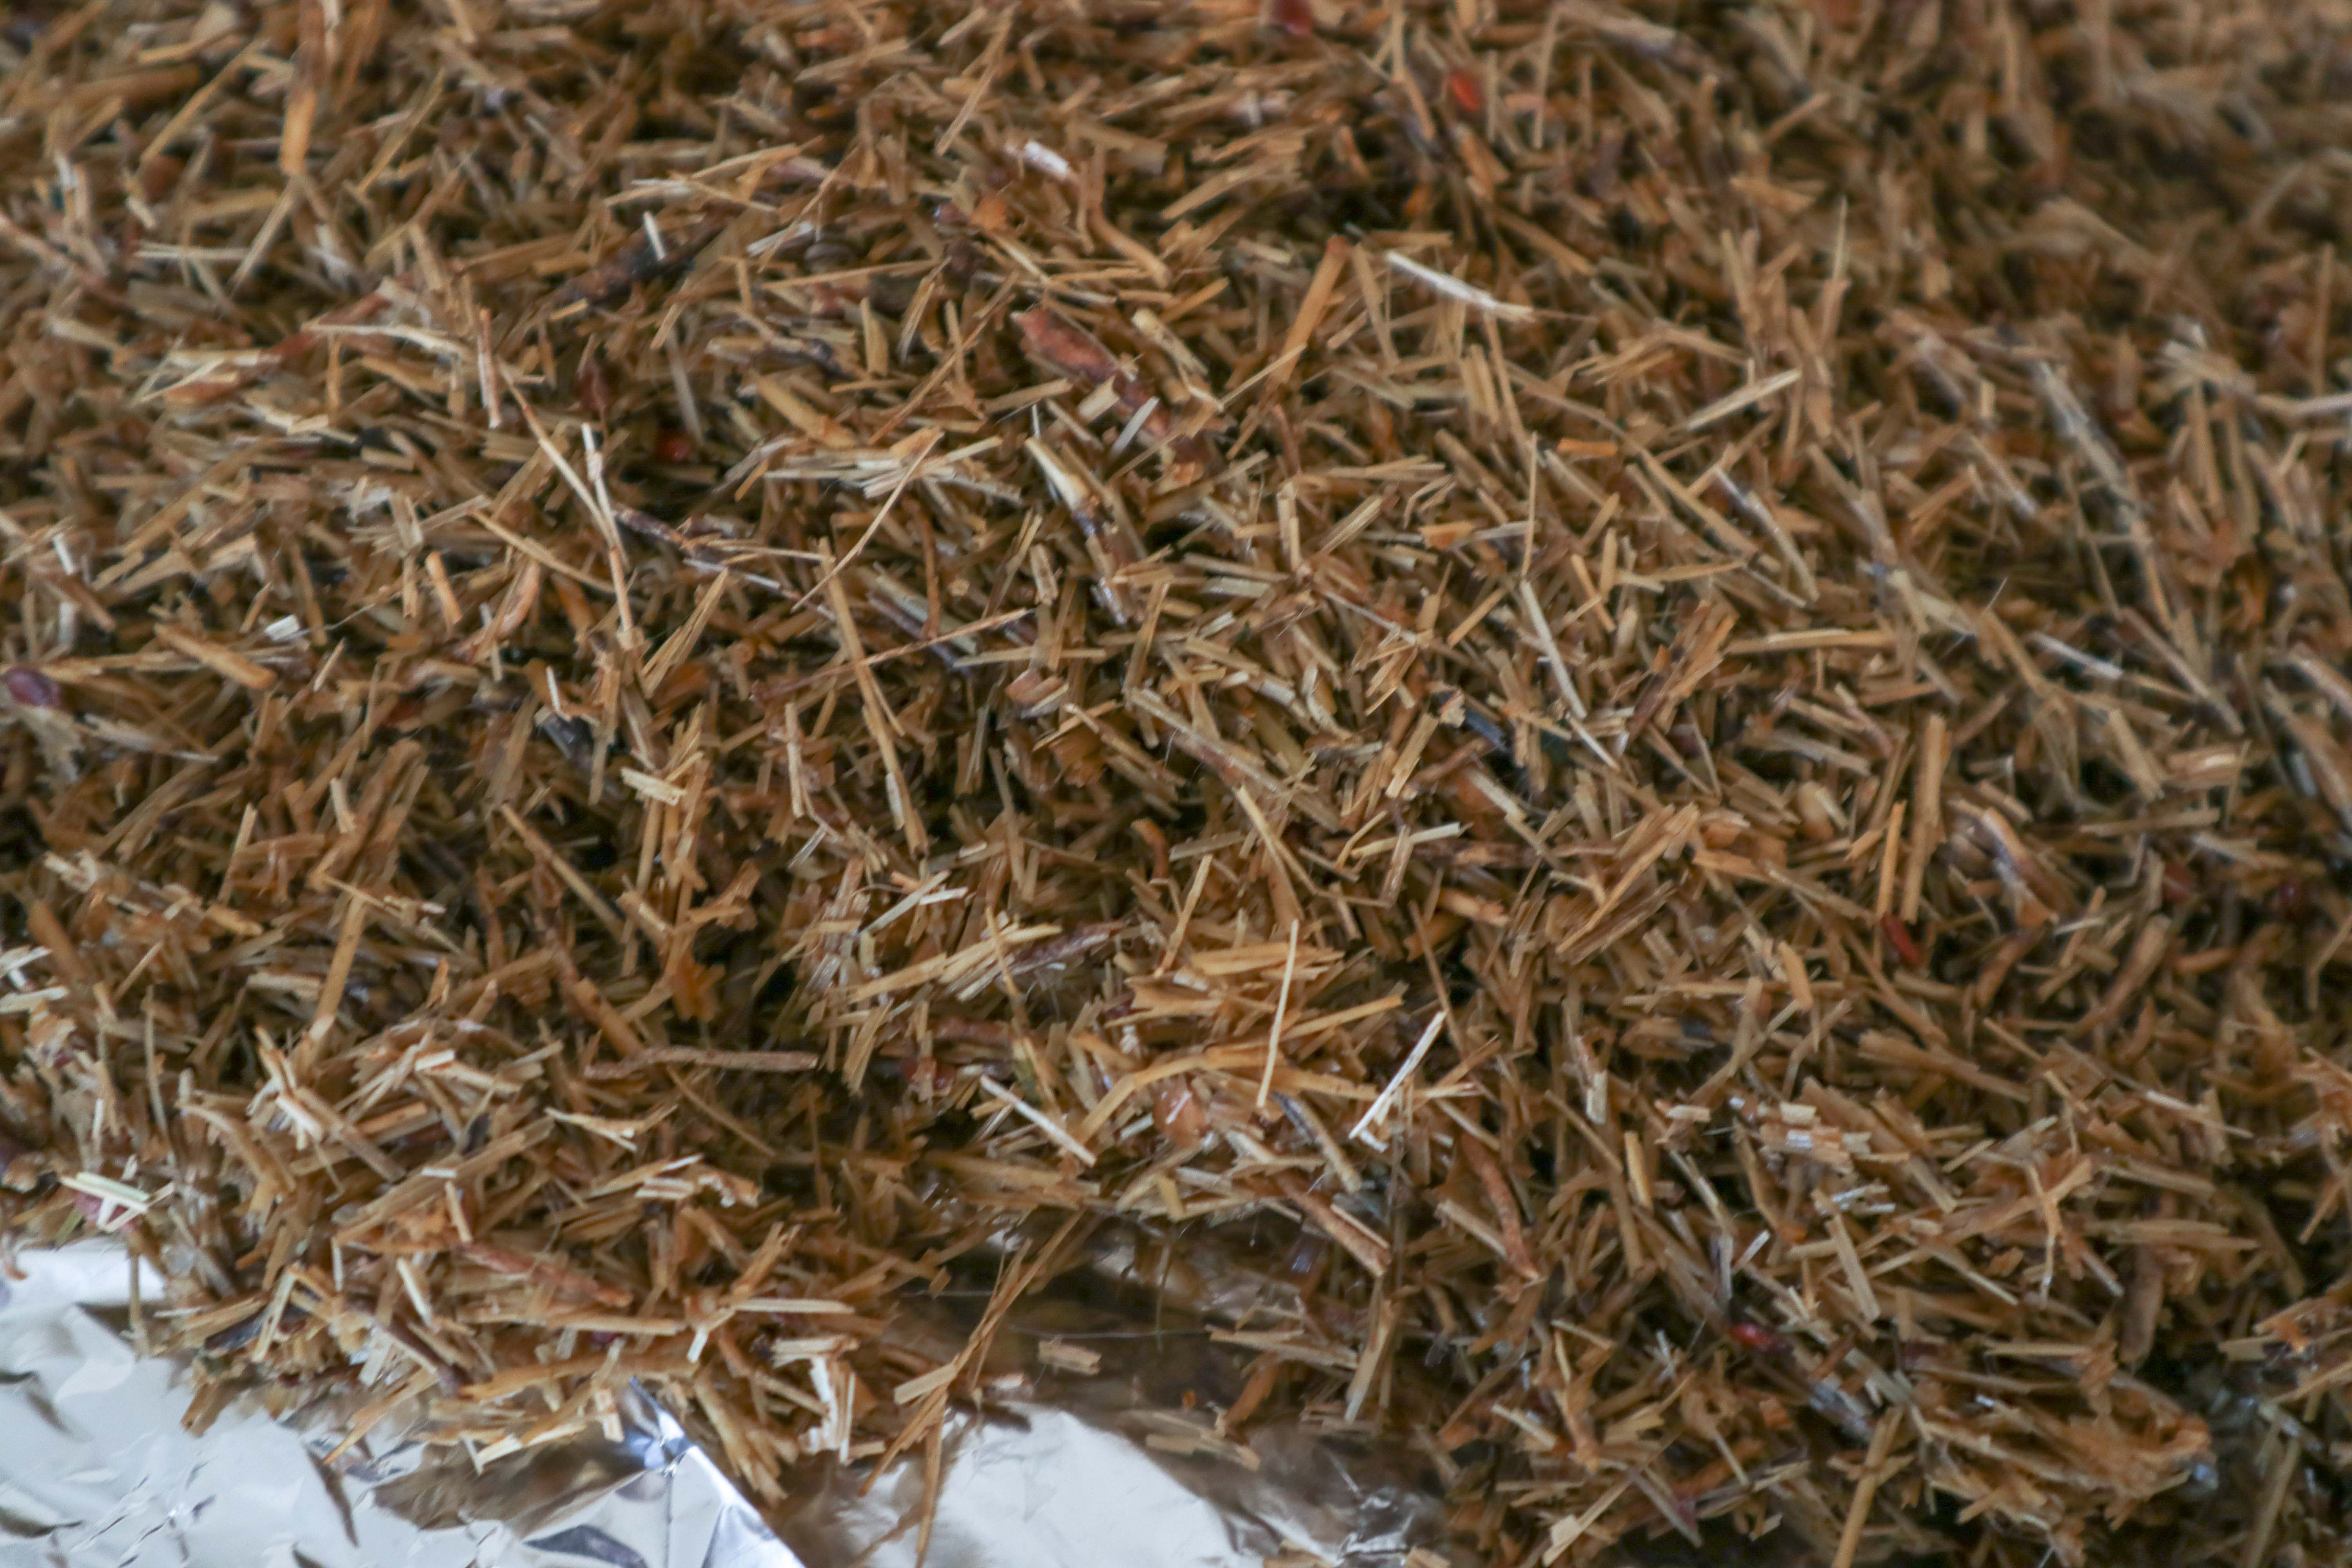
Half of my tests will use this unprocessed flax waste while the other half will use flax blended in water for 10 mins.
Steps:
The flax must first be soaked for 24 hours for the same reason as the millet.
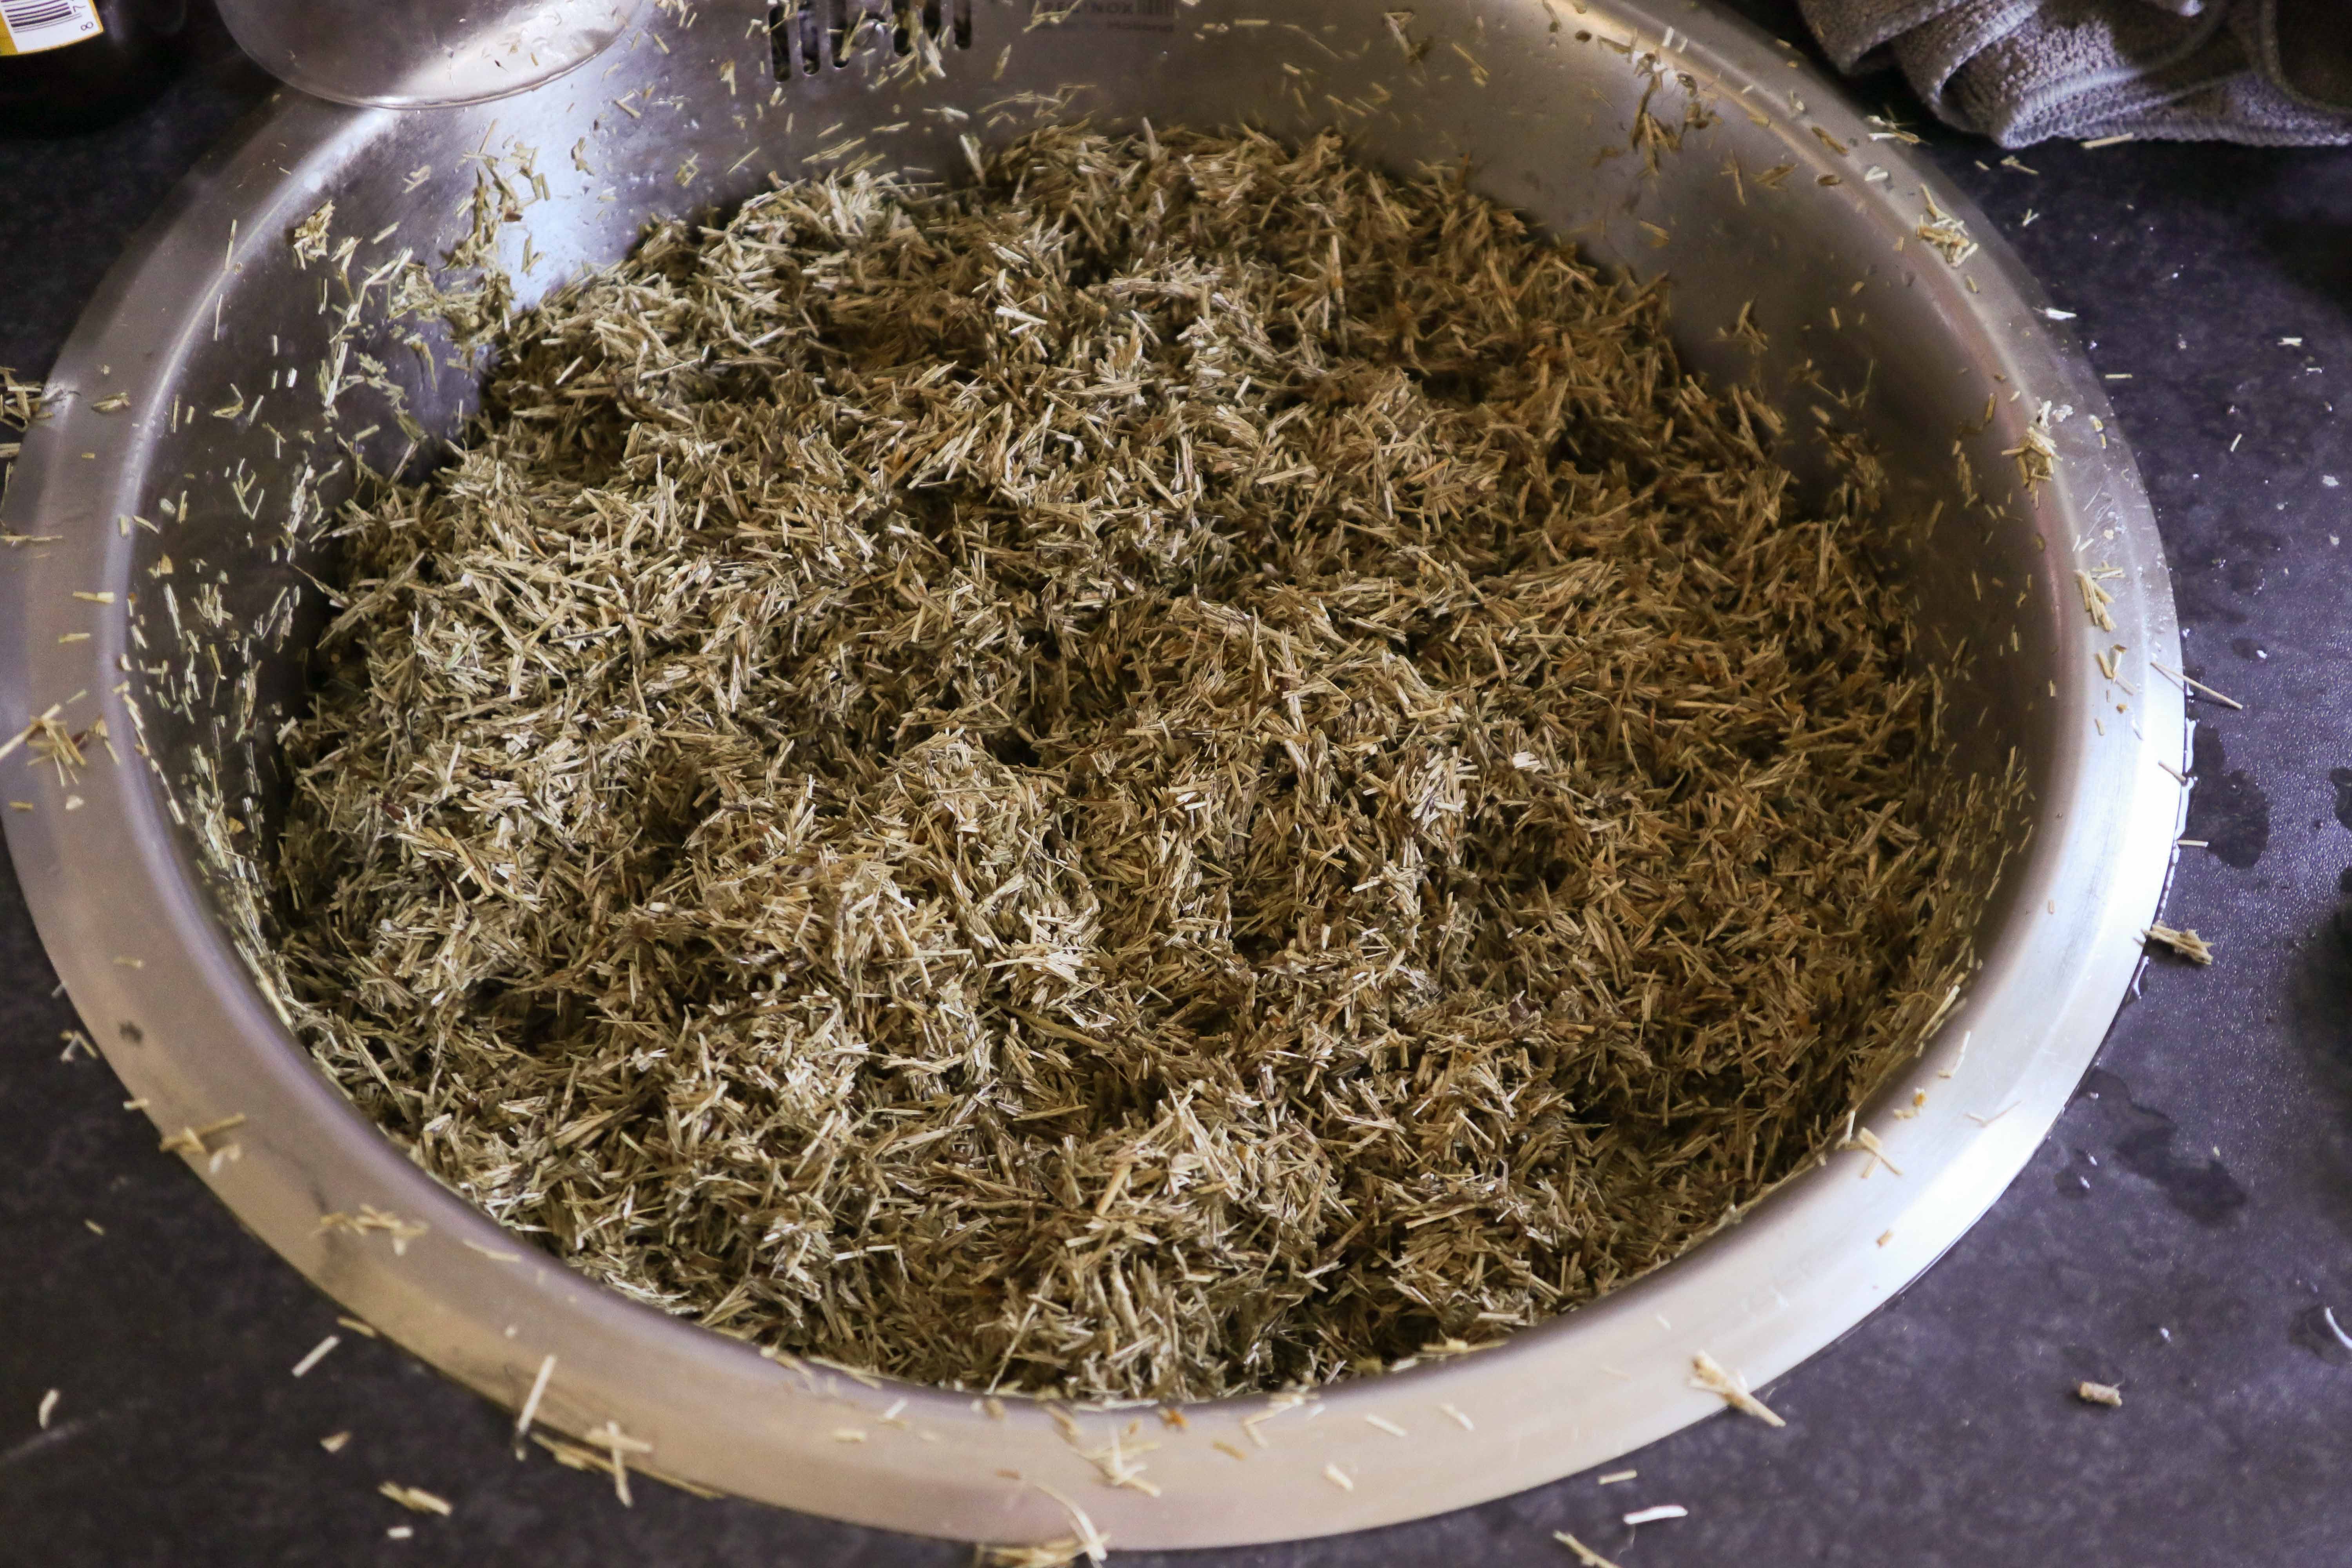
Half of the flax is now ready to be dried until it is dry to the touch but is still full of moisture
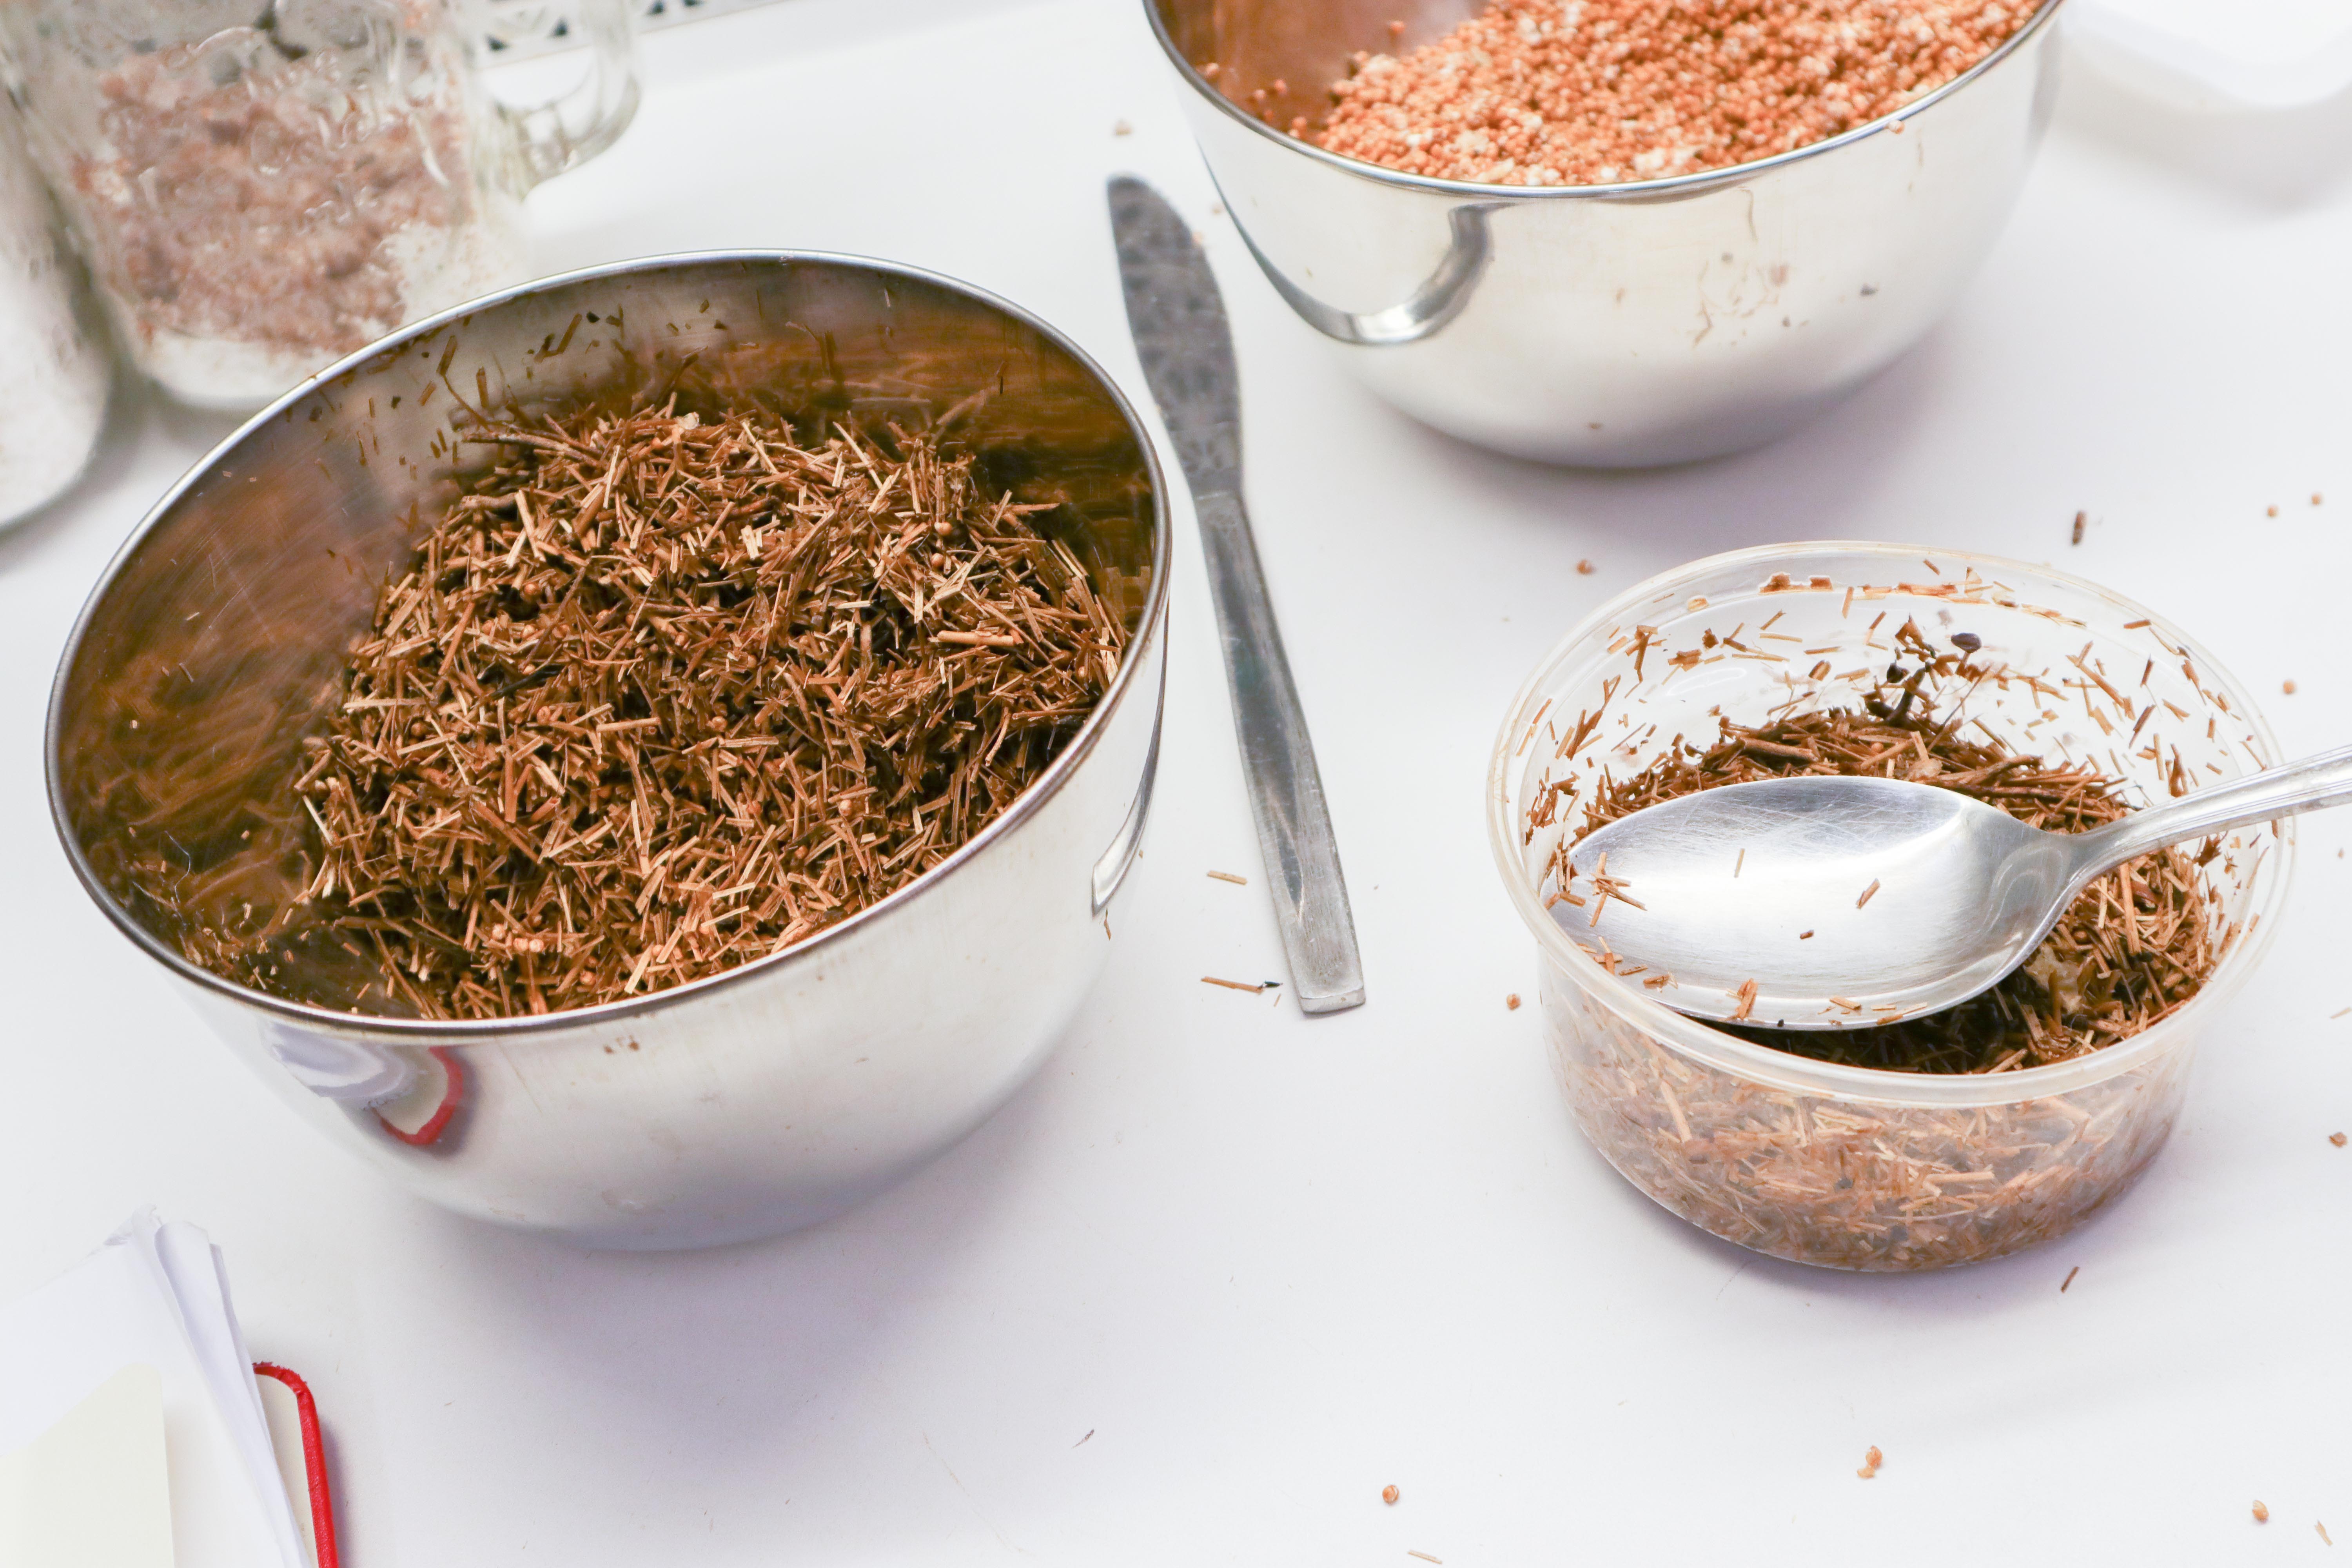
The other half can now be blended with water. I did this for 10 minutes. The result wasn’t completely blended as you can see. With a different blender or by blending for a longer time, this could be improved.
Here you see the blended flax:
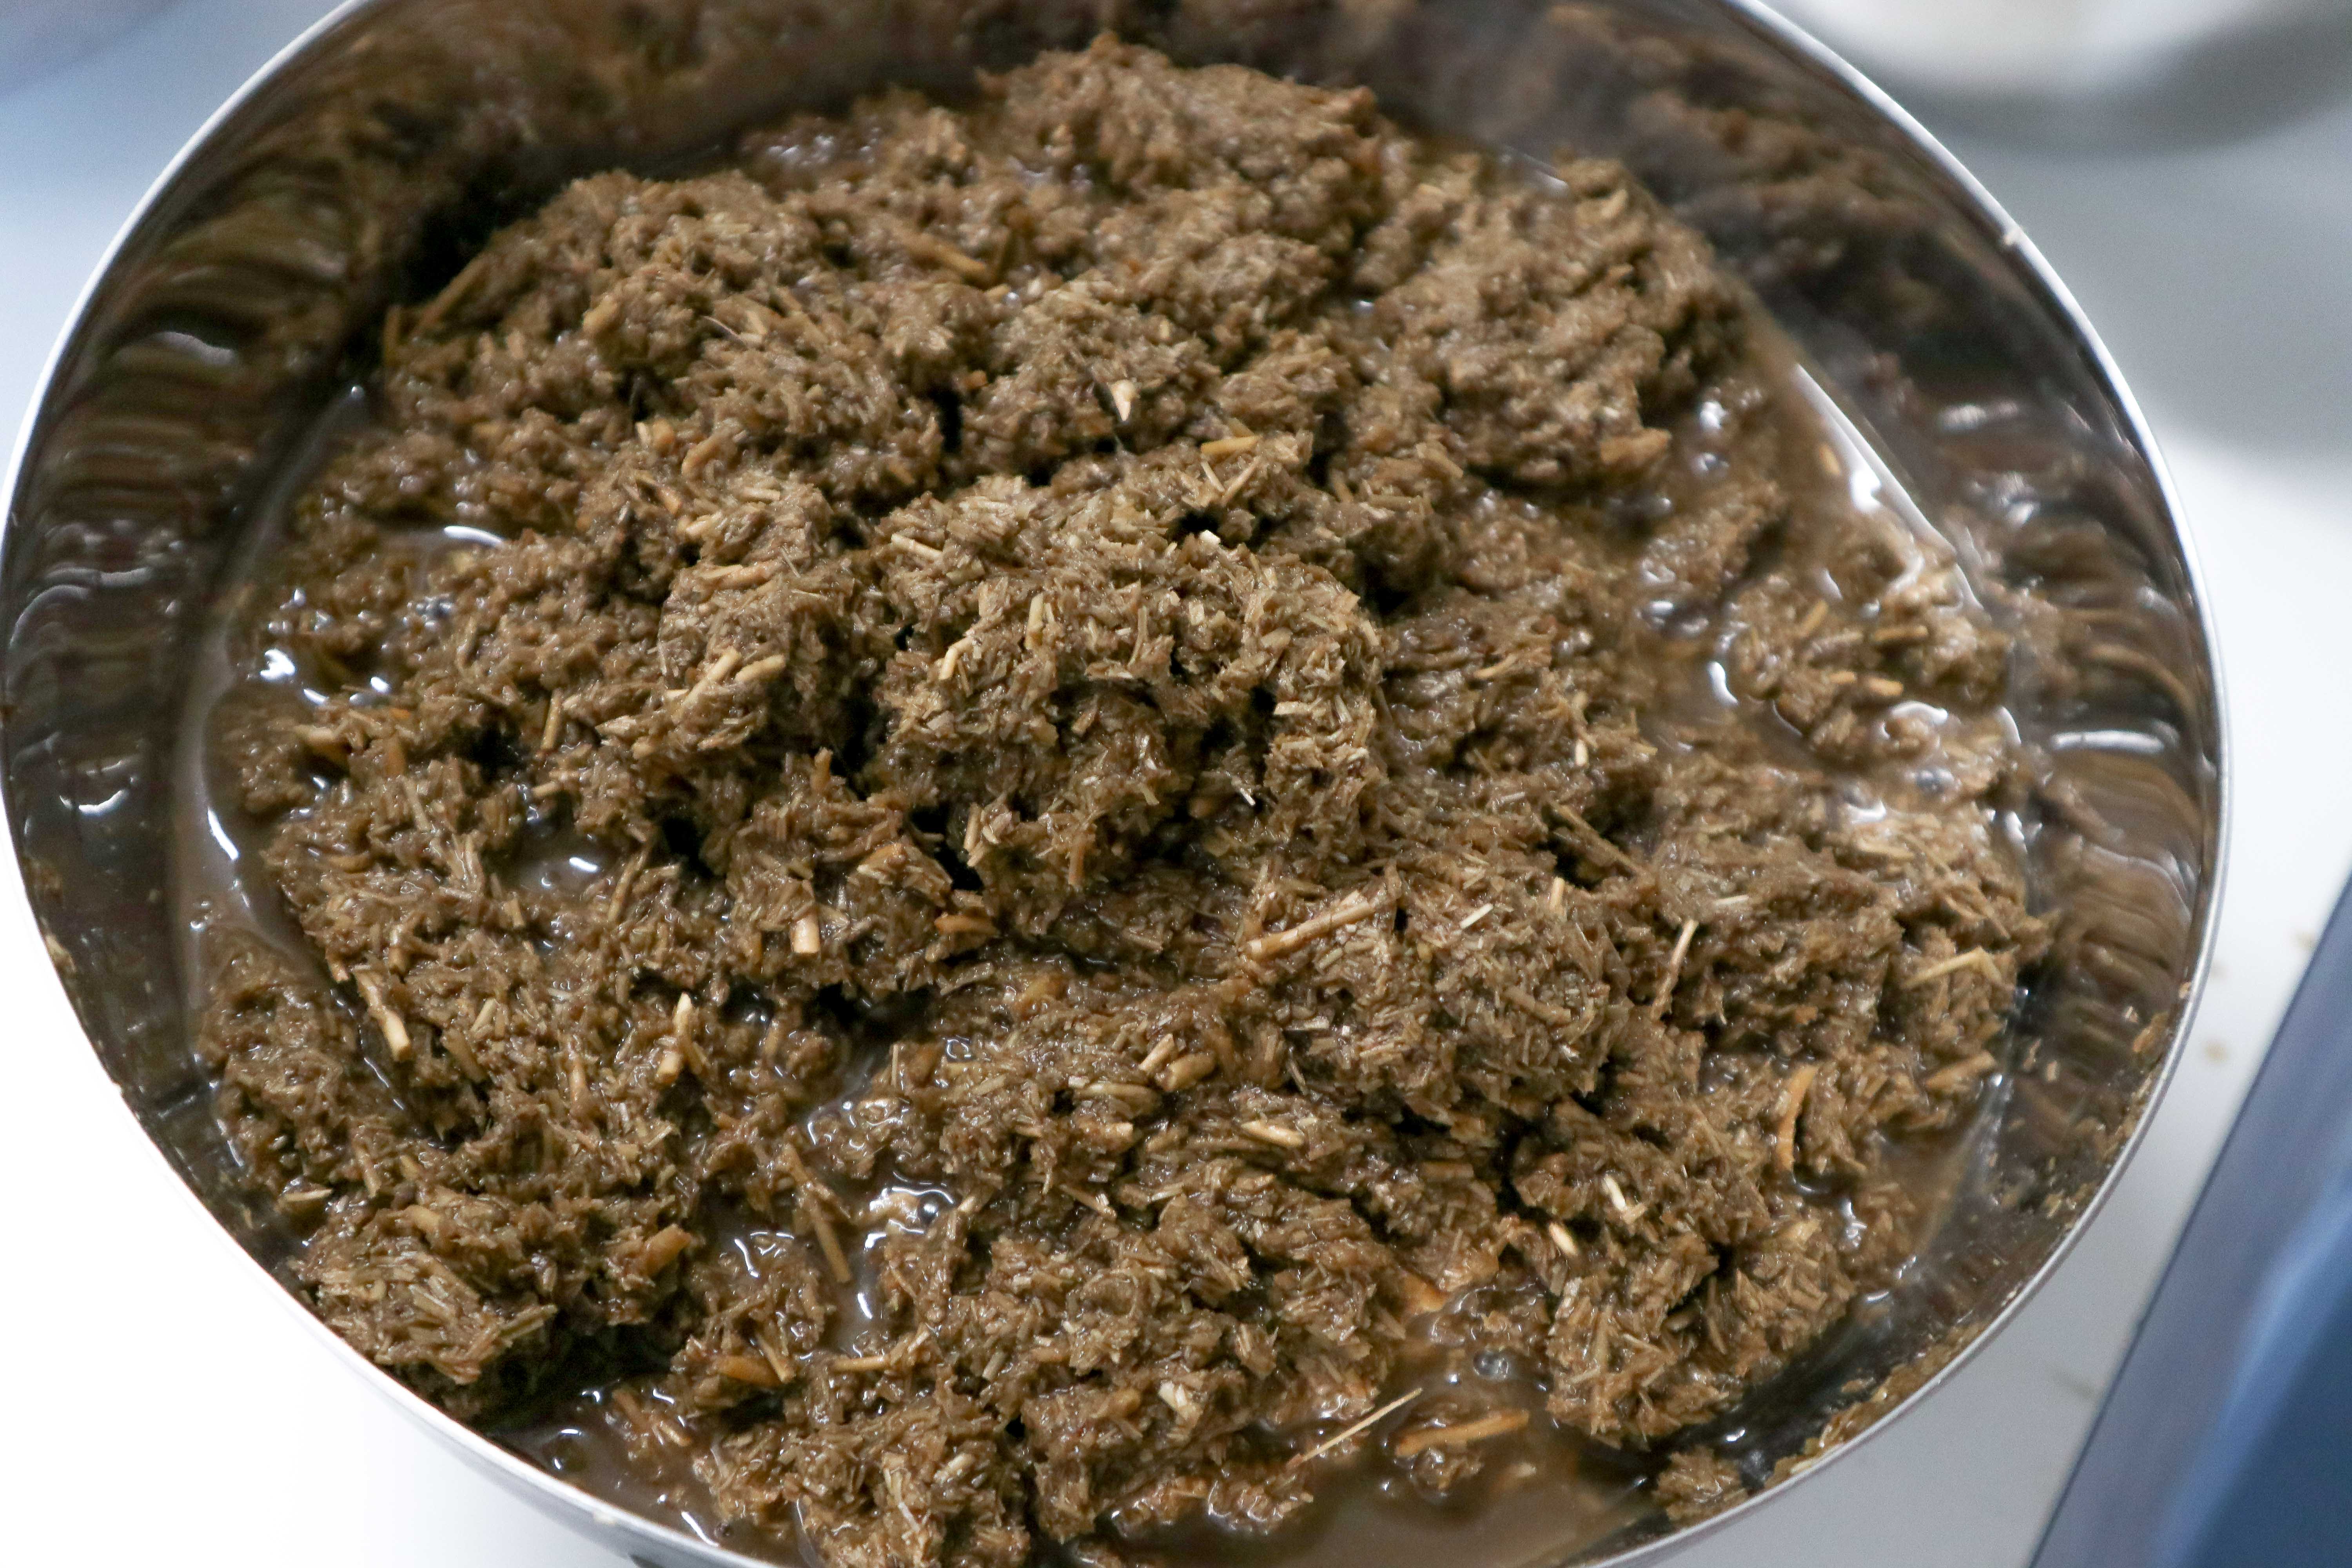
The portion of the mixture which blended well is, I believe, the part of the flax called the hurds ( a.k.a shrives). The “sticks” you can see which did not blend as well are another part of the flax plant.
I think this mix of very short fibres and the stronger, larger “sticks” could give better strength properties for the resulting material than if the flax waste was thoroughly blended.
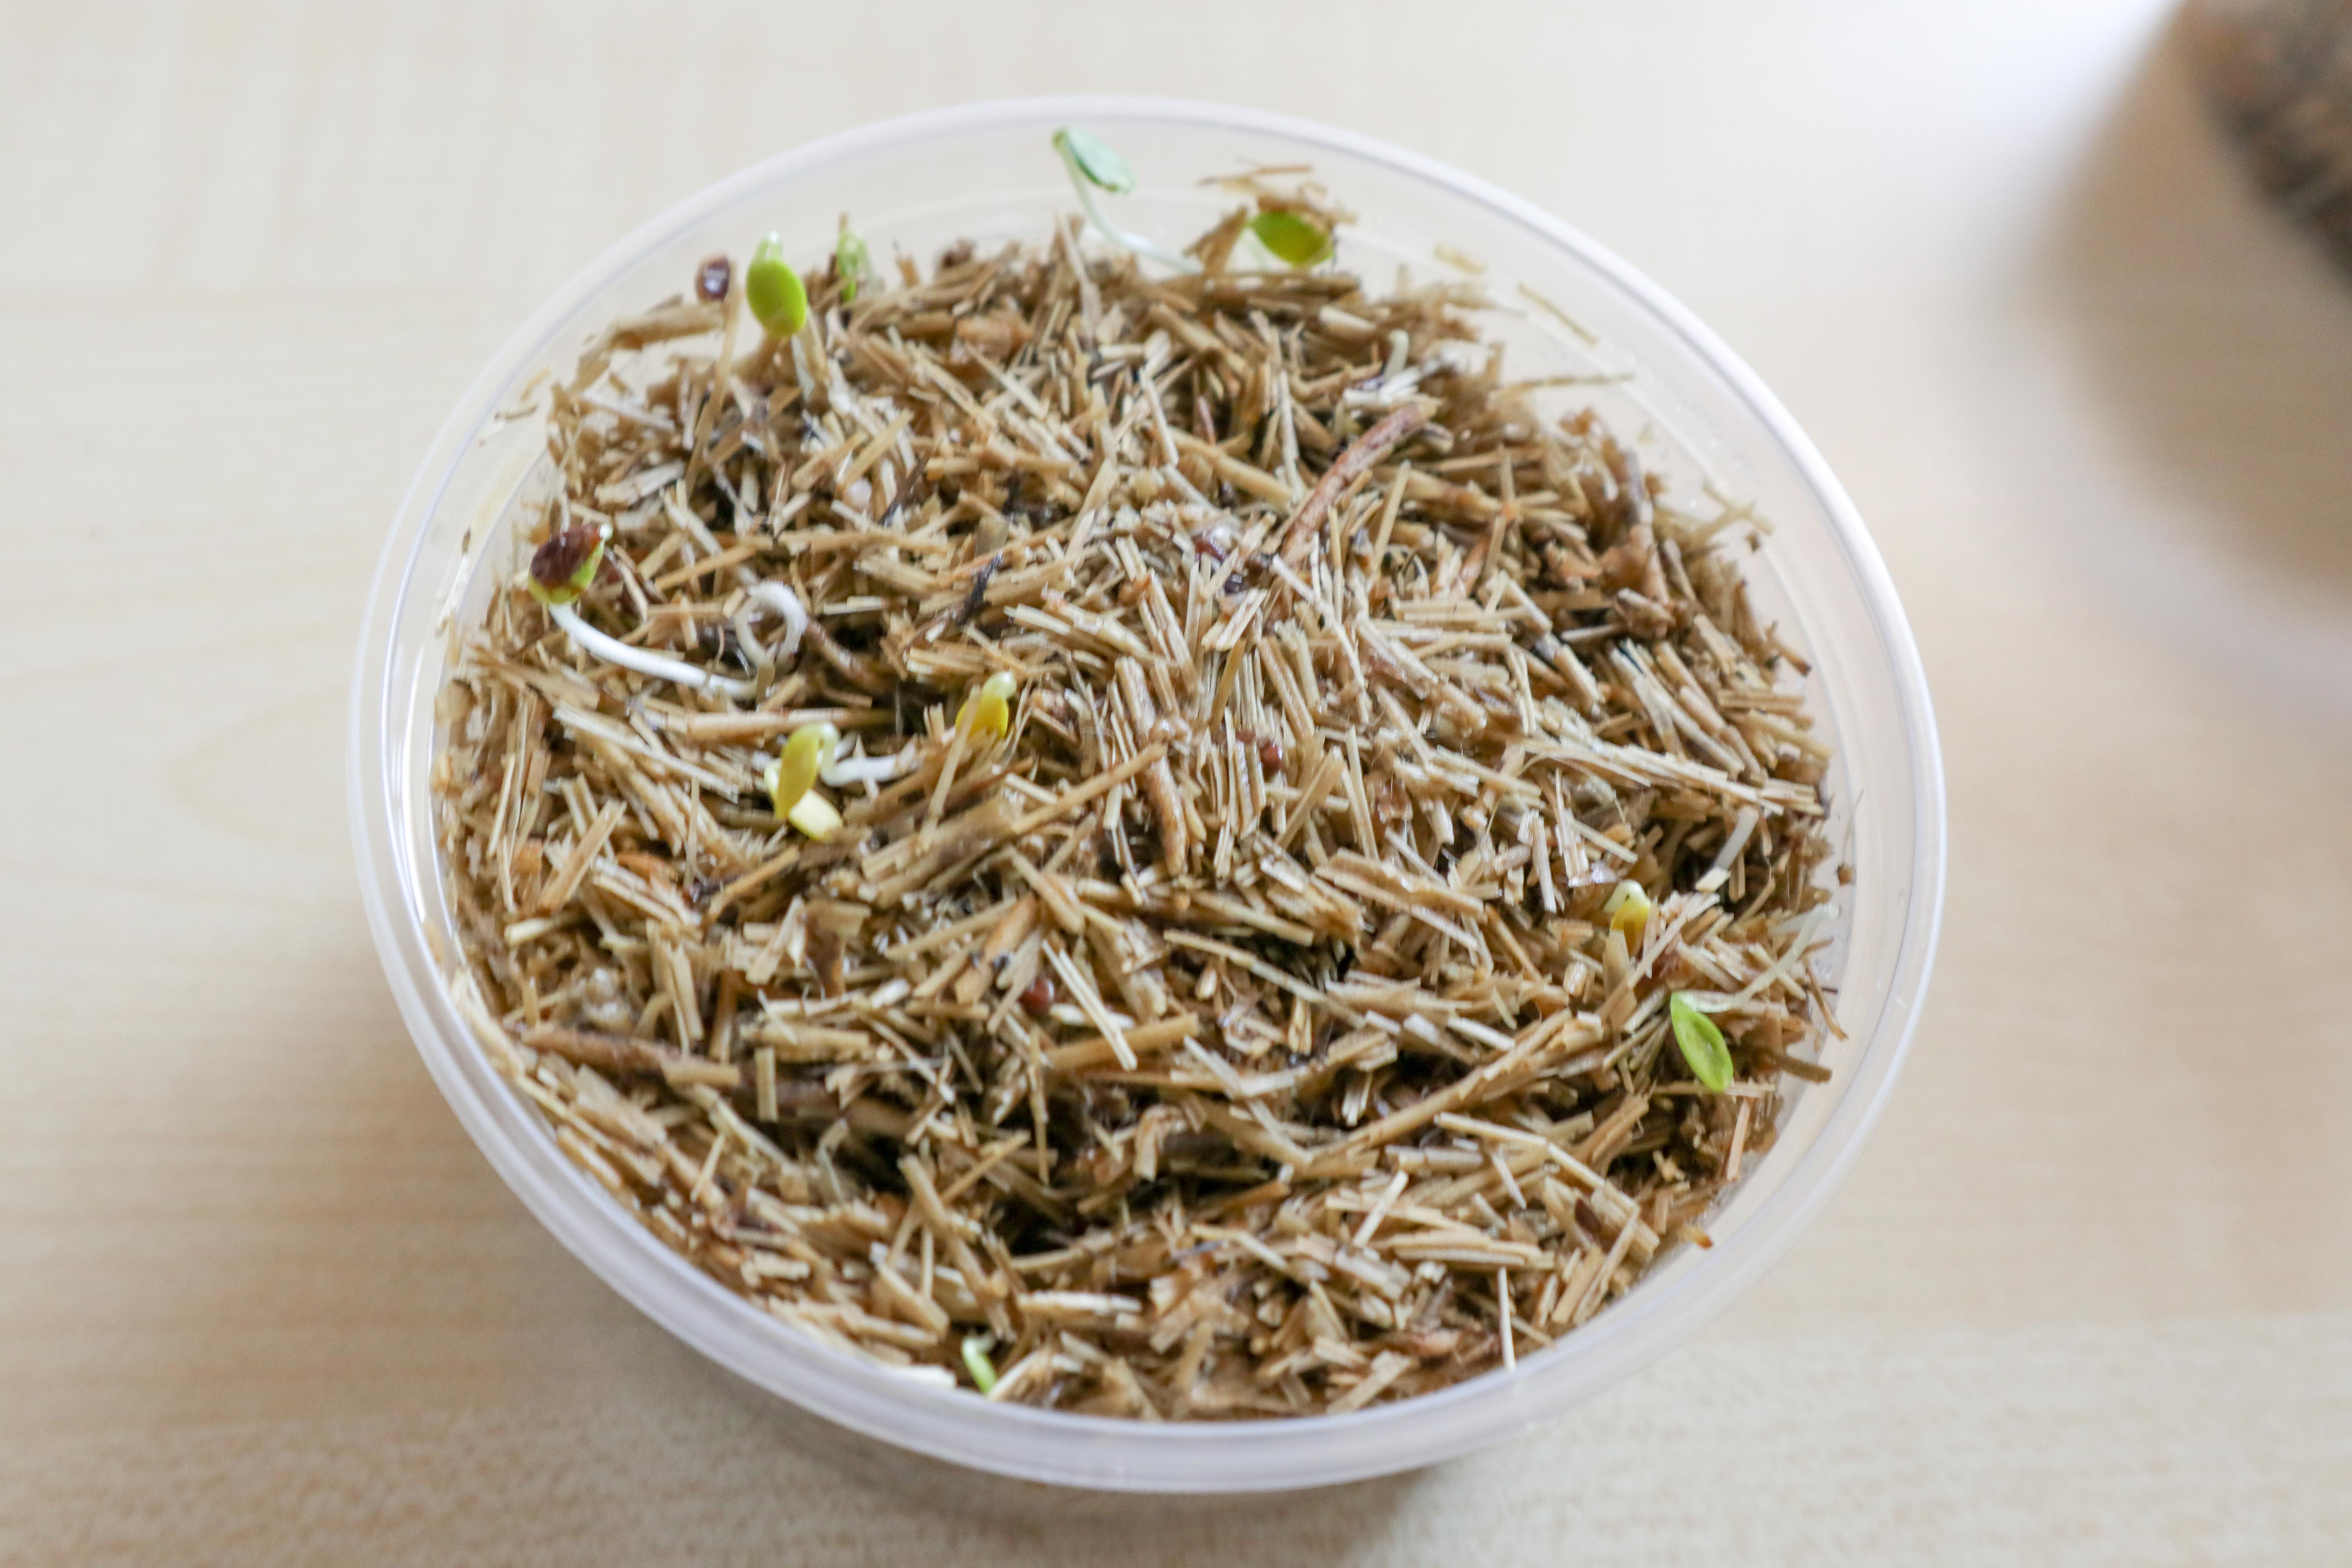
Interestingly, there were also flax seeds in the waste which germinated after soaking.
Next, the blended flax must also be dried. To speed this process up, I first used a sieve to separate the standing water.
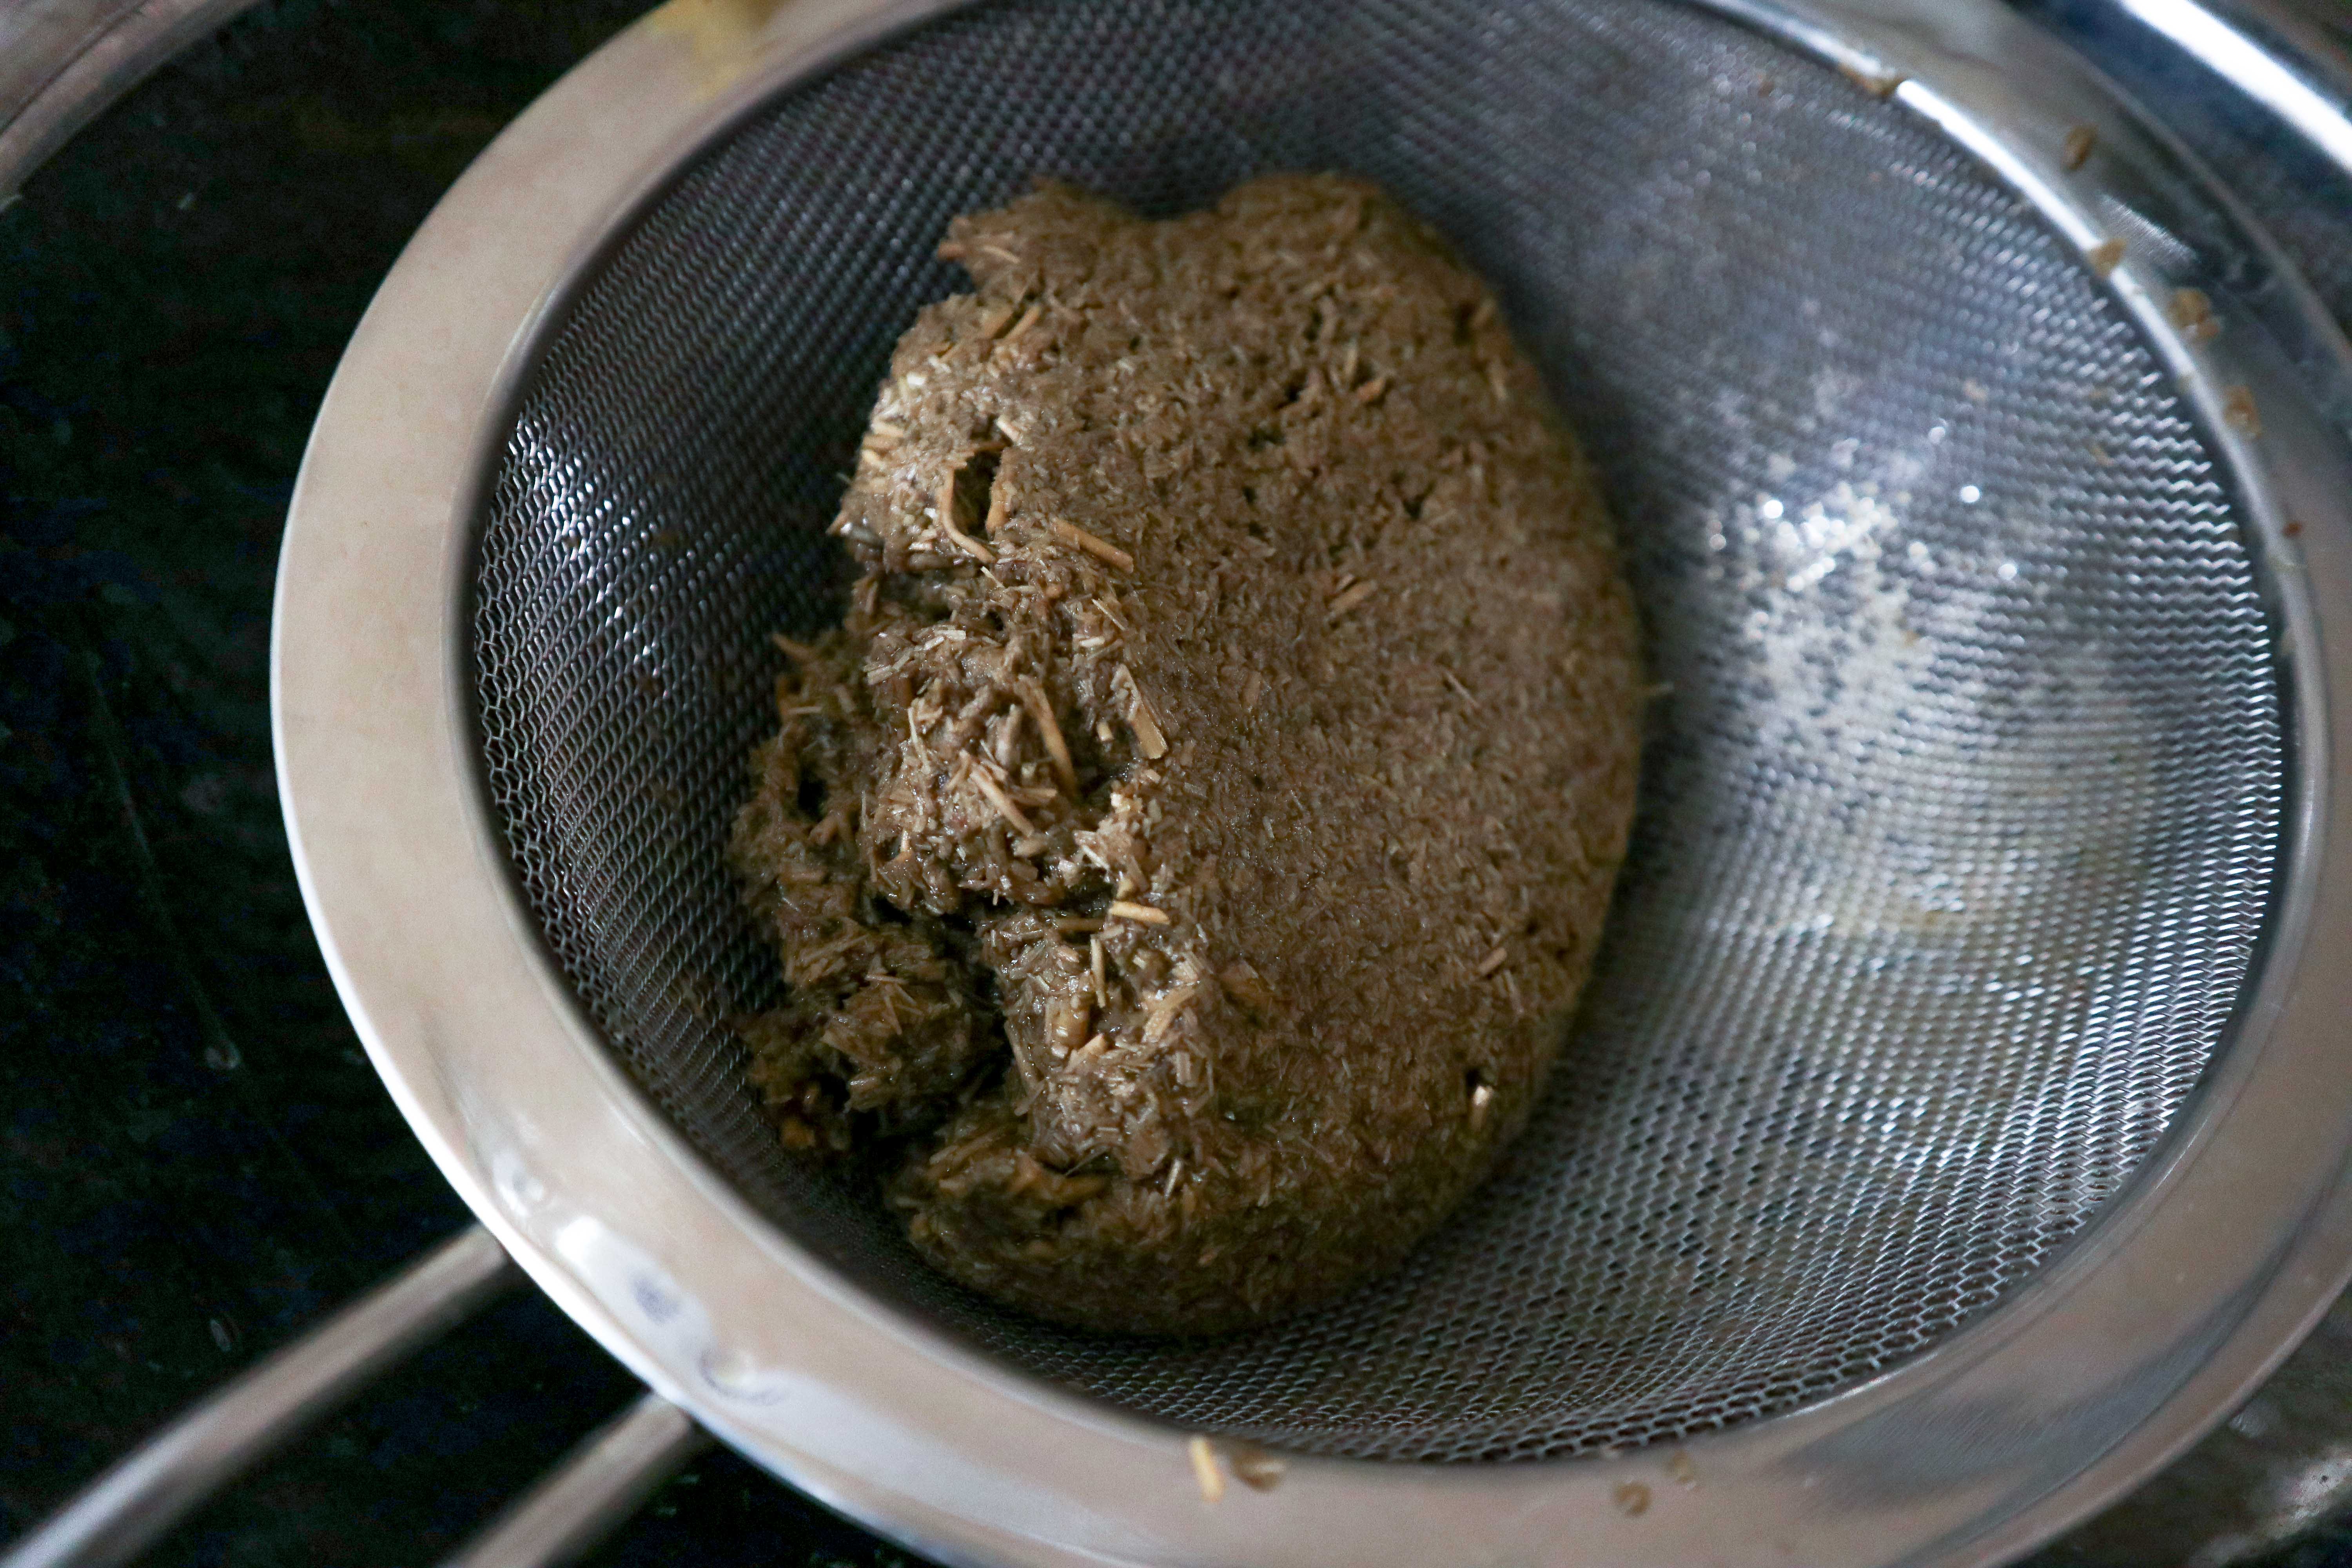
Then I used an old t-shirt to squeeze out much of the remaining moisture.
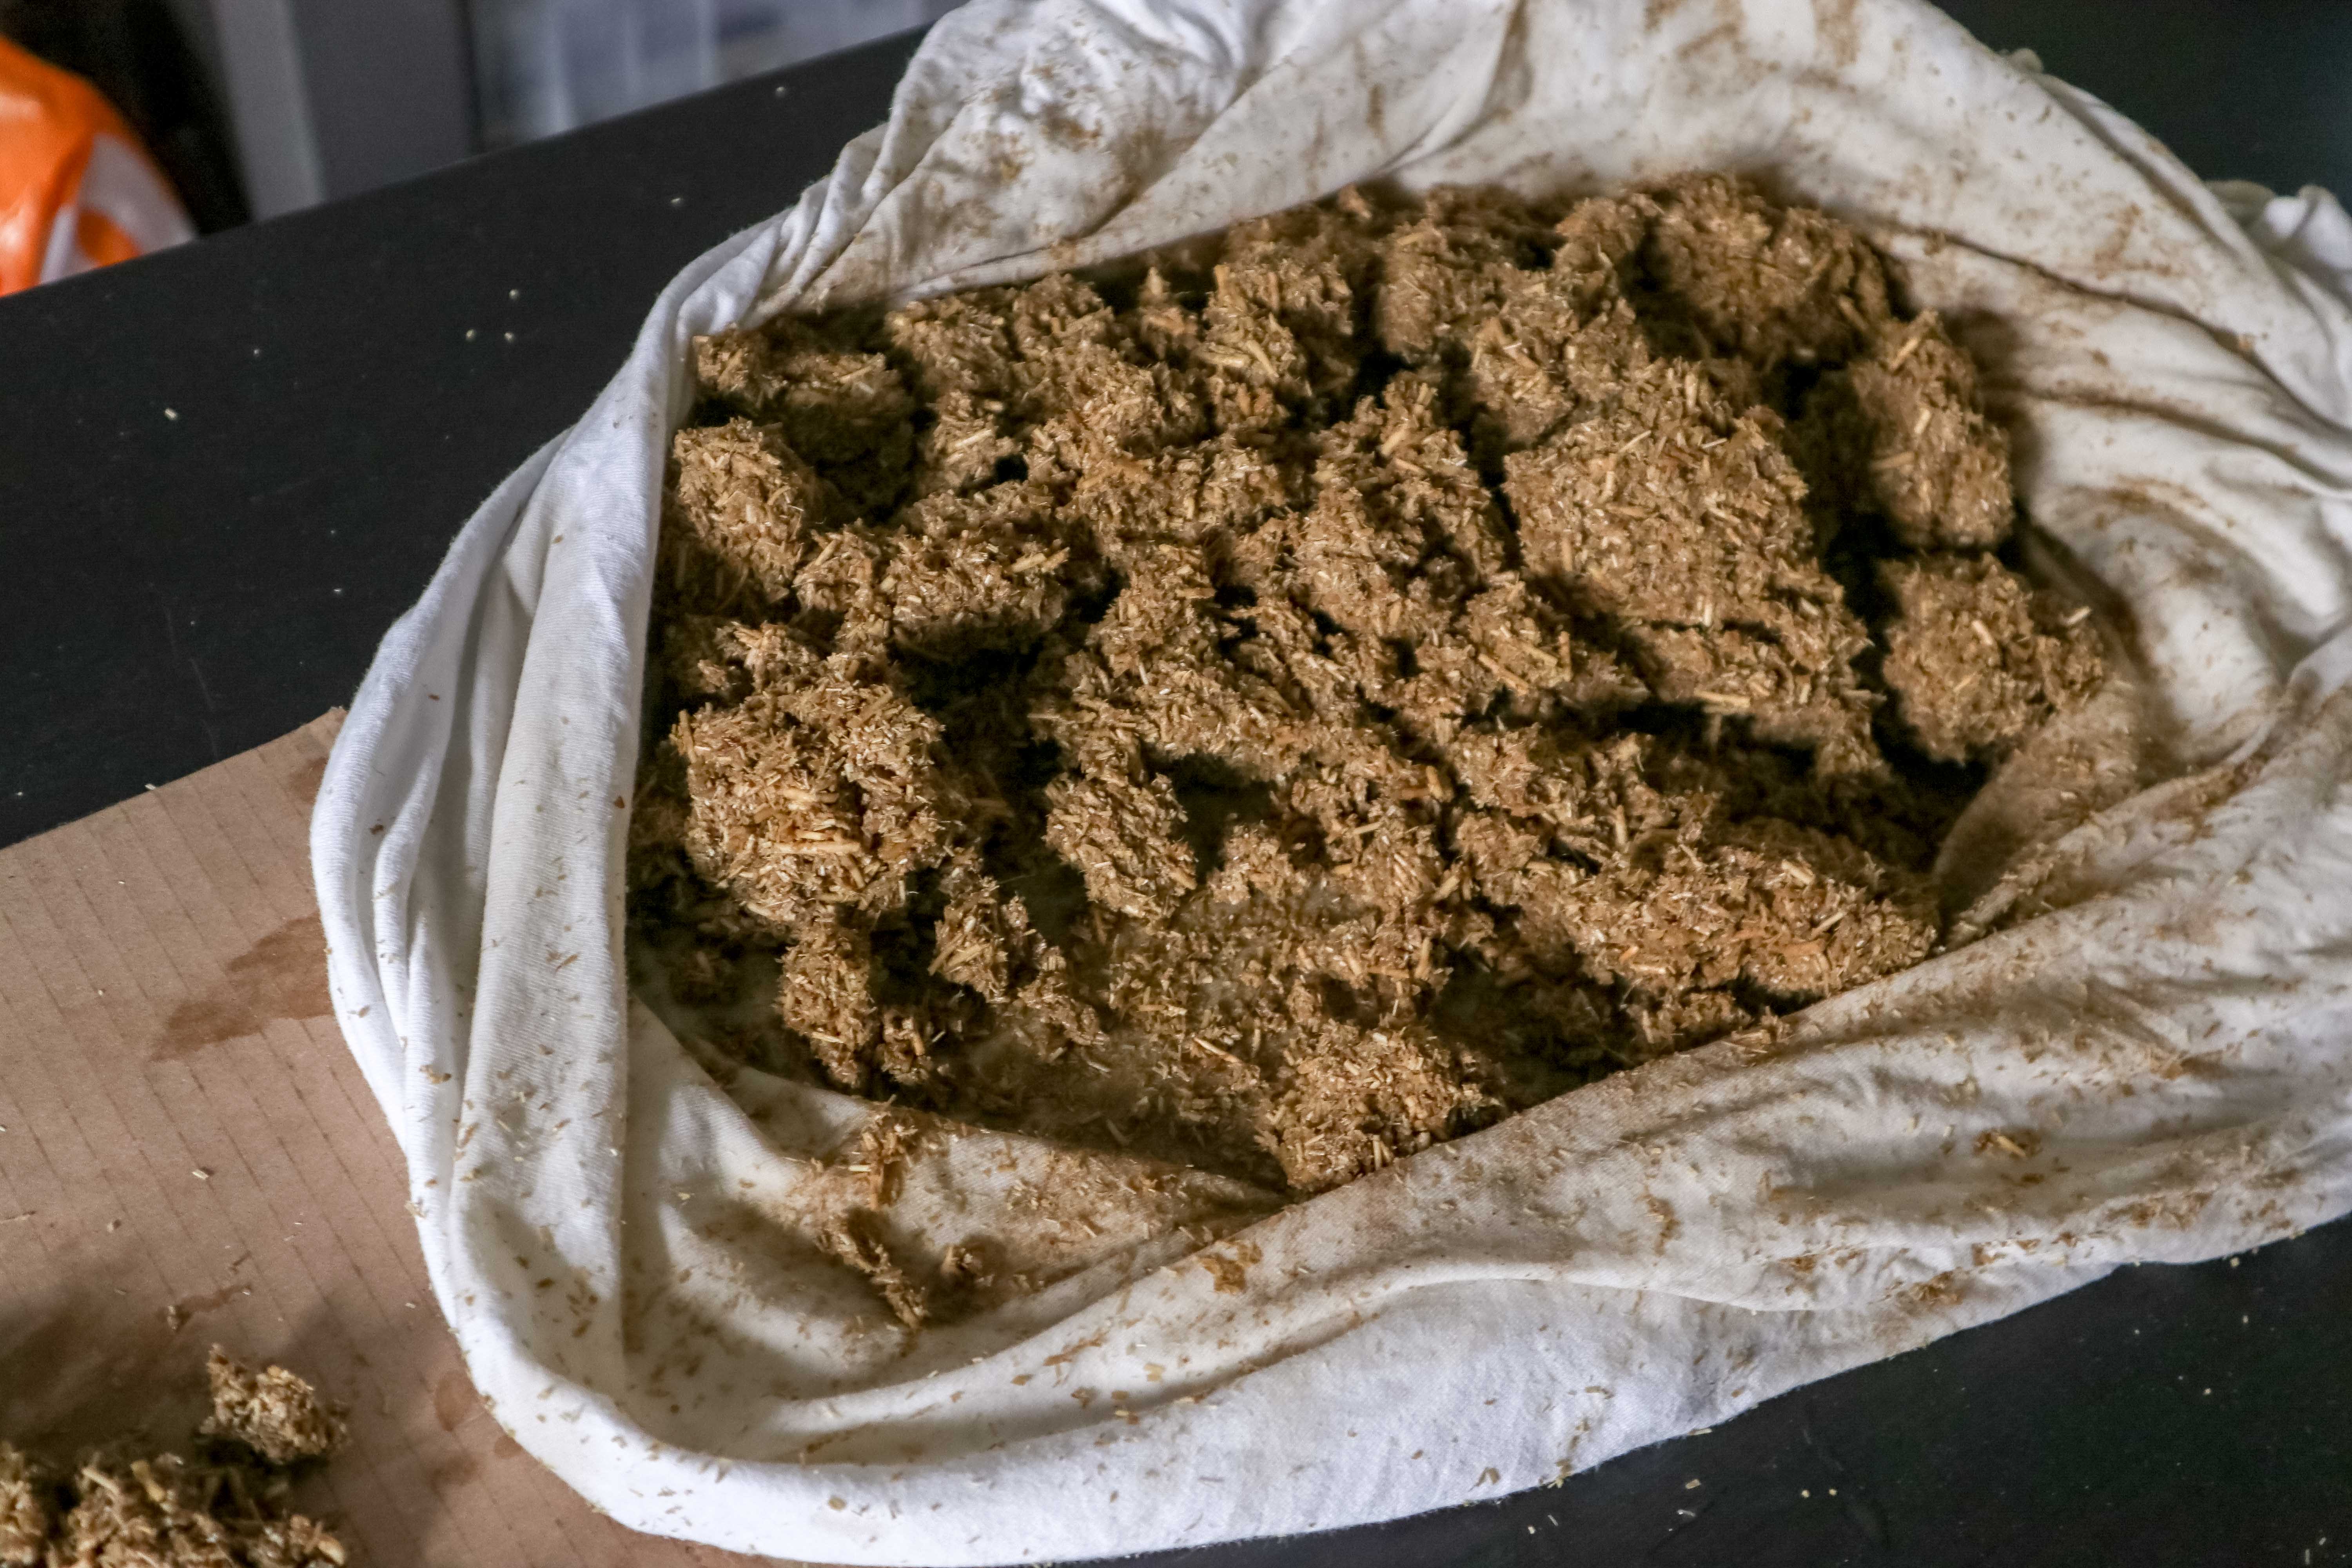
Then It was laid out to dry just like the unblended flax:
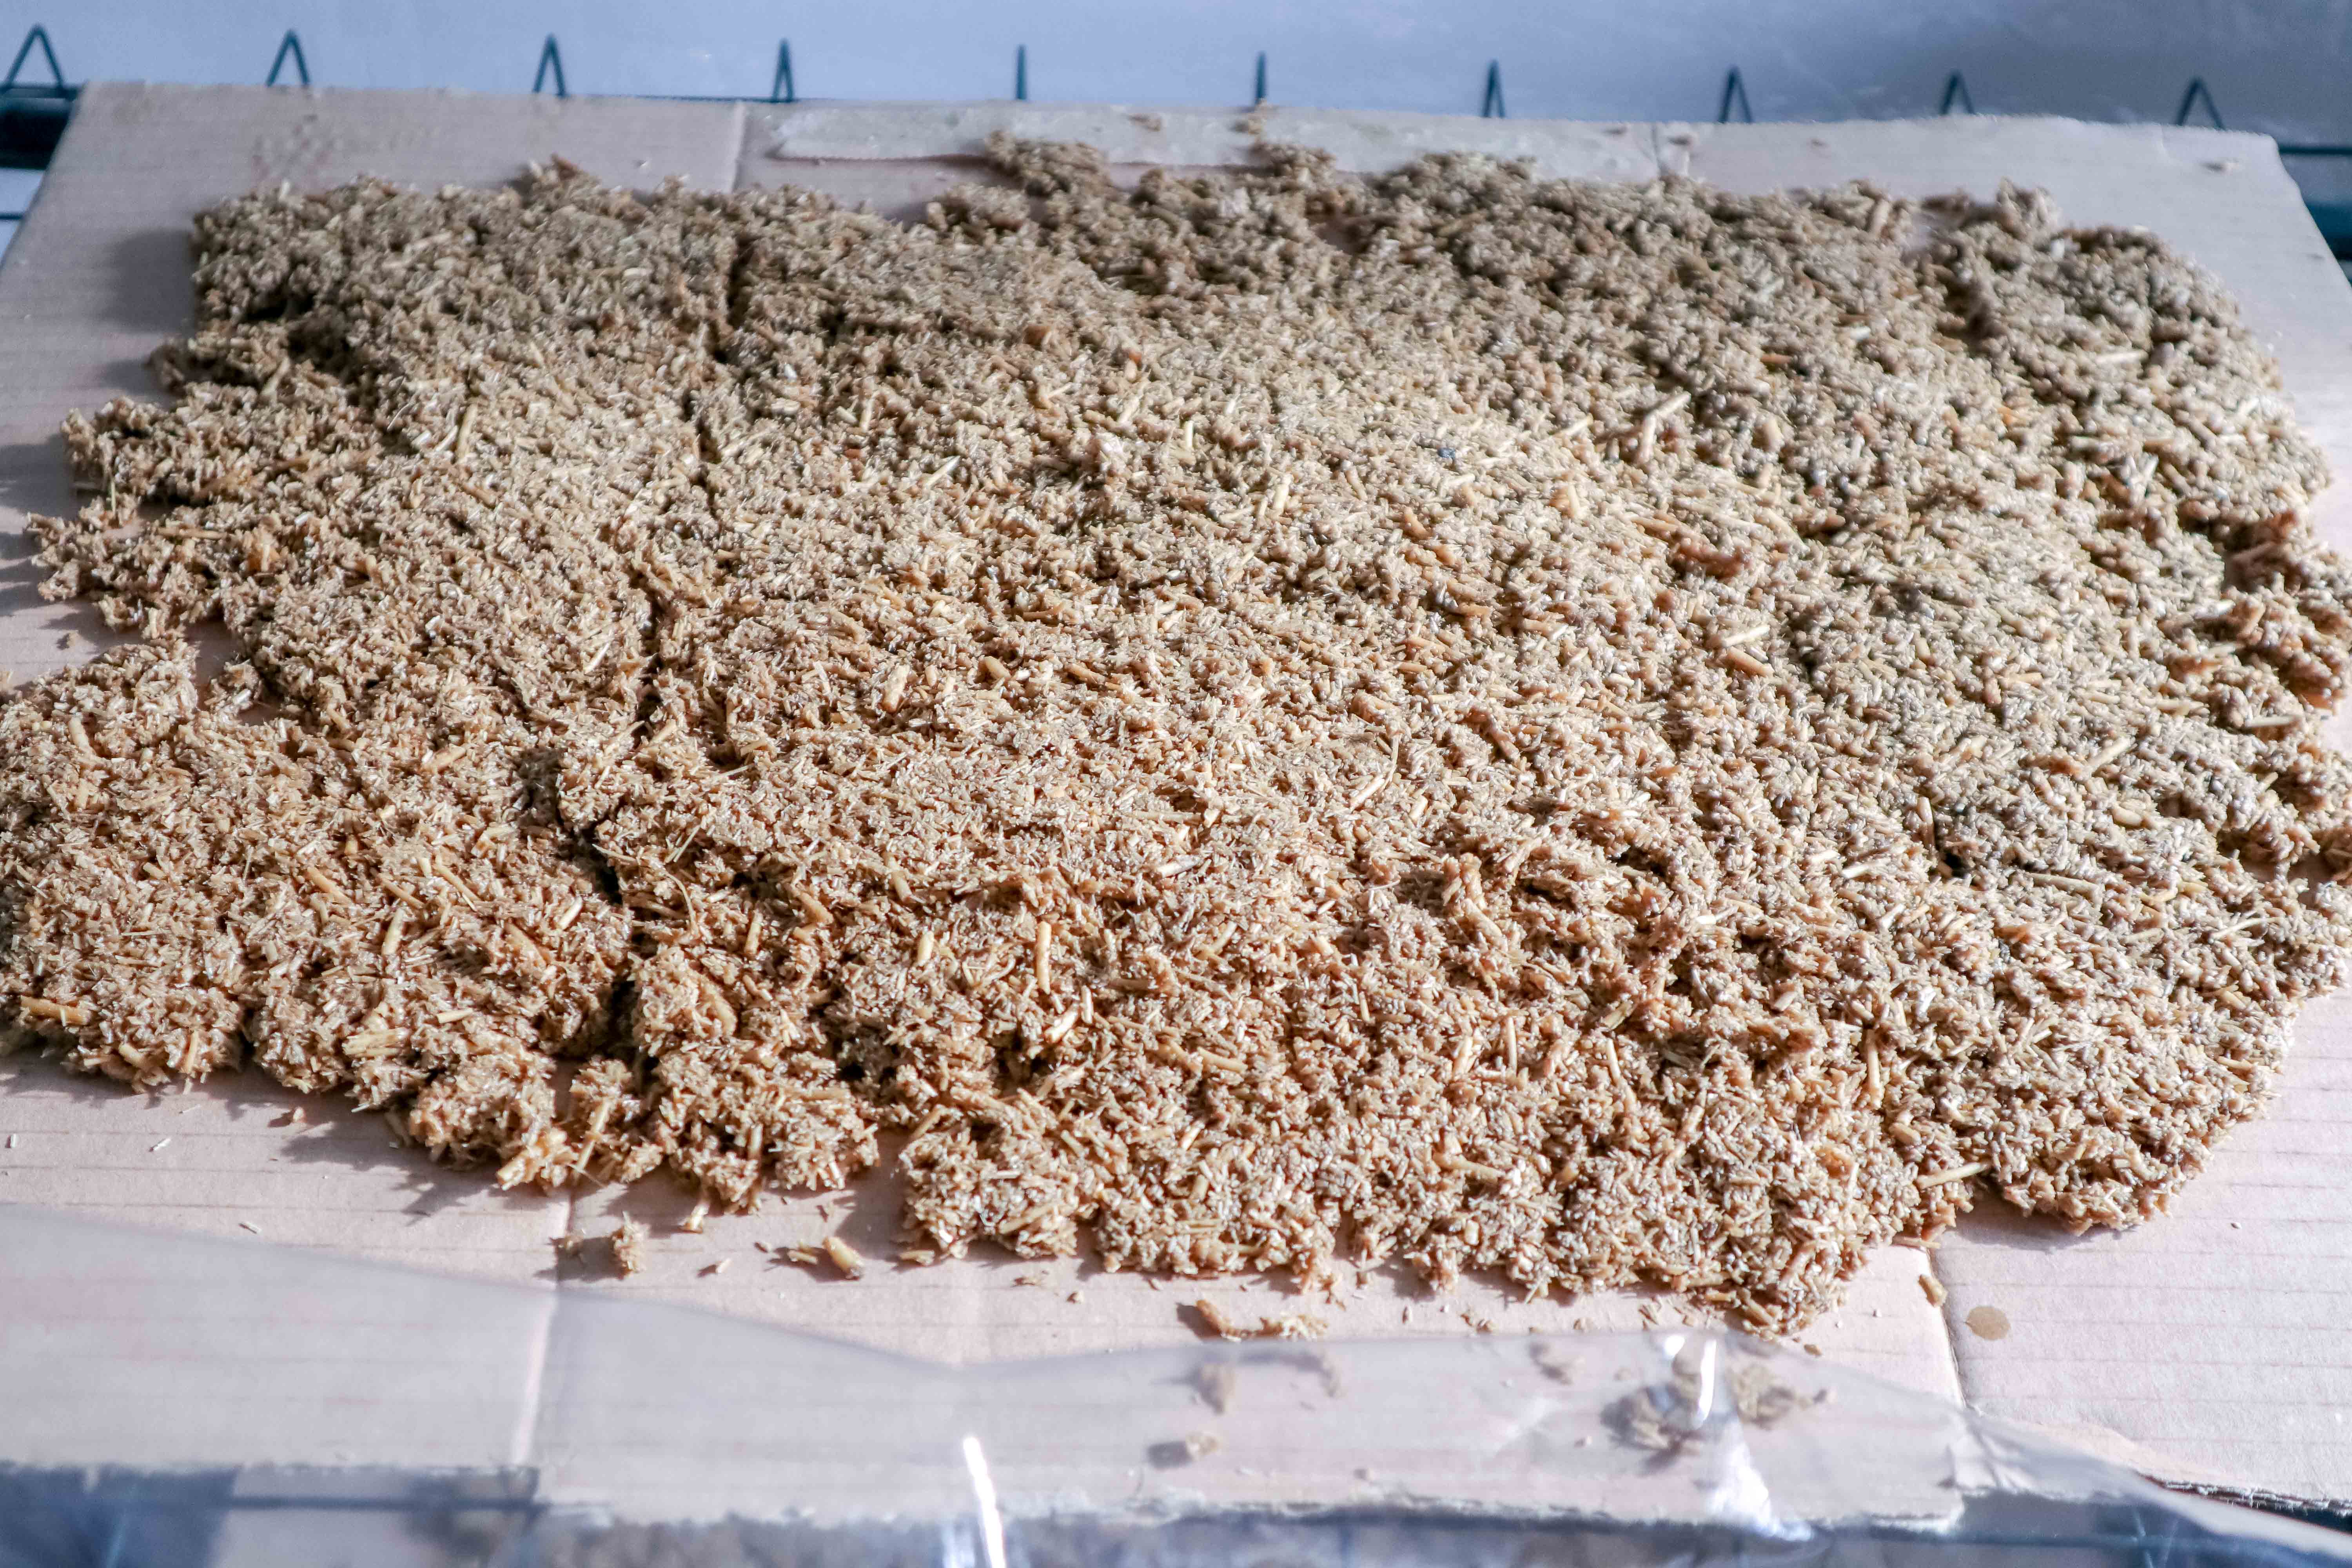
Now, both the blended and raw flax waste are ready to be packed into the polypropylene molds. I chose thin walled polypropylene containers because PP has good oxygen exchange properties.
The polypropylene containers can also withstand autoclaving temperatures for sterilisation.
The final preparatory step is to sterilize the flax. I used a pressure cooker for 35 minutes to do this.
Inoculating and packing the molds
Supplies
Scales
Colonized grain spawn
Spoon to compress flax/grain mixture into the molds
Bowl for breaking up the grain spawn
Bowl for mixing flax with grain spawn
Clingfilm for AFC and AF tests
70% alcohol for cleaning any tools and surfaces
Flax (or another cellulose food source)
Molds (in this case 250ml PP fast food containers)
A laminar flow hood or some other sterile environment
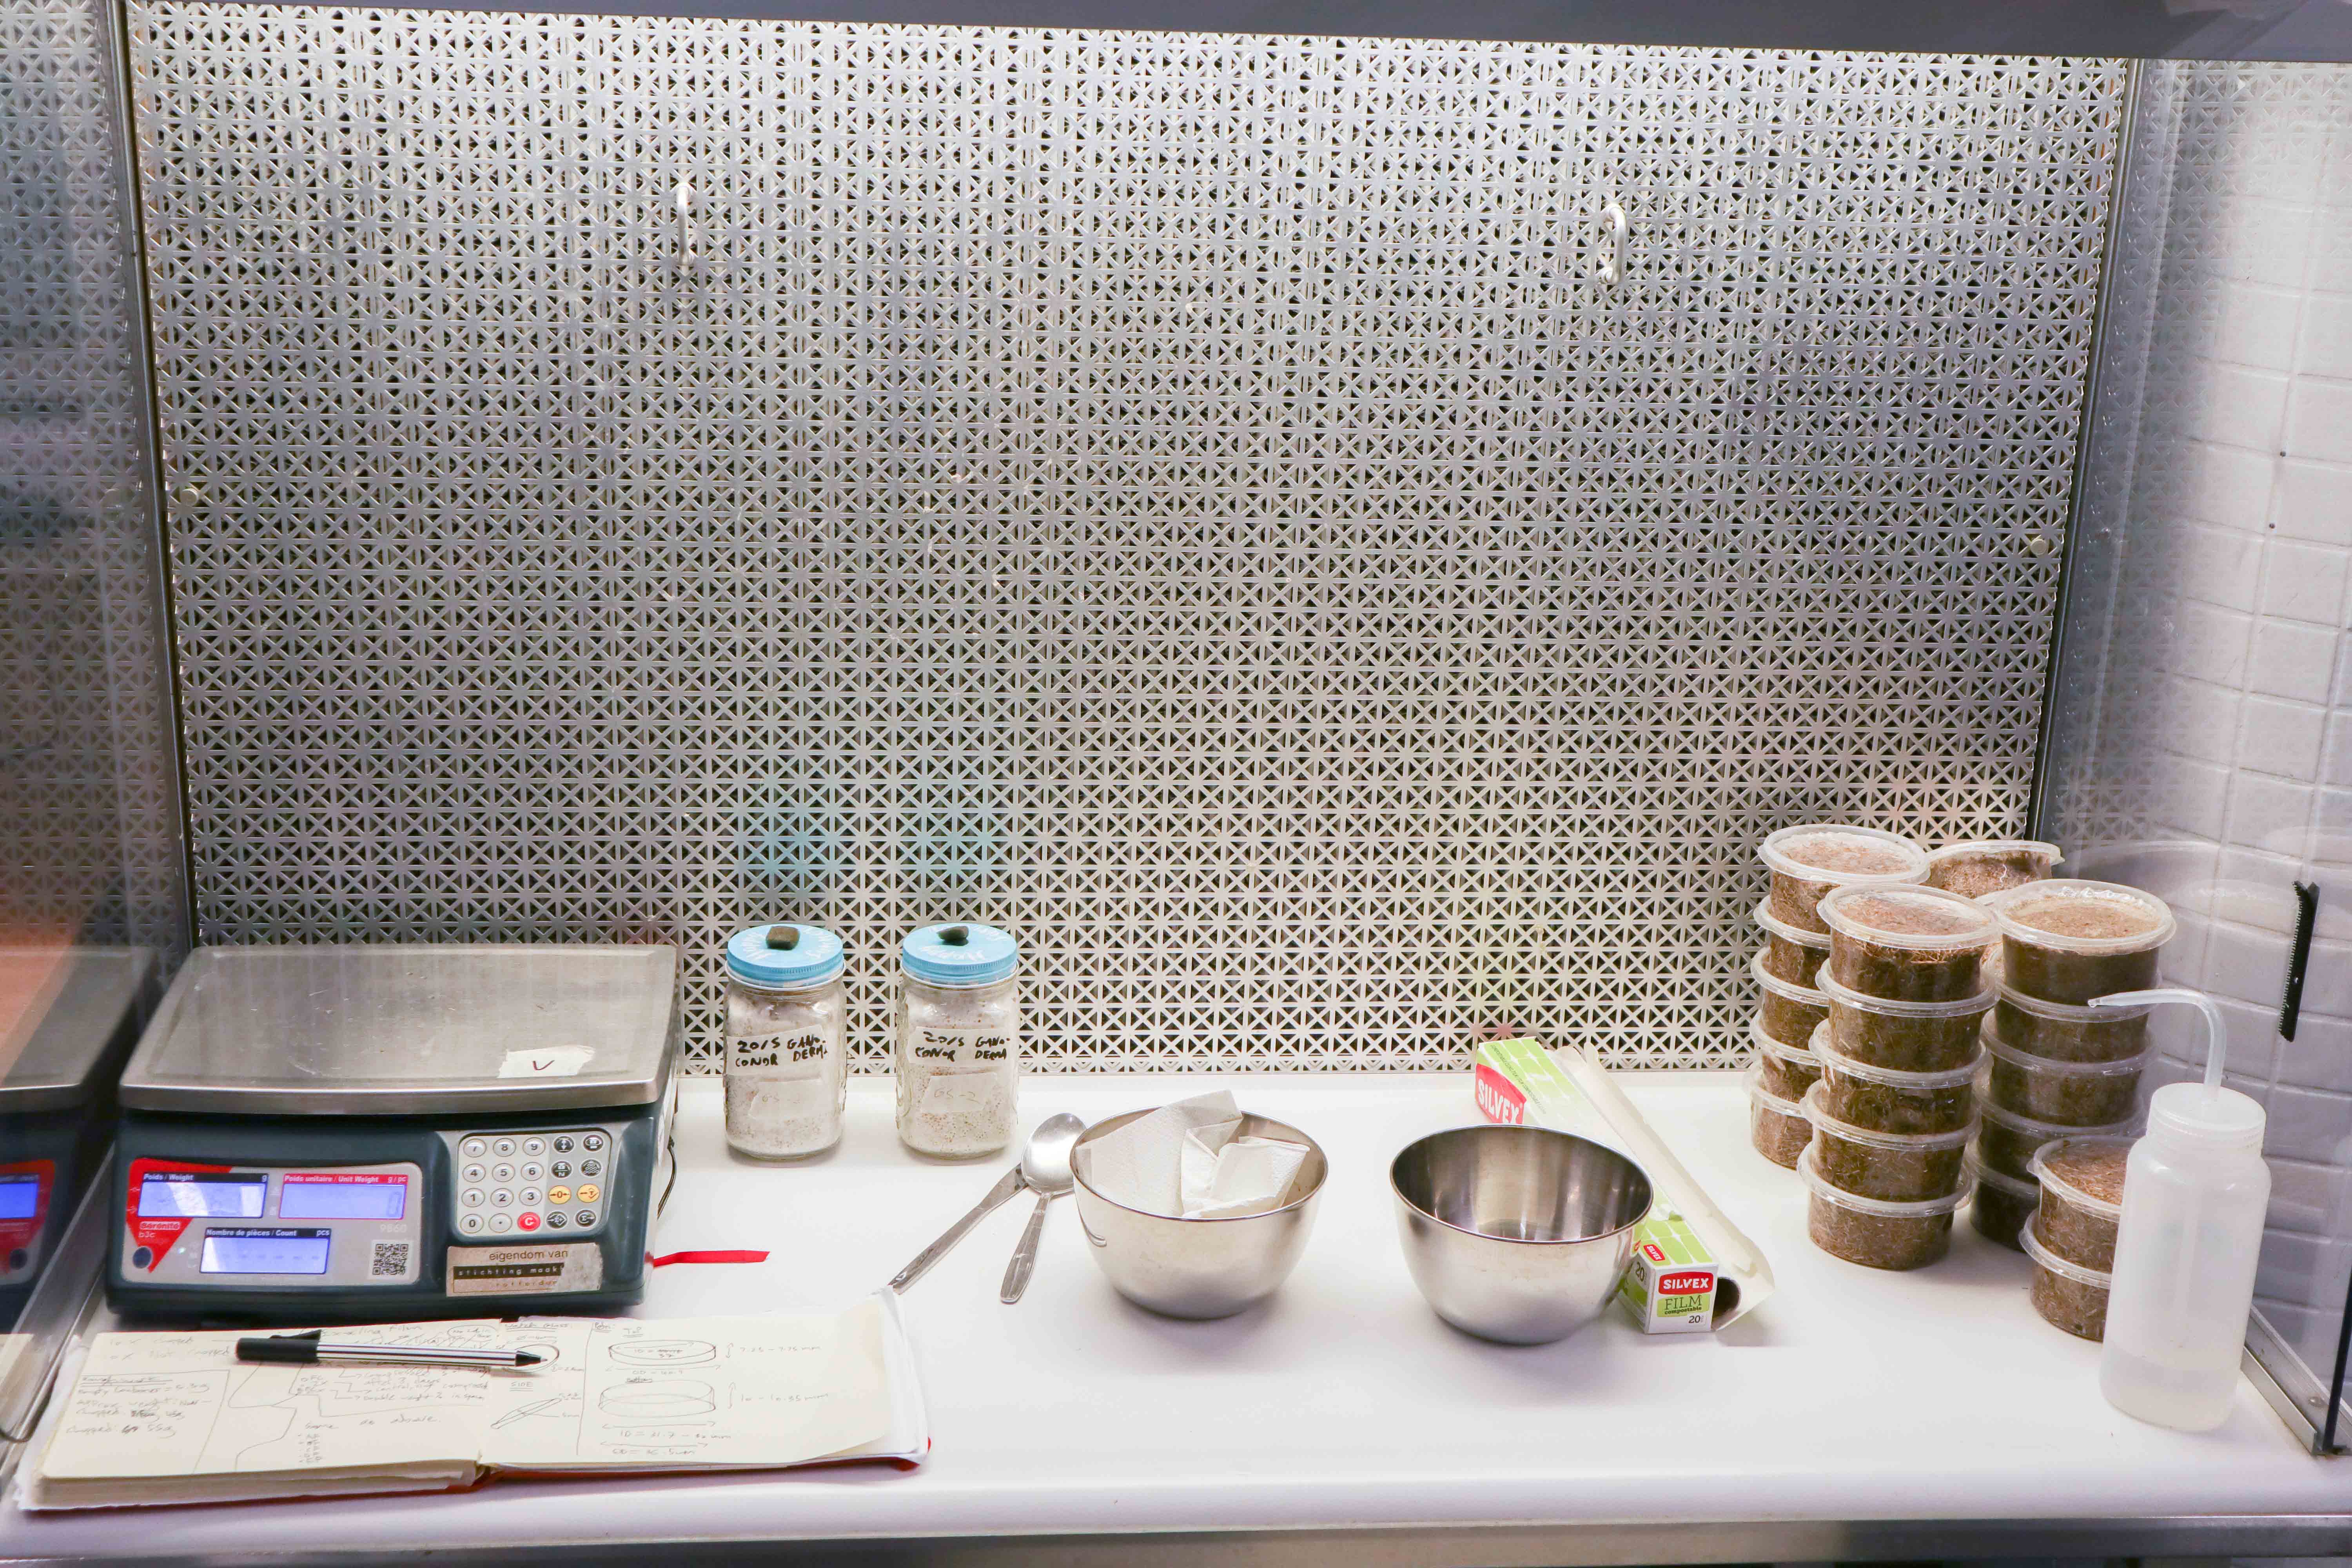
I added approx. 20% of the weight of the flax in grain spawn to each mold.
At the halfway point of filling each mold I compressed it with the back of the spoon.
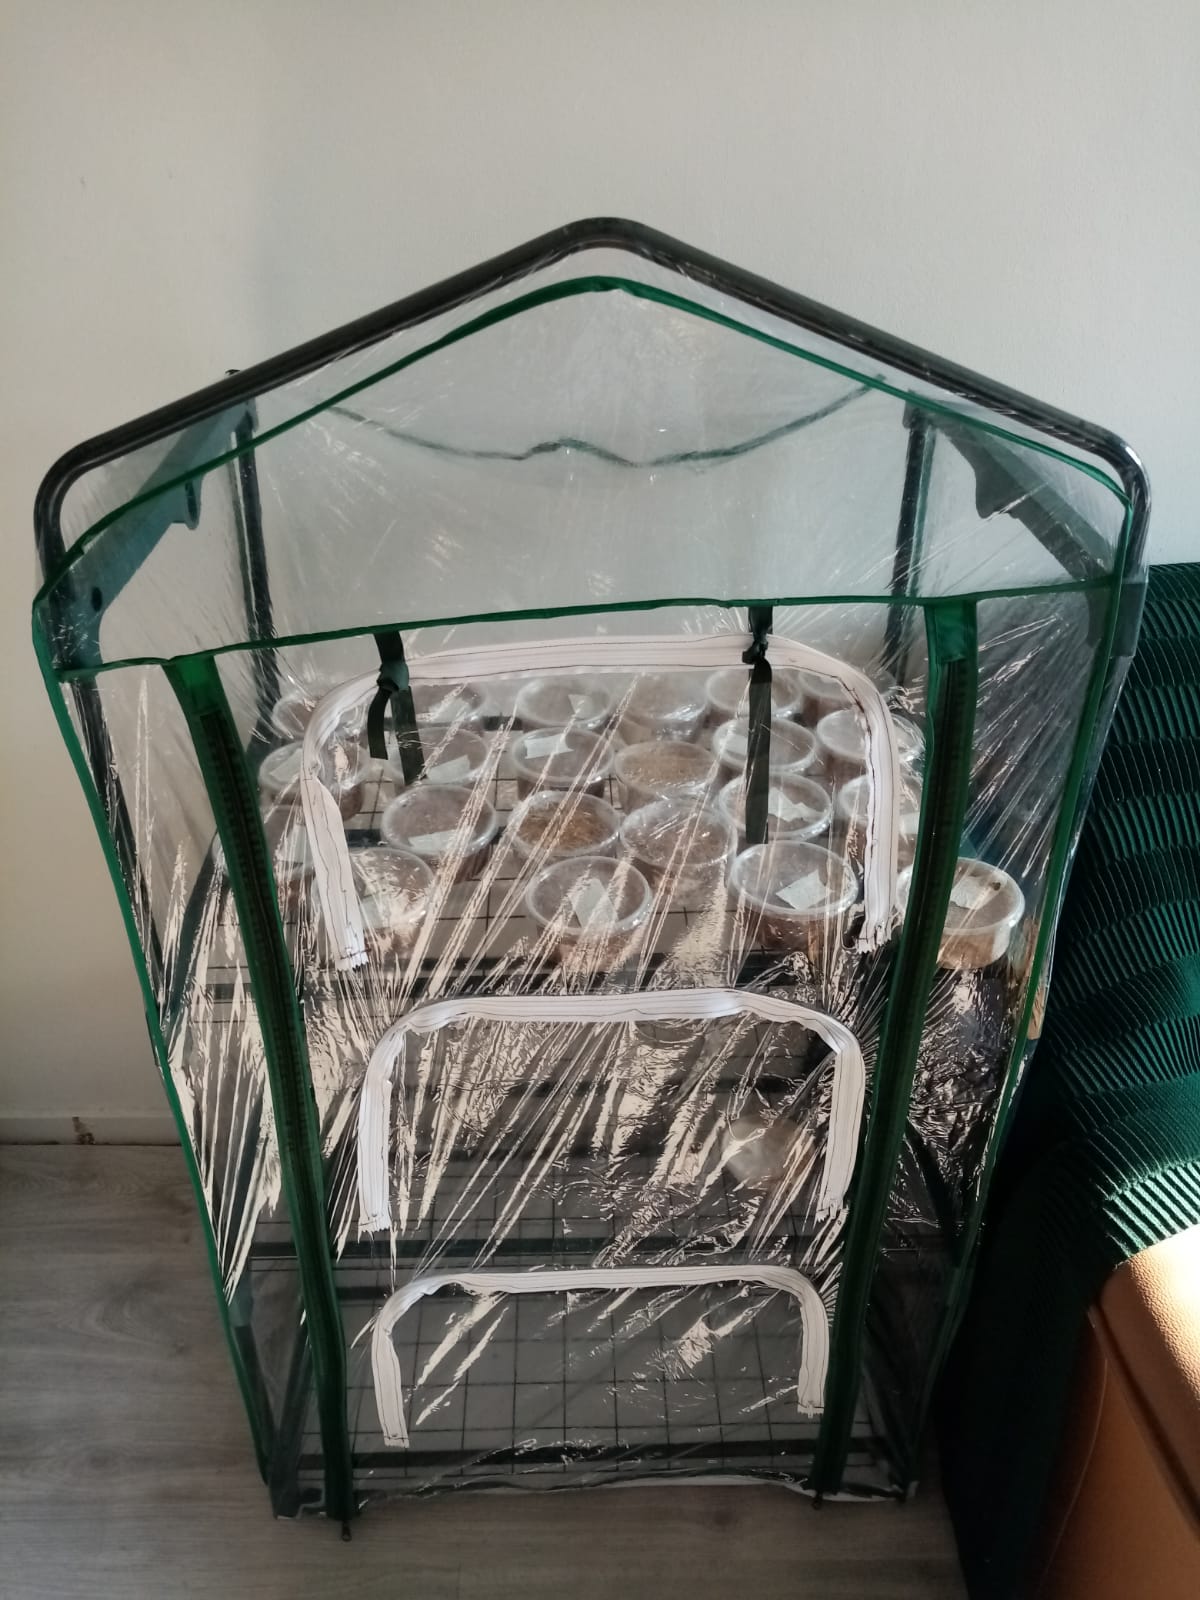
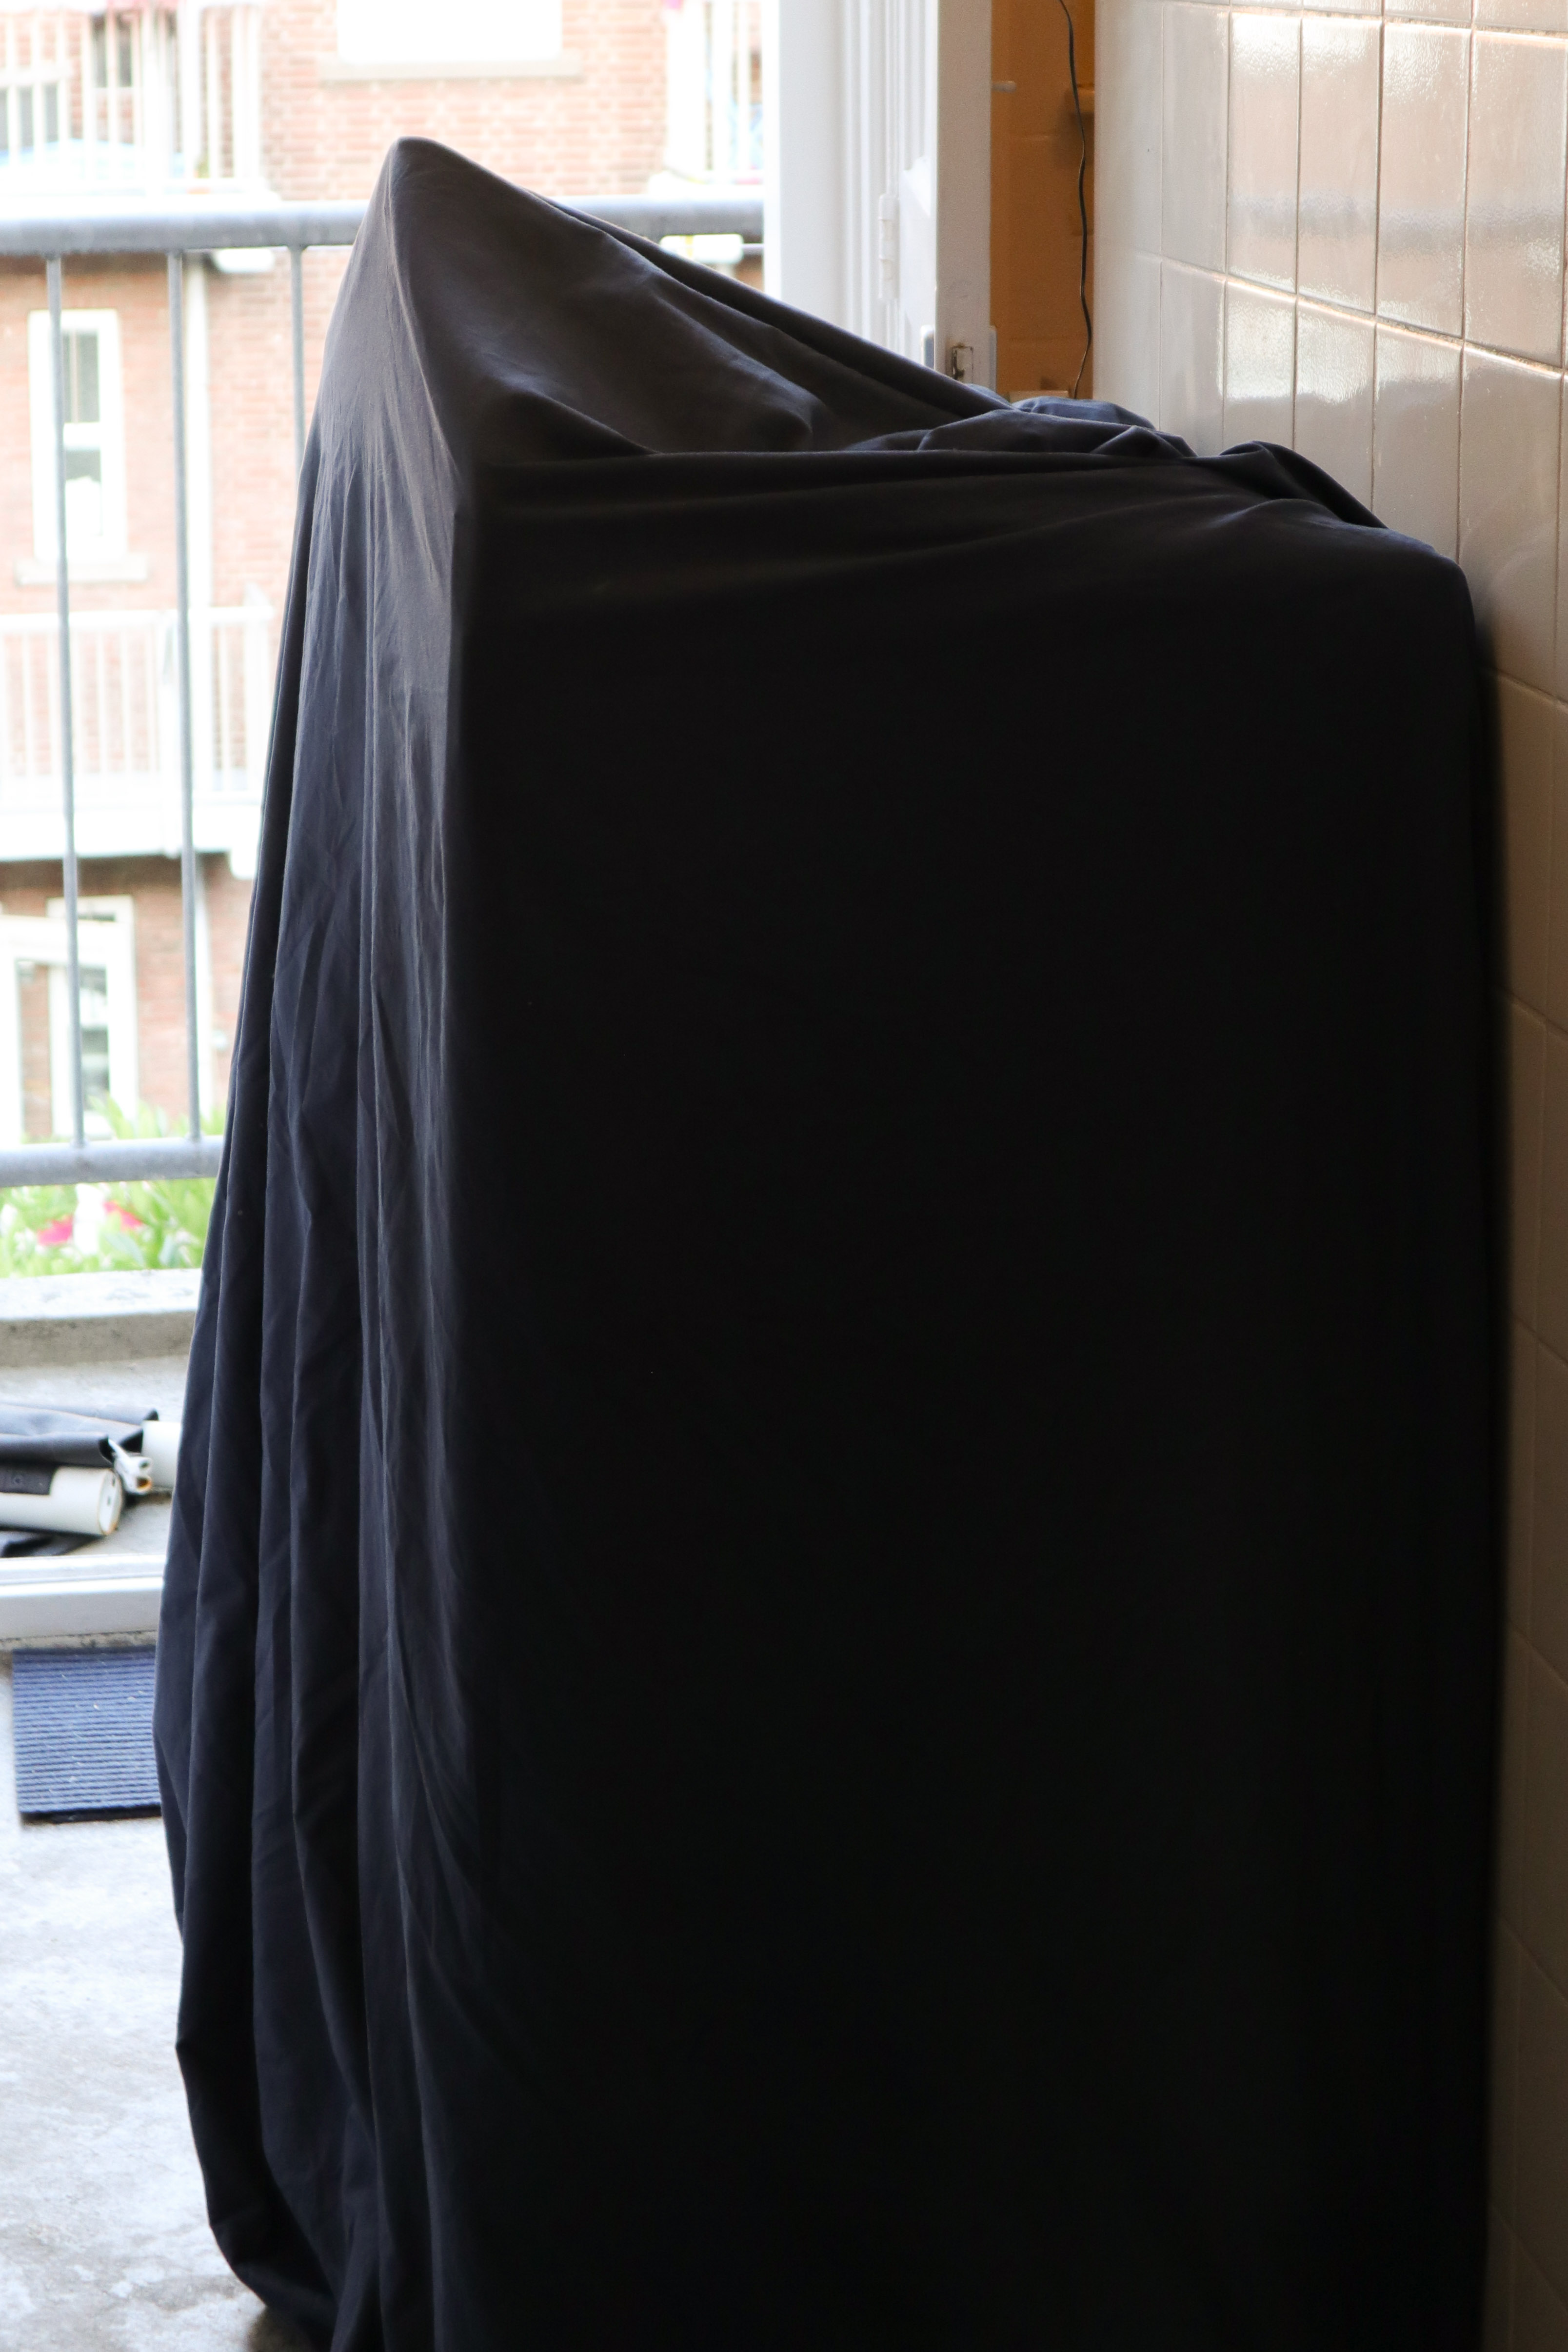
The filled molds were incubated in the dark in a small indoor PVC greenhouse at between 25 - 30 Celsius (it was unusually hot in the Netherlands!)
To keep the inside dark I covered it with a bedsheet
Day 4
2 blended and 2 non-blended samples were filled with slightly less flax than the others, leaving an approximately 20mm air gap between the top of the flax once filled. This should increase the number of growth points of mycelium within the flax and should speed up growth. This was also done to test the effect of breaking up and mixing the living mycelium on the resulting material’s properties.
Underfilling the mold left space for the mixing as well as for a thicker layer of mycelium to grow on the top surface of the flax where the mycelium has plentiful access to air.
These samples were broken up and mixed inside the mold via squeezing by hand as best as could be achieved without opening the mold and were then also shook up by hand.
After breaking up and mixing the materials were compressed upwards against the roof of the mold, again by hand (or rather thumb).
The base of the mold was then pulled back out to its original form. Leaving an air pocket available to the mycelium on the opposite side than the first 4 days. This was done to allow a more massive layer of mycelium to grow on the bottom face of the flax as it had on the top.
Day 8: Compressing and De-moulding the Samples
On the 8th day it was time to remove the samples from the mold.
Firstly, however, approx. half of the samples must be compressed while still in the mold (see index 1 above to see exactly which ones).
Compressing Method:
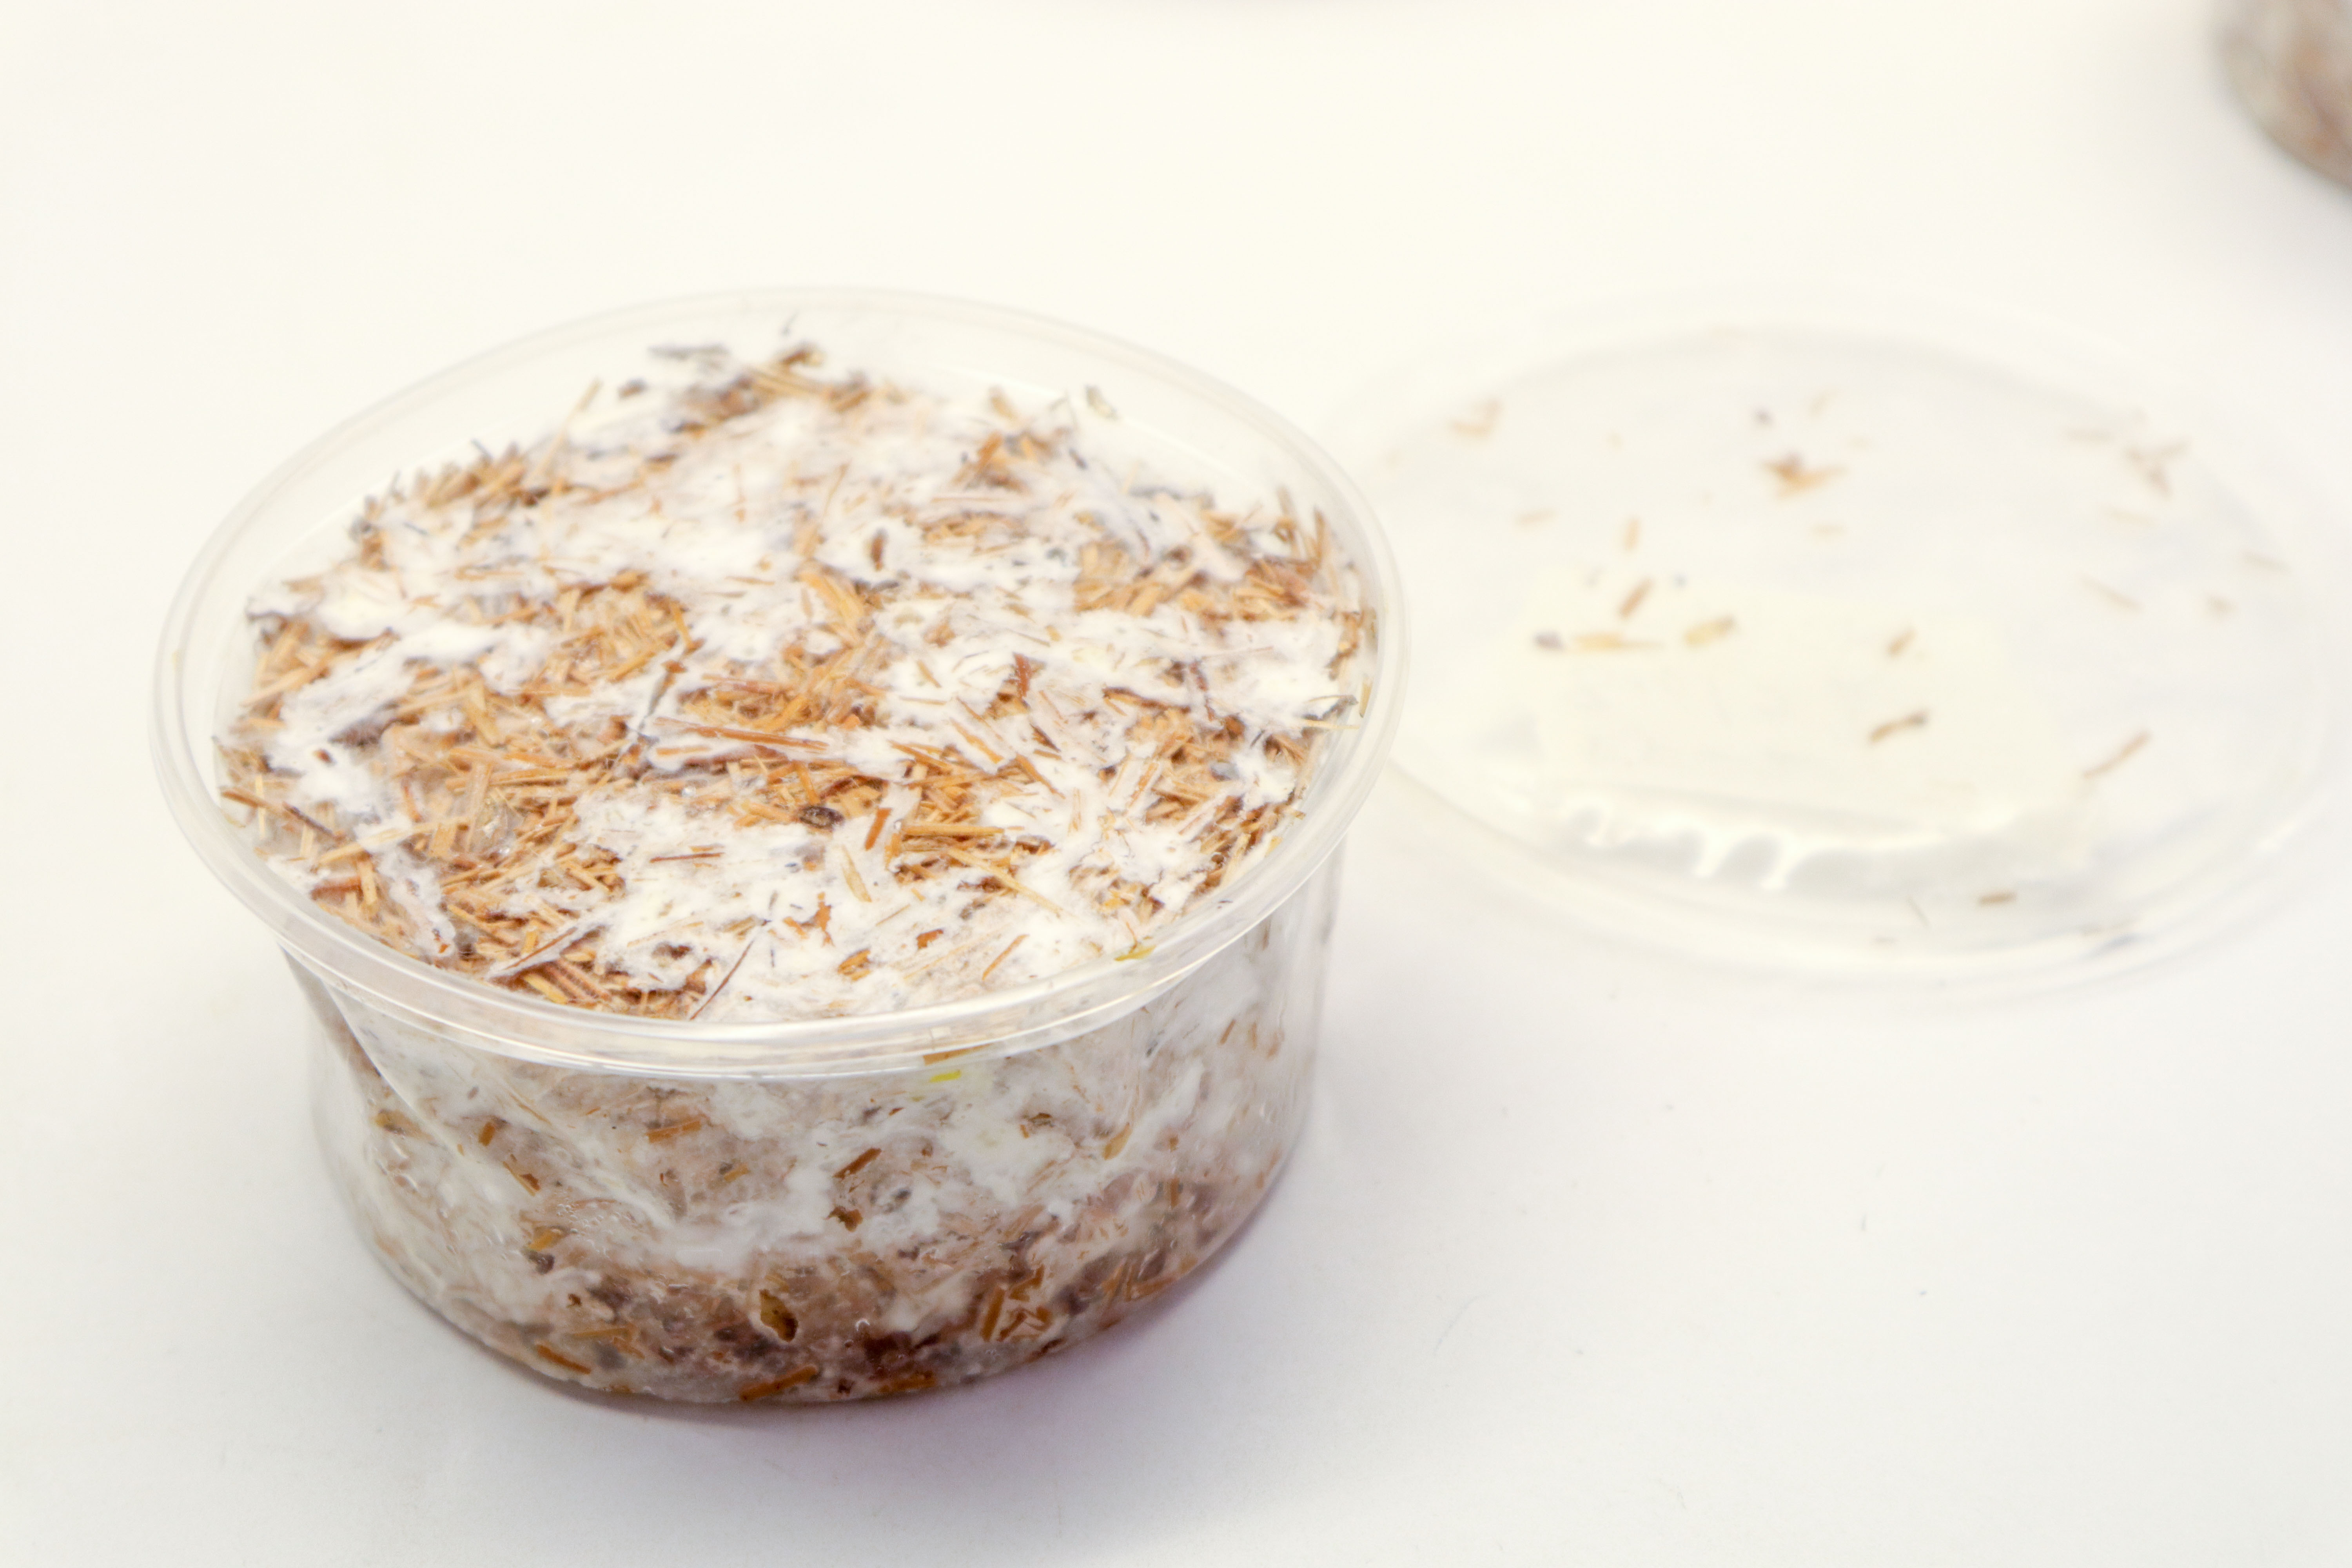
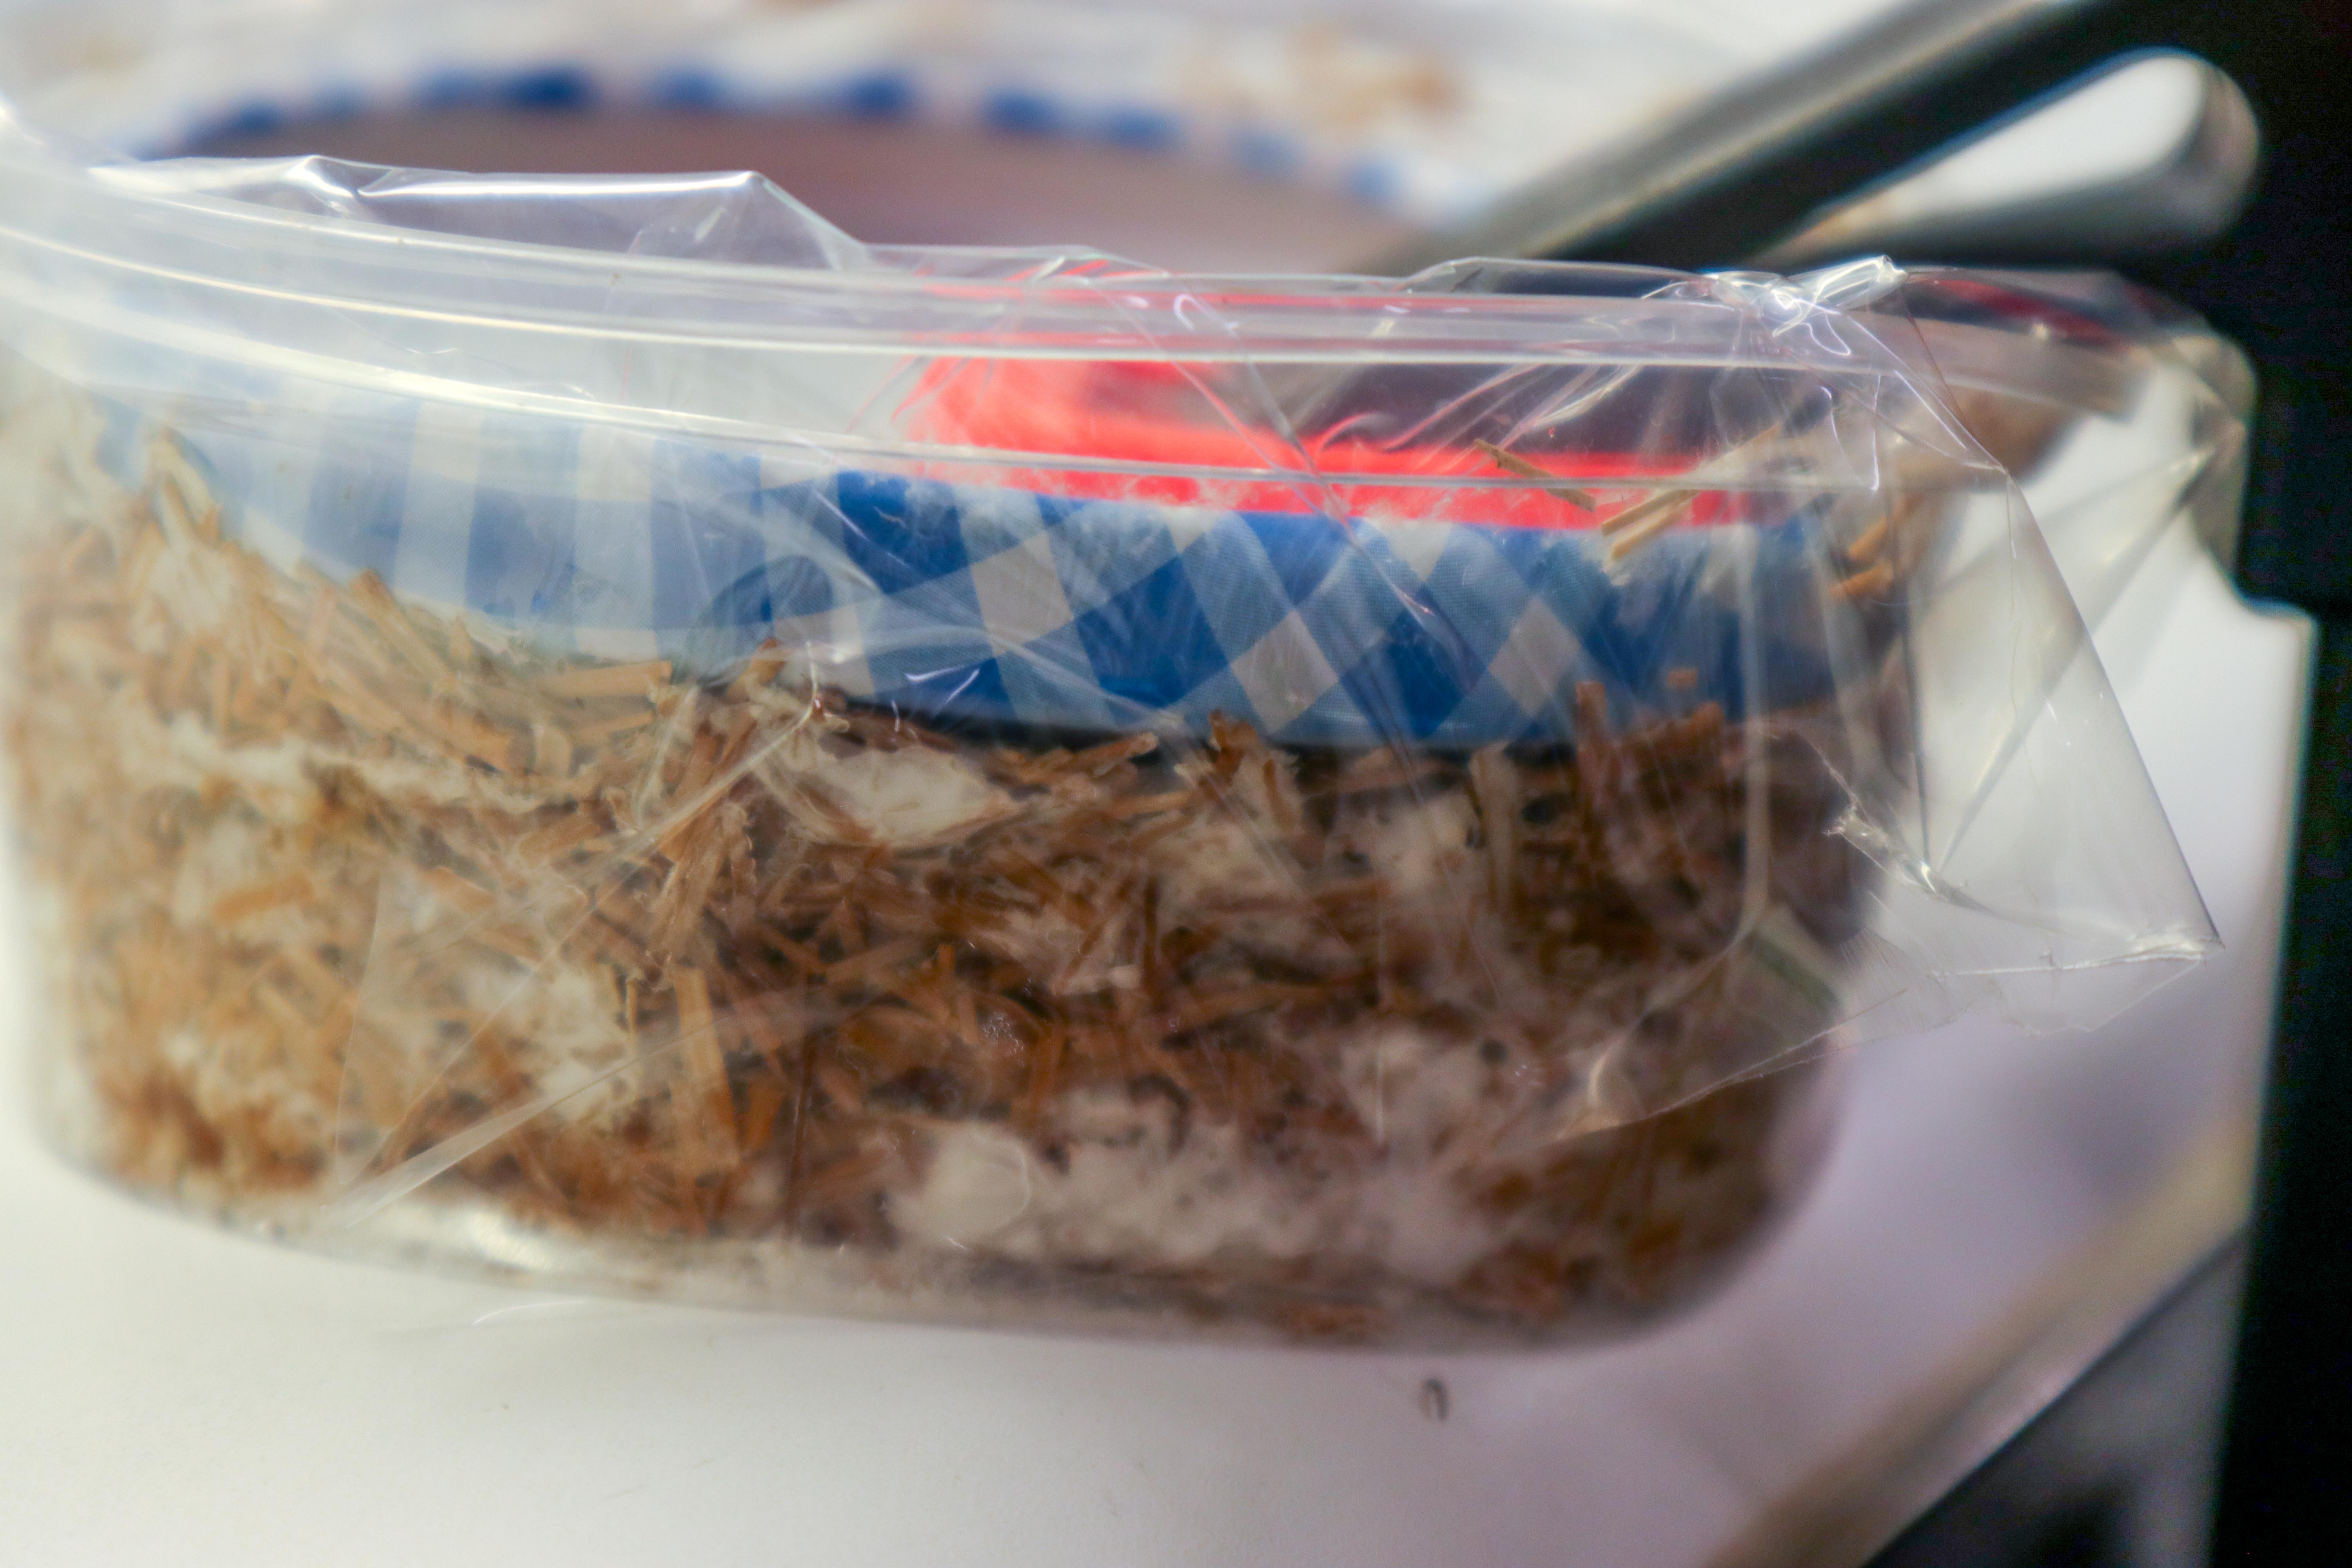
Photos of Growth progress of samples after removing from mold
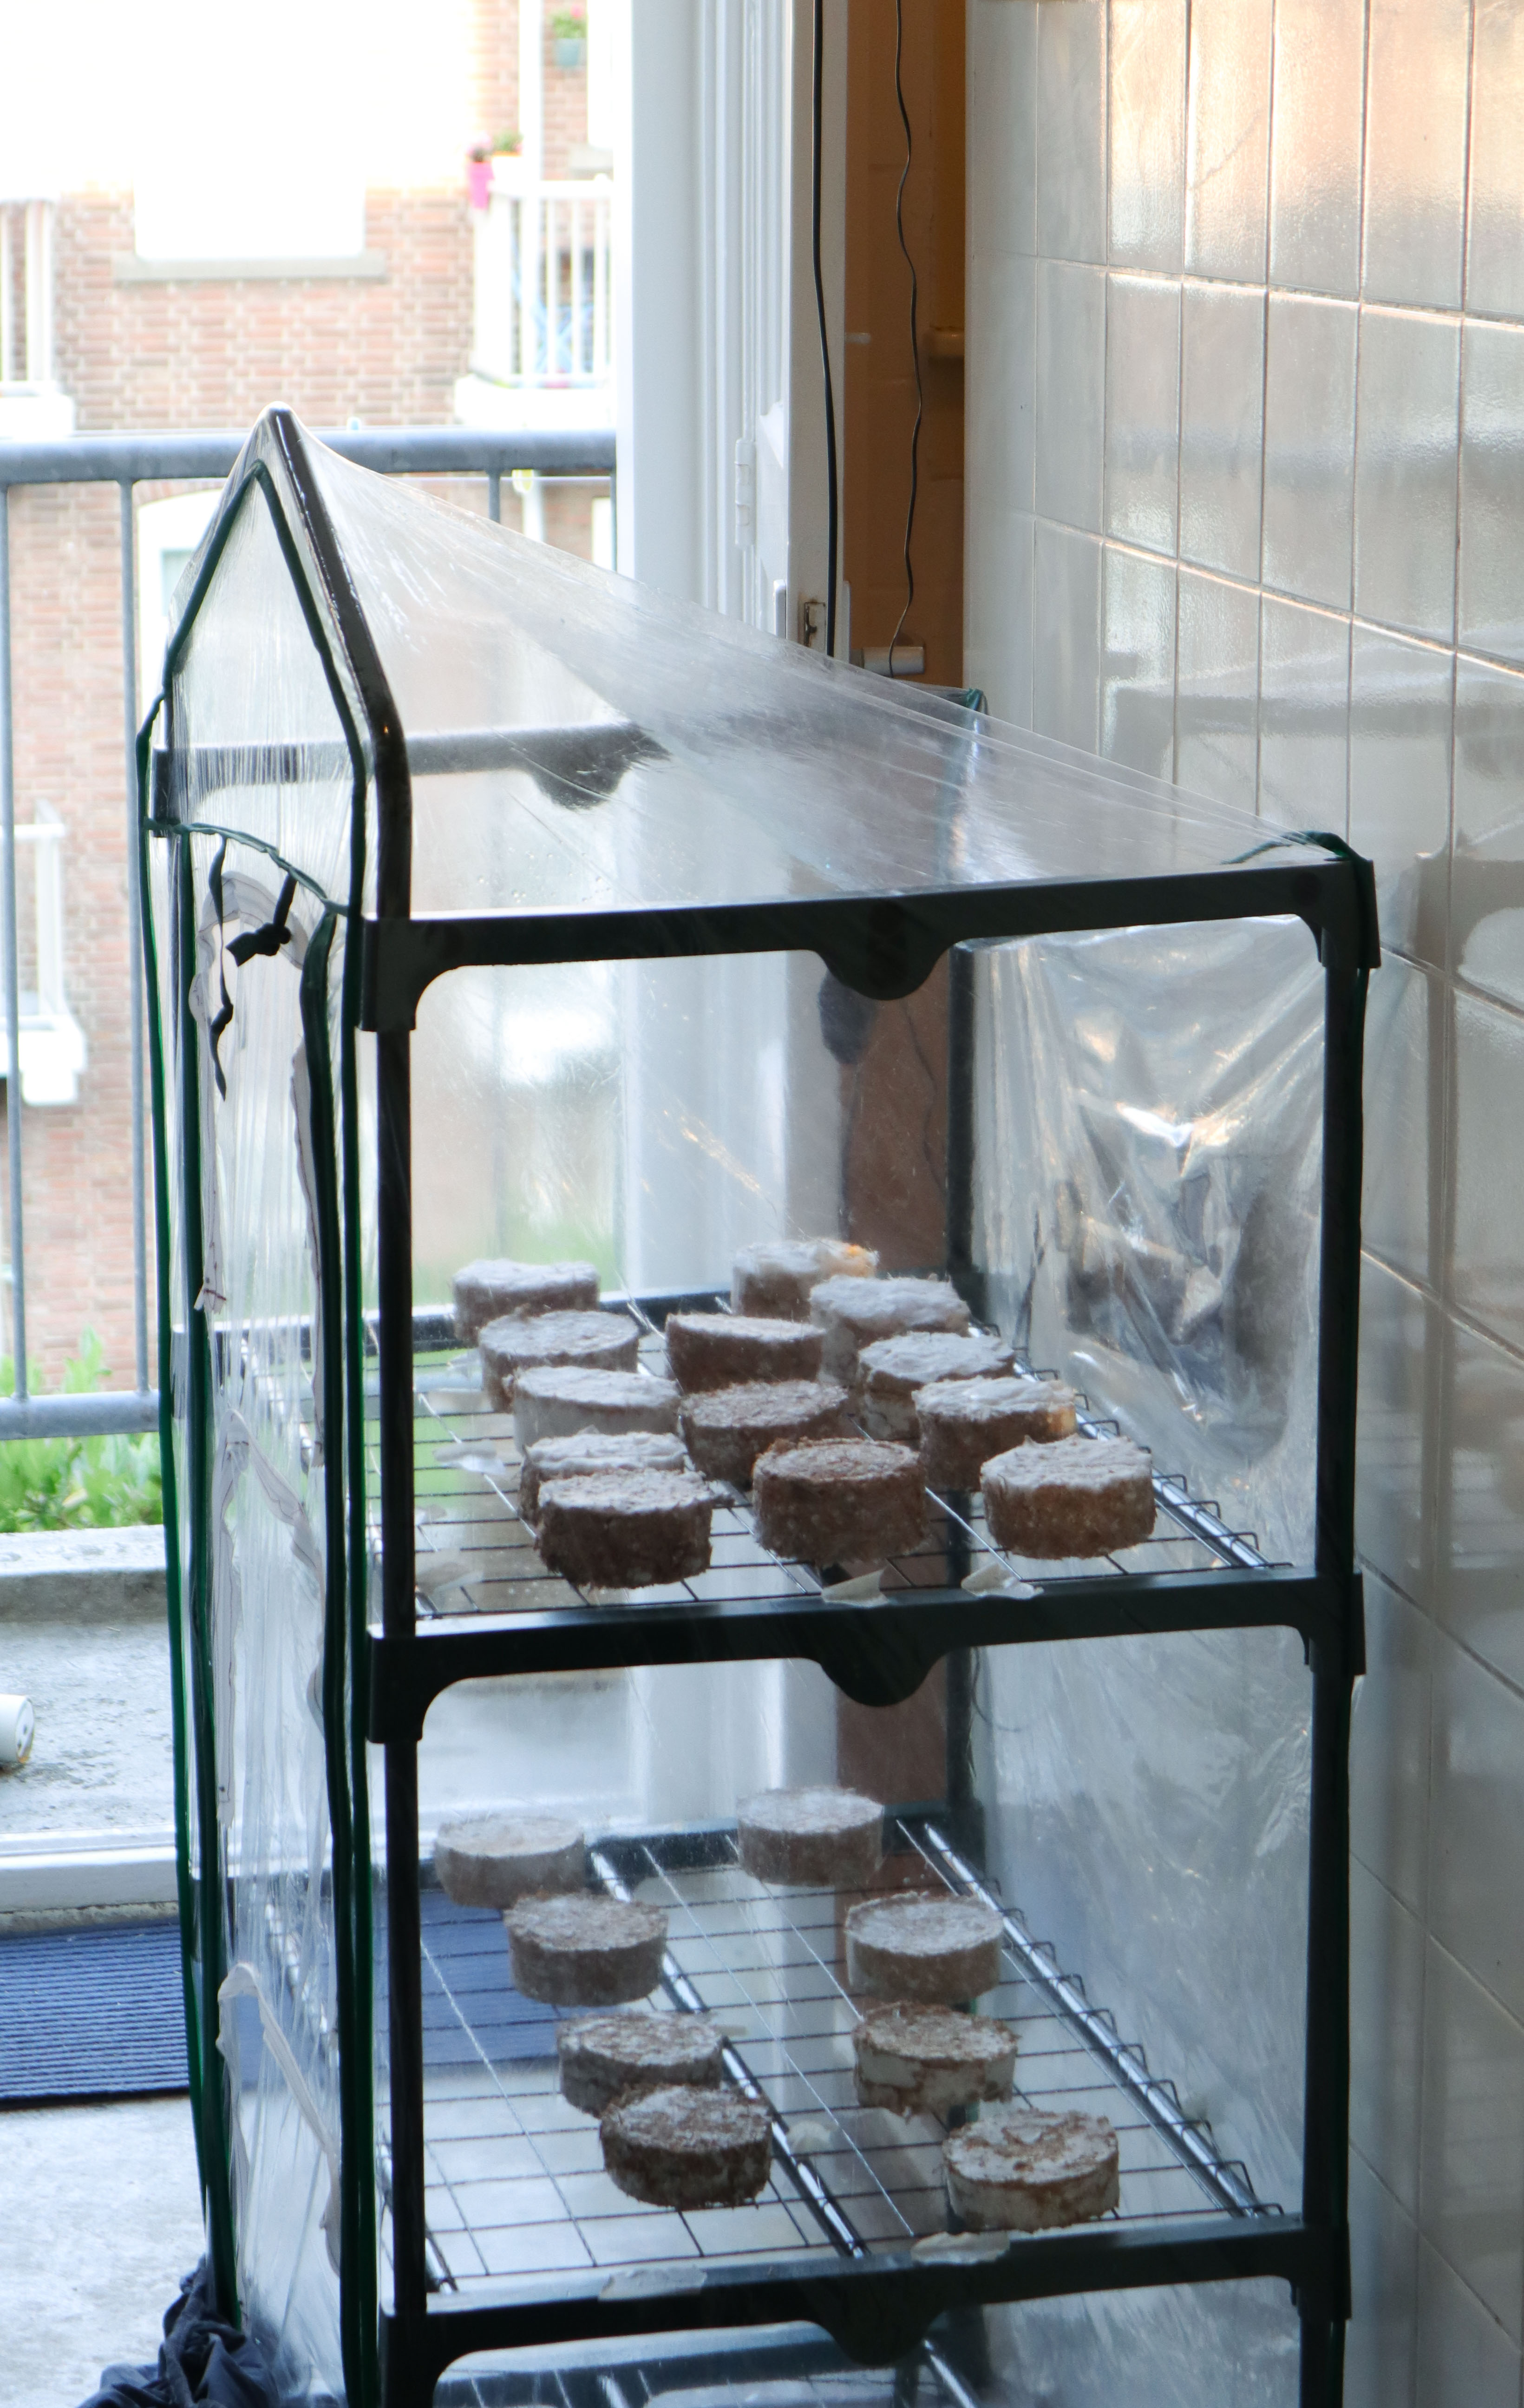
Some non-compressed samples:

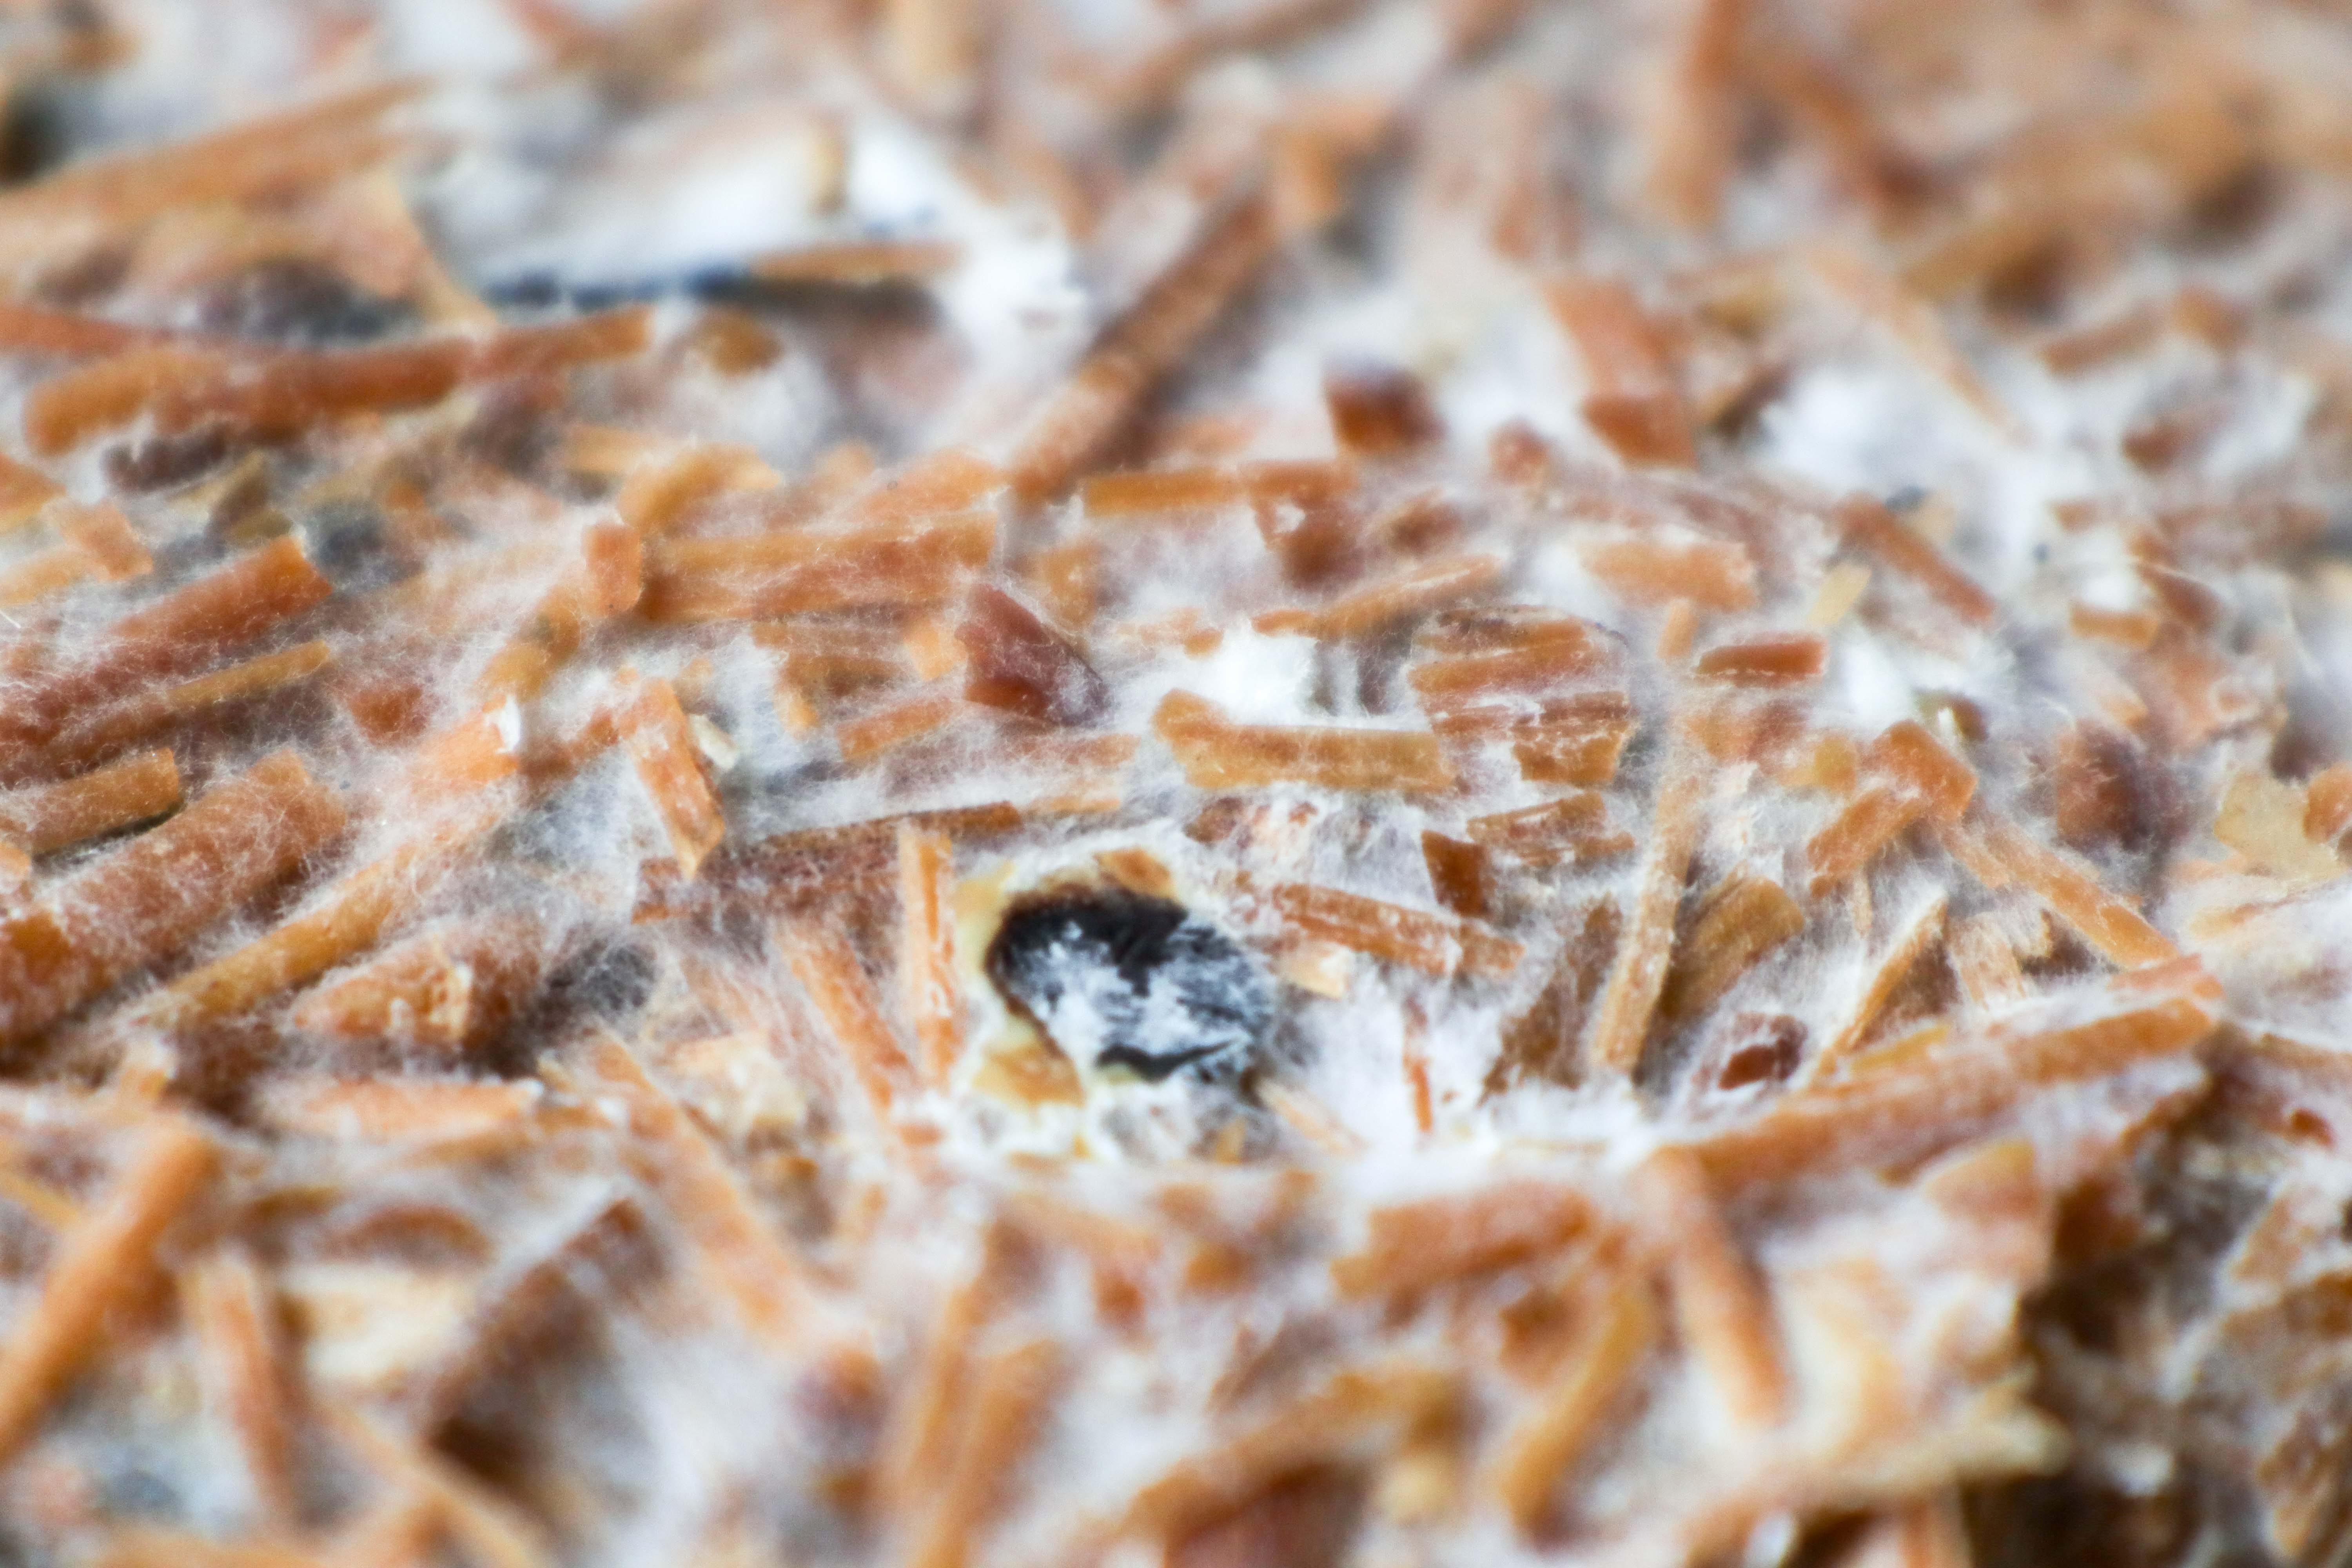
Some compressed samples:
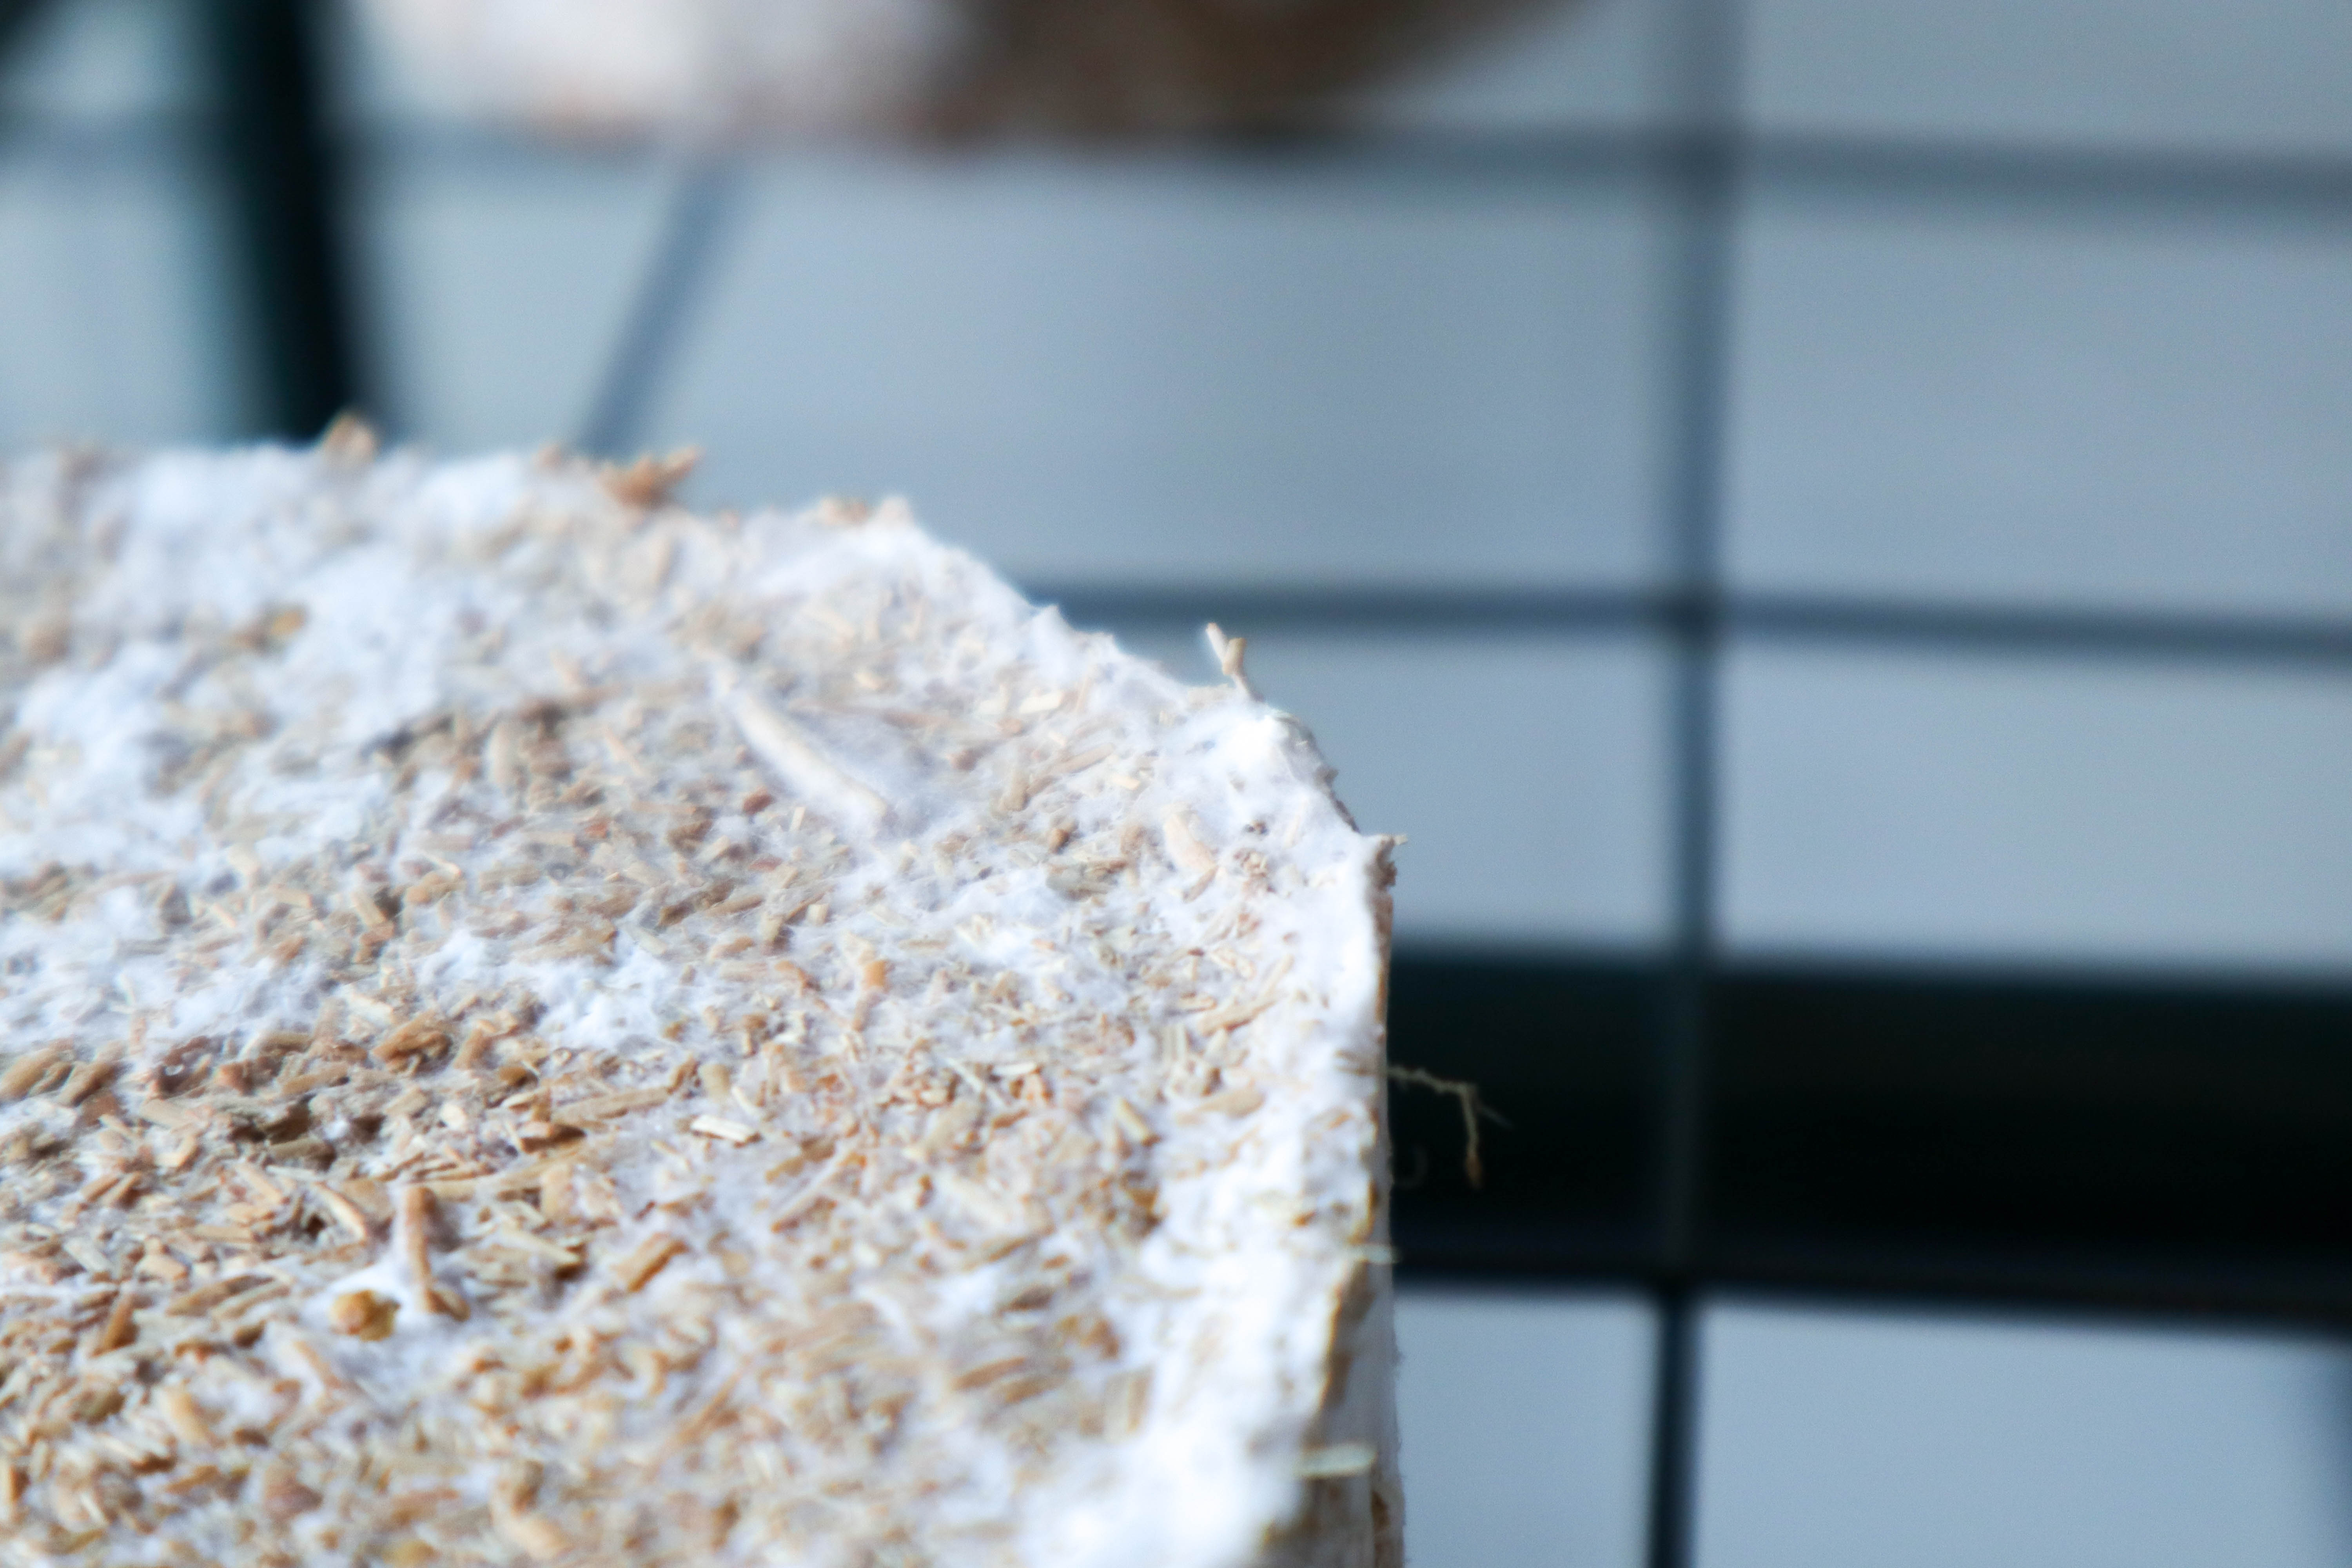
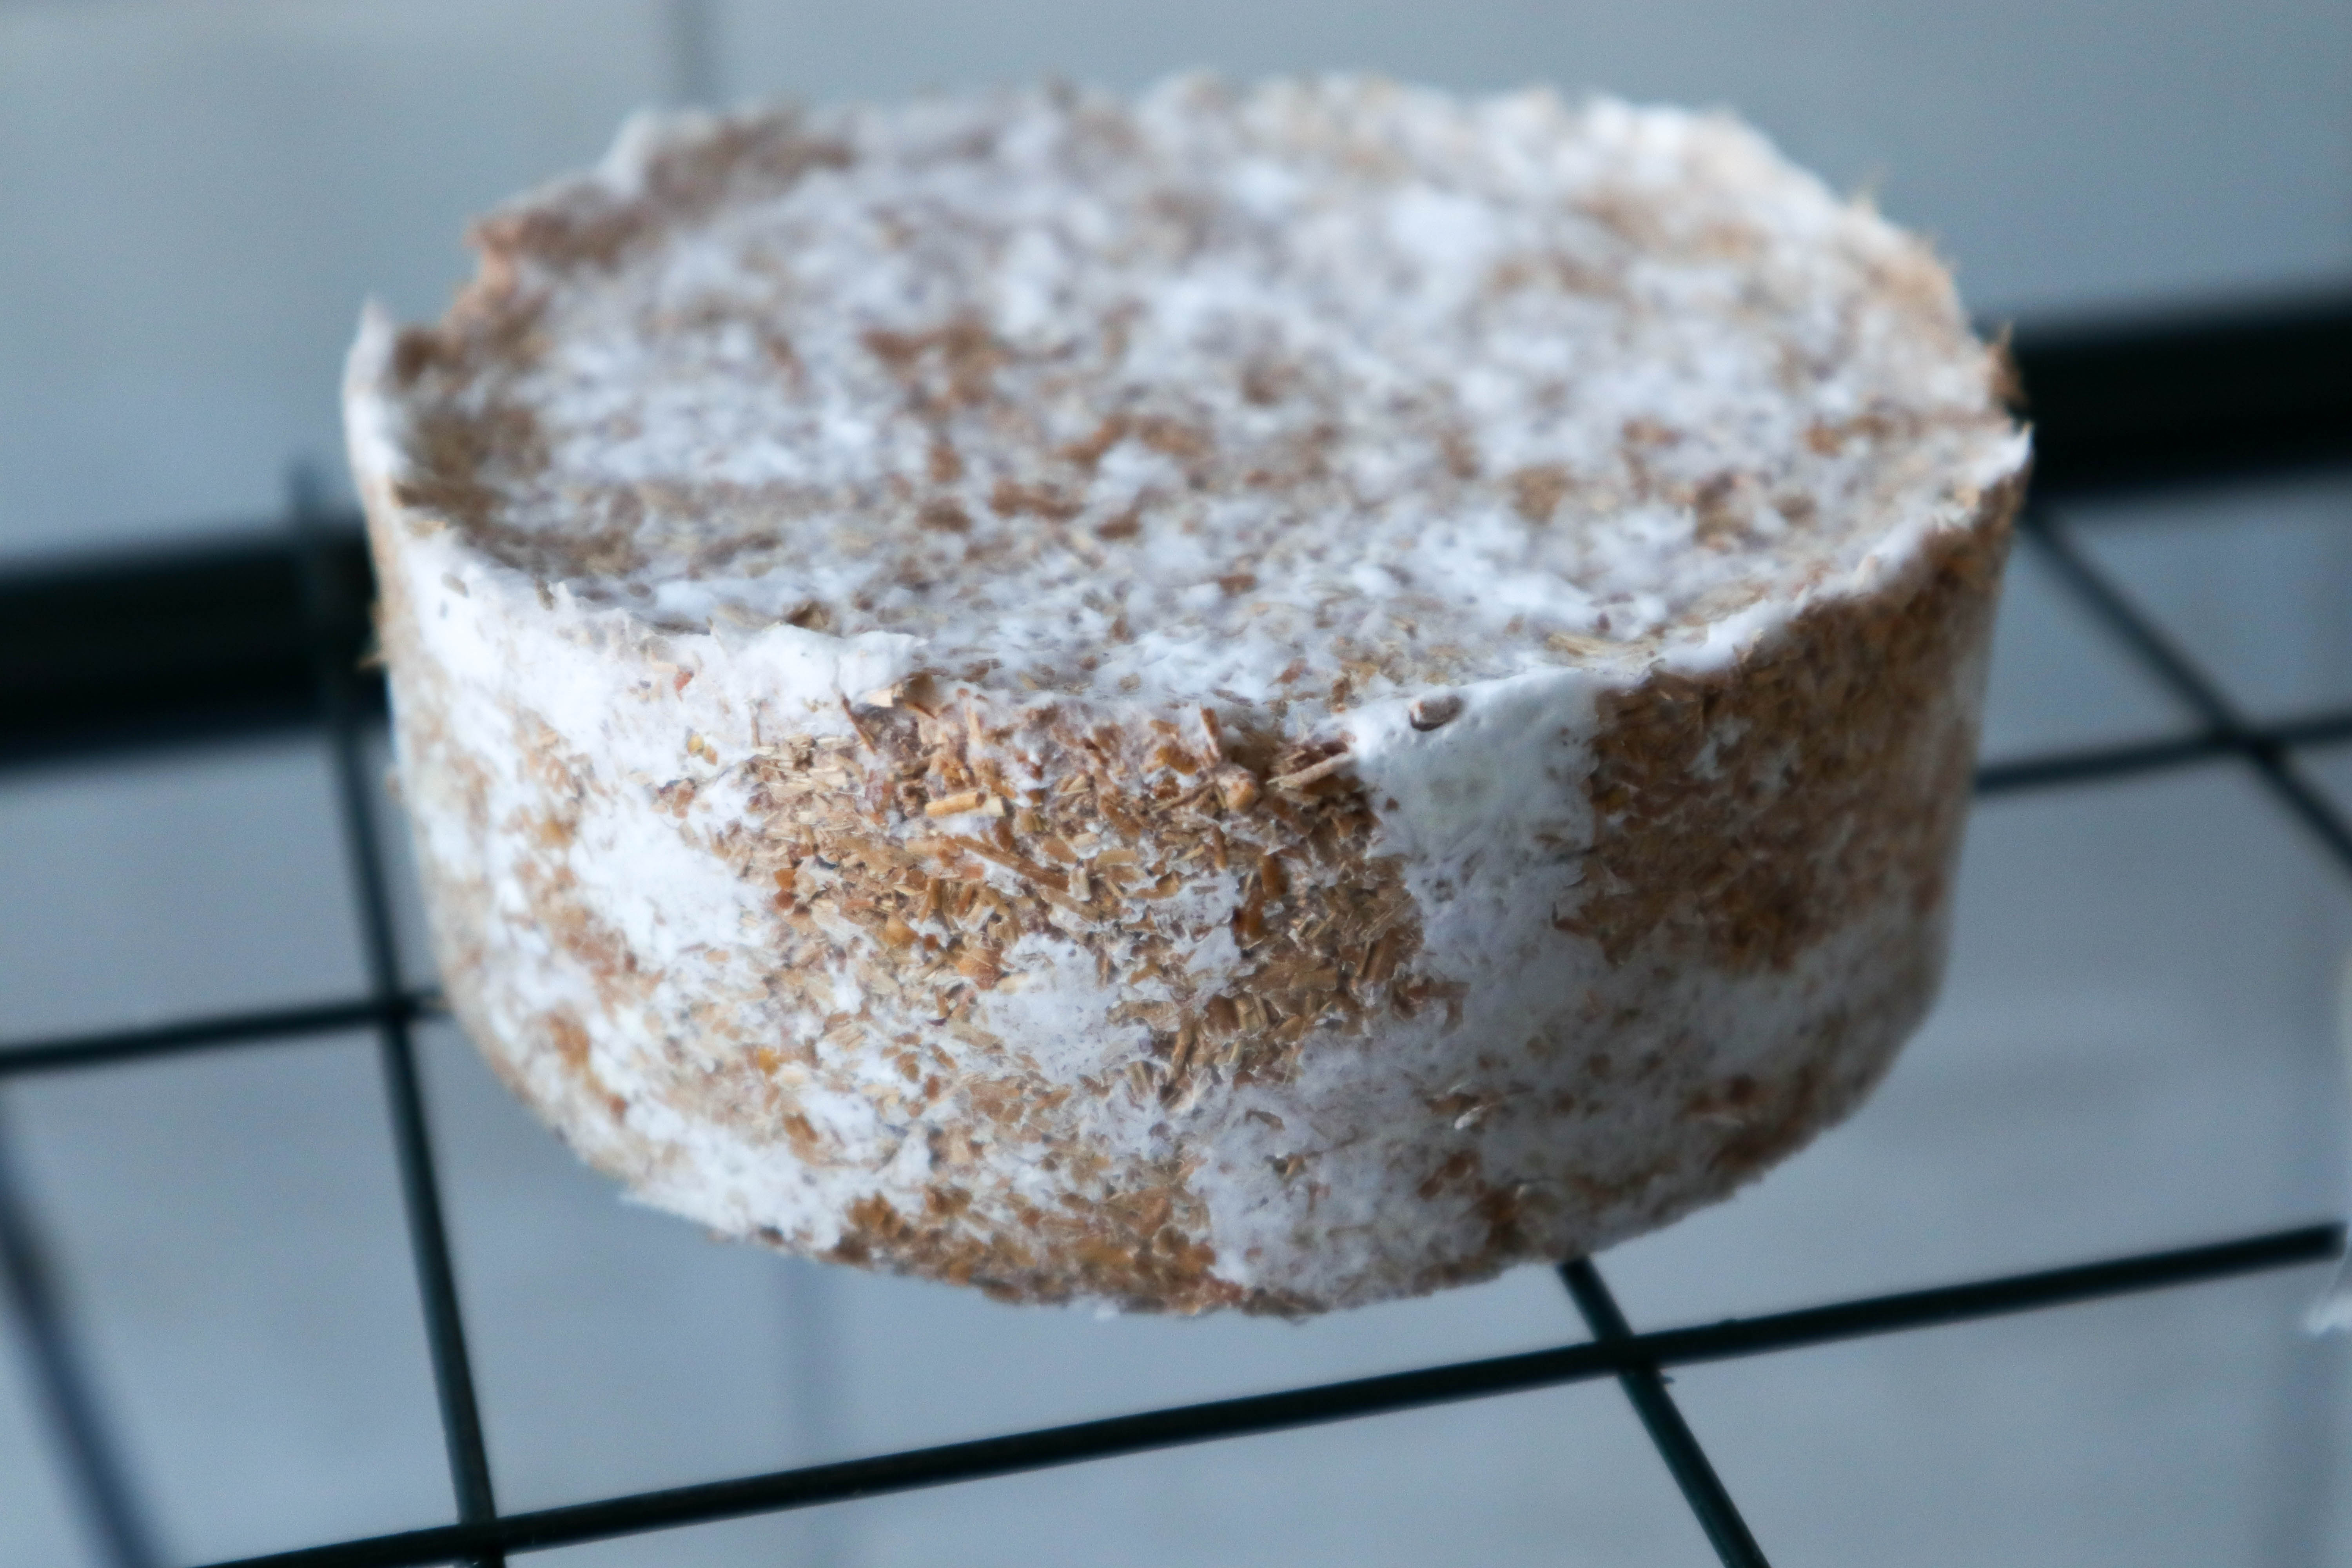
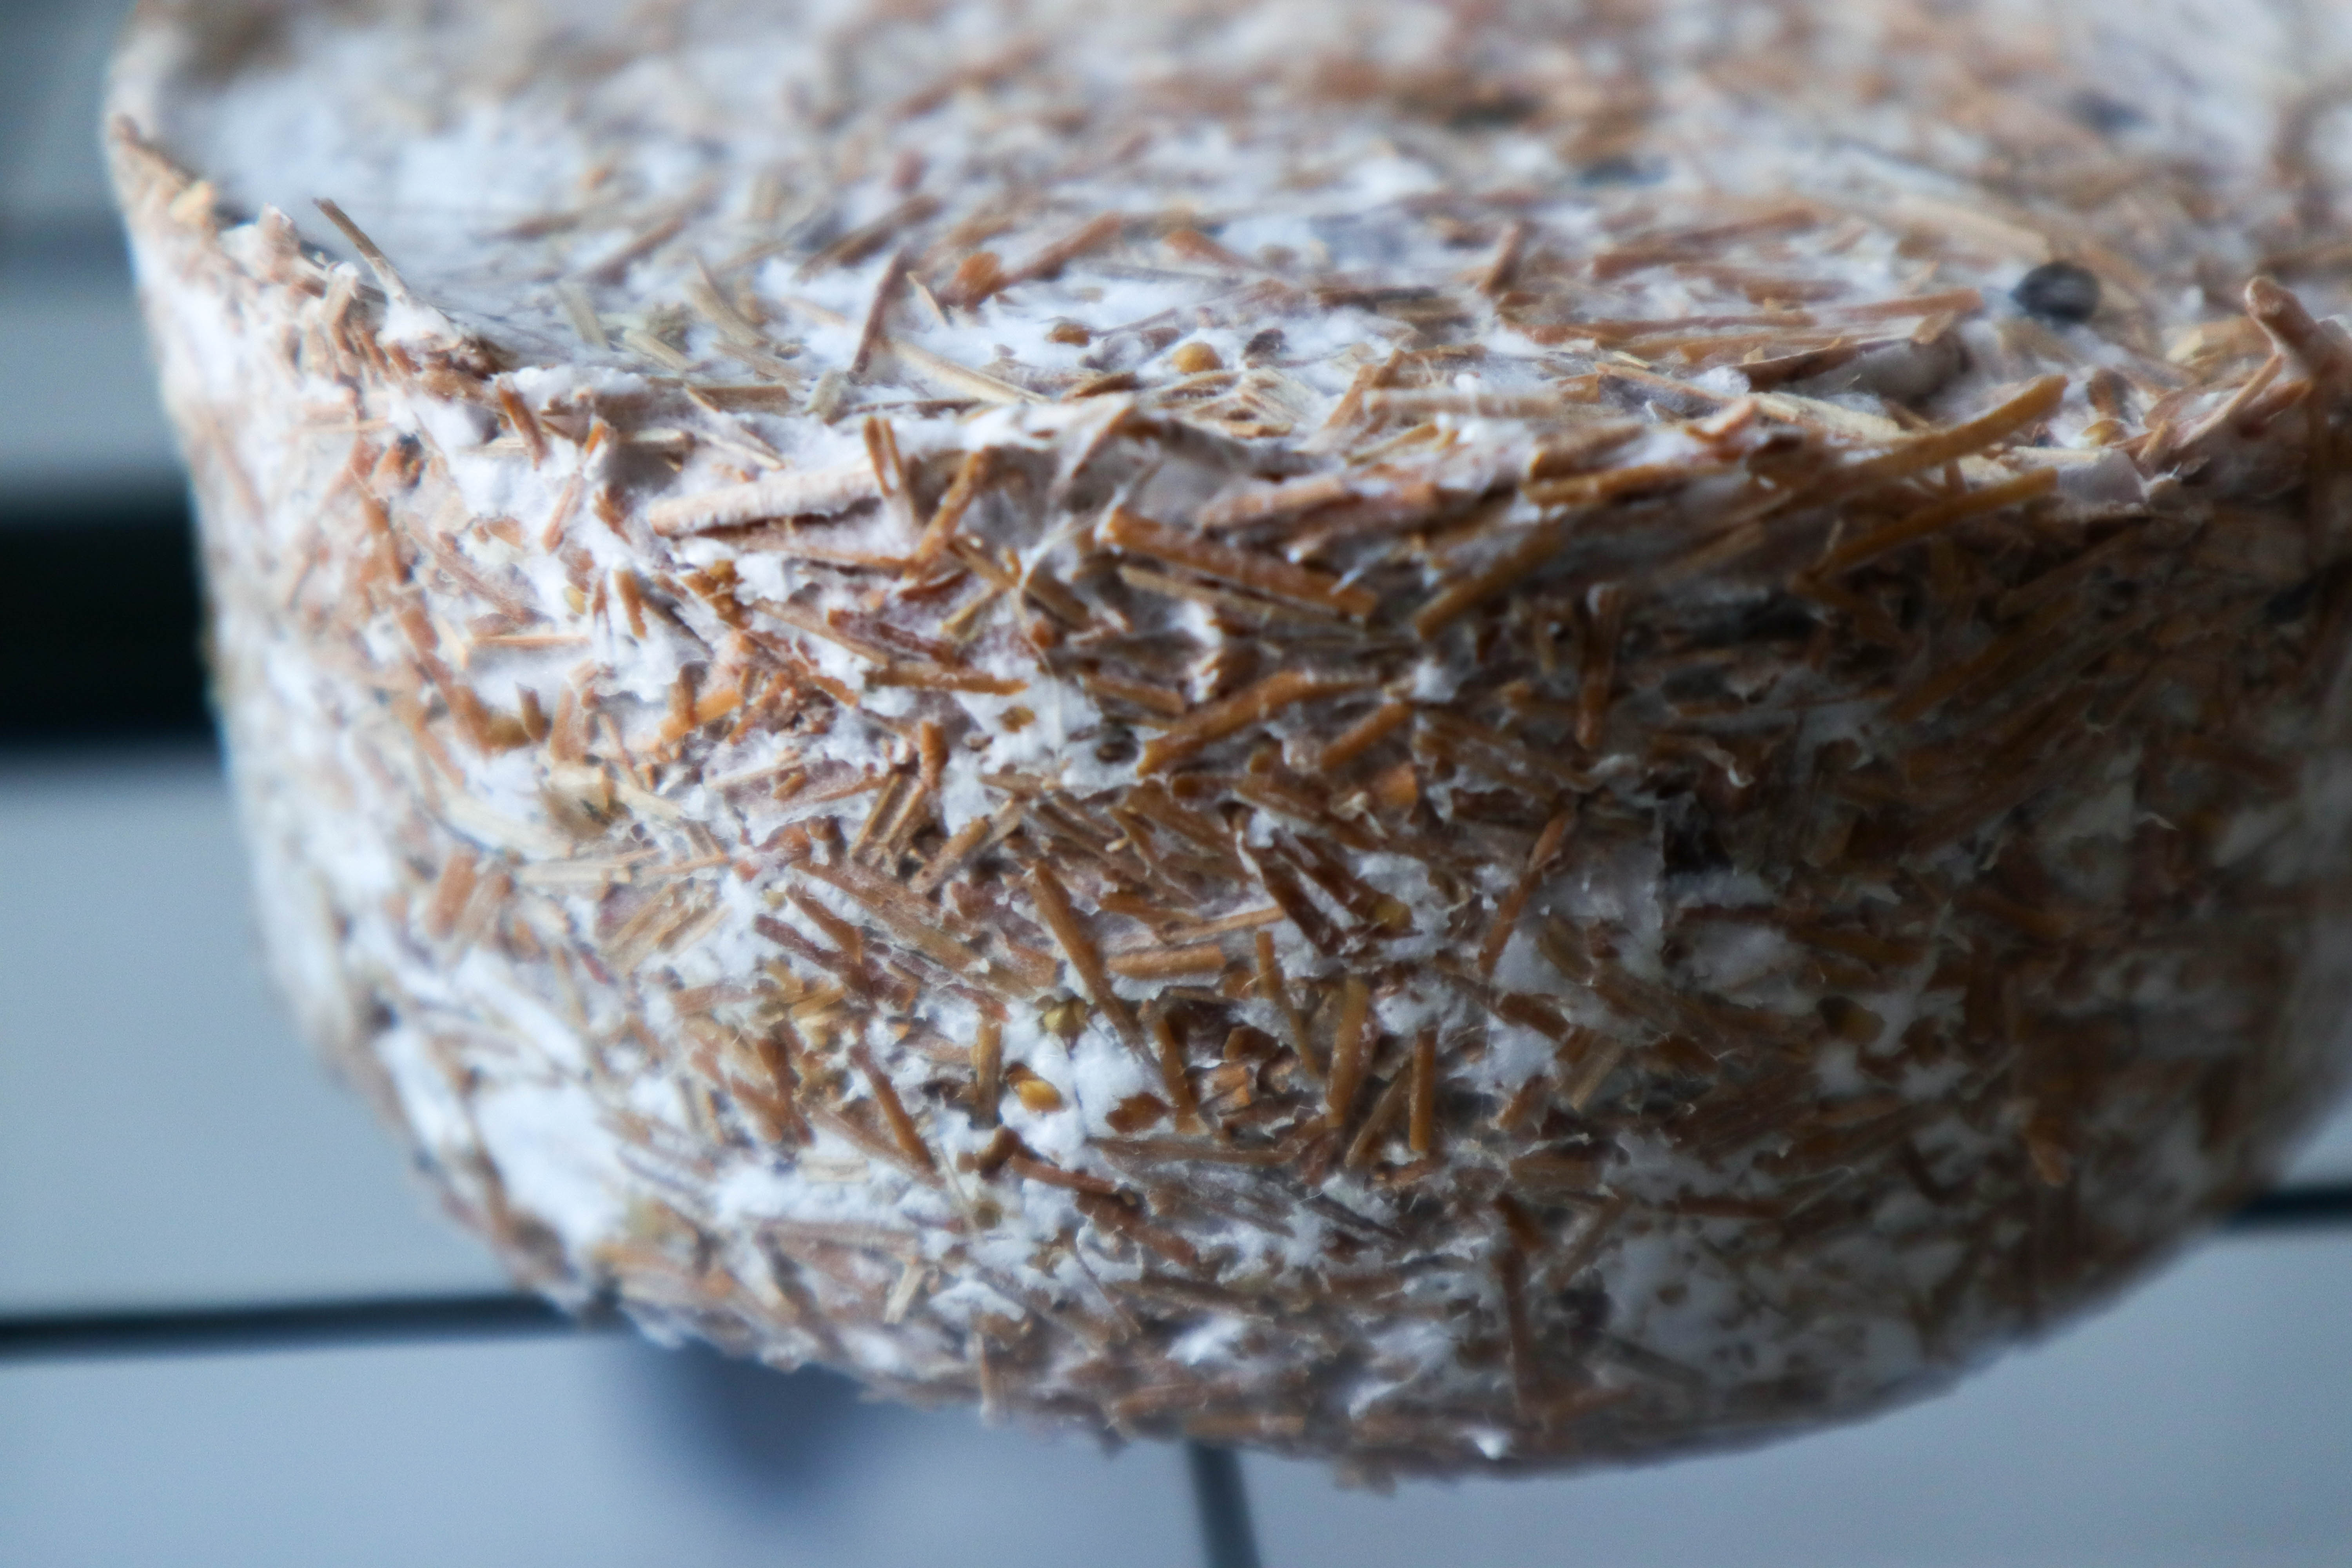
The most apparently developed growth by quite a margin was seen on the non compressed sample CFC-2. I don’t know why this is because this is one of the blended flax control samples, perhaps by chance more of the grain spawn ended up at the sides of the container in this sample, making it appear more colonised around the outside surface than it really is on the inside:
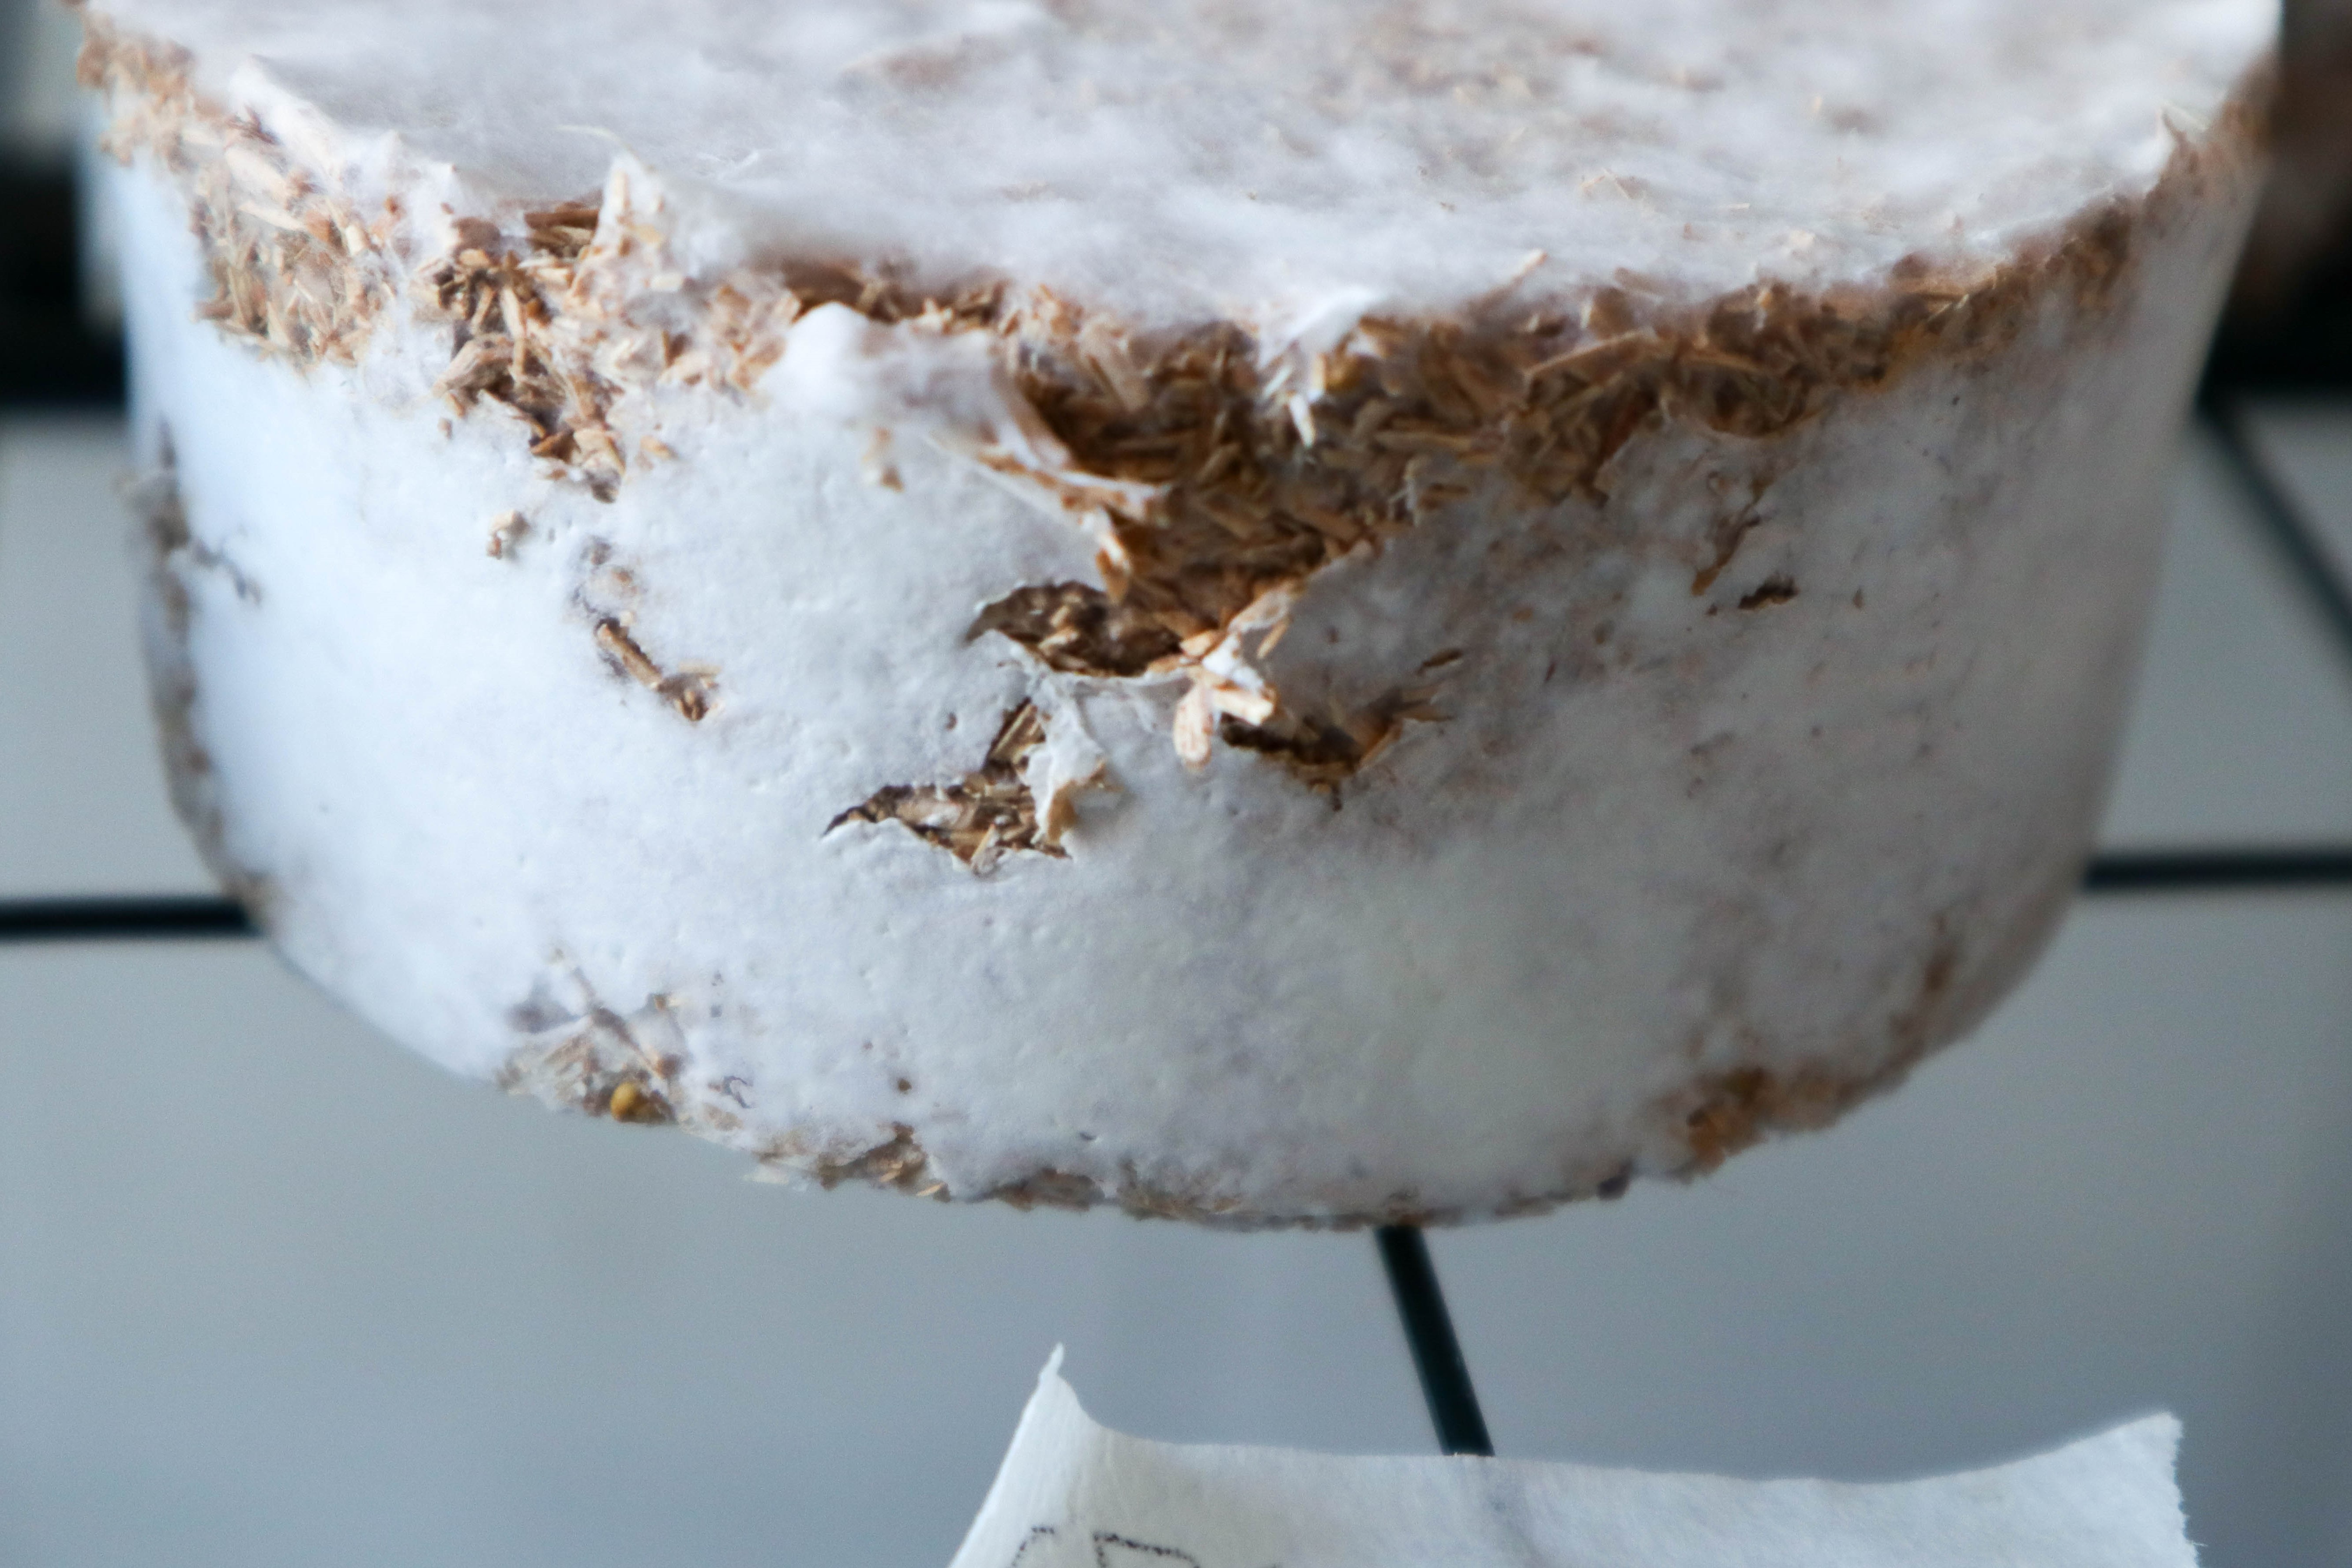
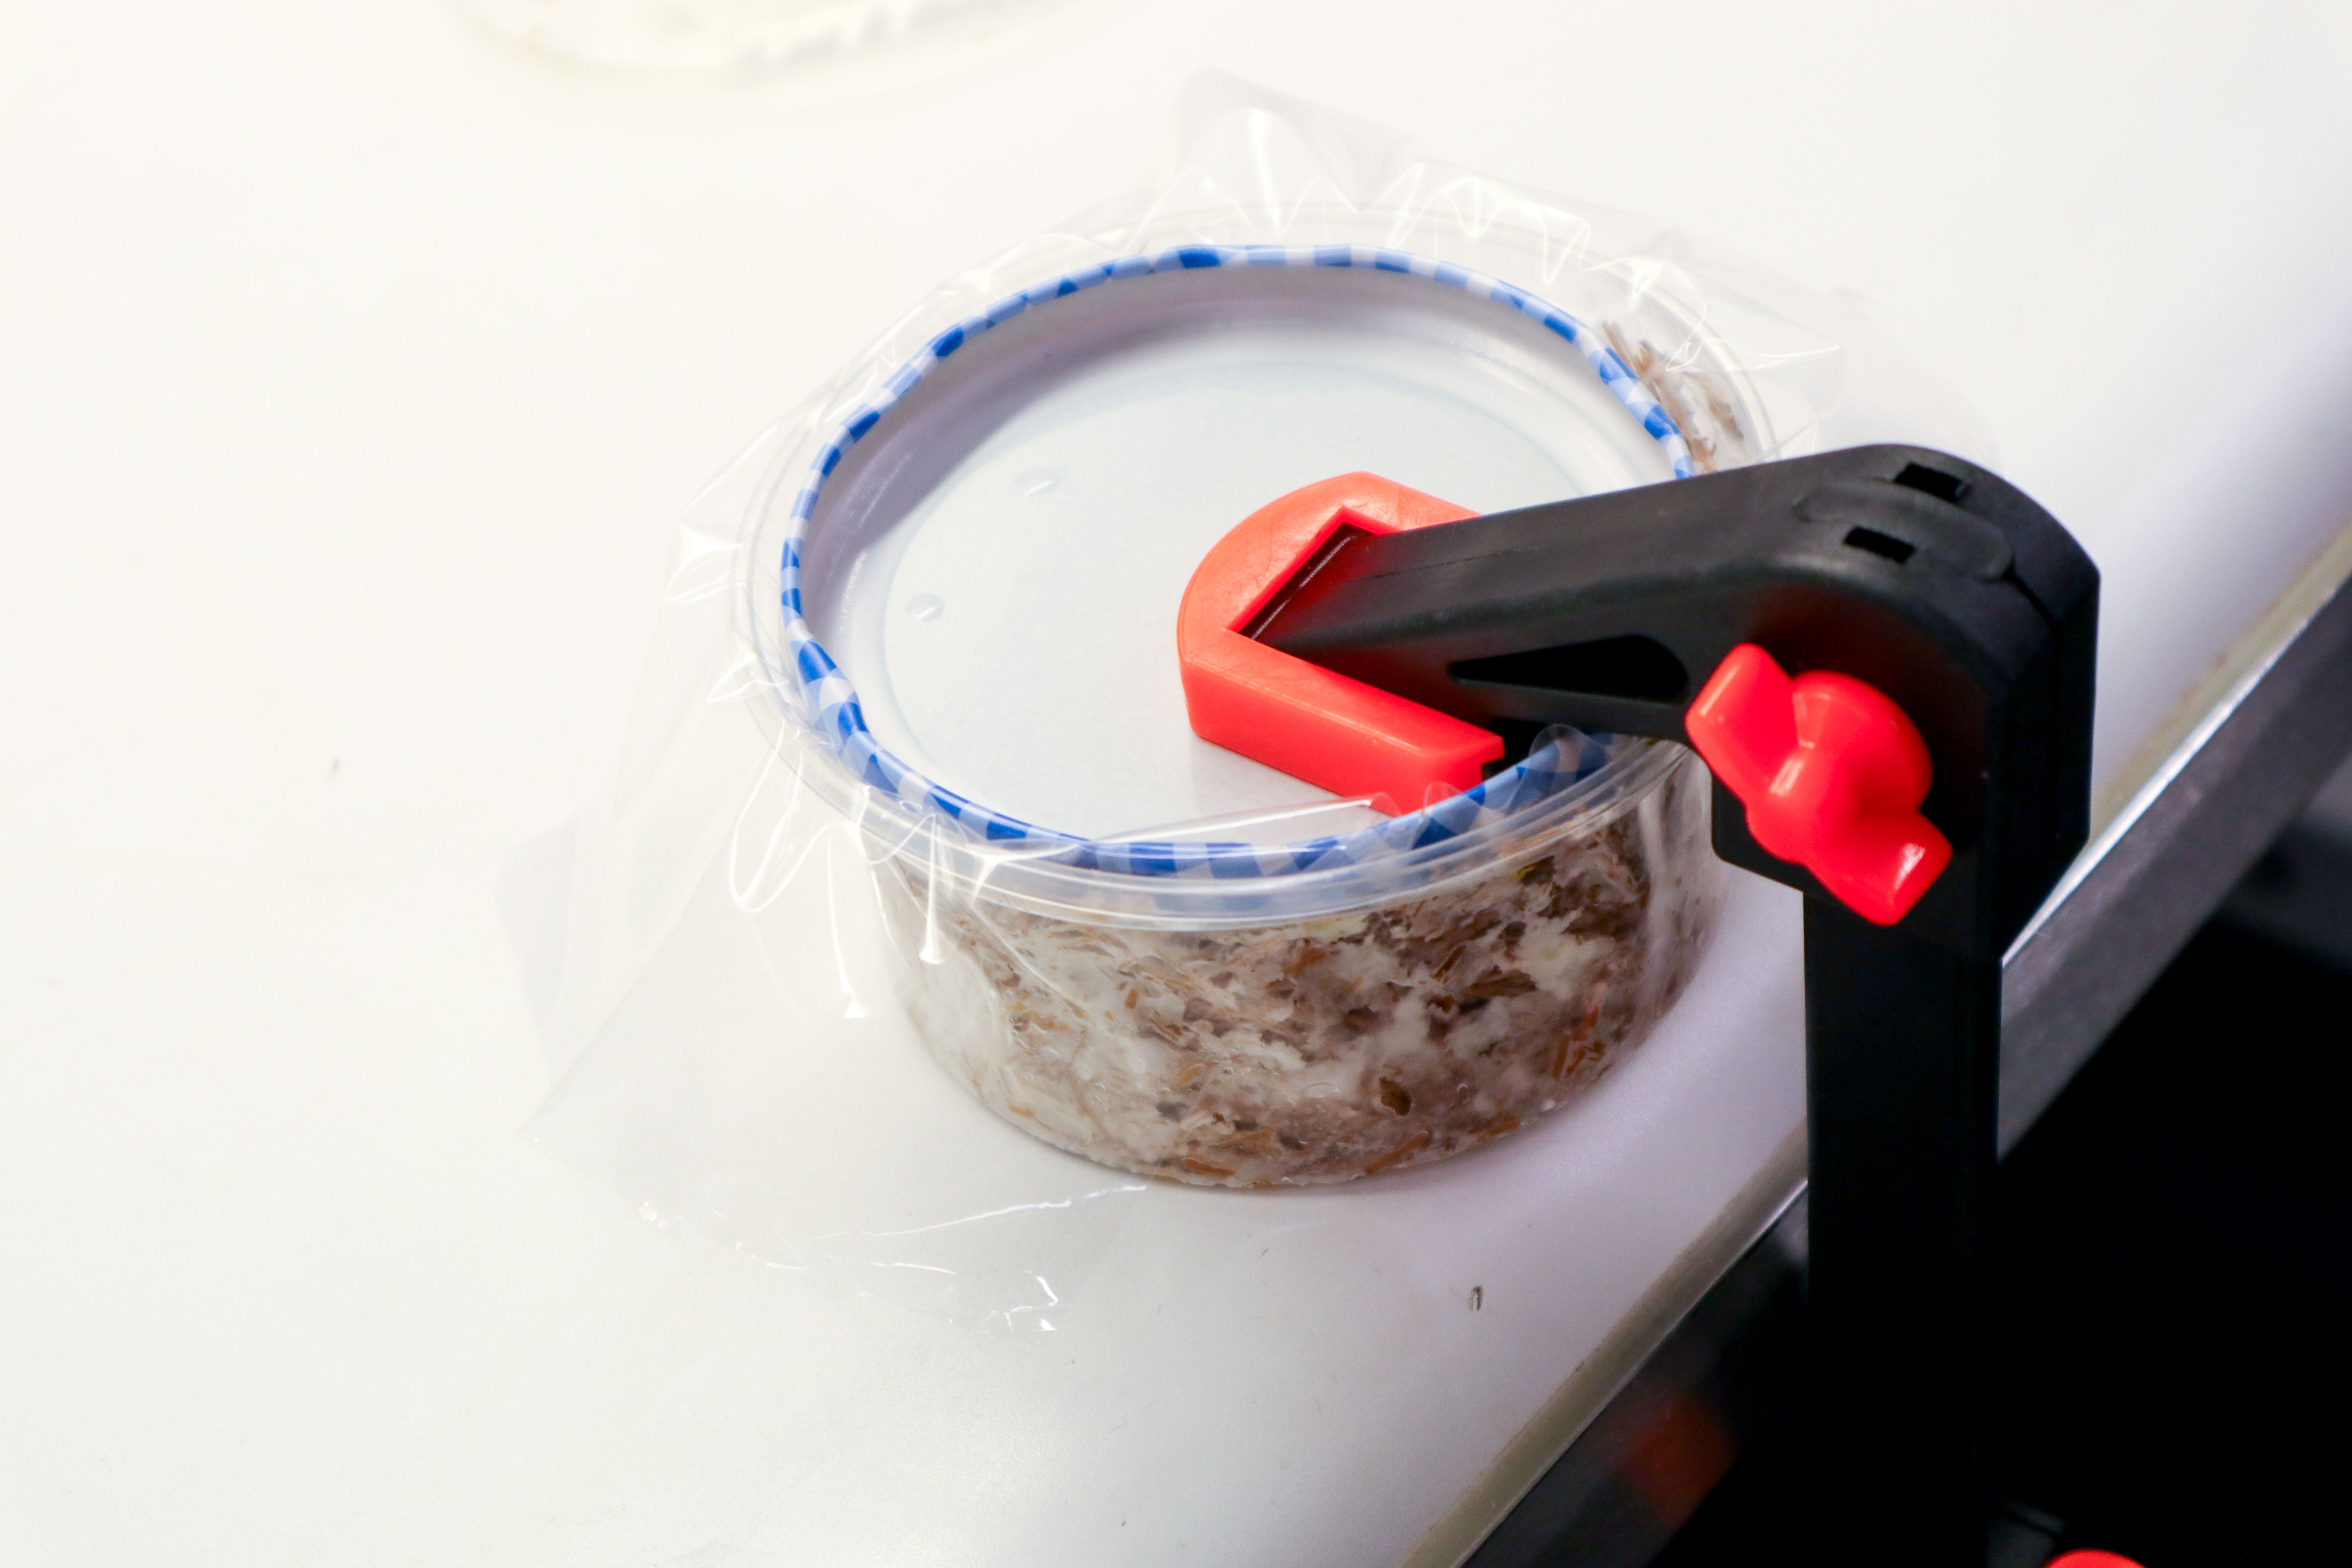
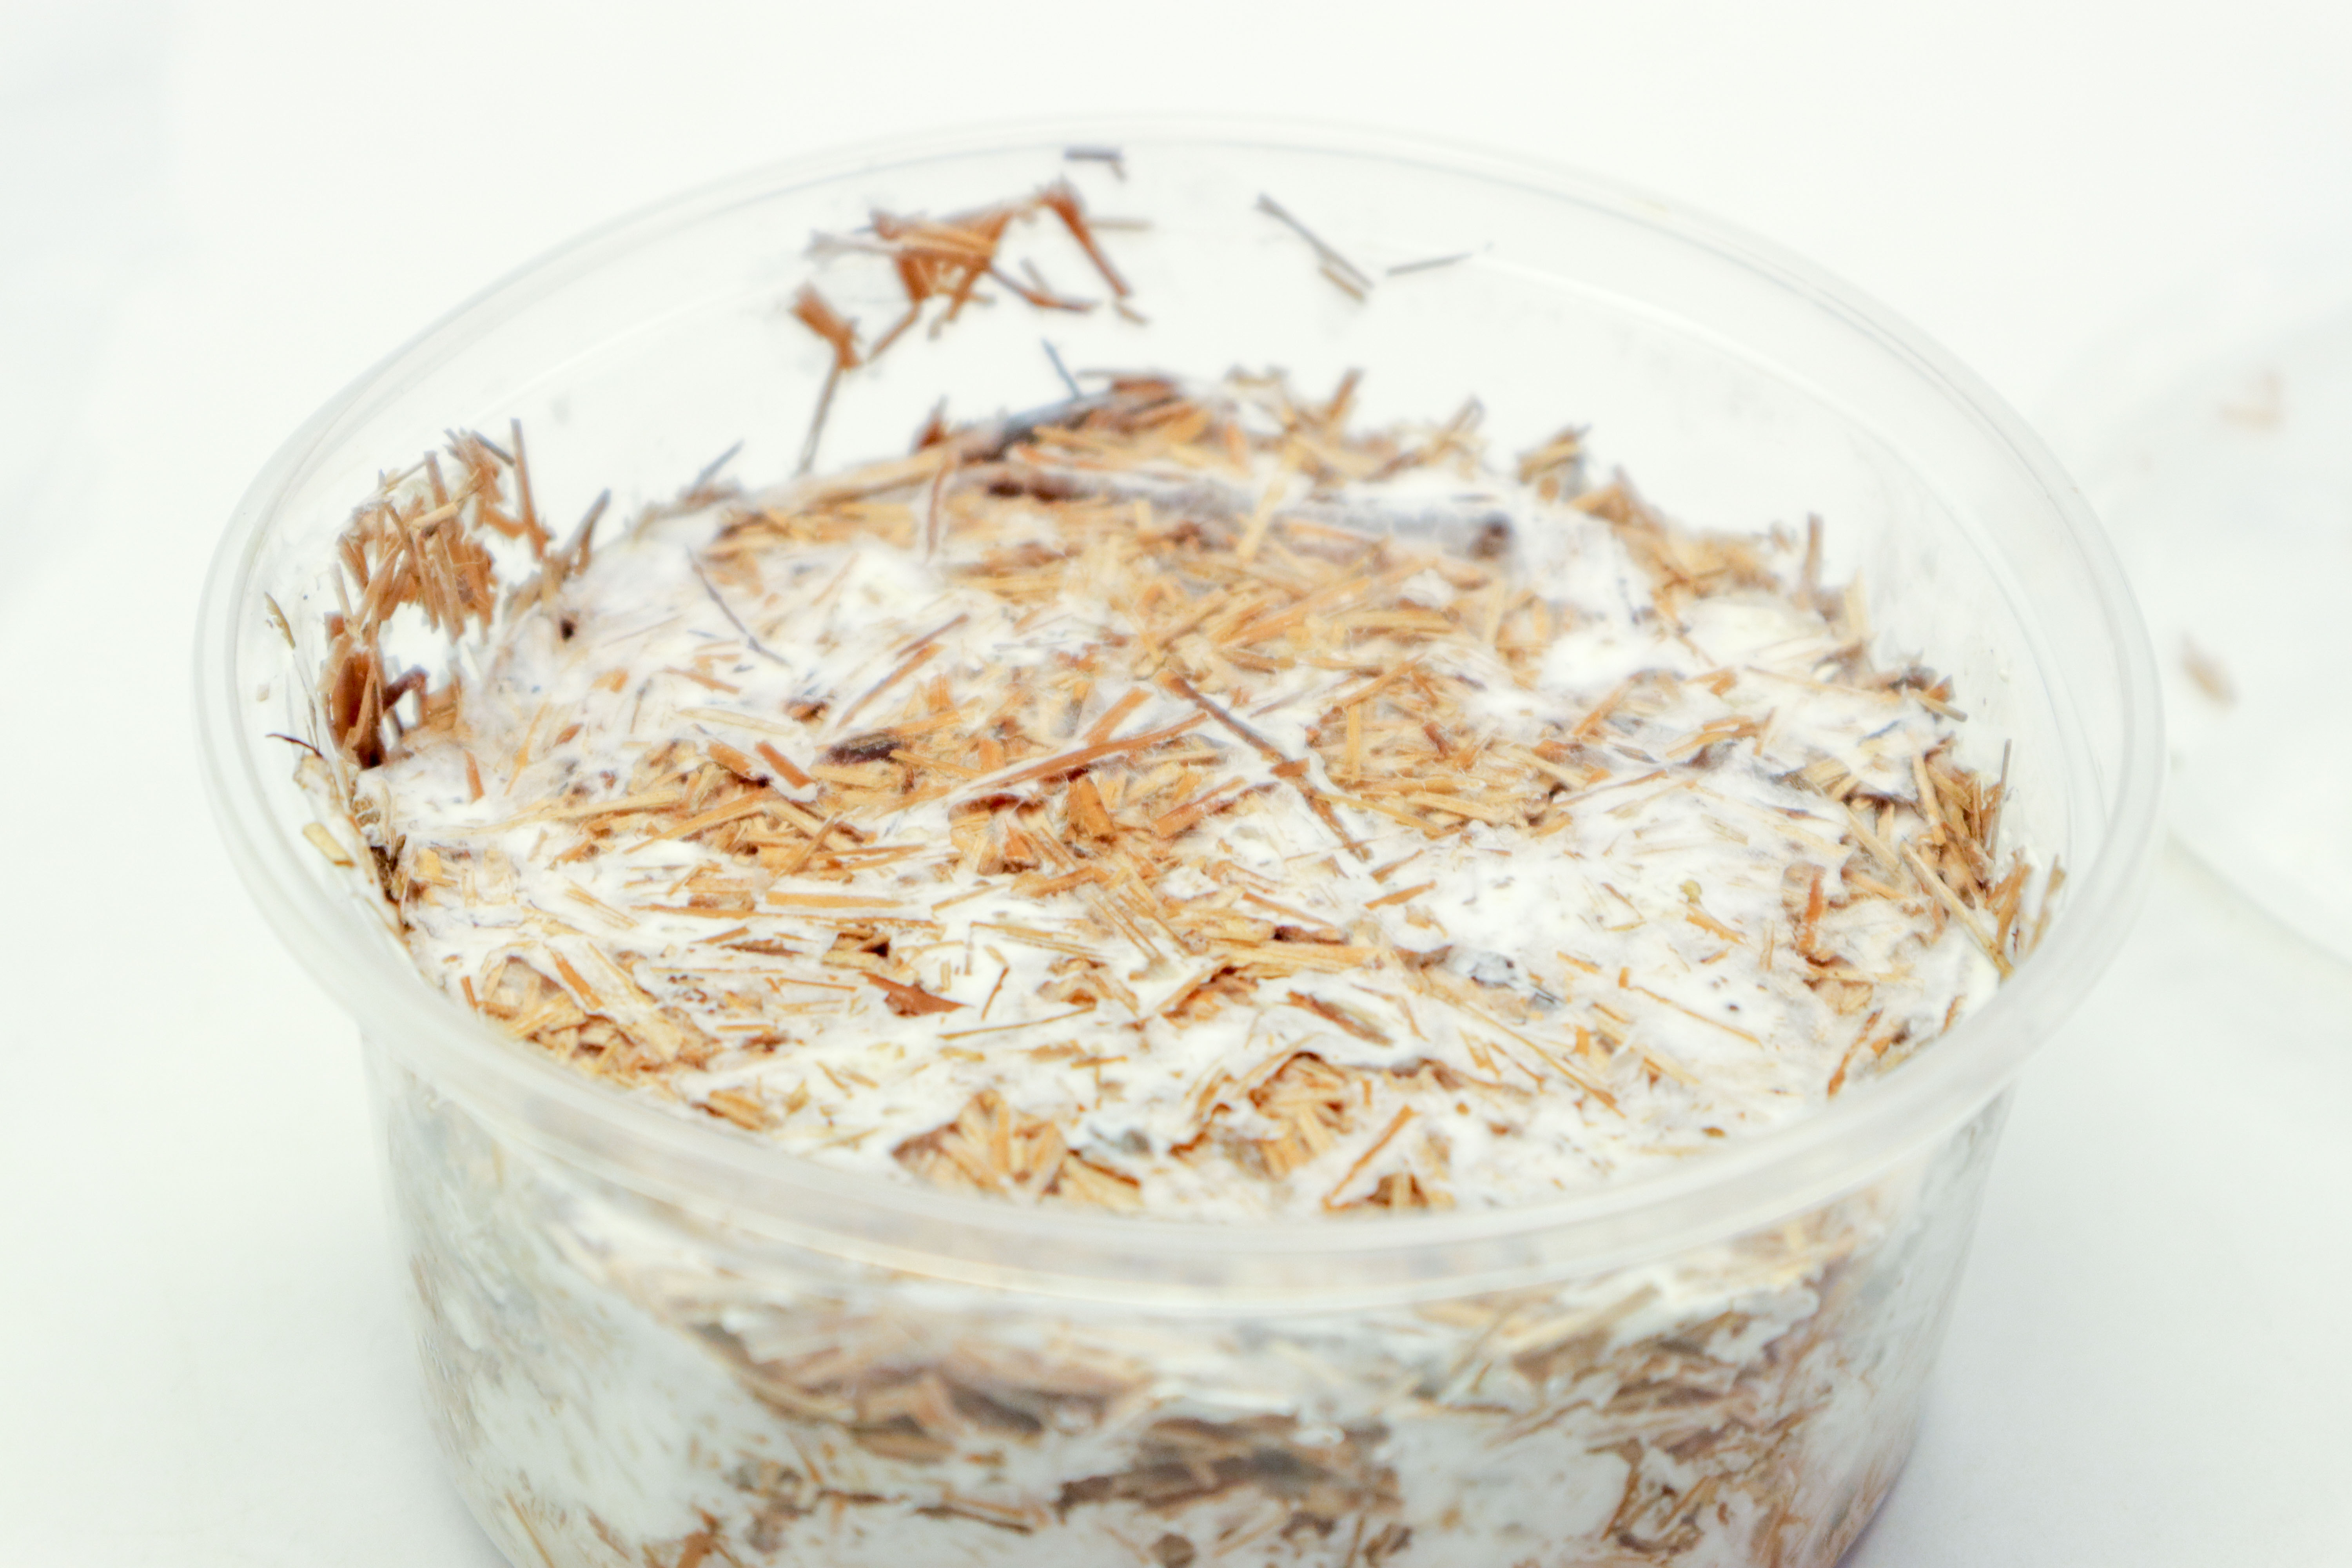
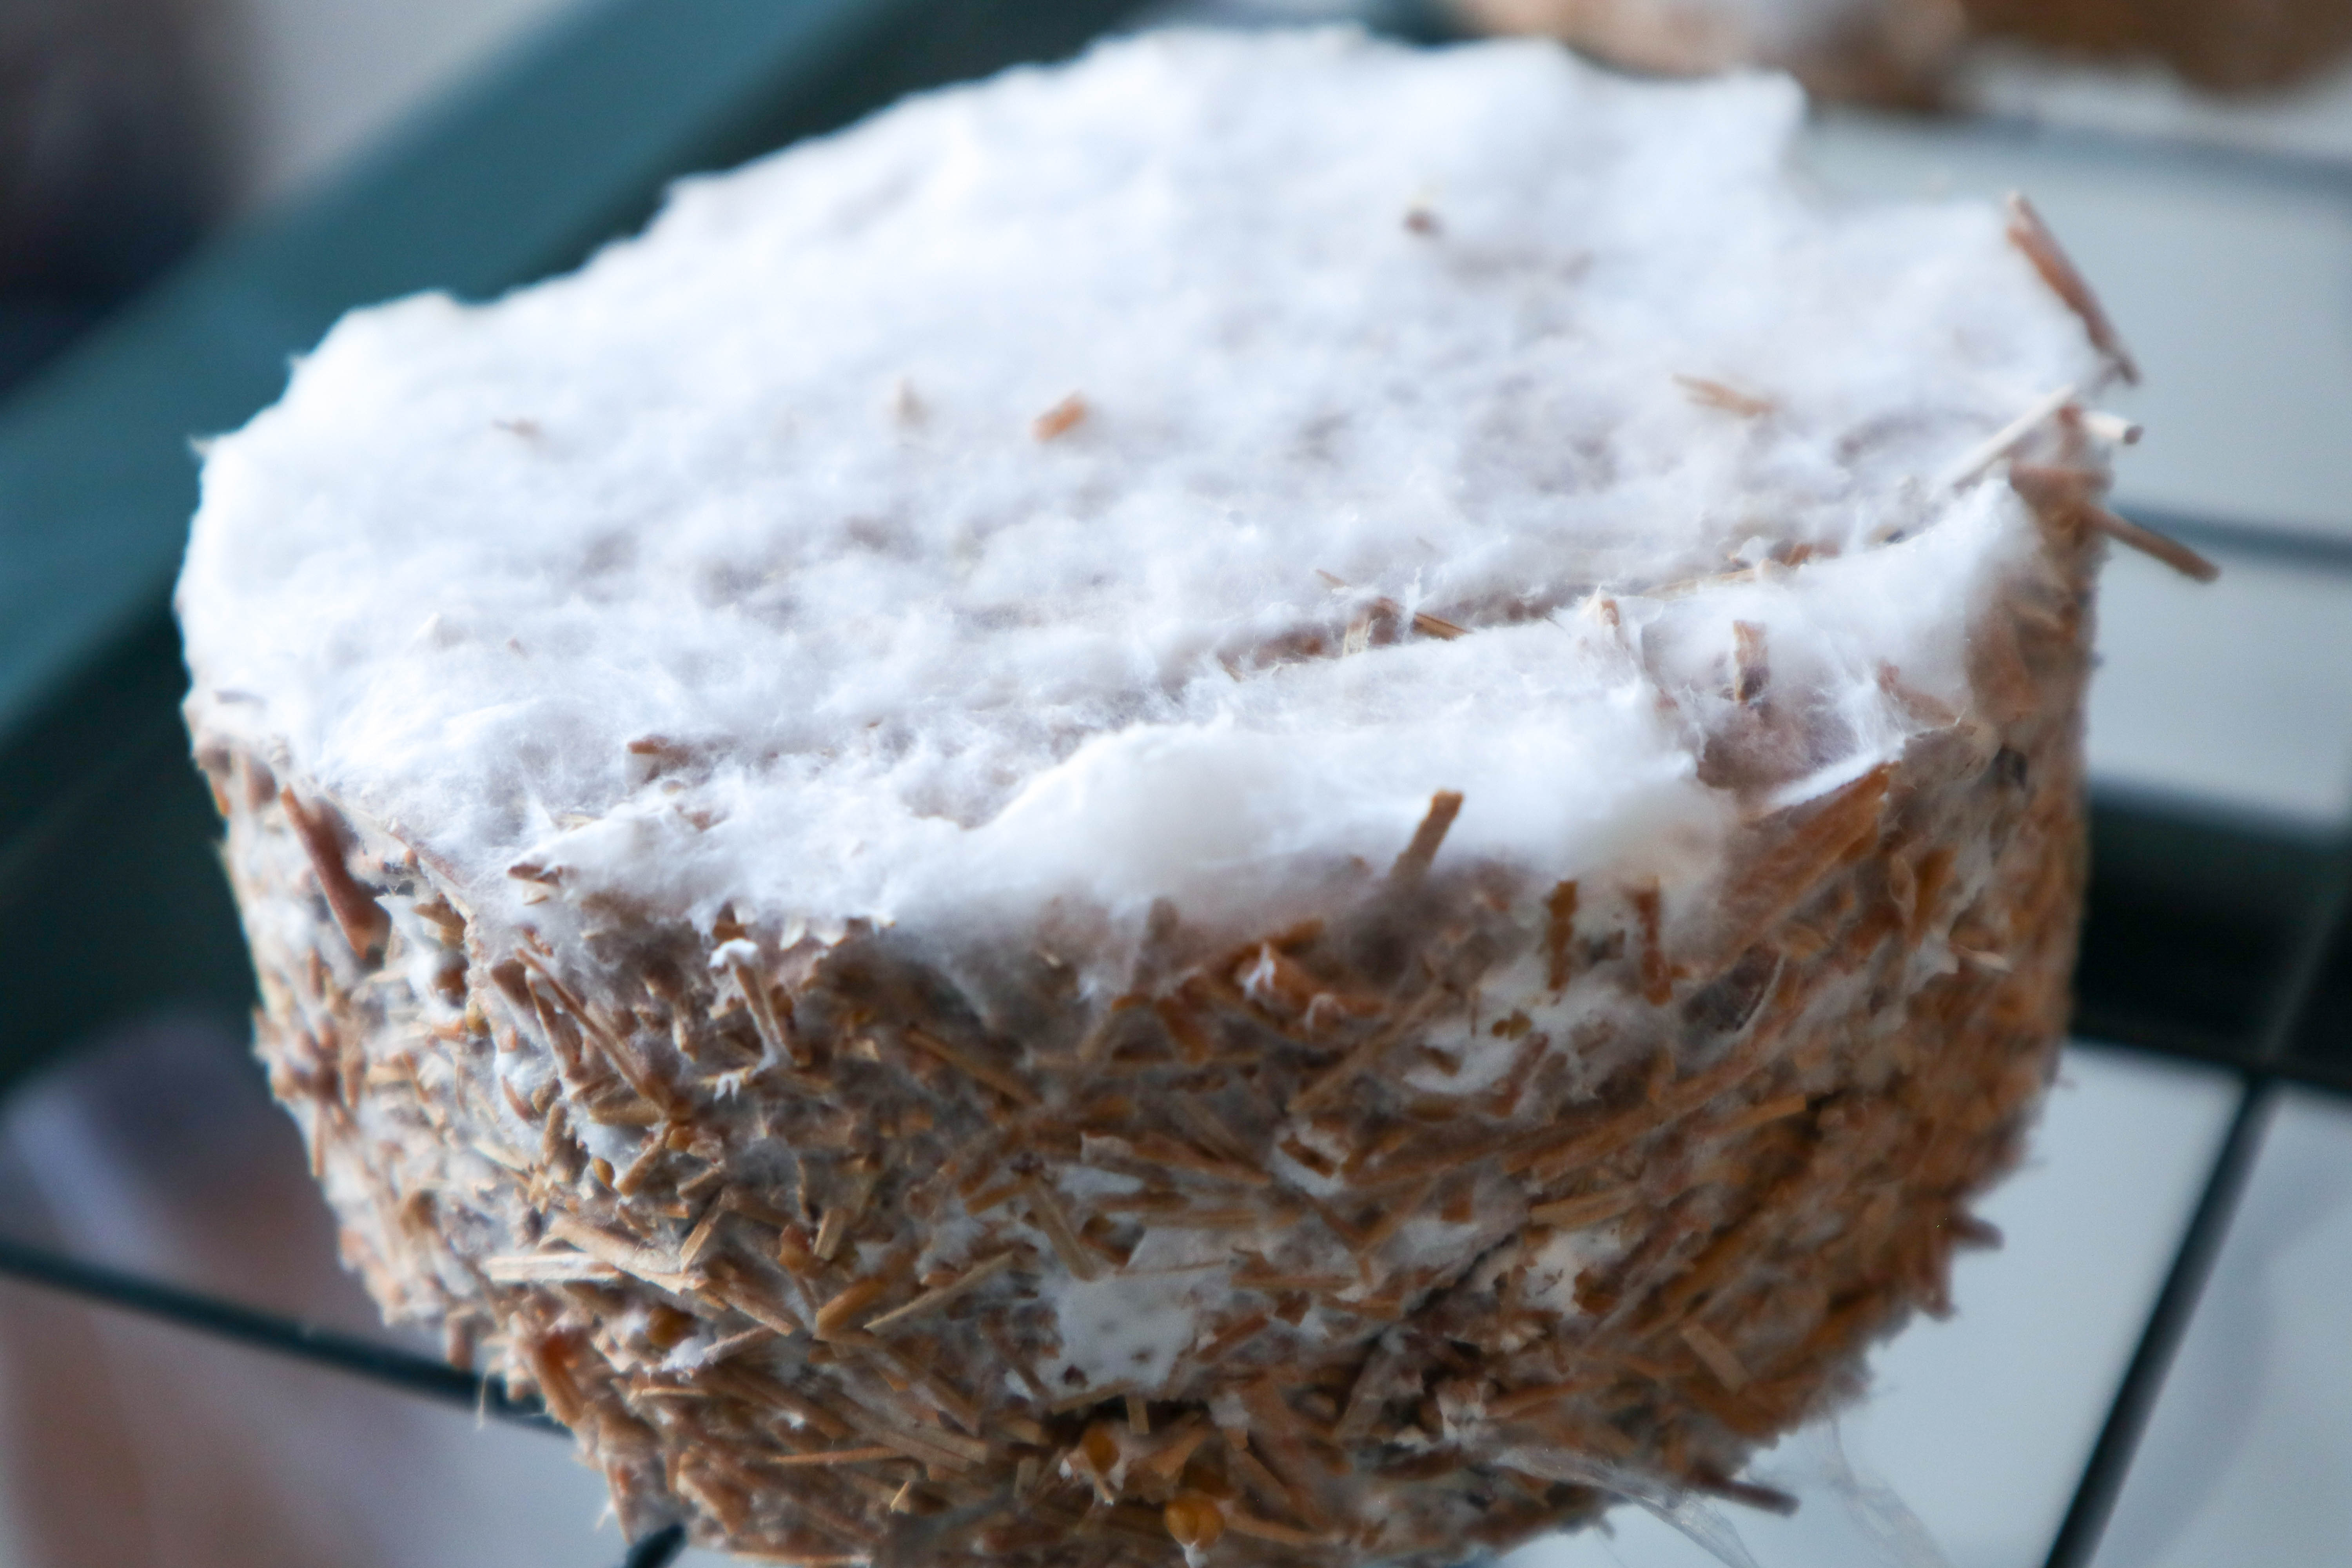
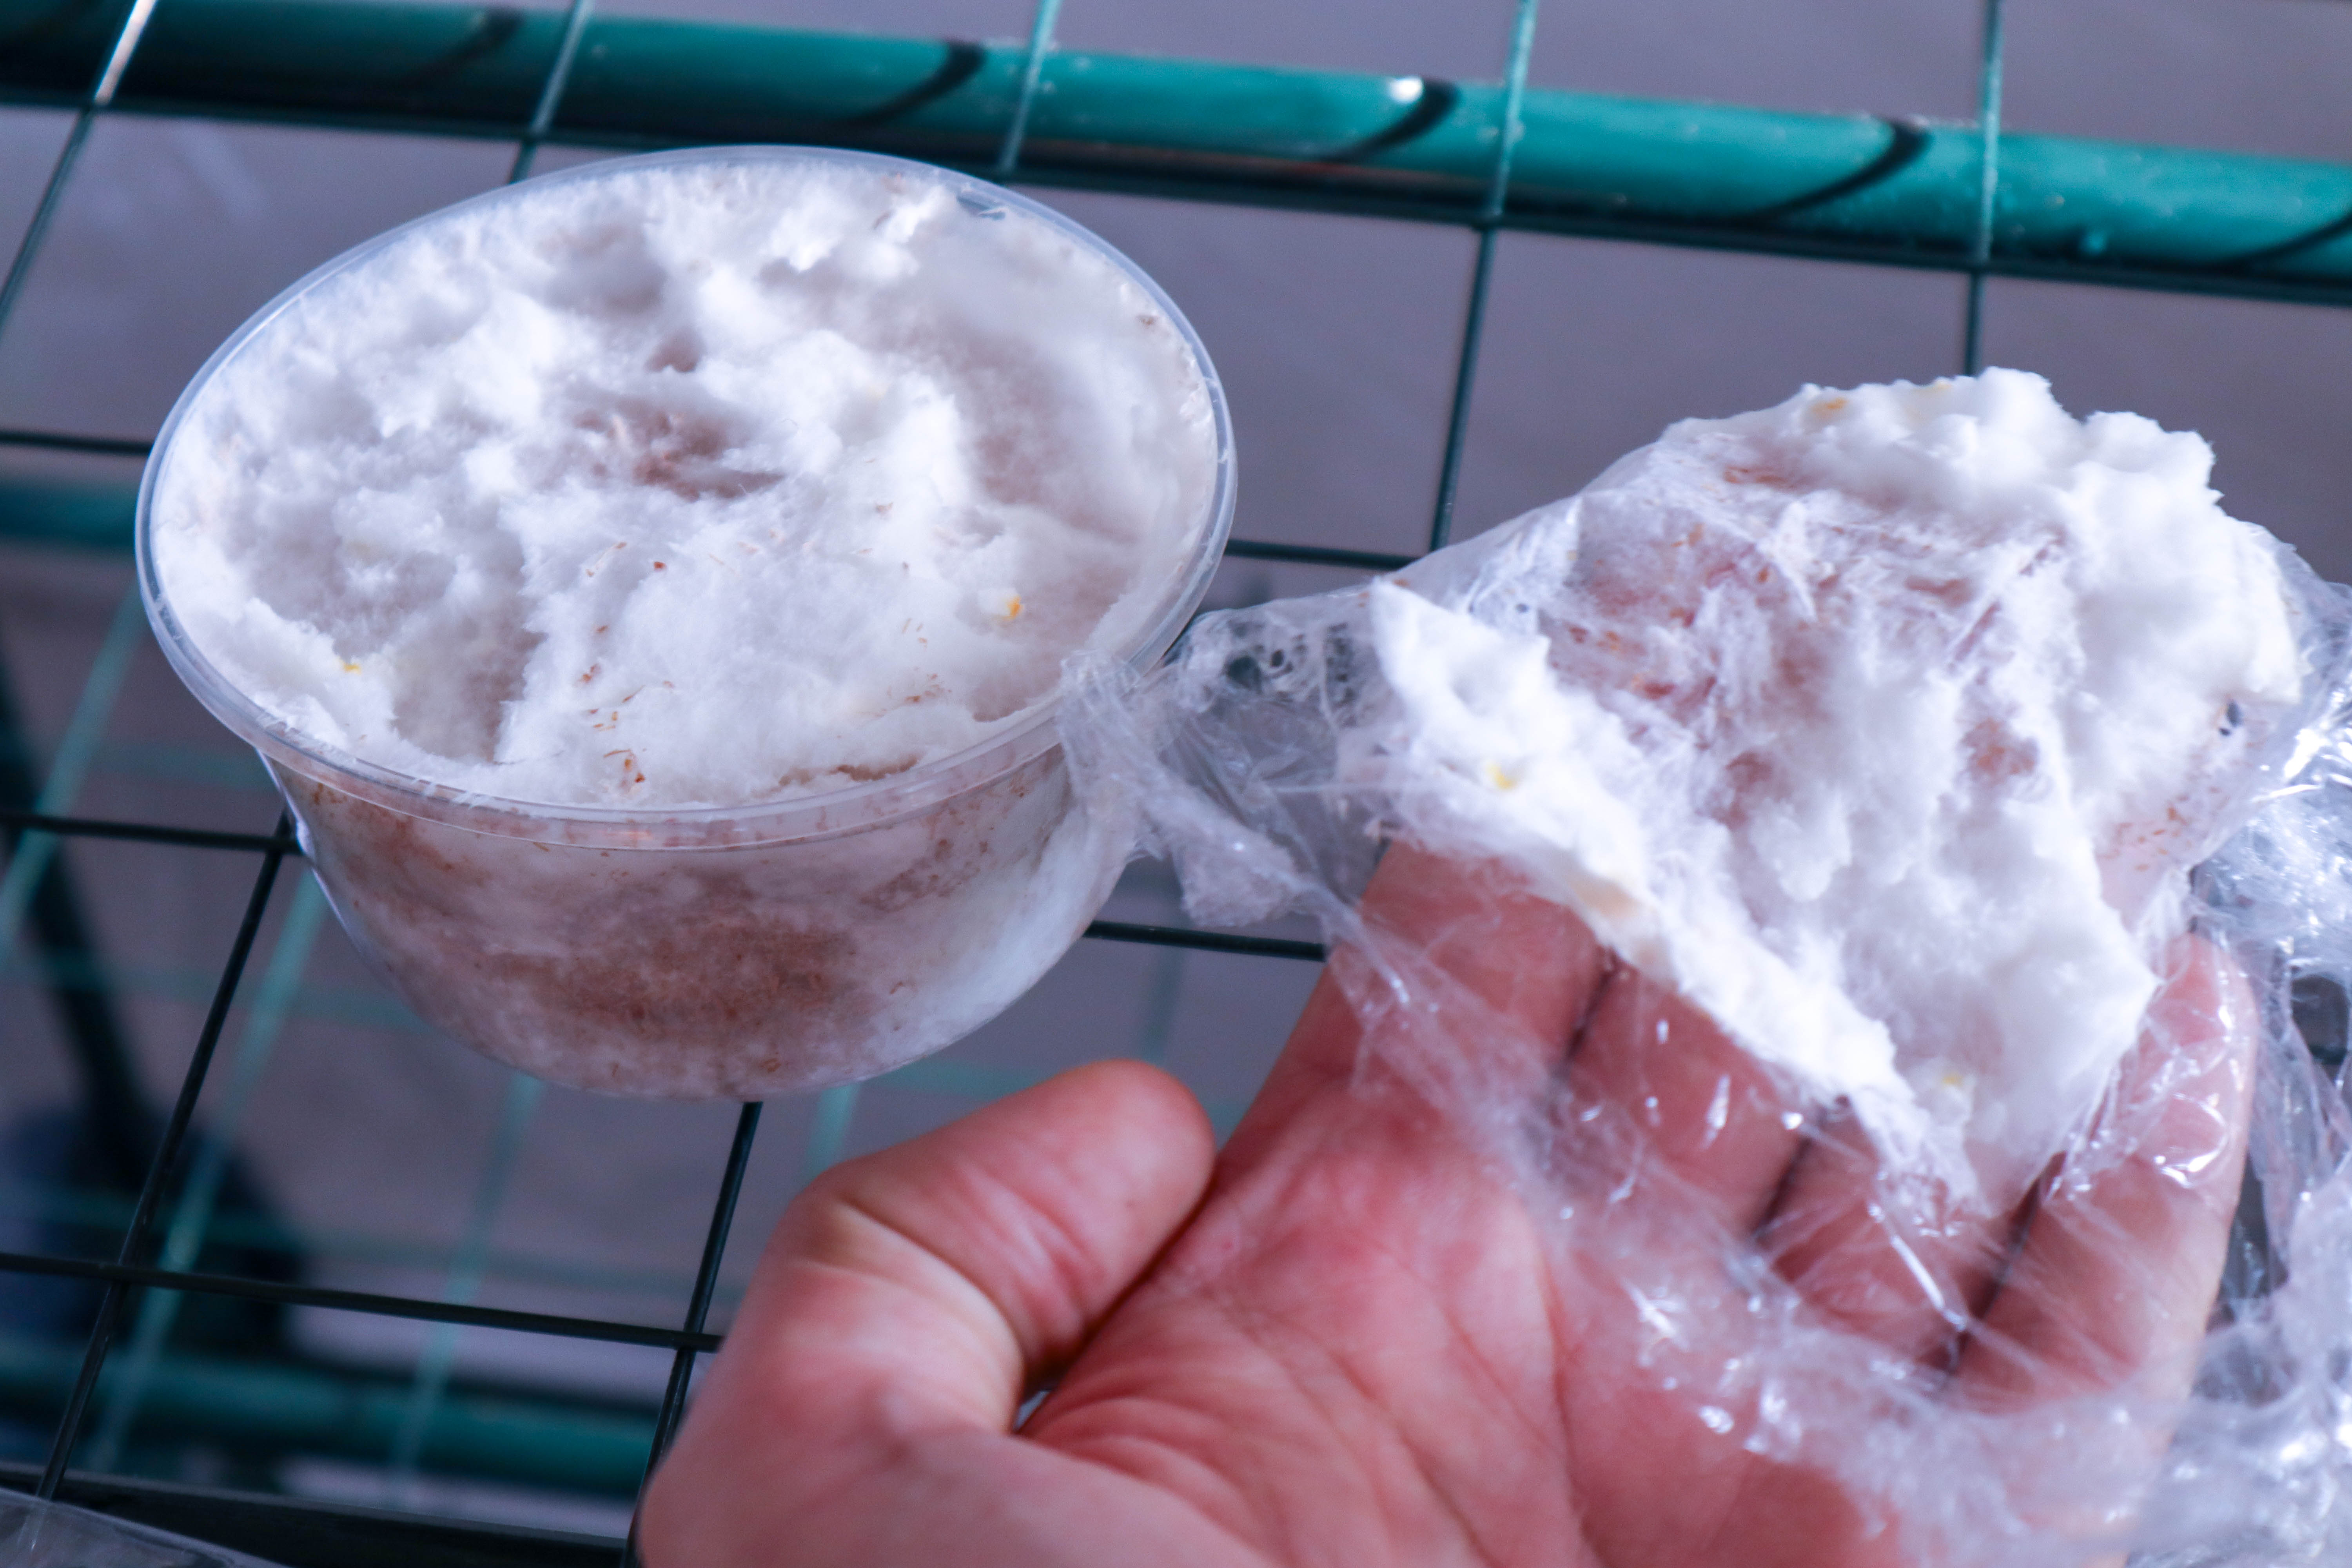
The samples covered with clingfilm in order to limit fresh air exchange and increase the c02 level did grow a fluffy mass on top of the flax as expected. This makes me want to try growing mycelium foam on a cellulose substrate in a high c02 environment. Increased c02 levels are already known to encourage vertical growth of mycelium which spreads out in search of oxygen as it “suffocates”
Here you can see how the fluff grew on top of the flax in these samples:
Unfortunately, the mycelium “fluff” stuck to the clingfilm:
The growth of the outer skin did not complete during 8 days as I expected because I didn’t add enough water to the substrate (75% of the weight of the flax+ grain spawn).
14 Days: Slow(ed) growth
After 6 days out of the molds, only some of the samples showed patchy growth of the outer skin. I began misting the samples with a plant sprayer (also can be found marketed for spraying weed killer), using boiled water in order hydrate them for another 8 days. Boiling the water will kill some of the potential contaminants in the water. The samples were sprayed from the top and bottom side of all the samples for 10 seconds
Lost Labels :(
Only after spraying the samples did I realise that my masking tape labels wouldn’t stand up to the water. As a result, most of my careful labels were lost and I could no longer keep track of the samples. Lesson learned for next time!
18 Days (Incl. 4 days misting):
After 4 days of misting, most samples were around half covered with a mycelium outer skin ranging form fluffy to dense.
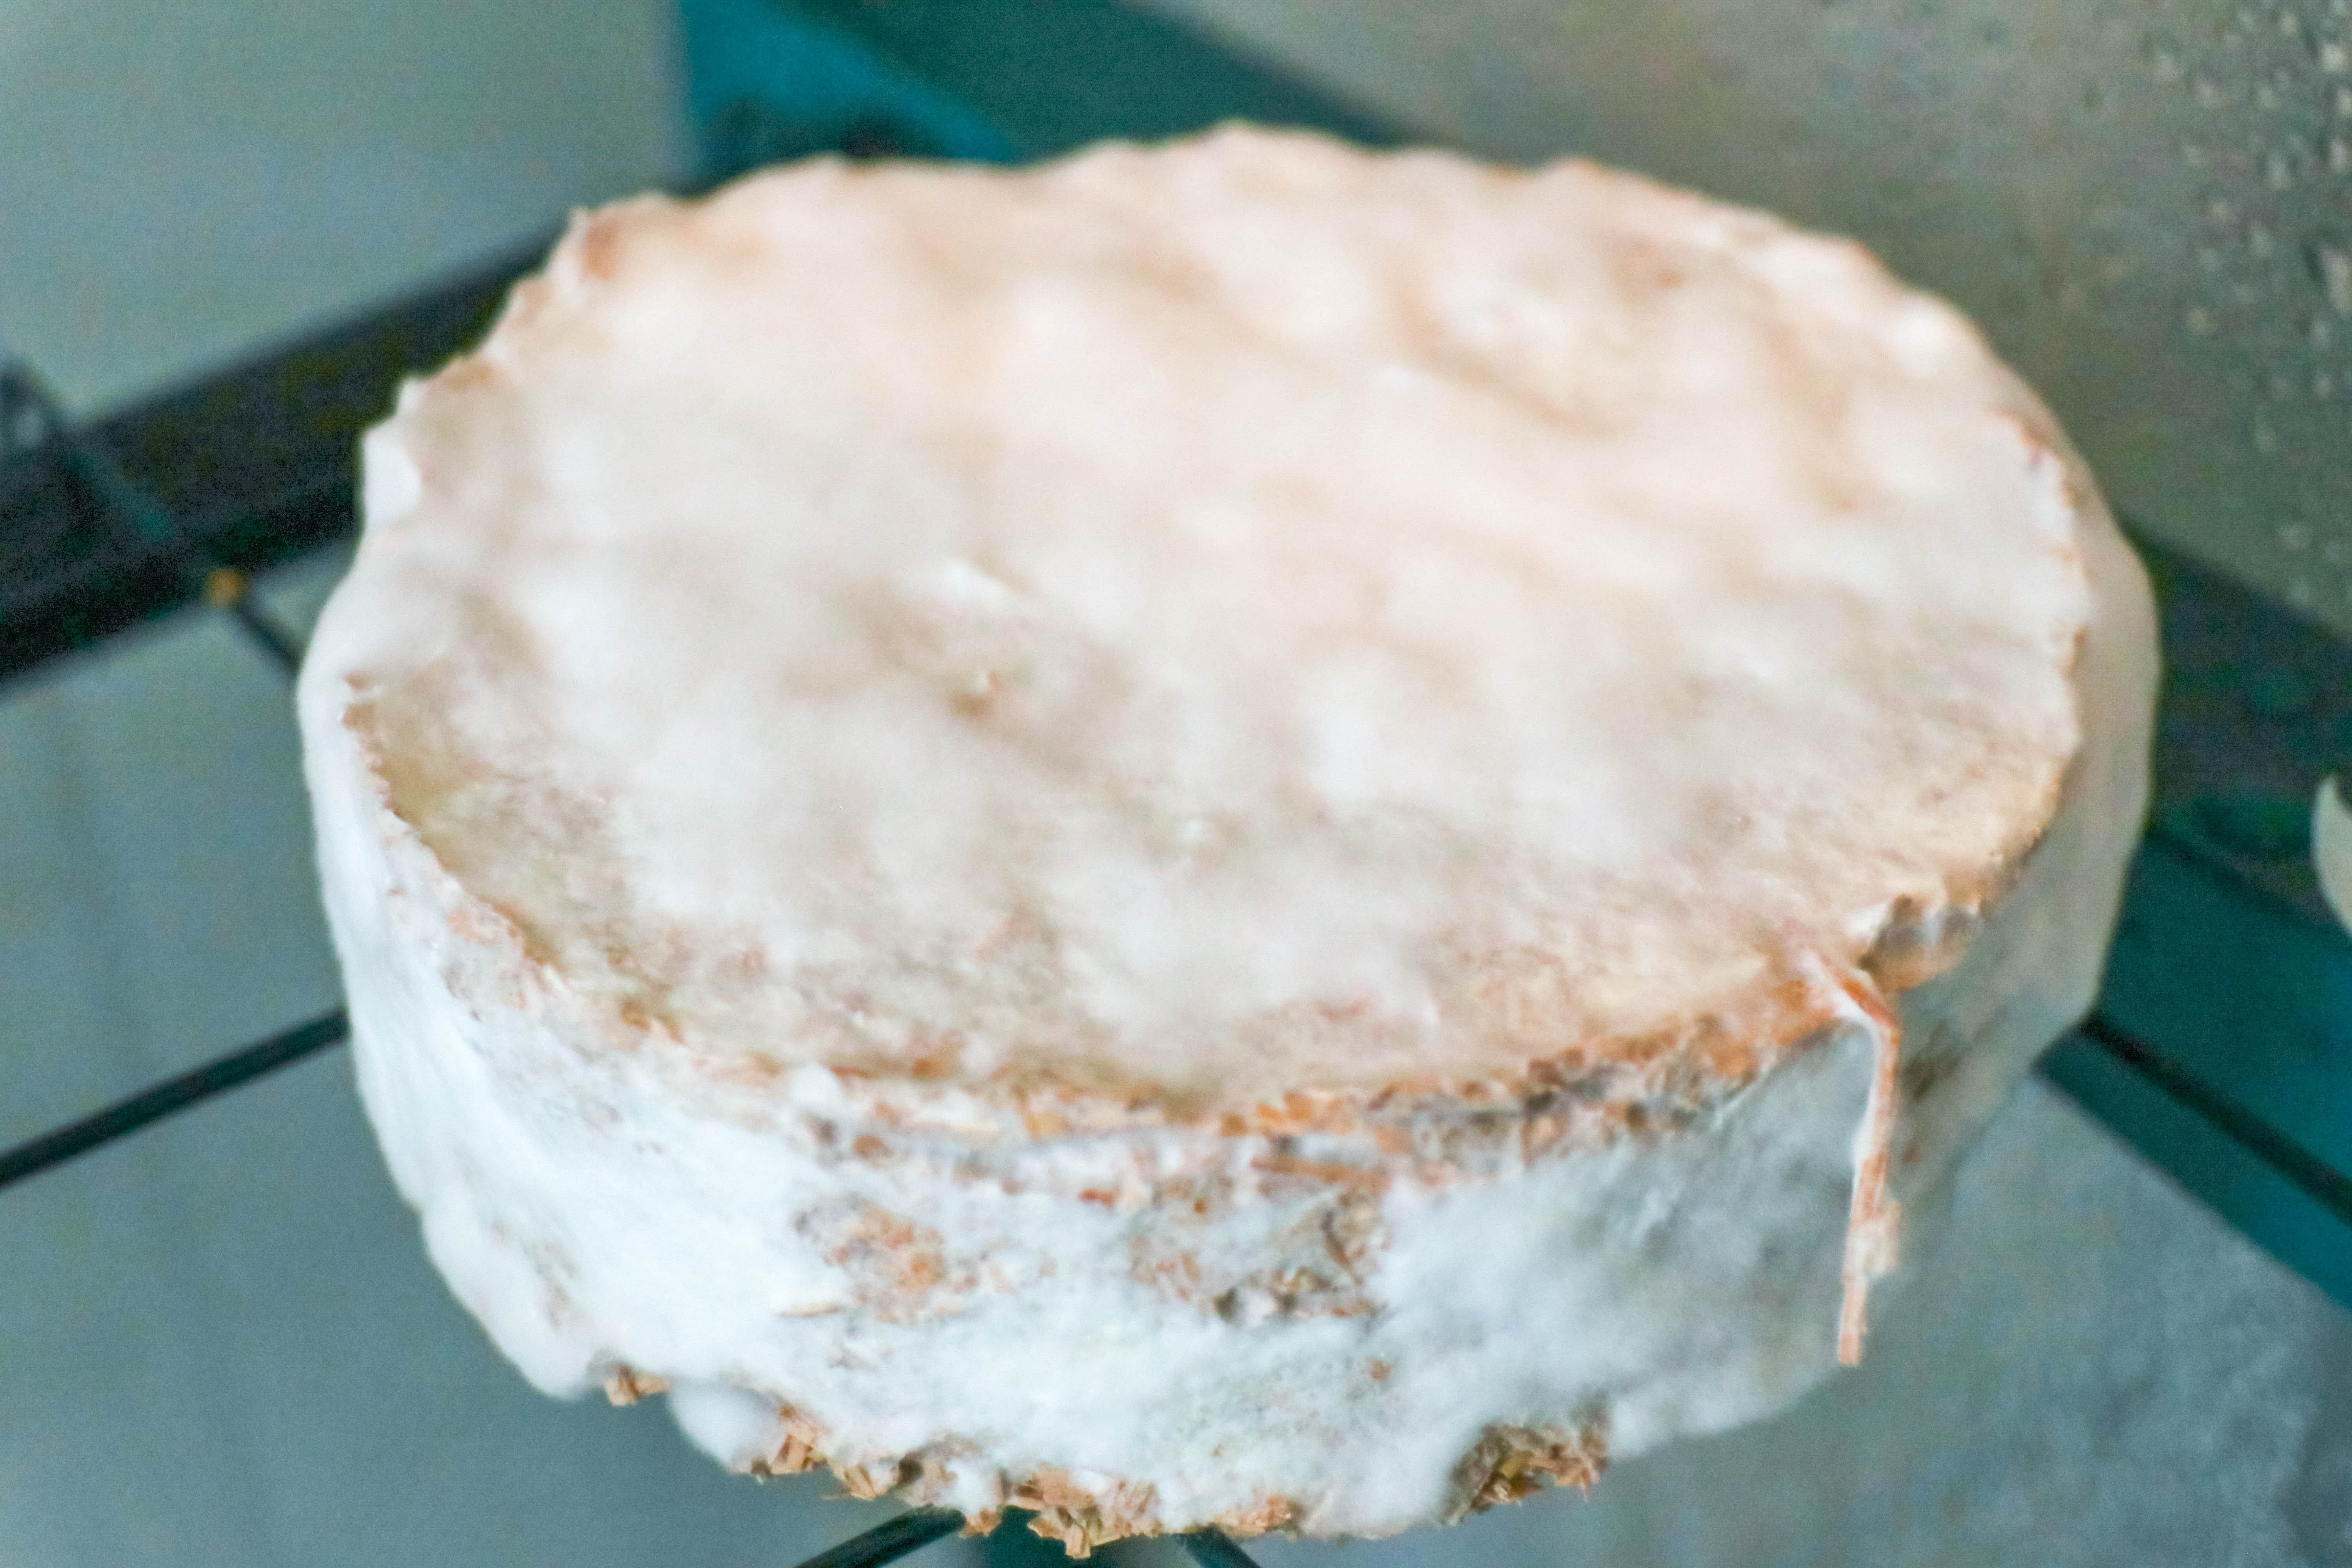

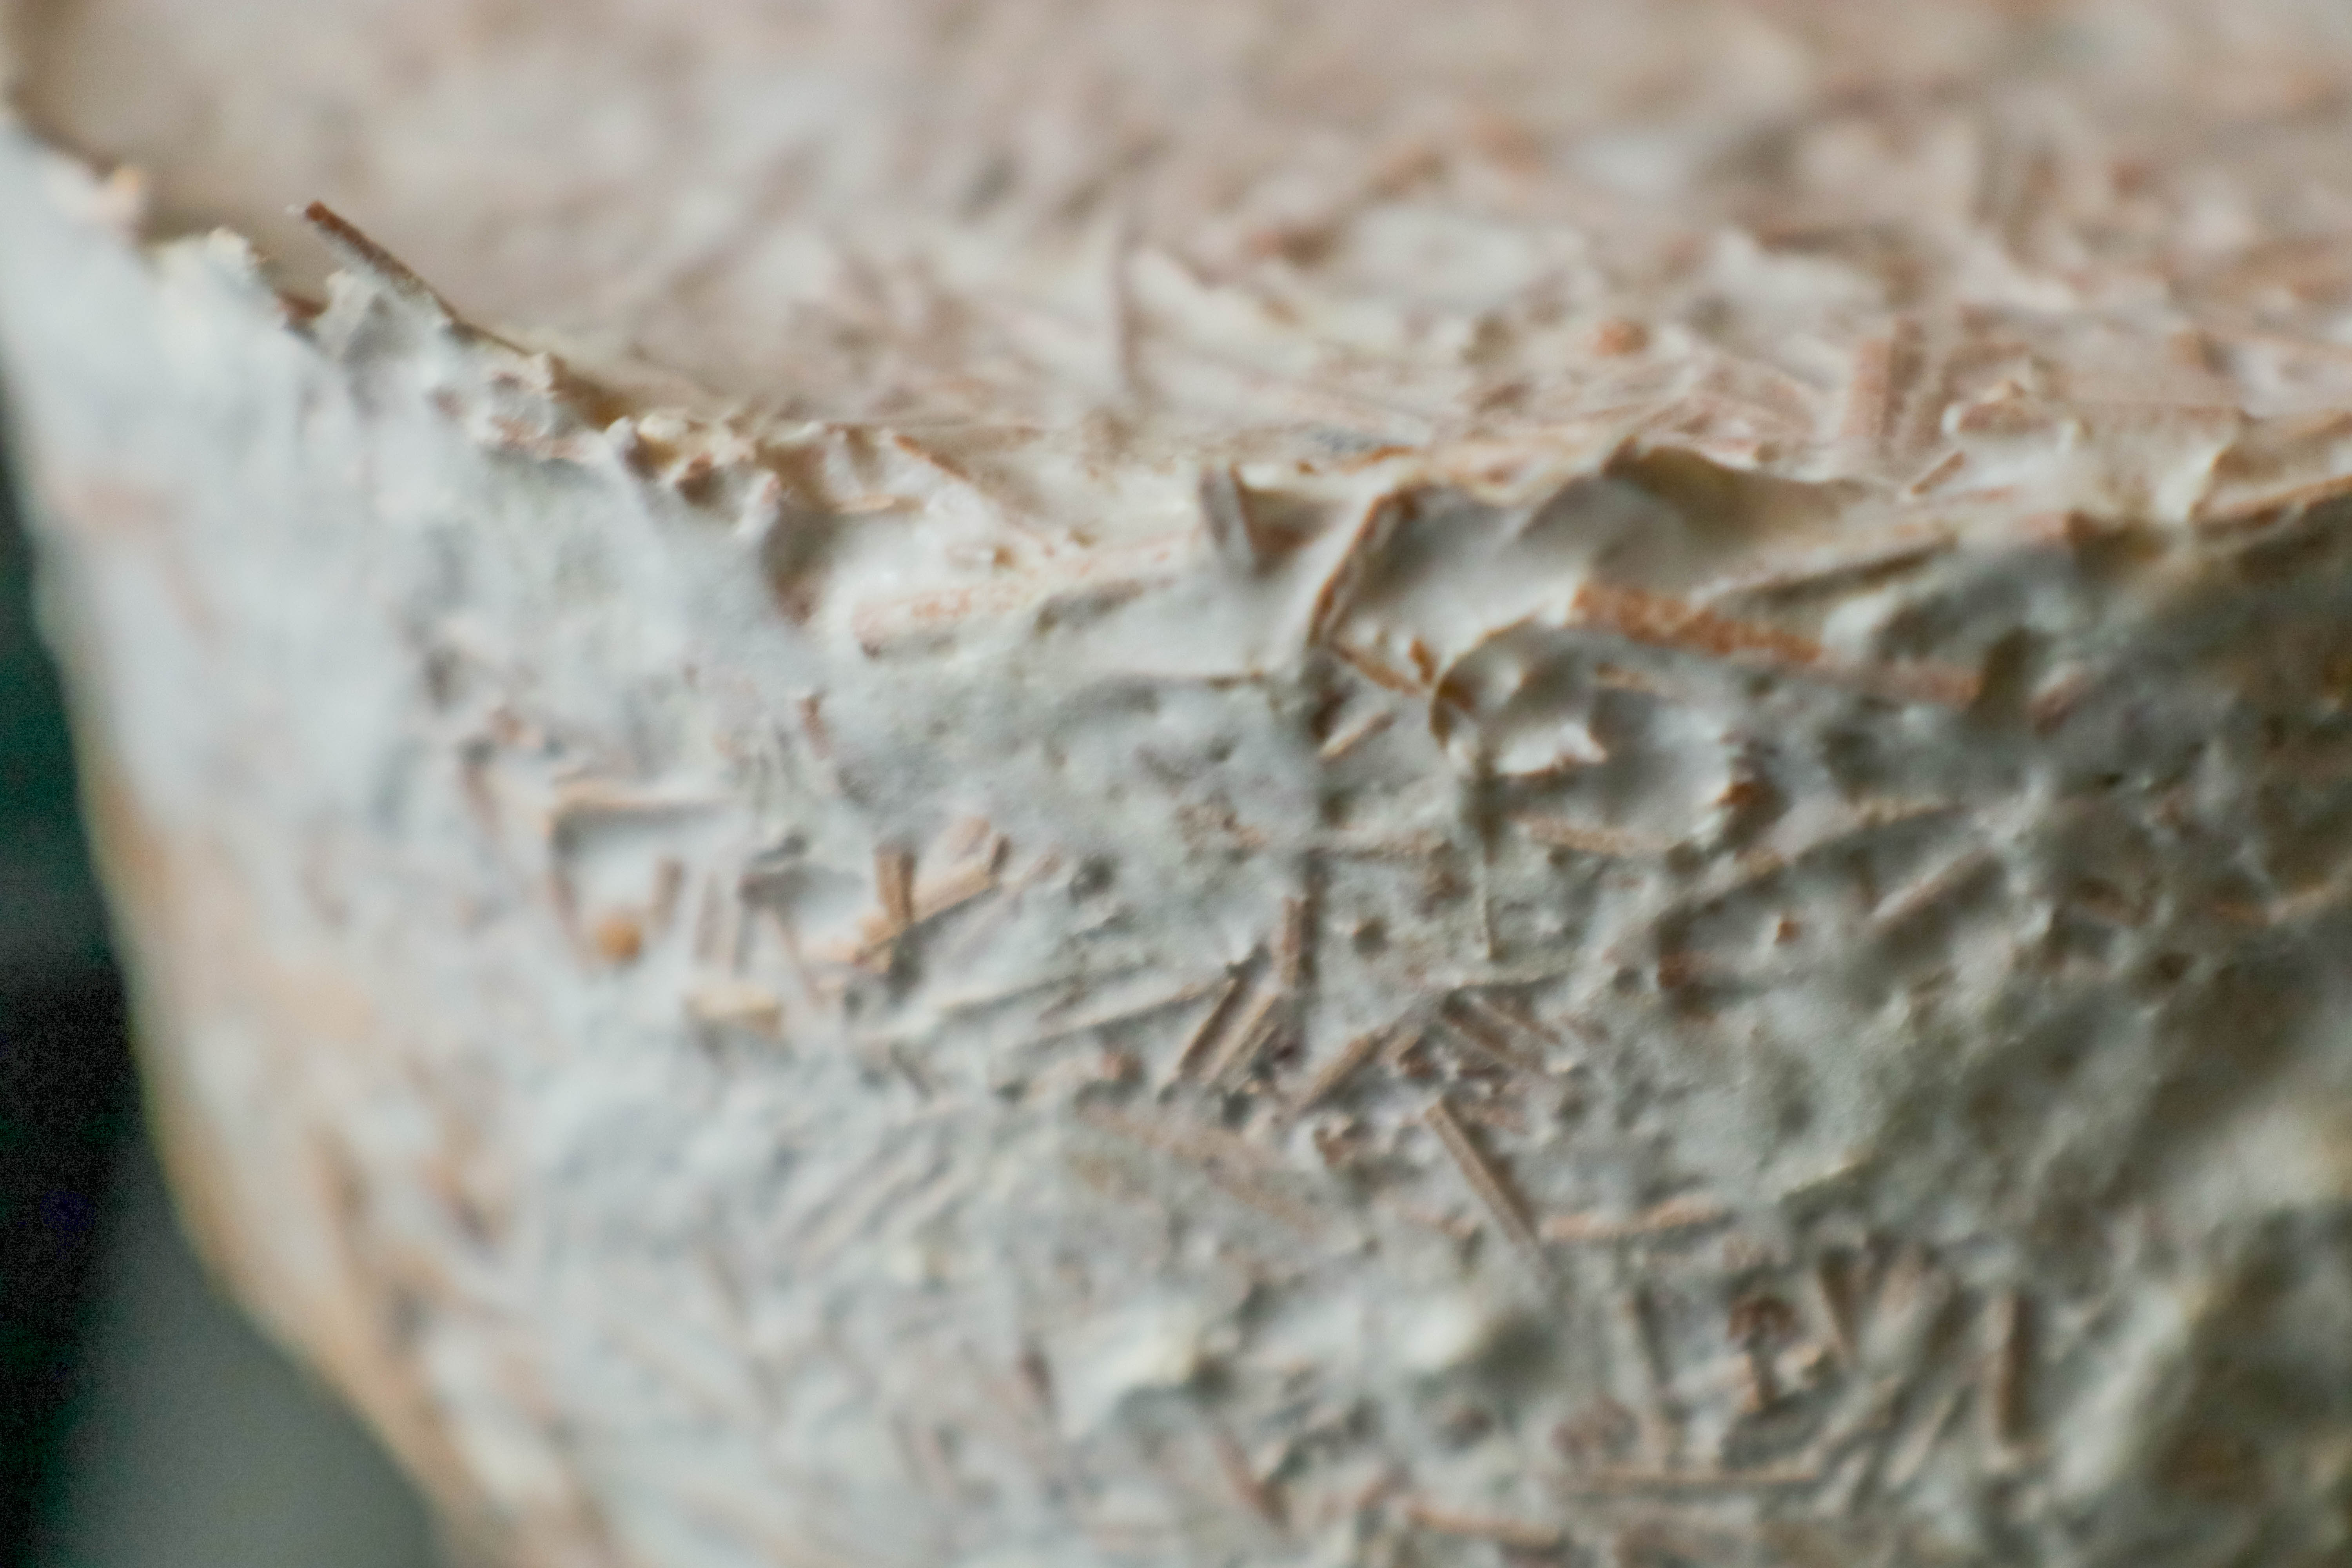
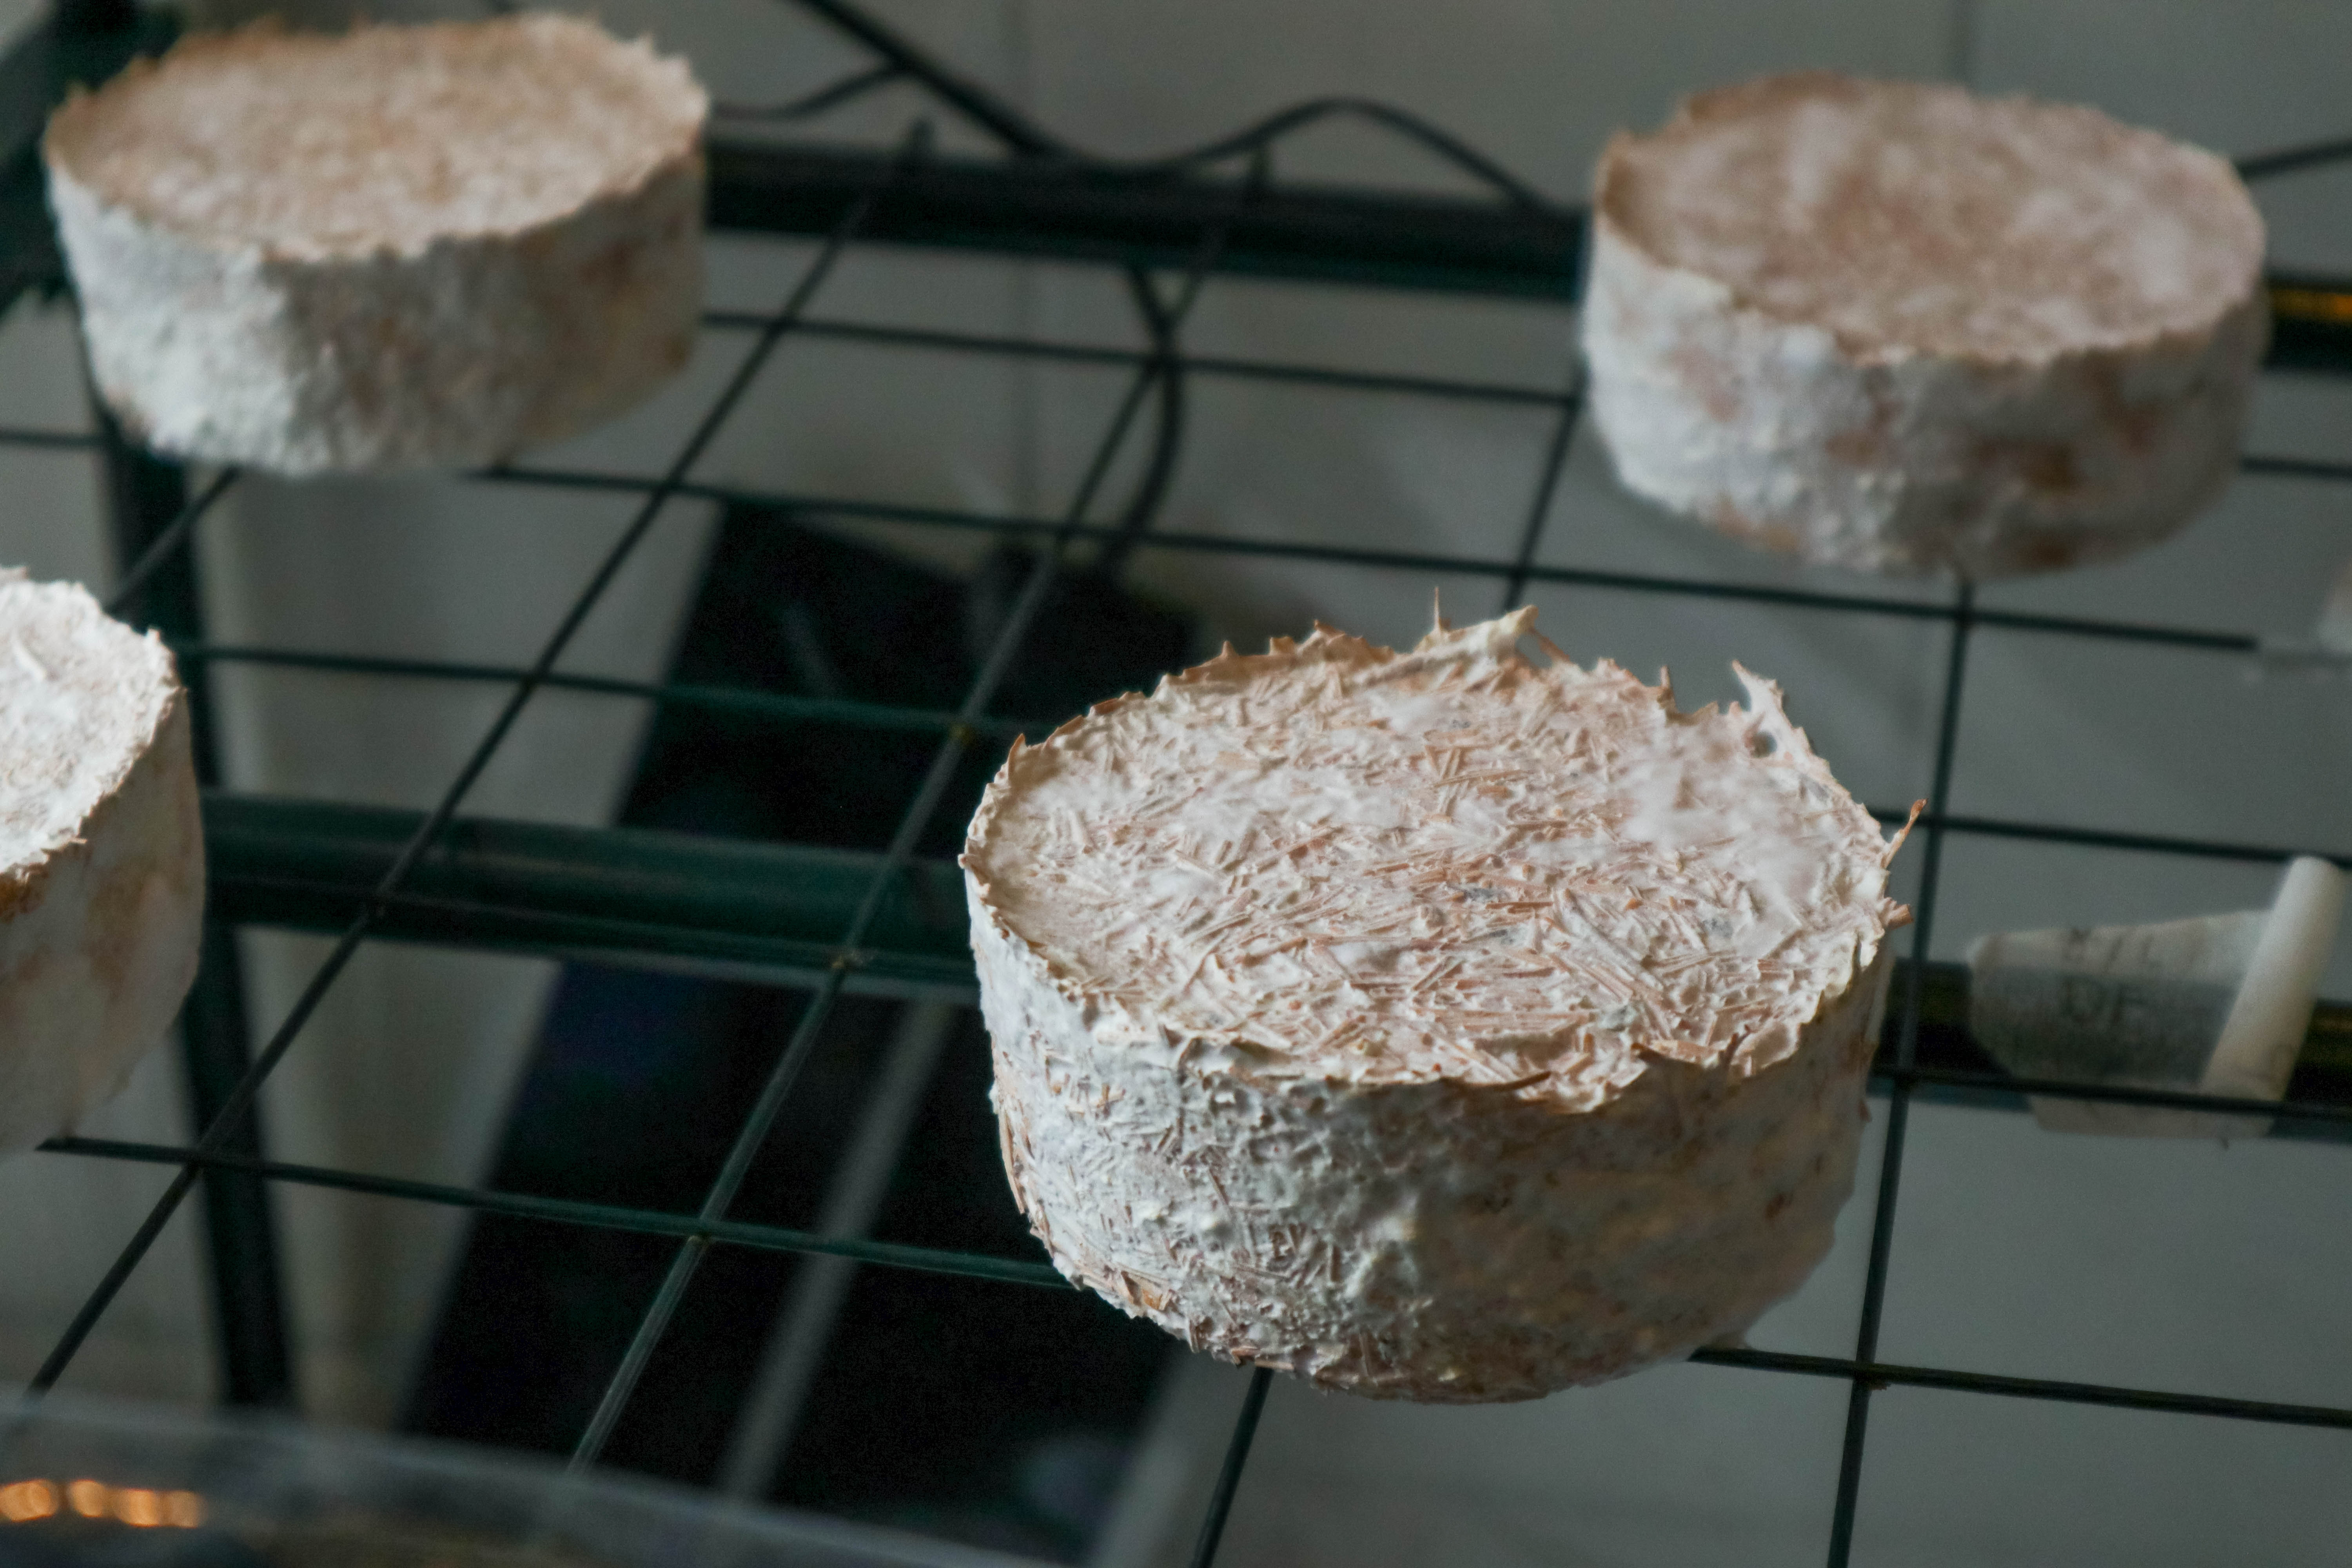
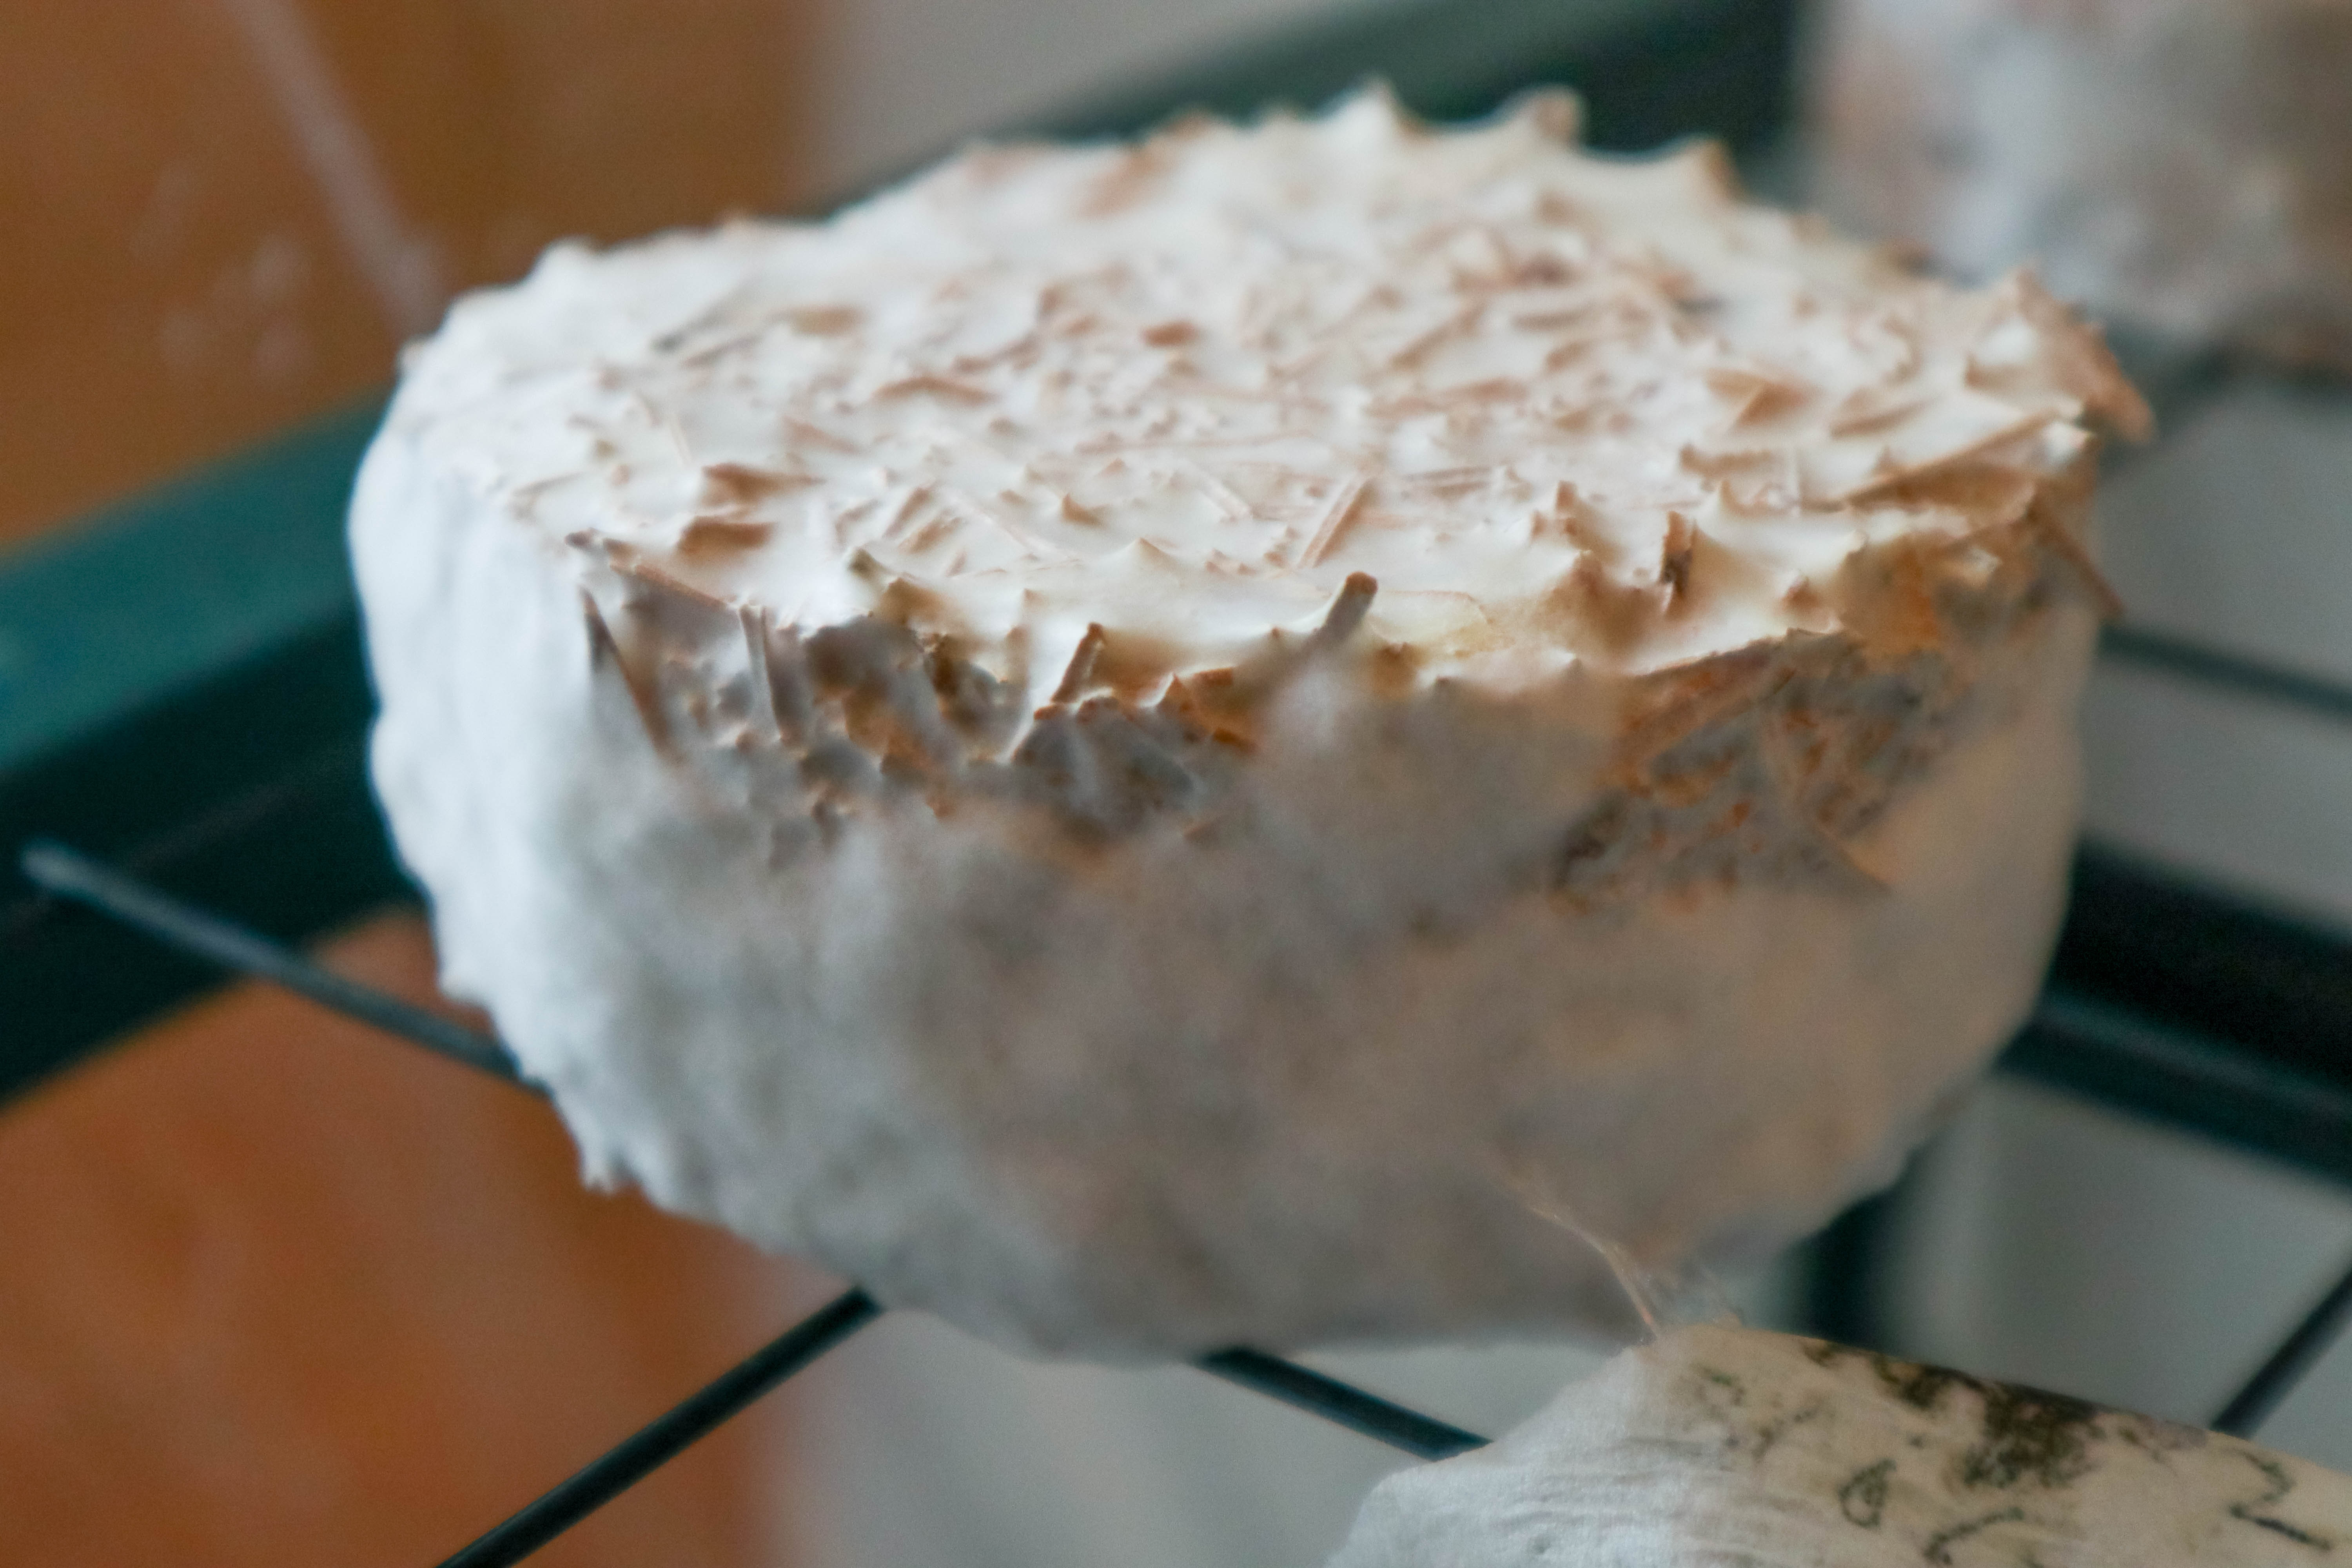 Above you can see the mycelium has spread to colonise the masking tape I used as a label to access its cellulose for food.
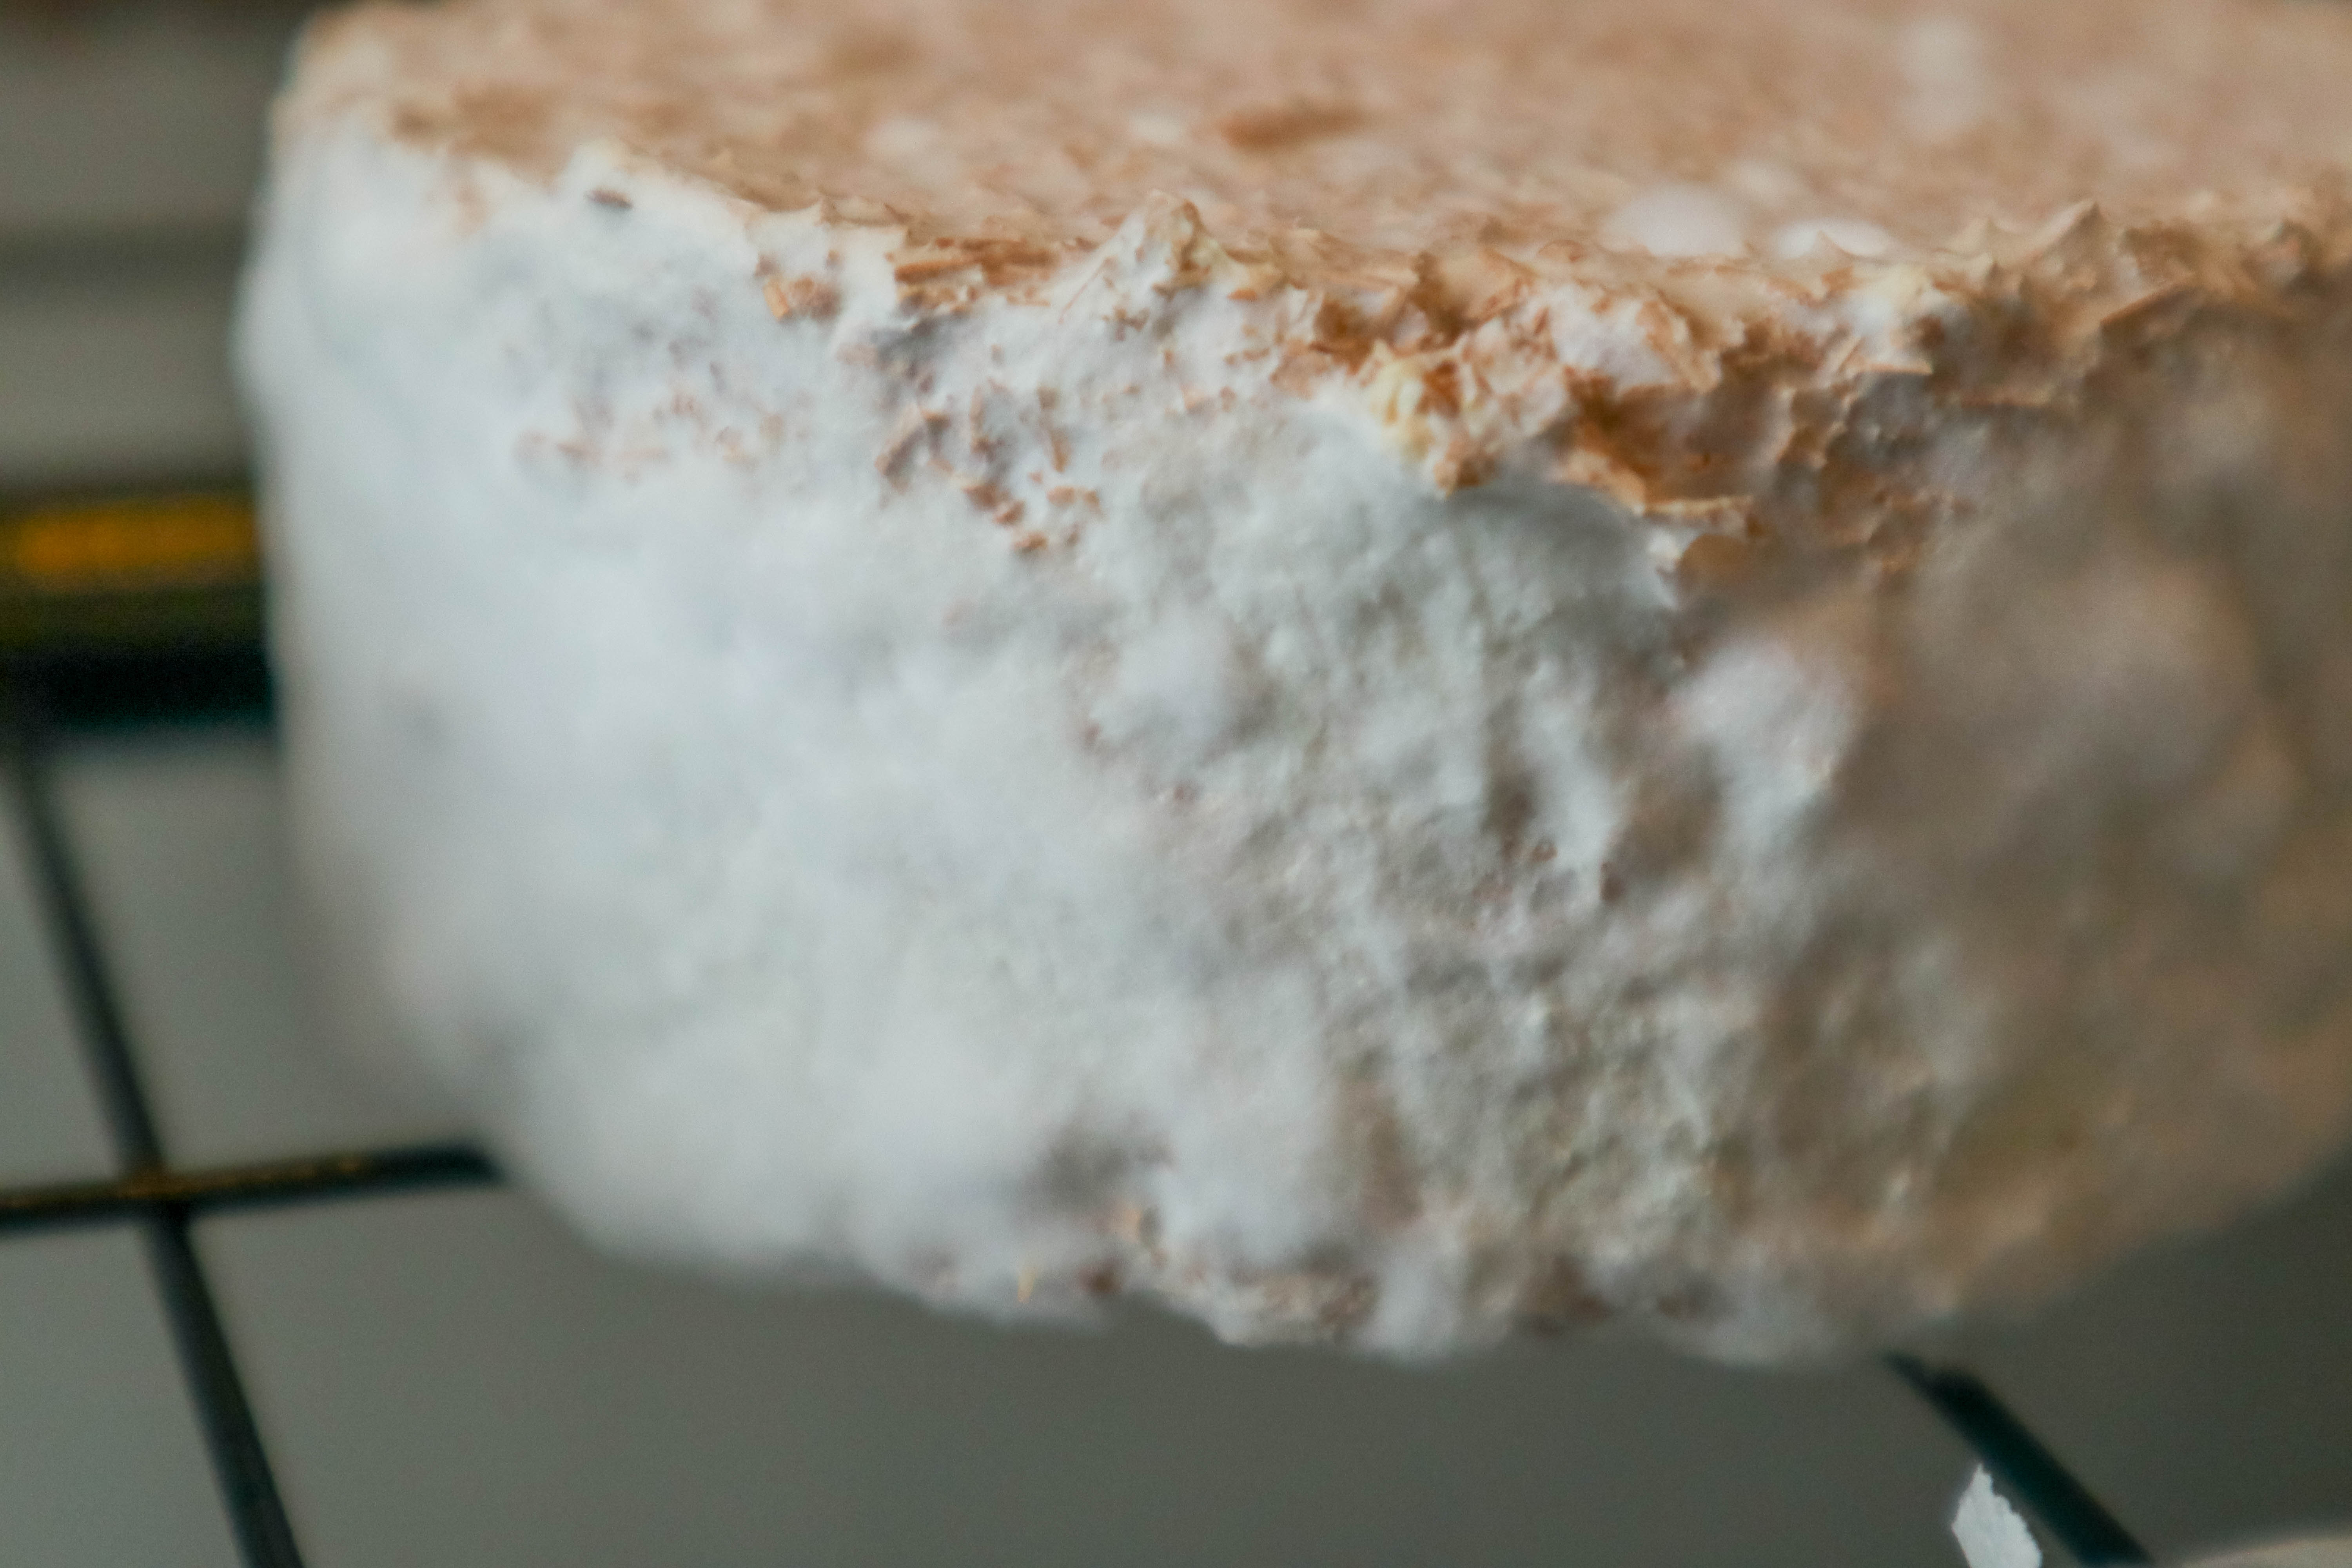
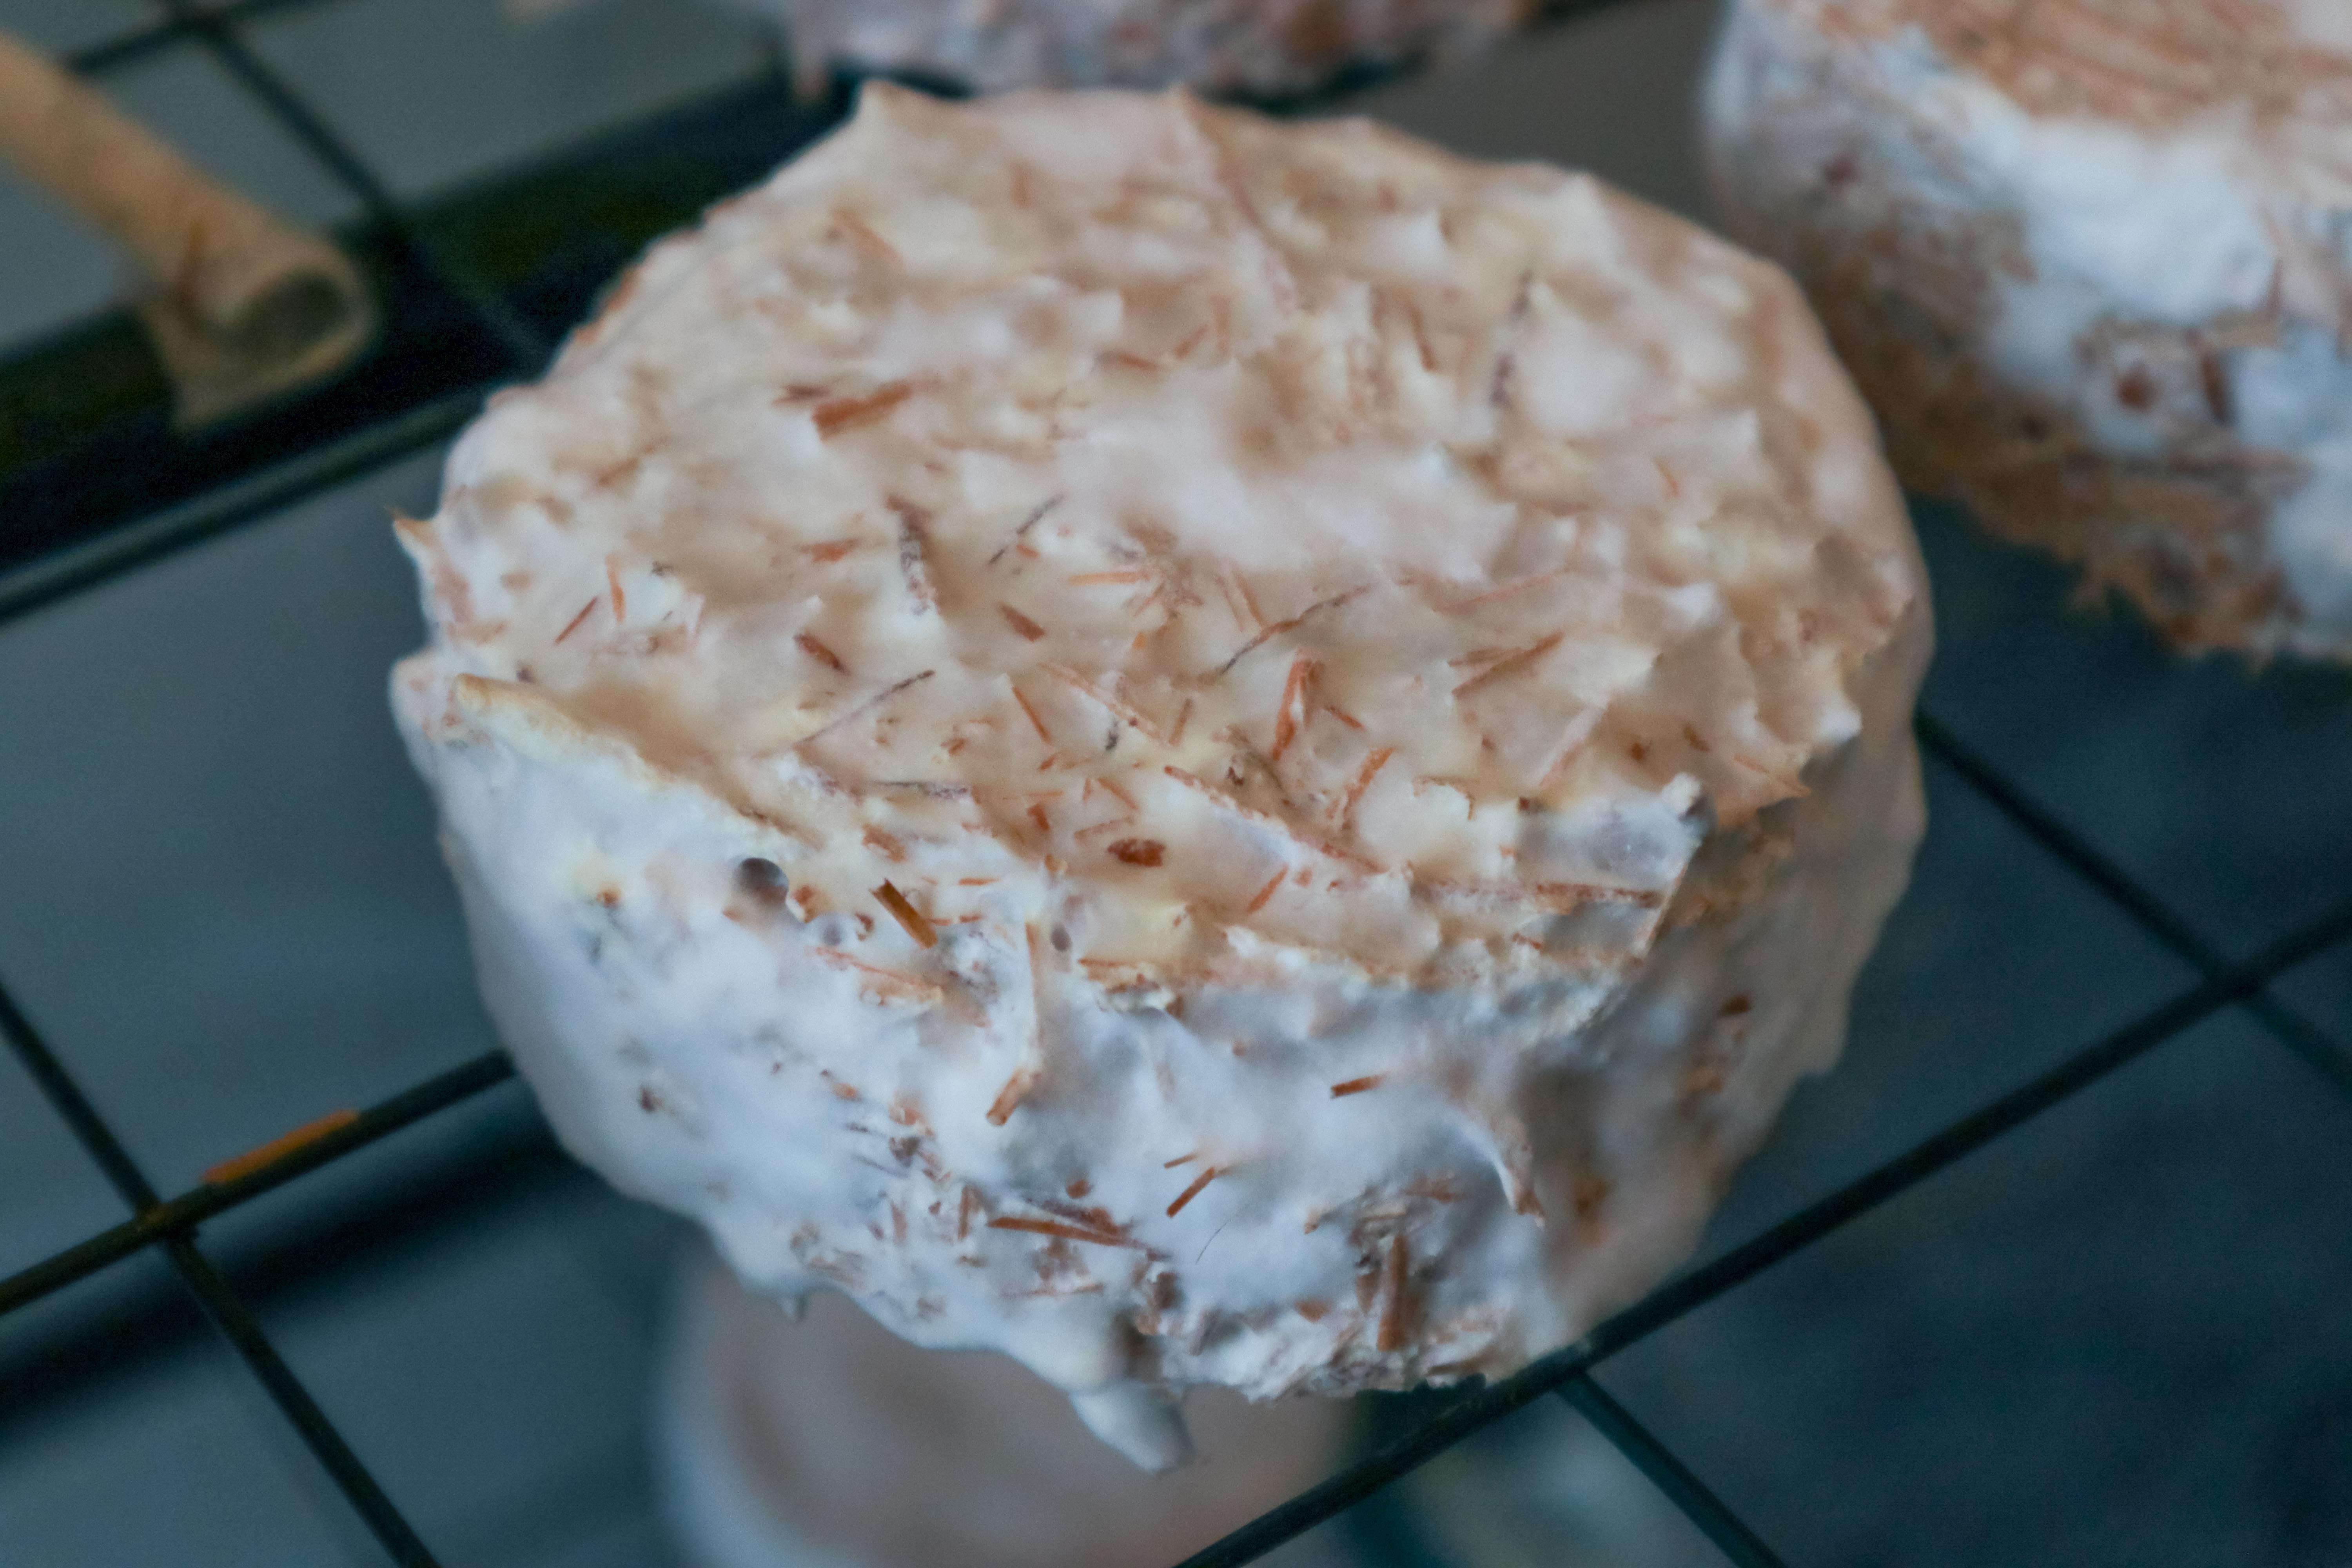
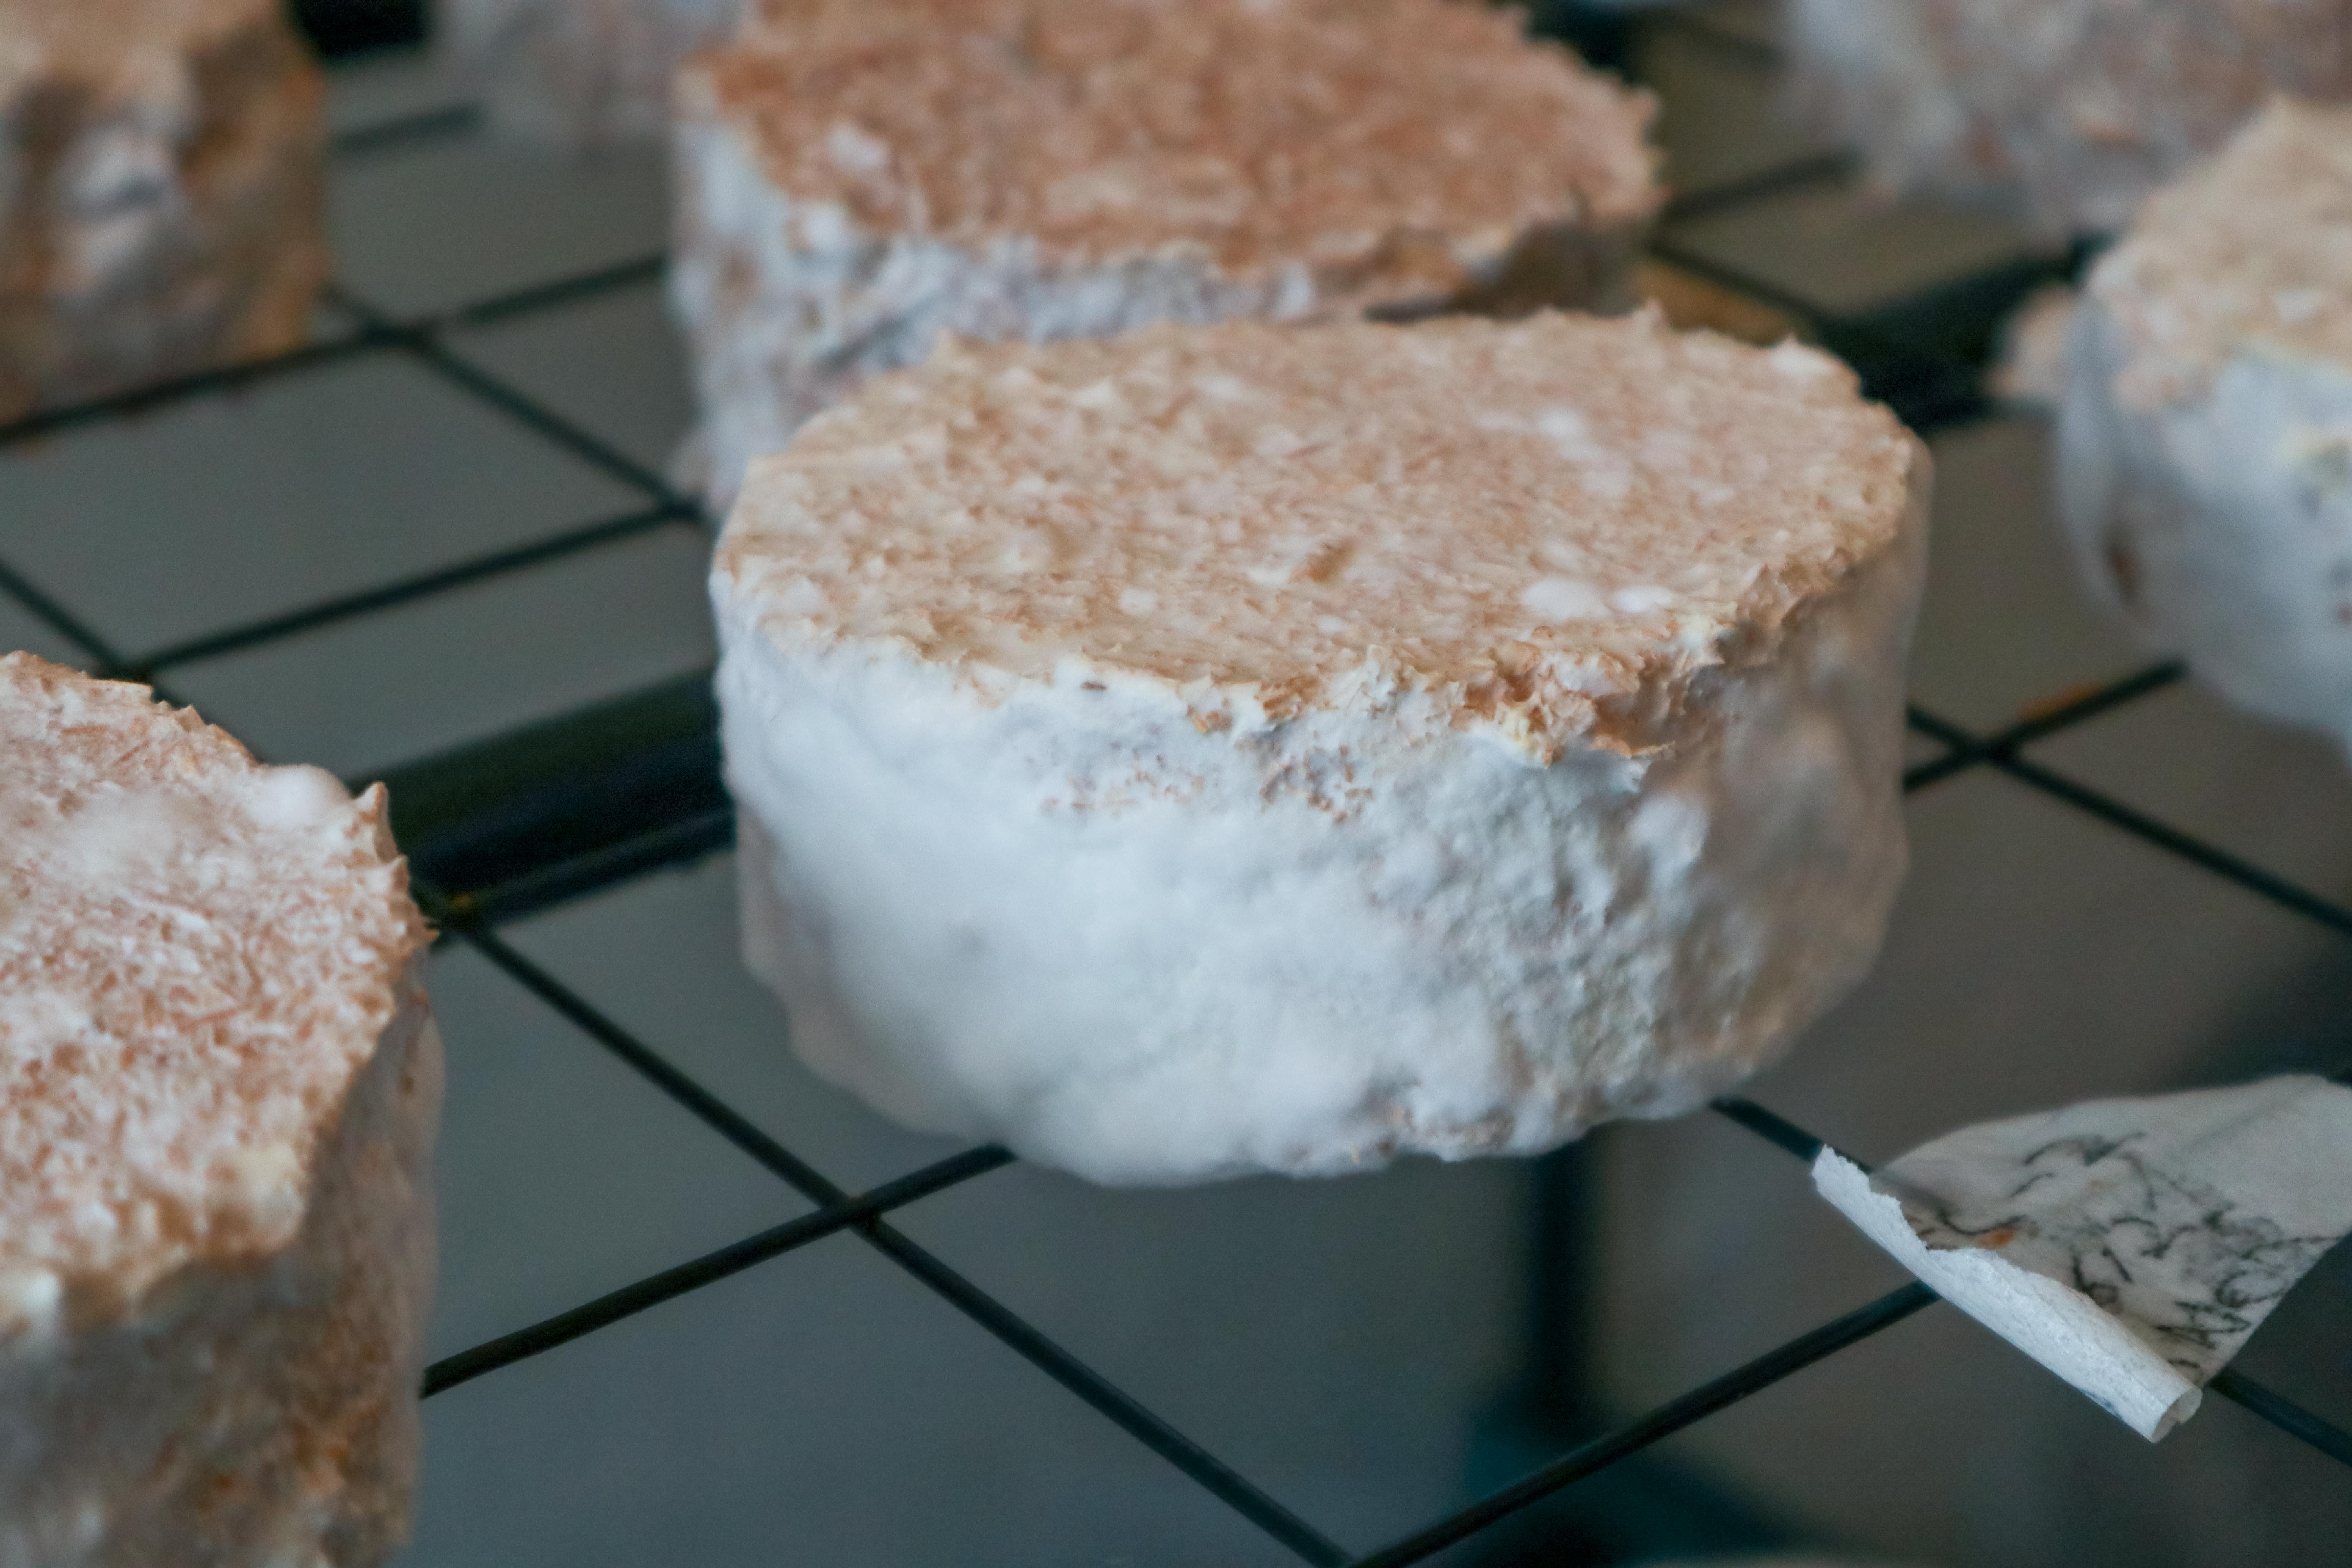
22 Days (Incl. 8 days misting):###
After 4 more days of misting I removed the samples for drying @ 50C for 24hrs.
24 Days:
Including 8 days misting, 2 days drying @ 50C
Flax waste w/ 200% grain spawn:
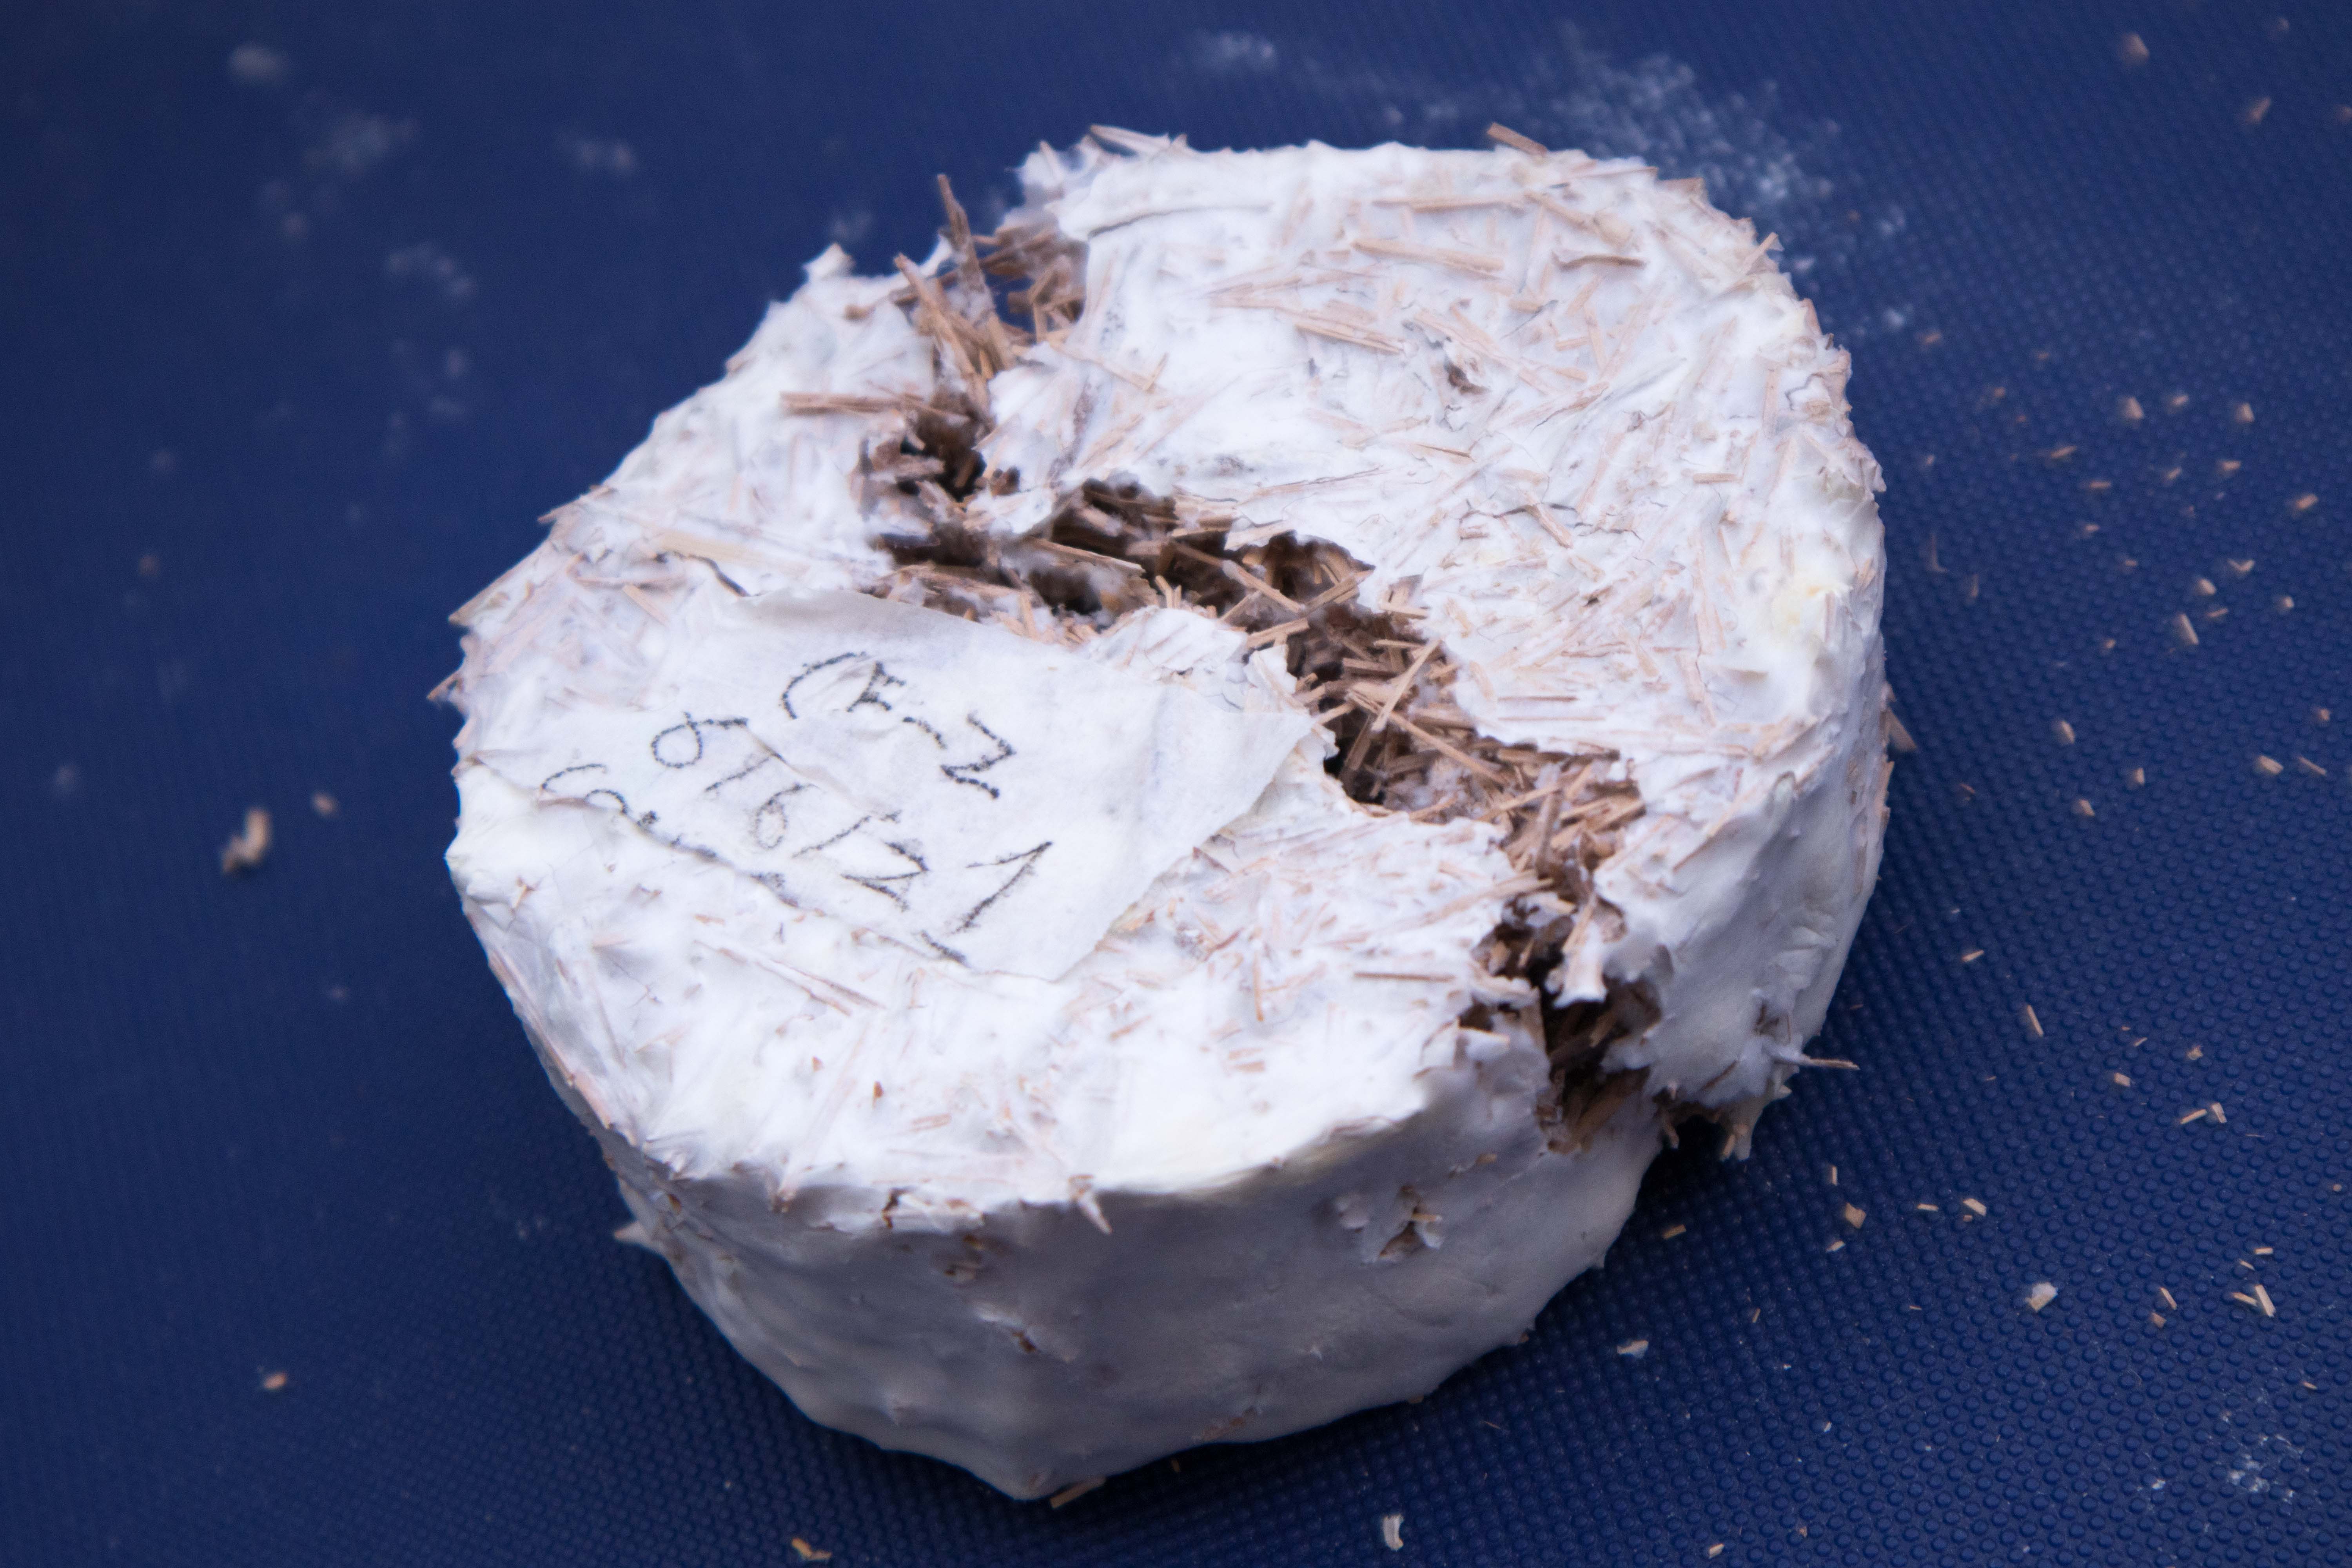
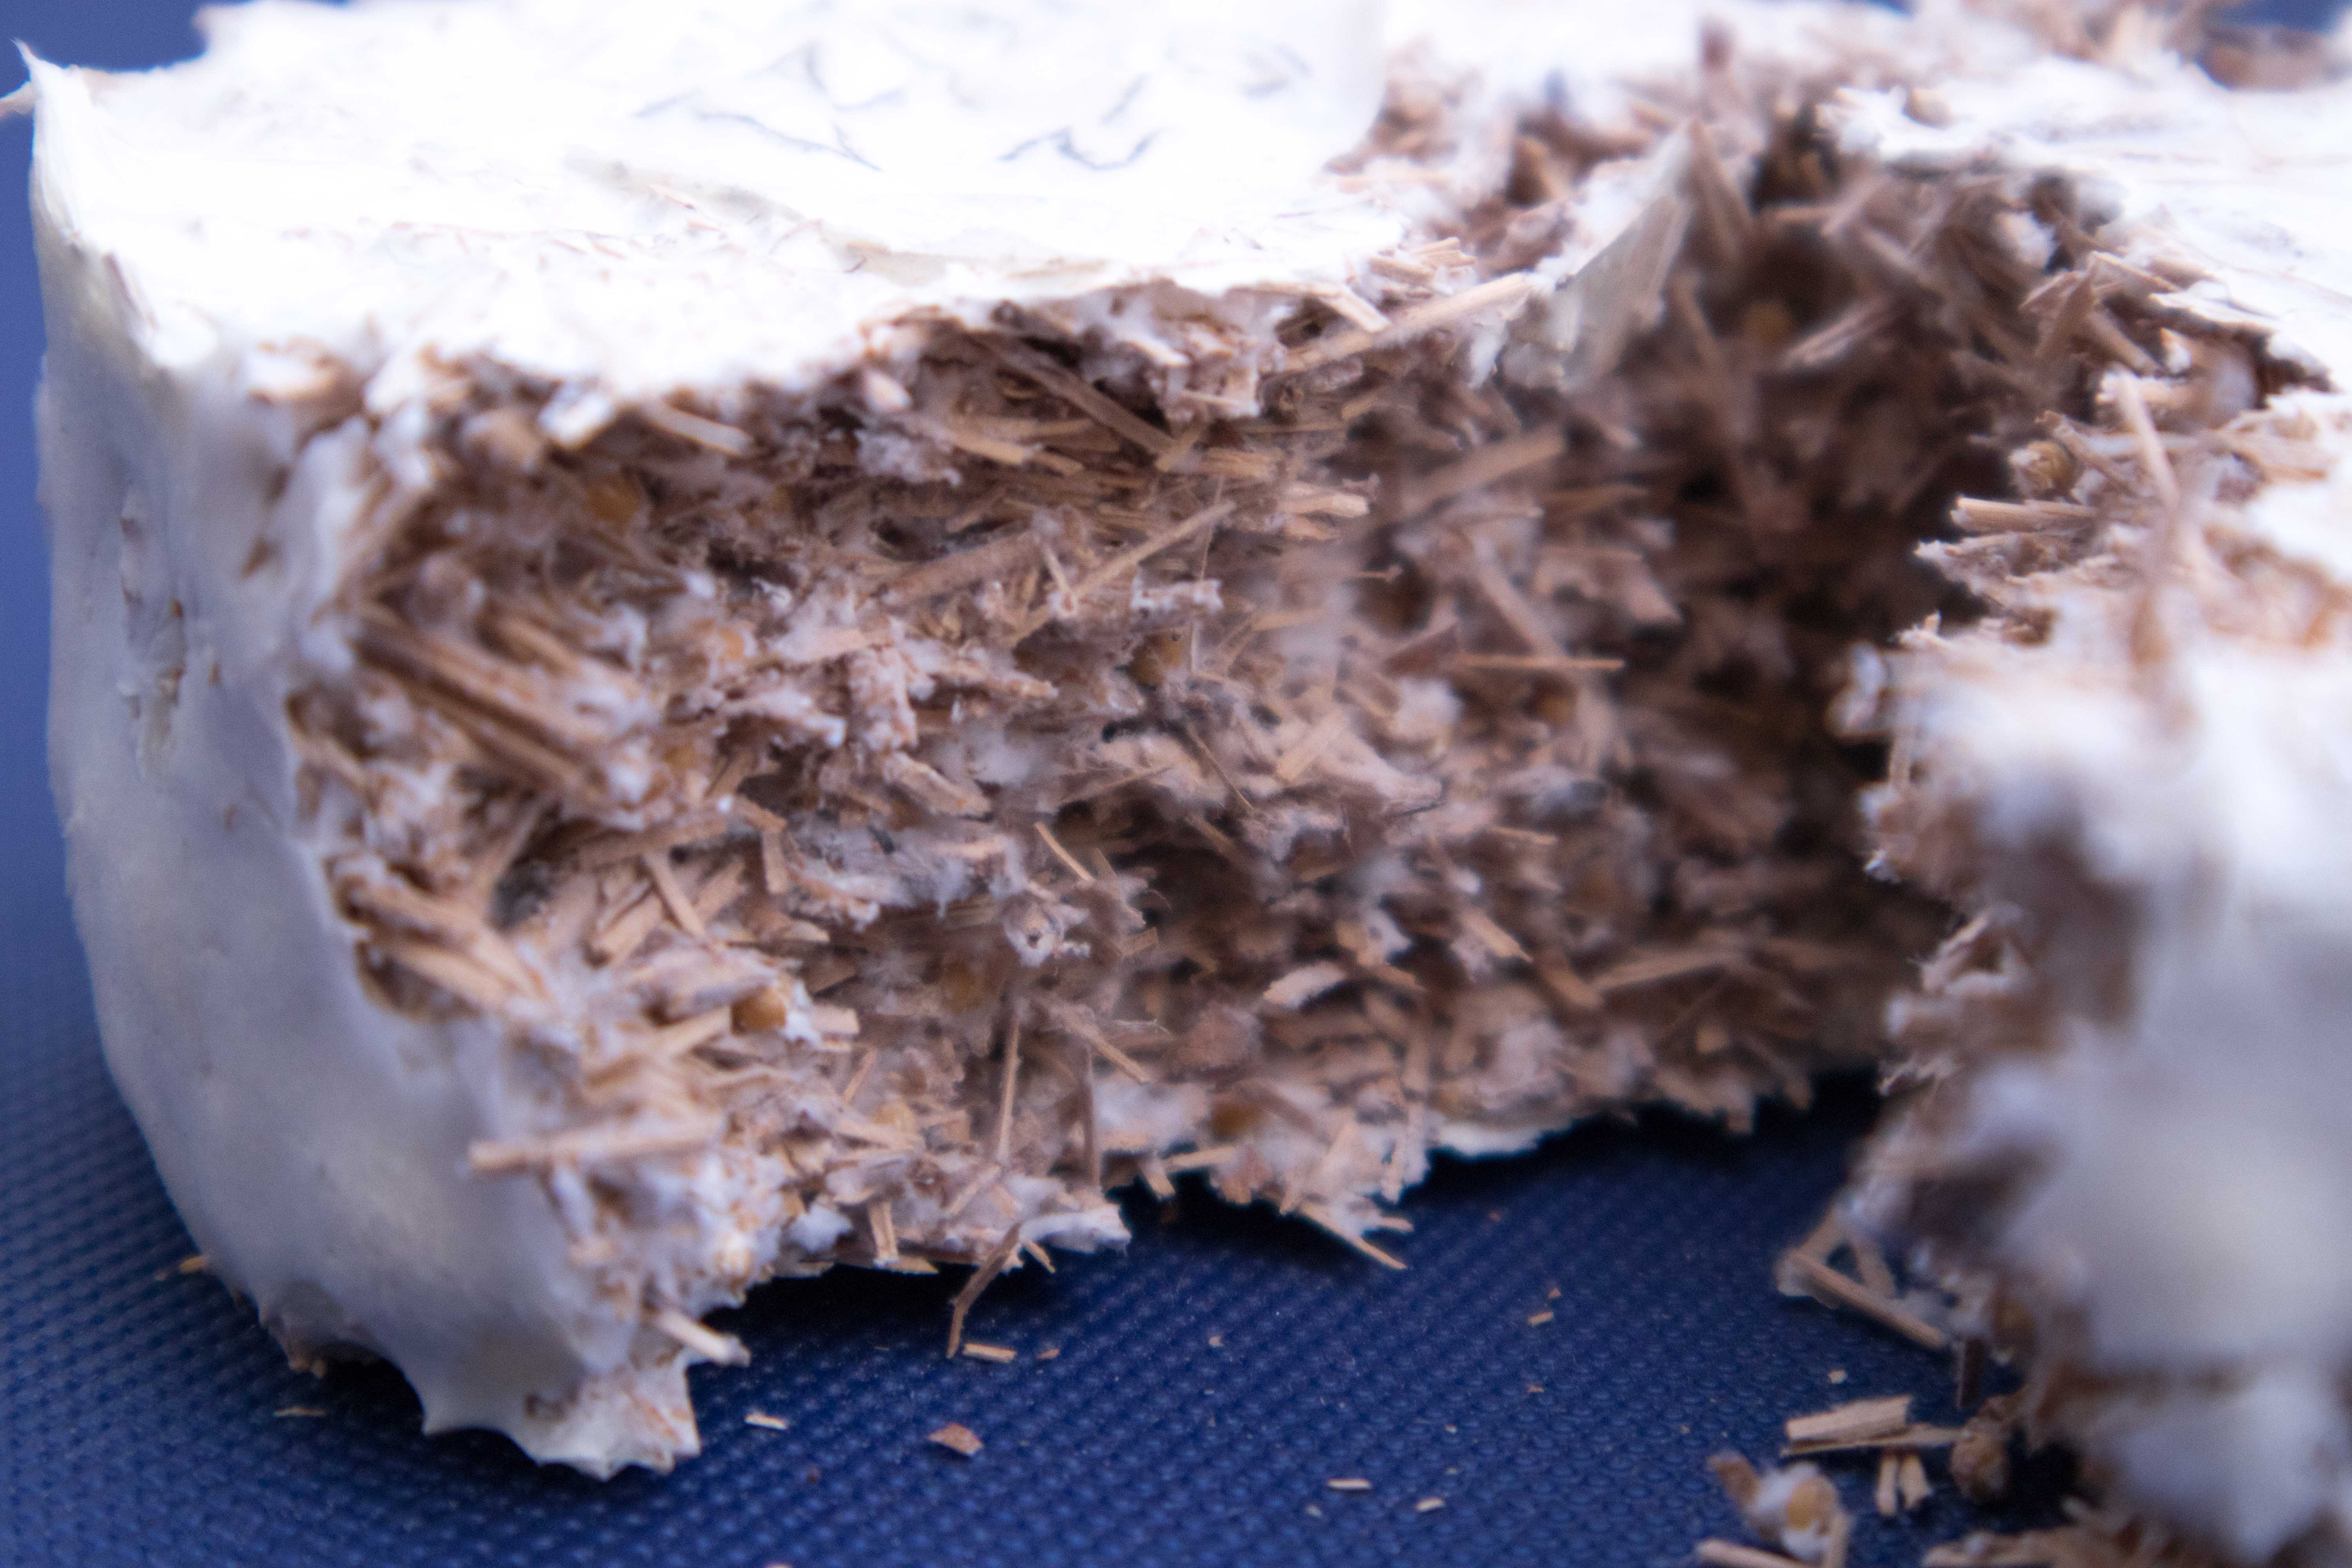
Compressed flax waste:
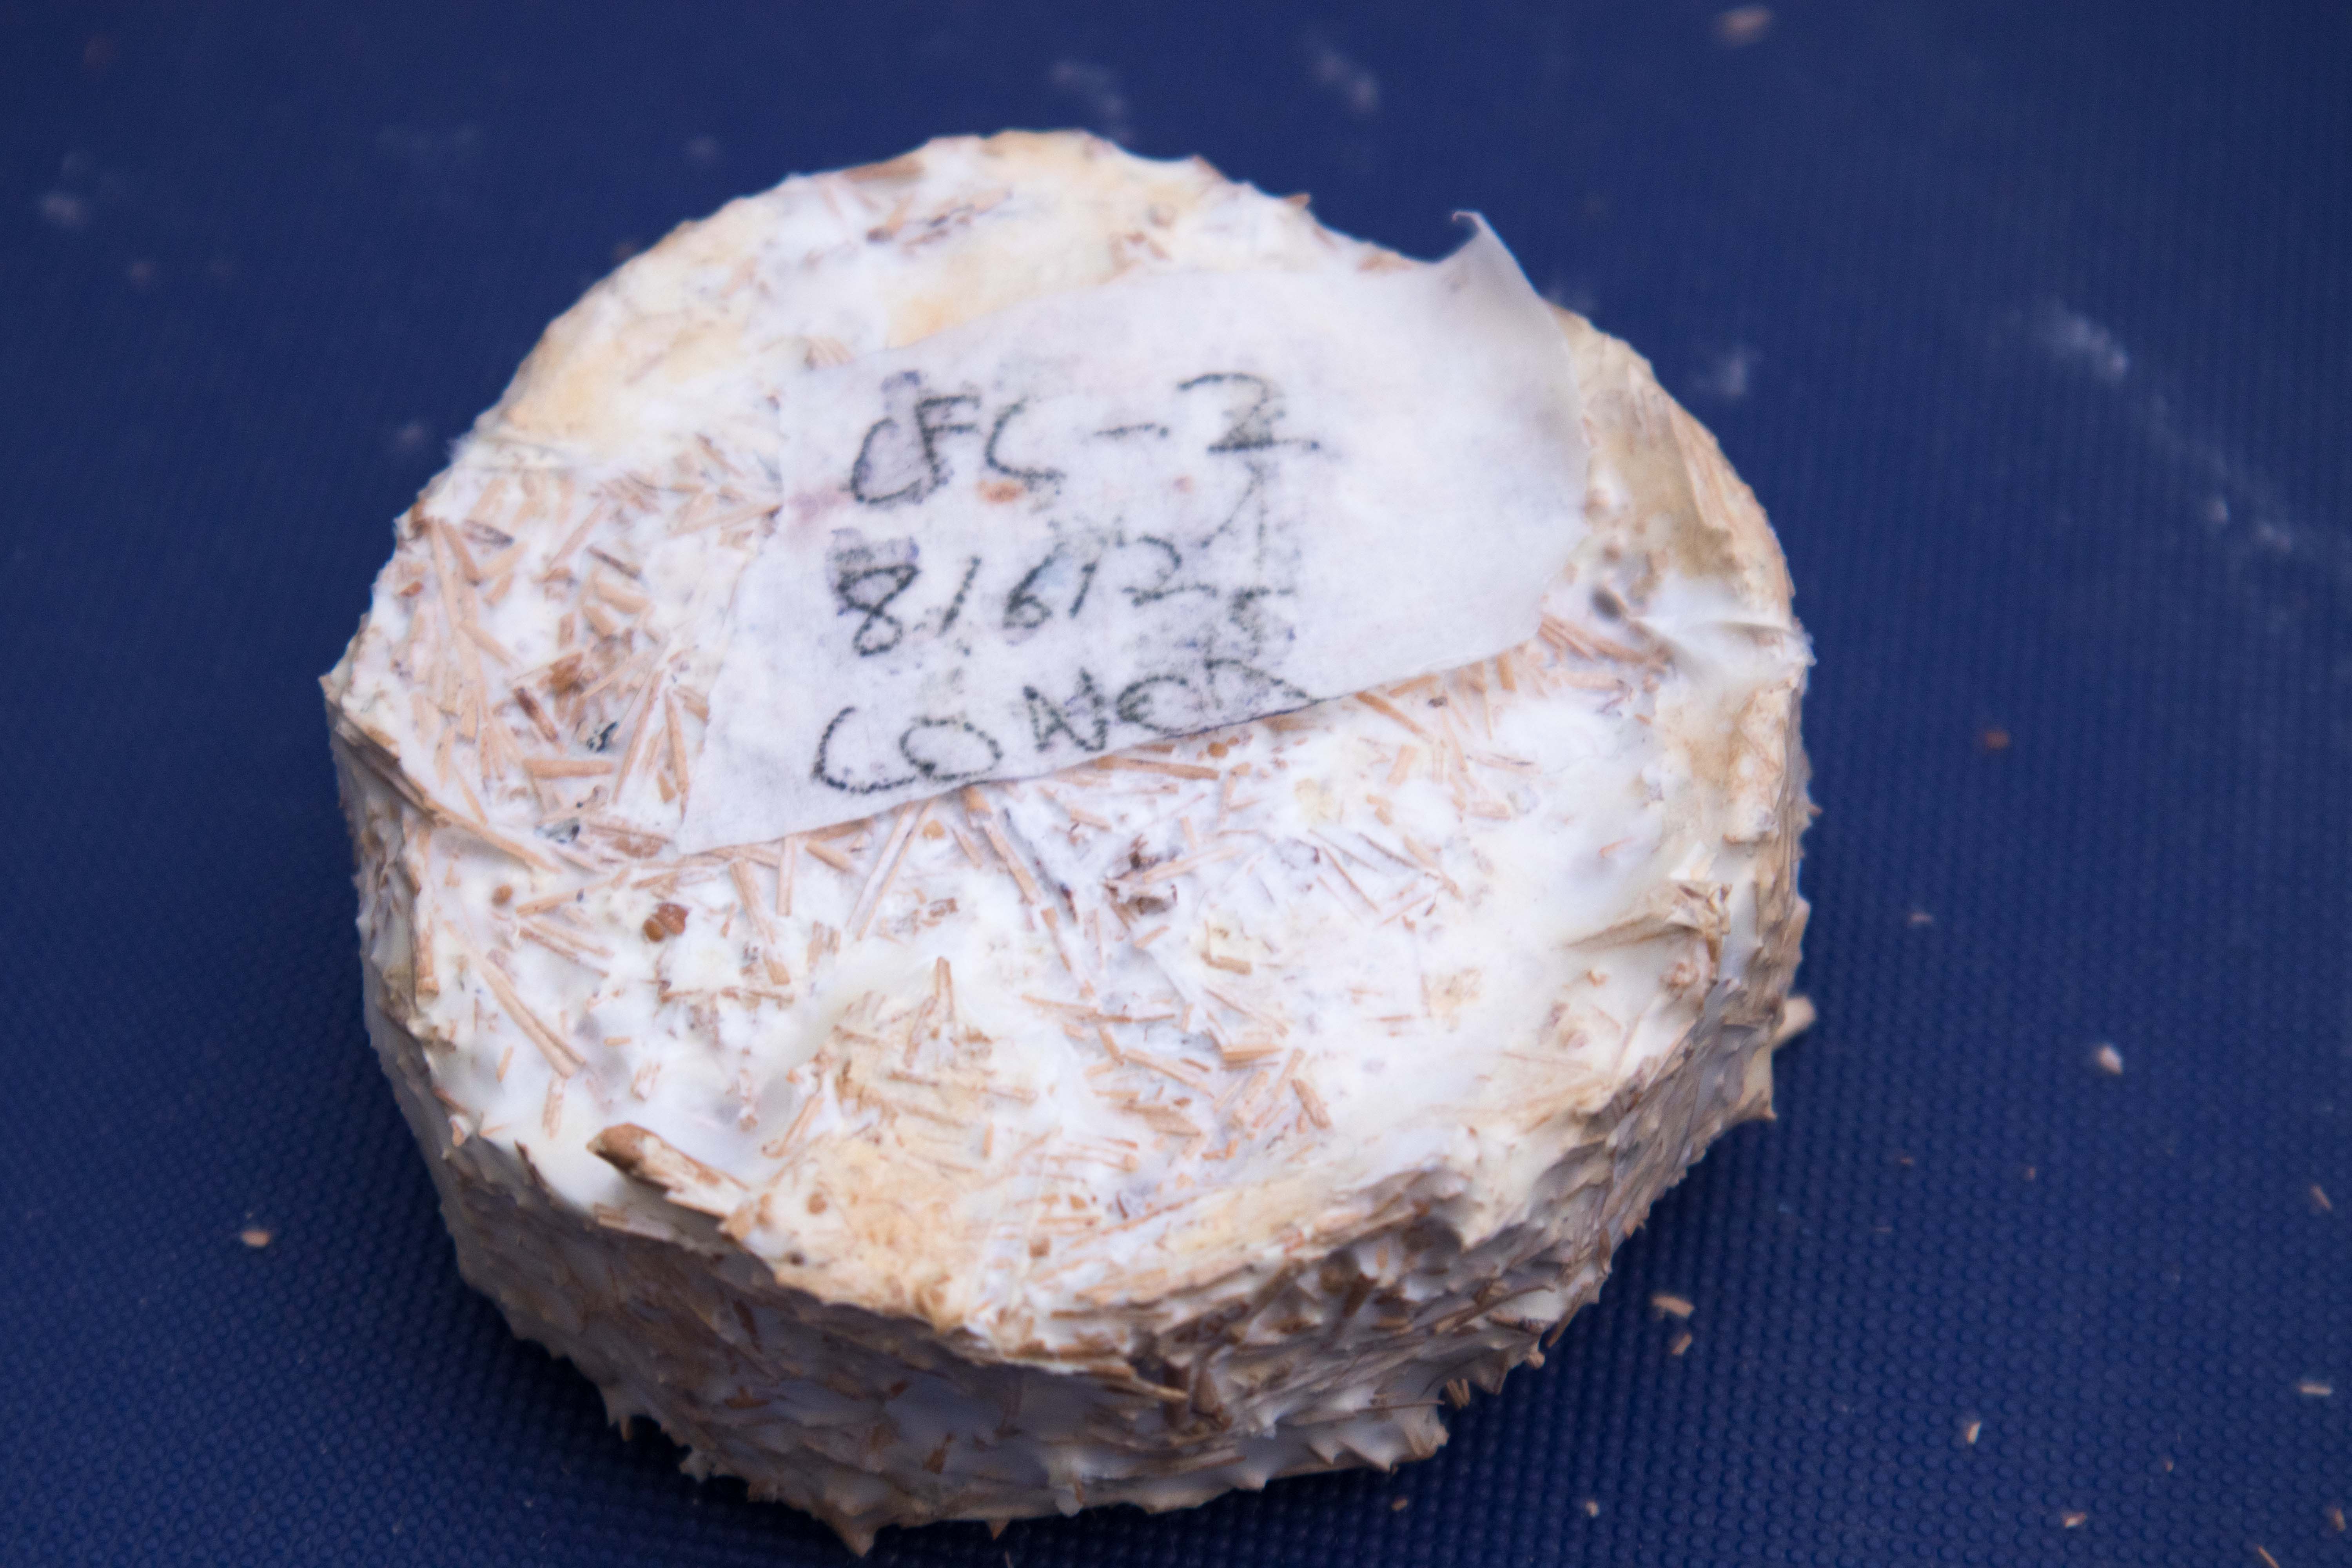
Blended flax waste:
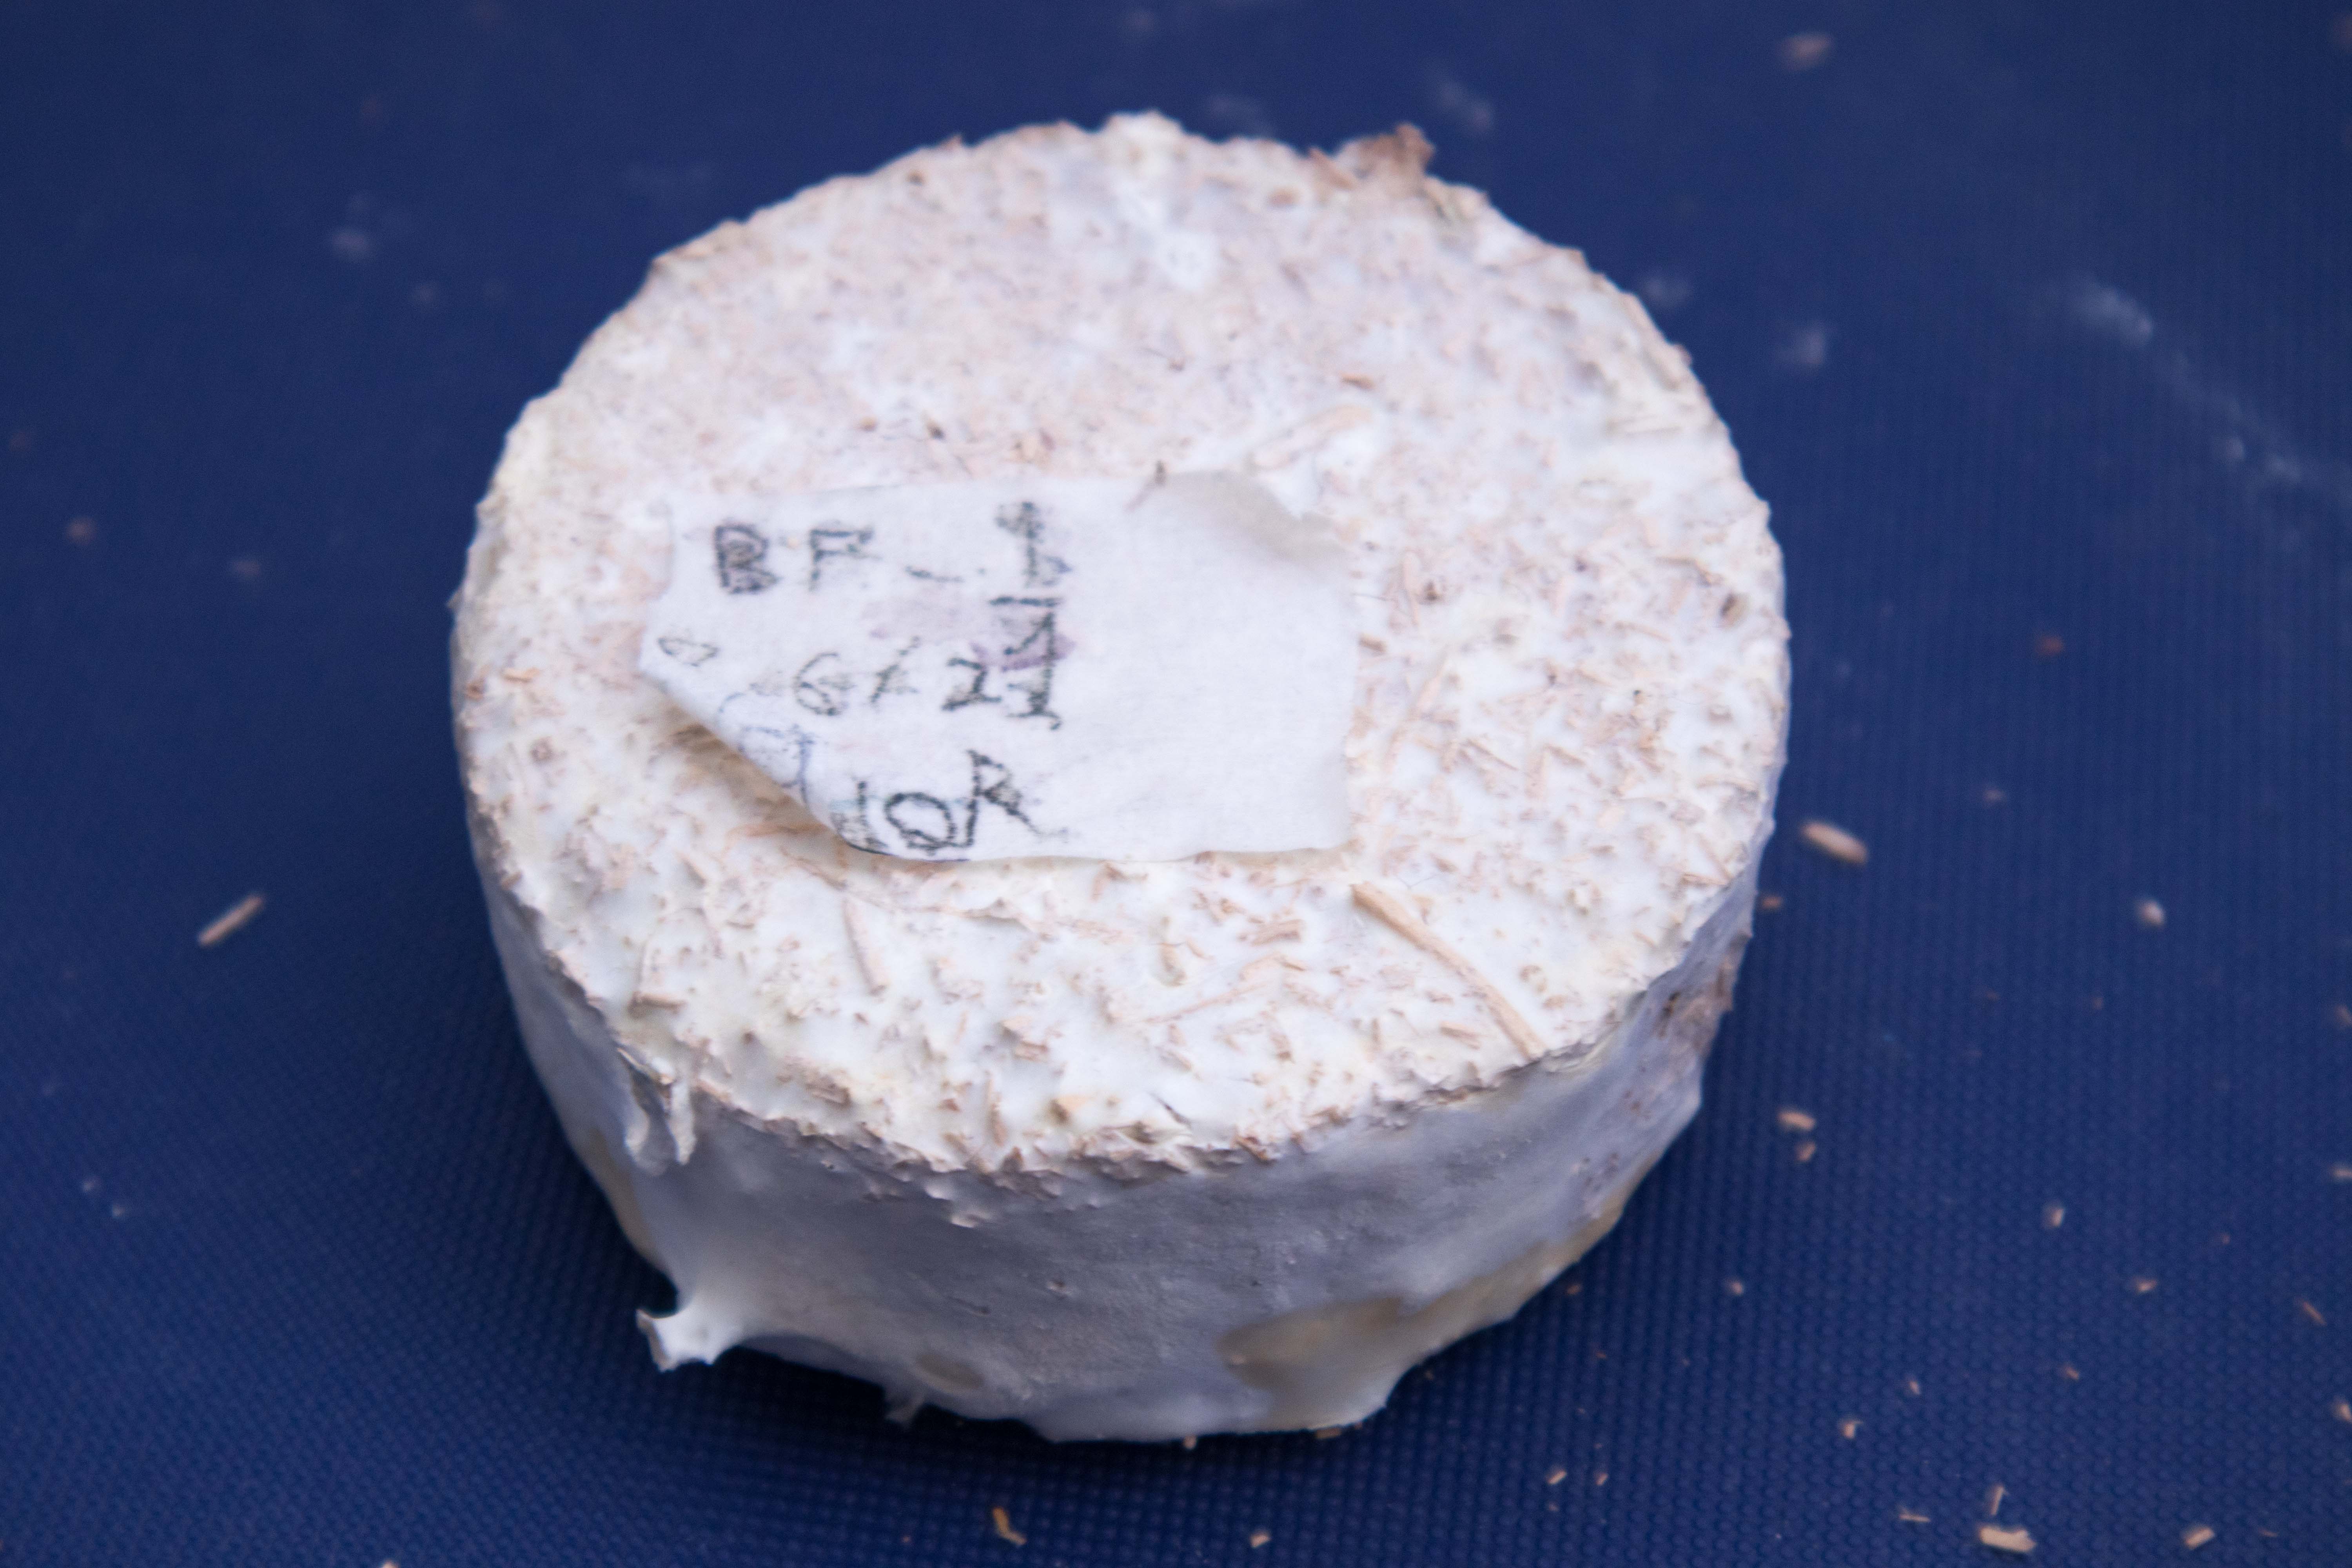
Flax waste w/ 200% grain spawn:
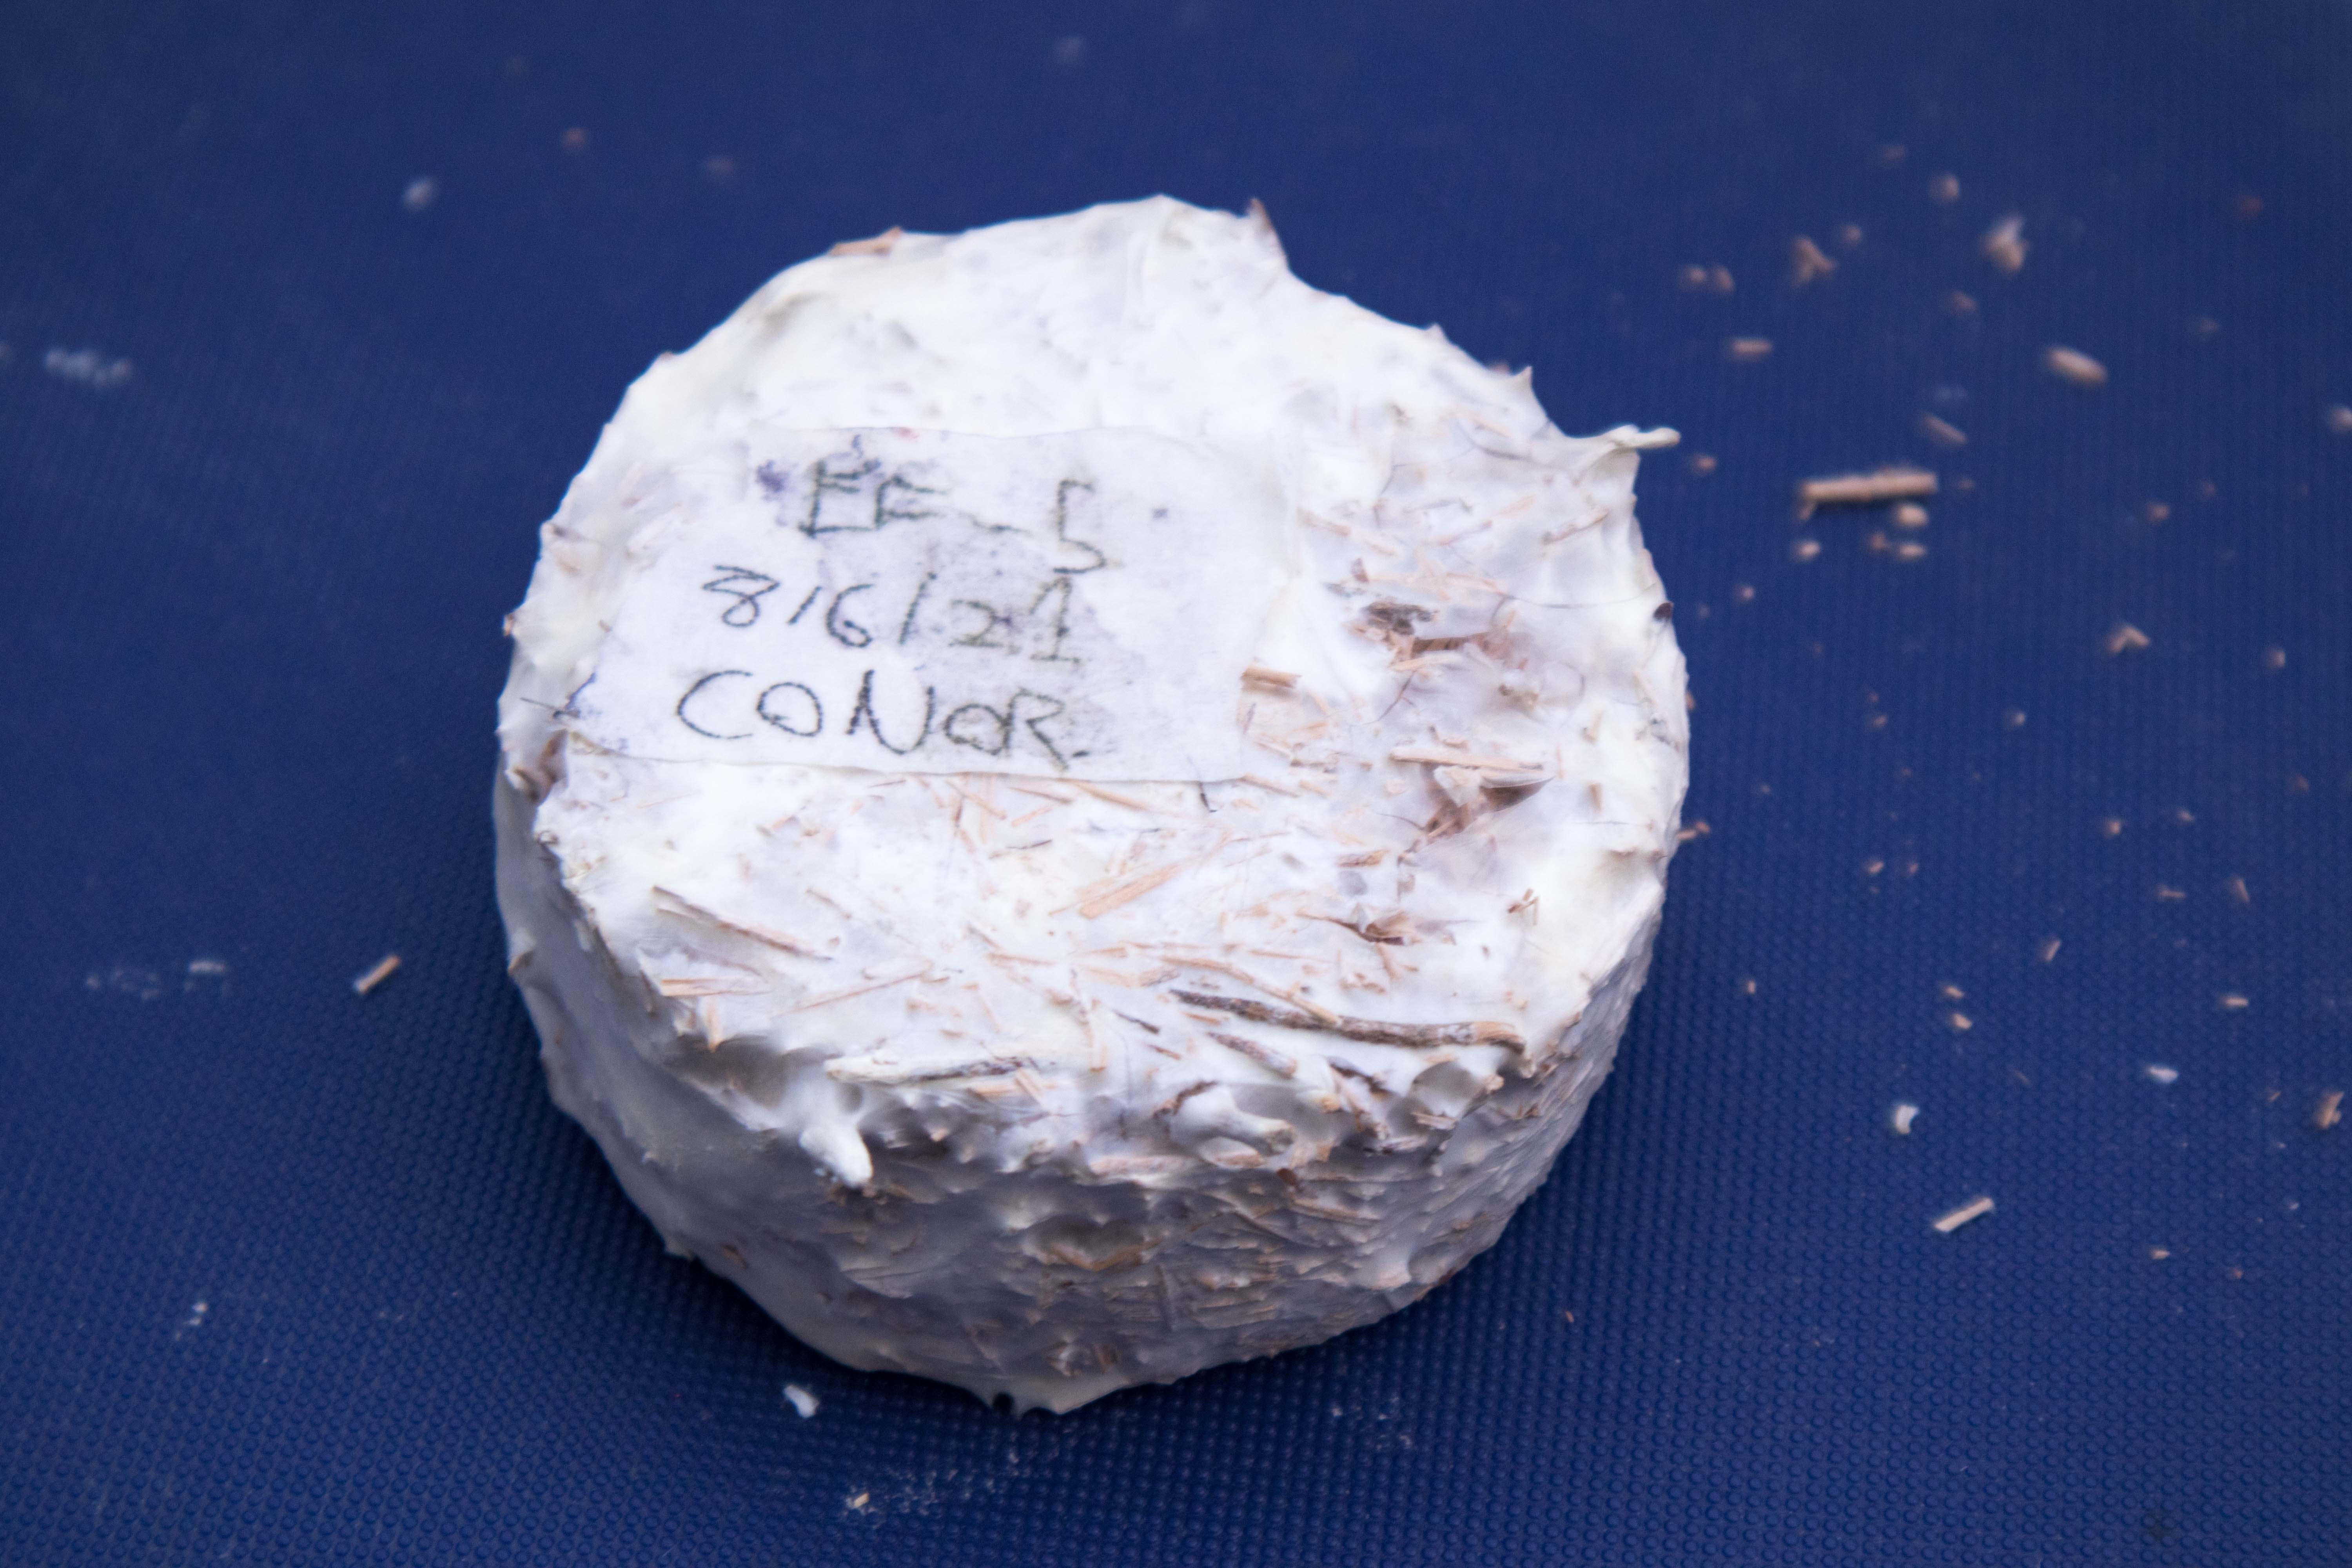
Compressed flax waste:
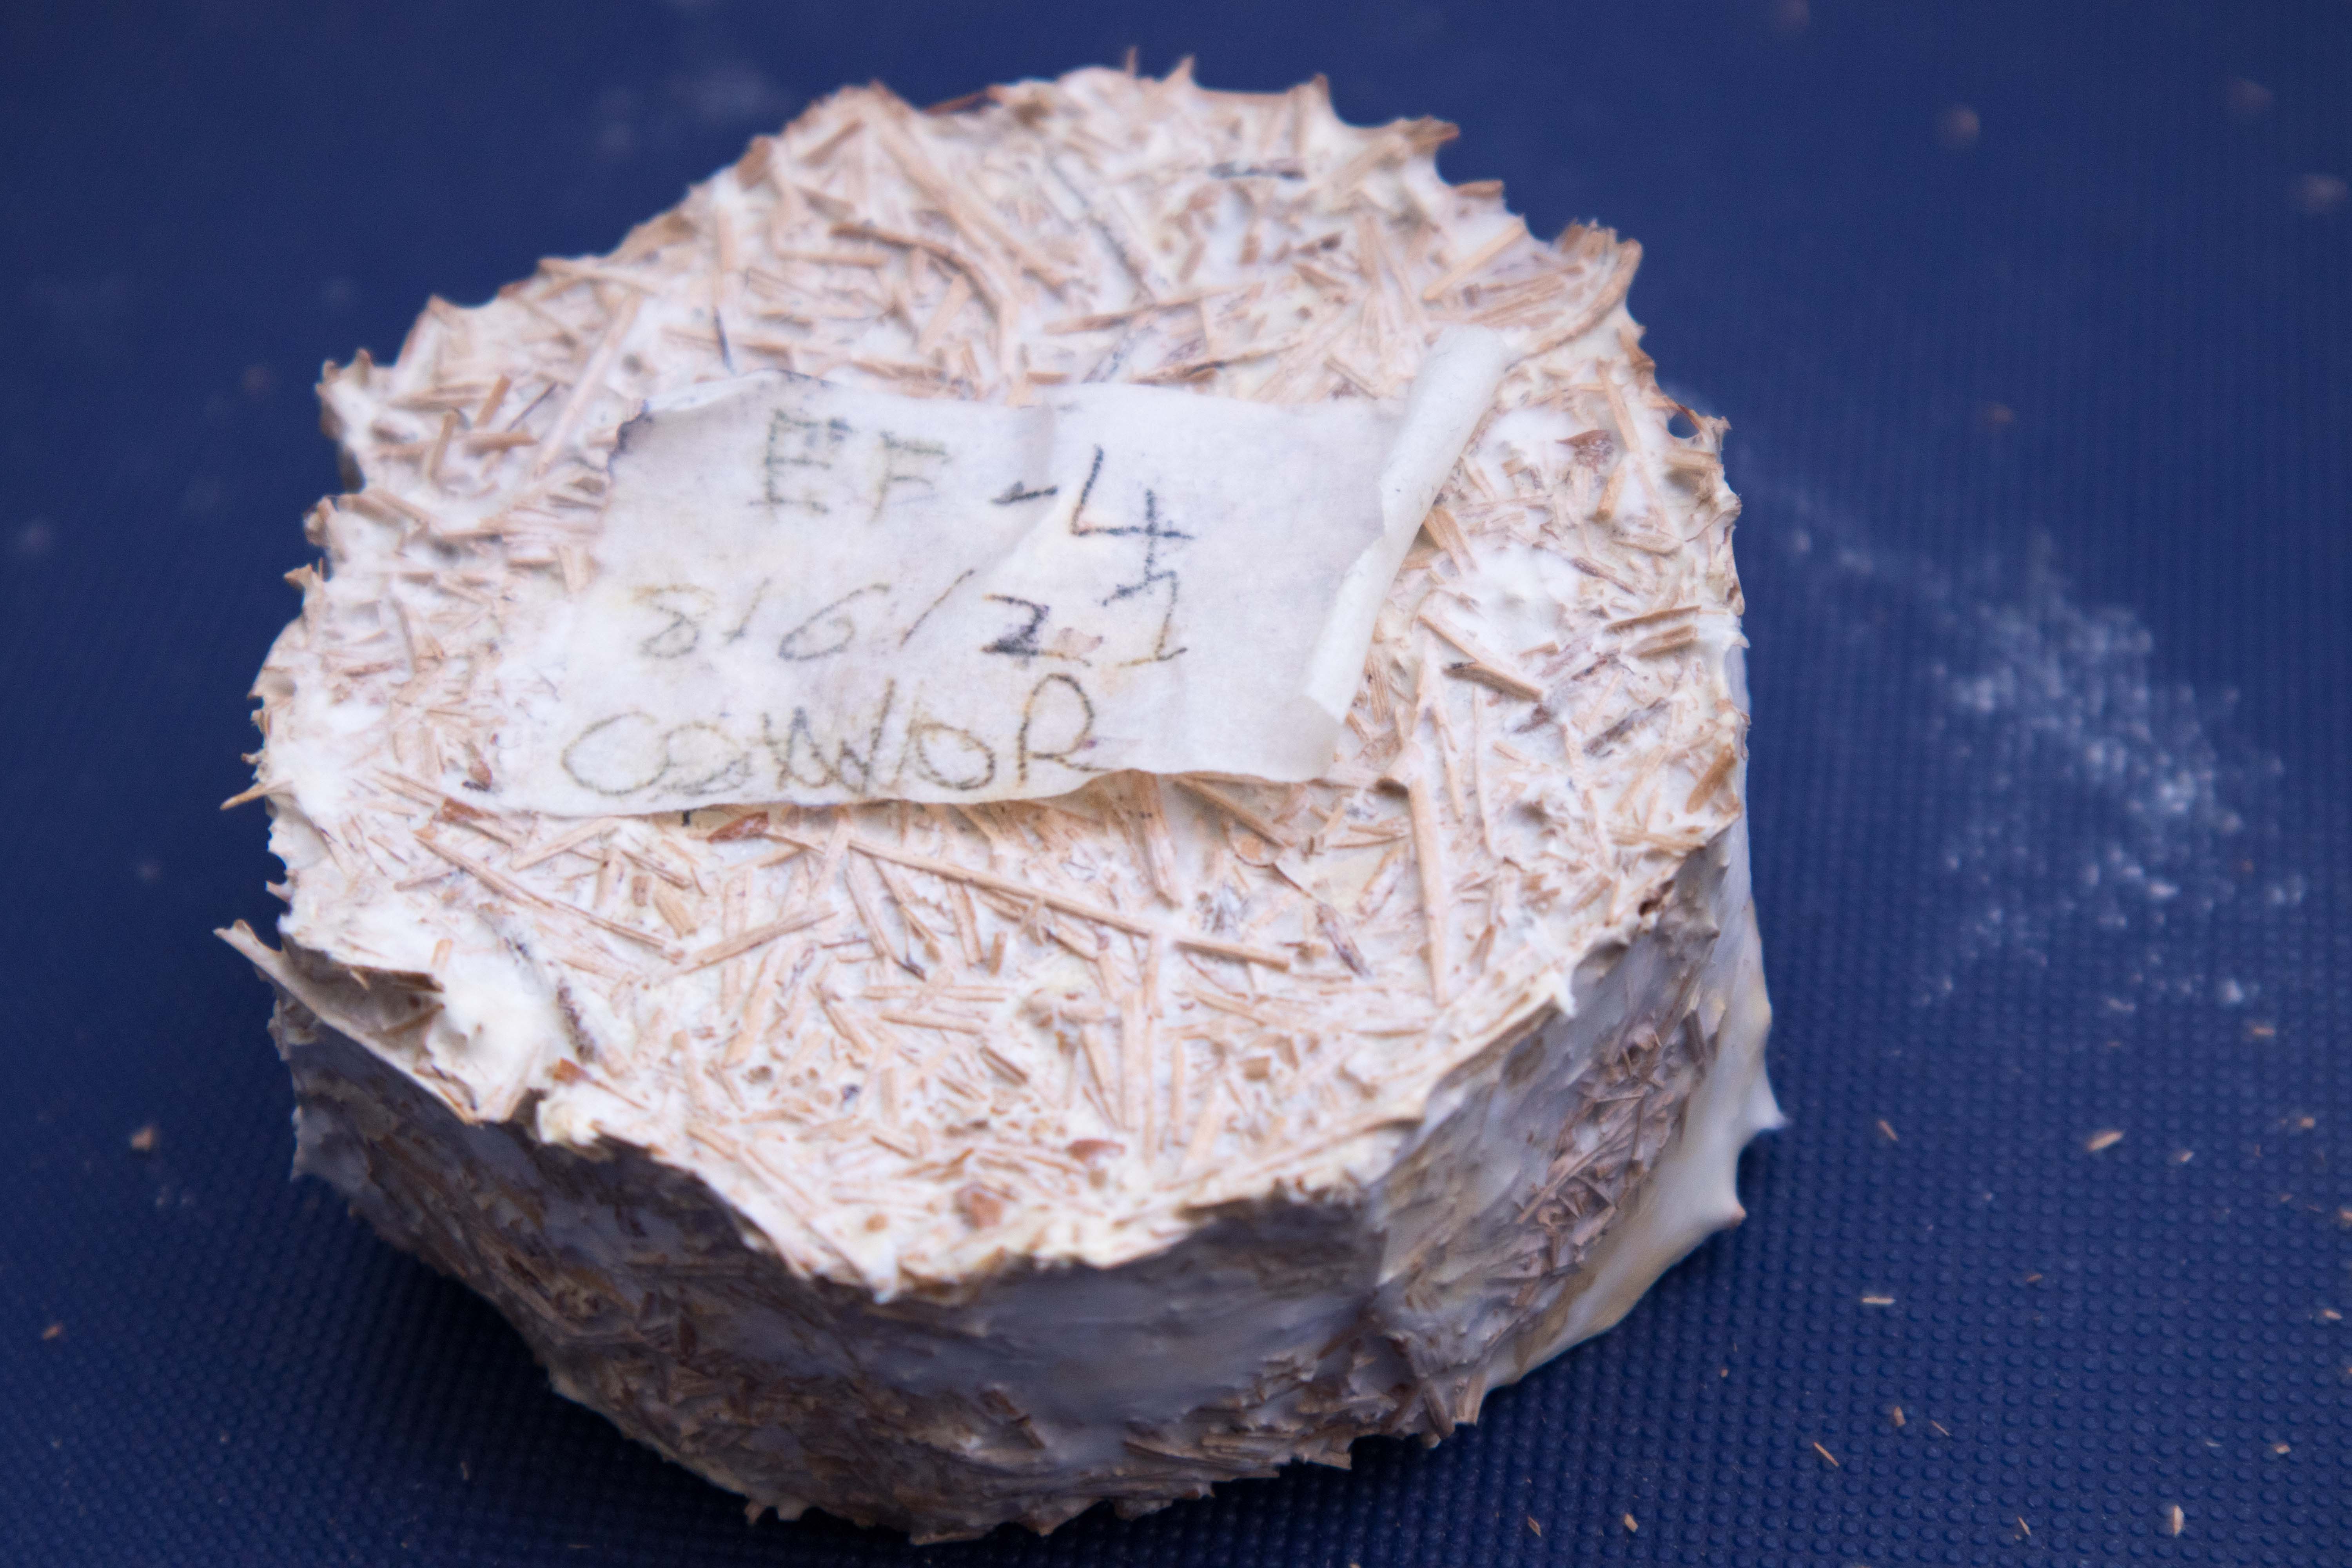
Unprocessed flax waste:
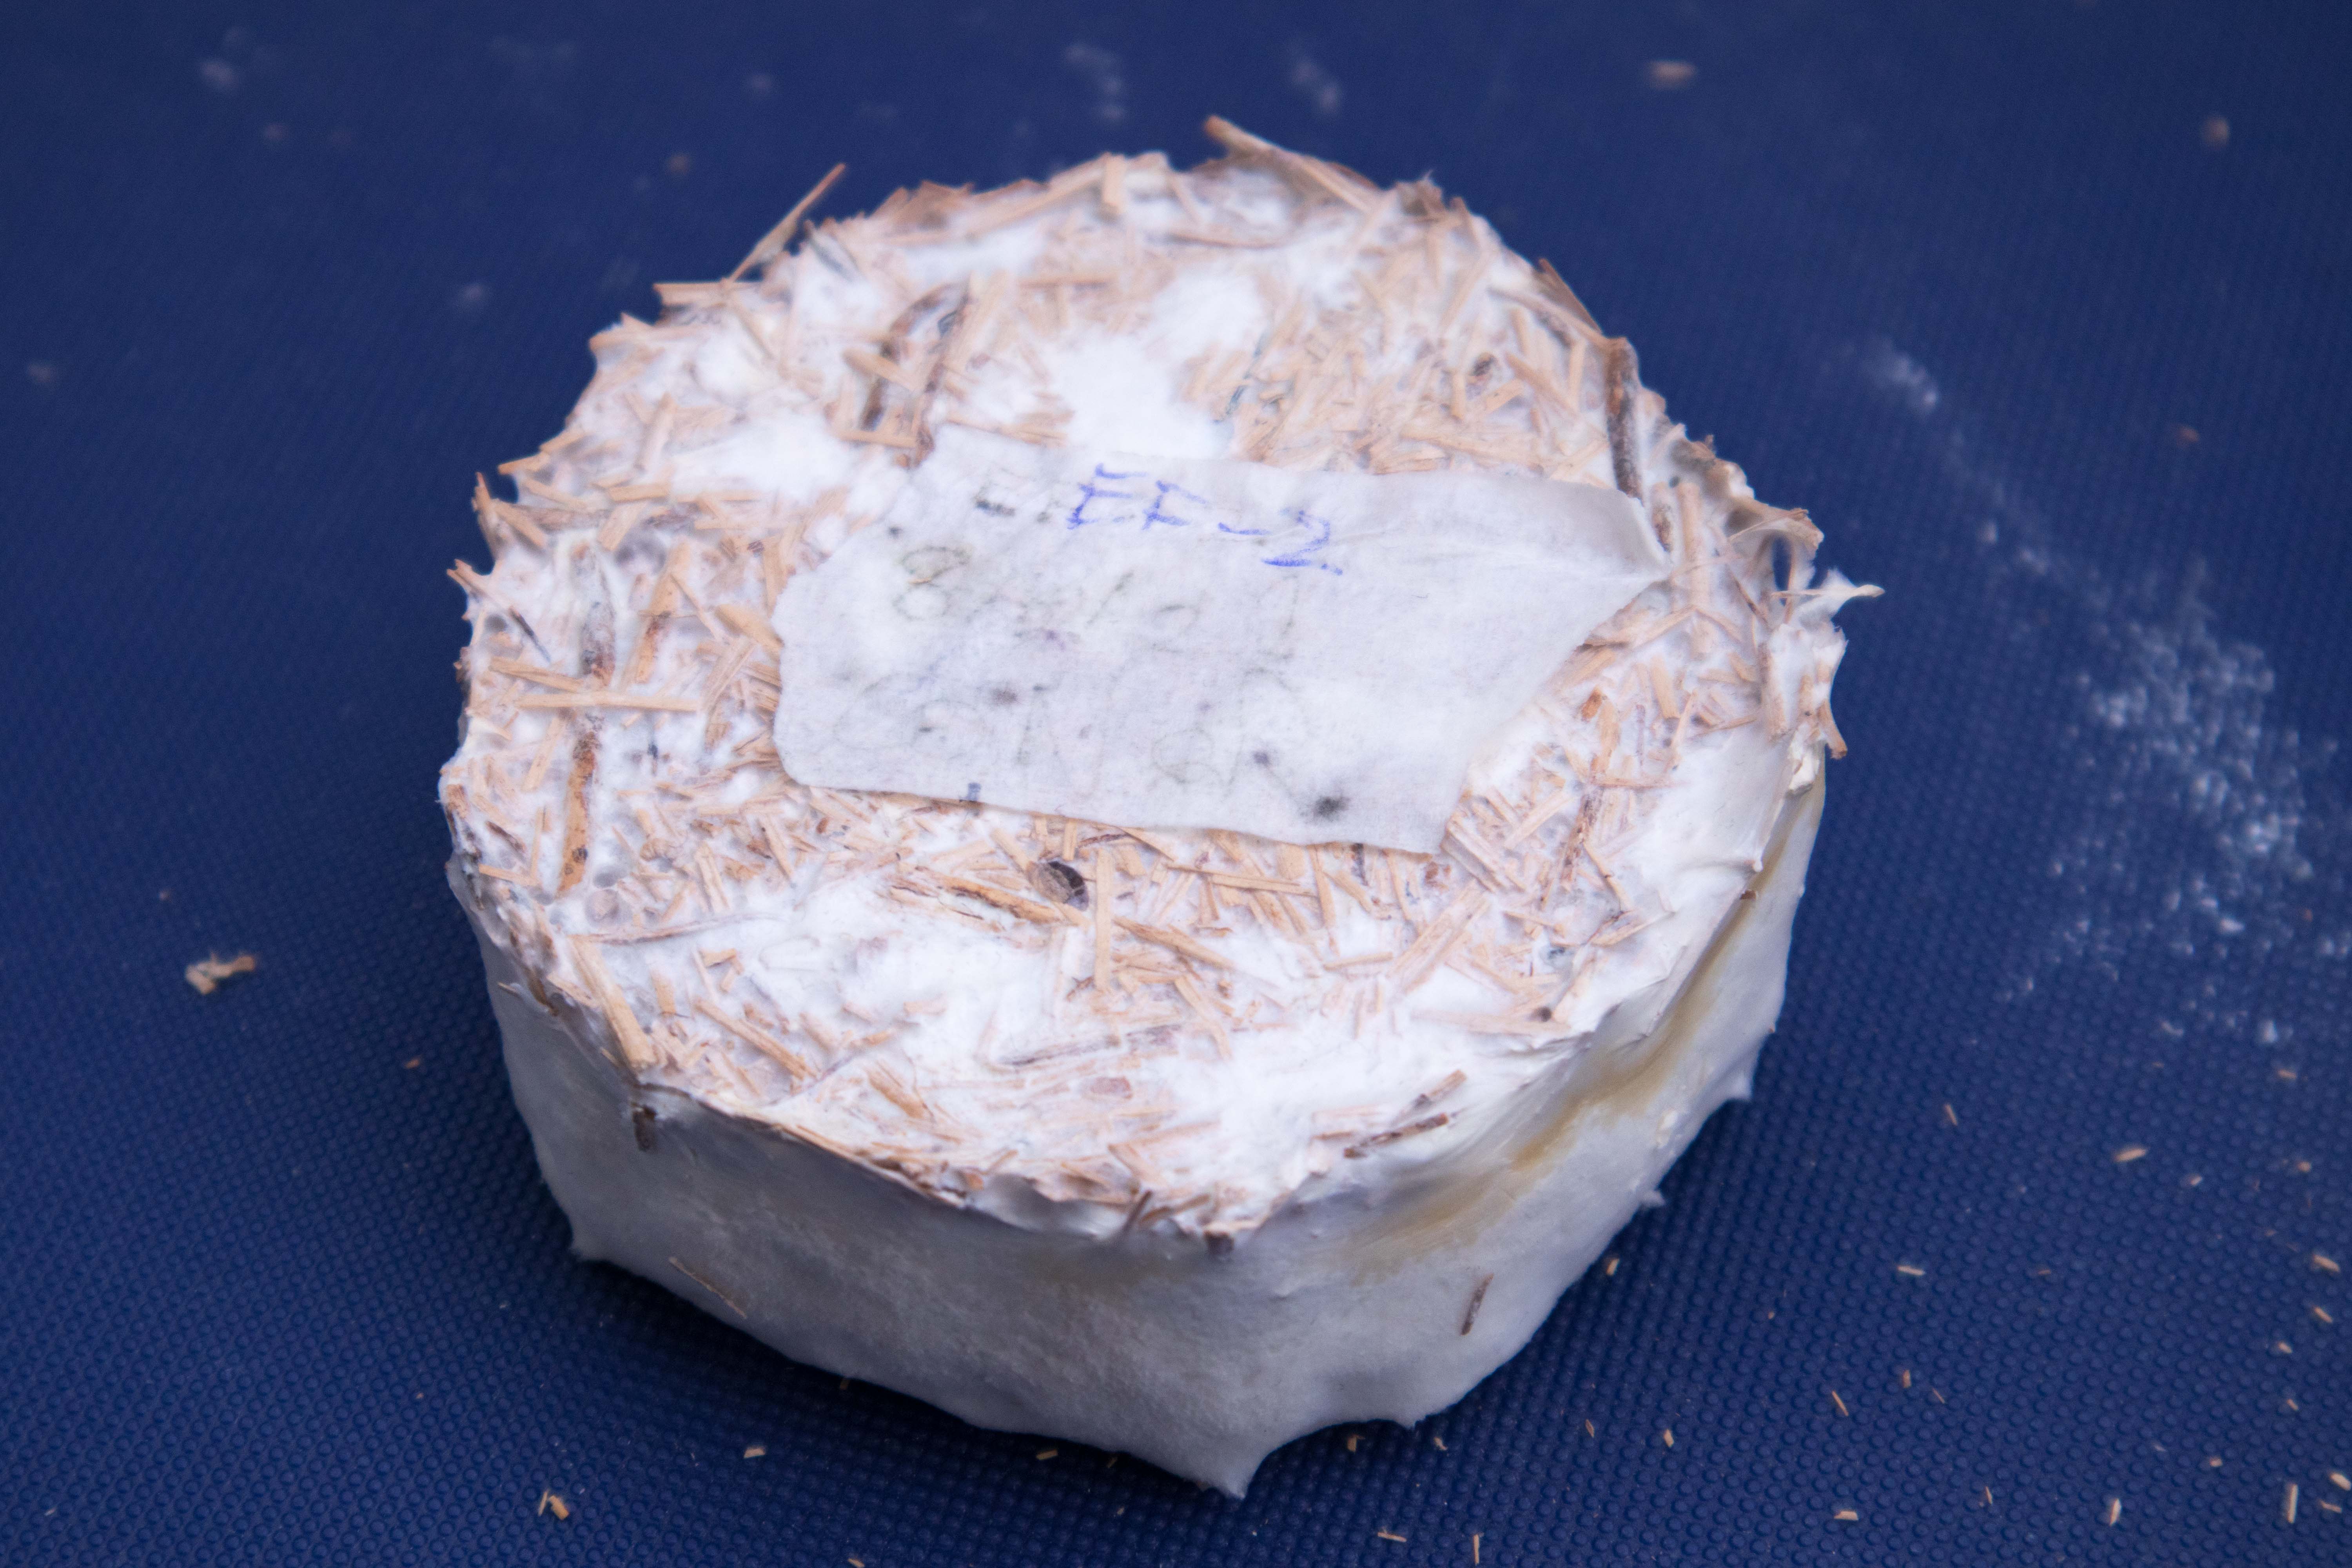
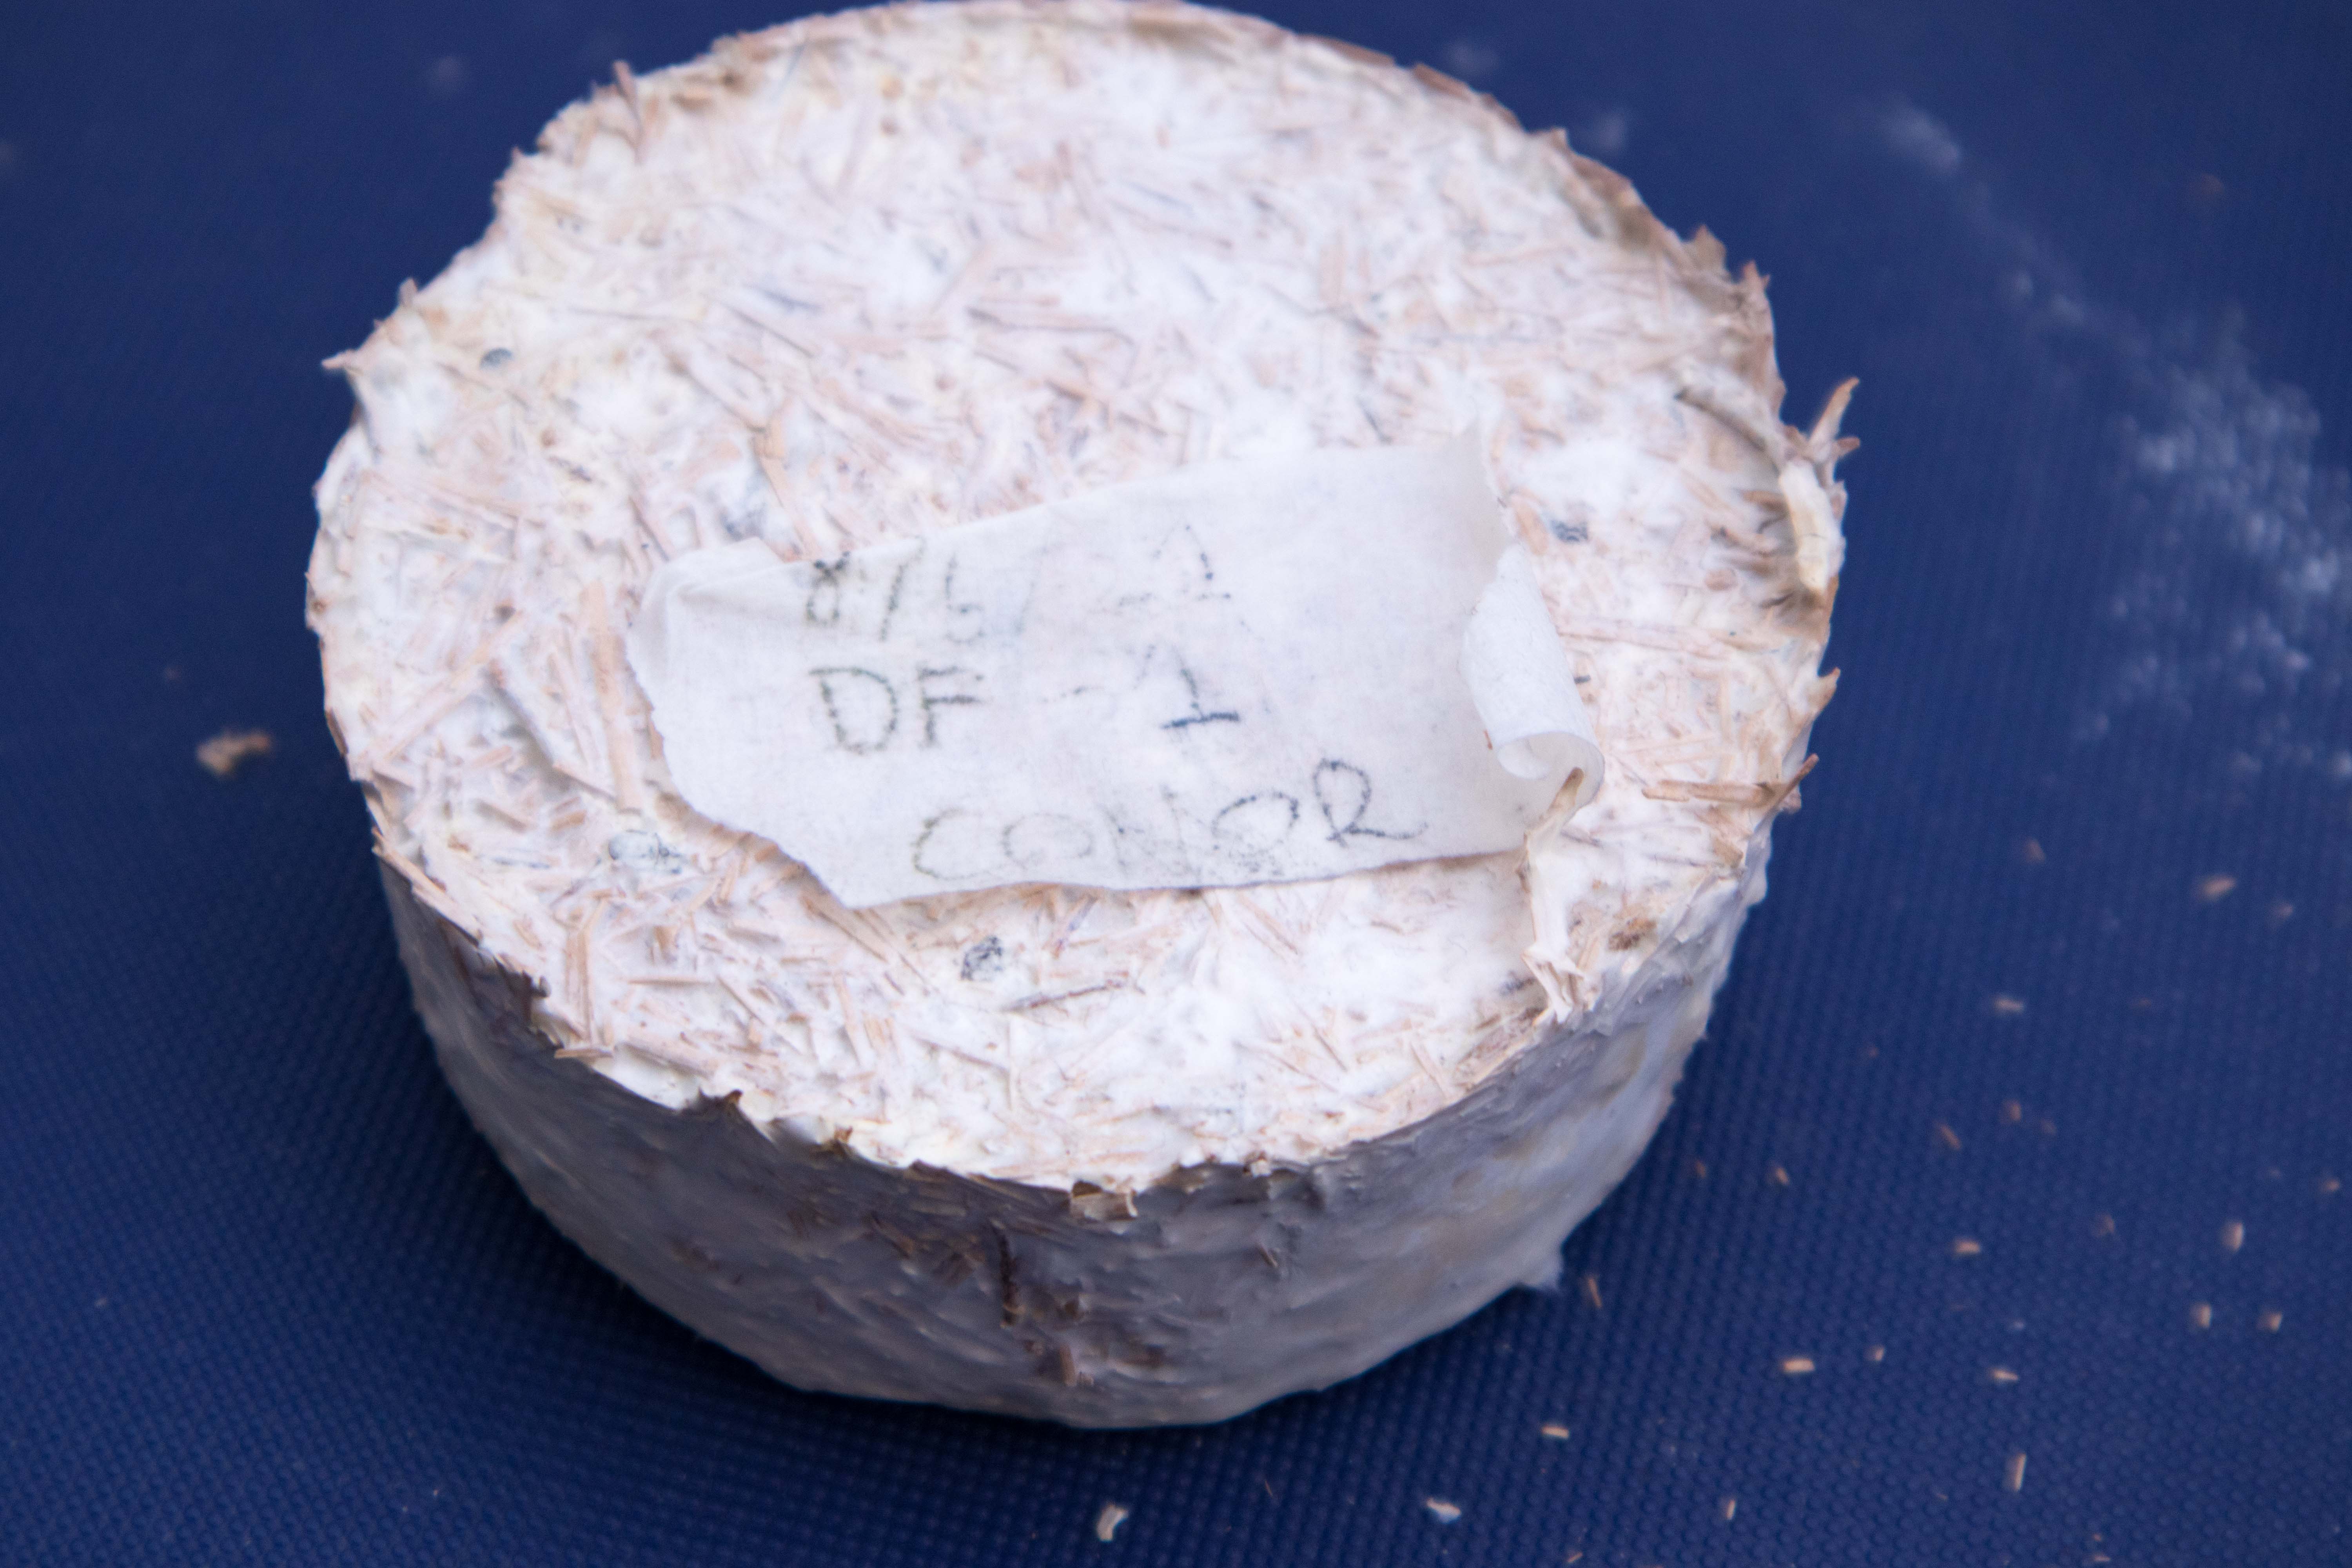 Flax waste w/ 200% grain spawn:
Compressed flax waste:
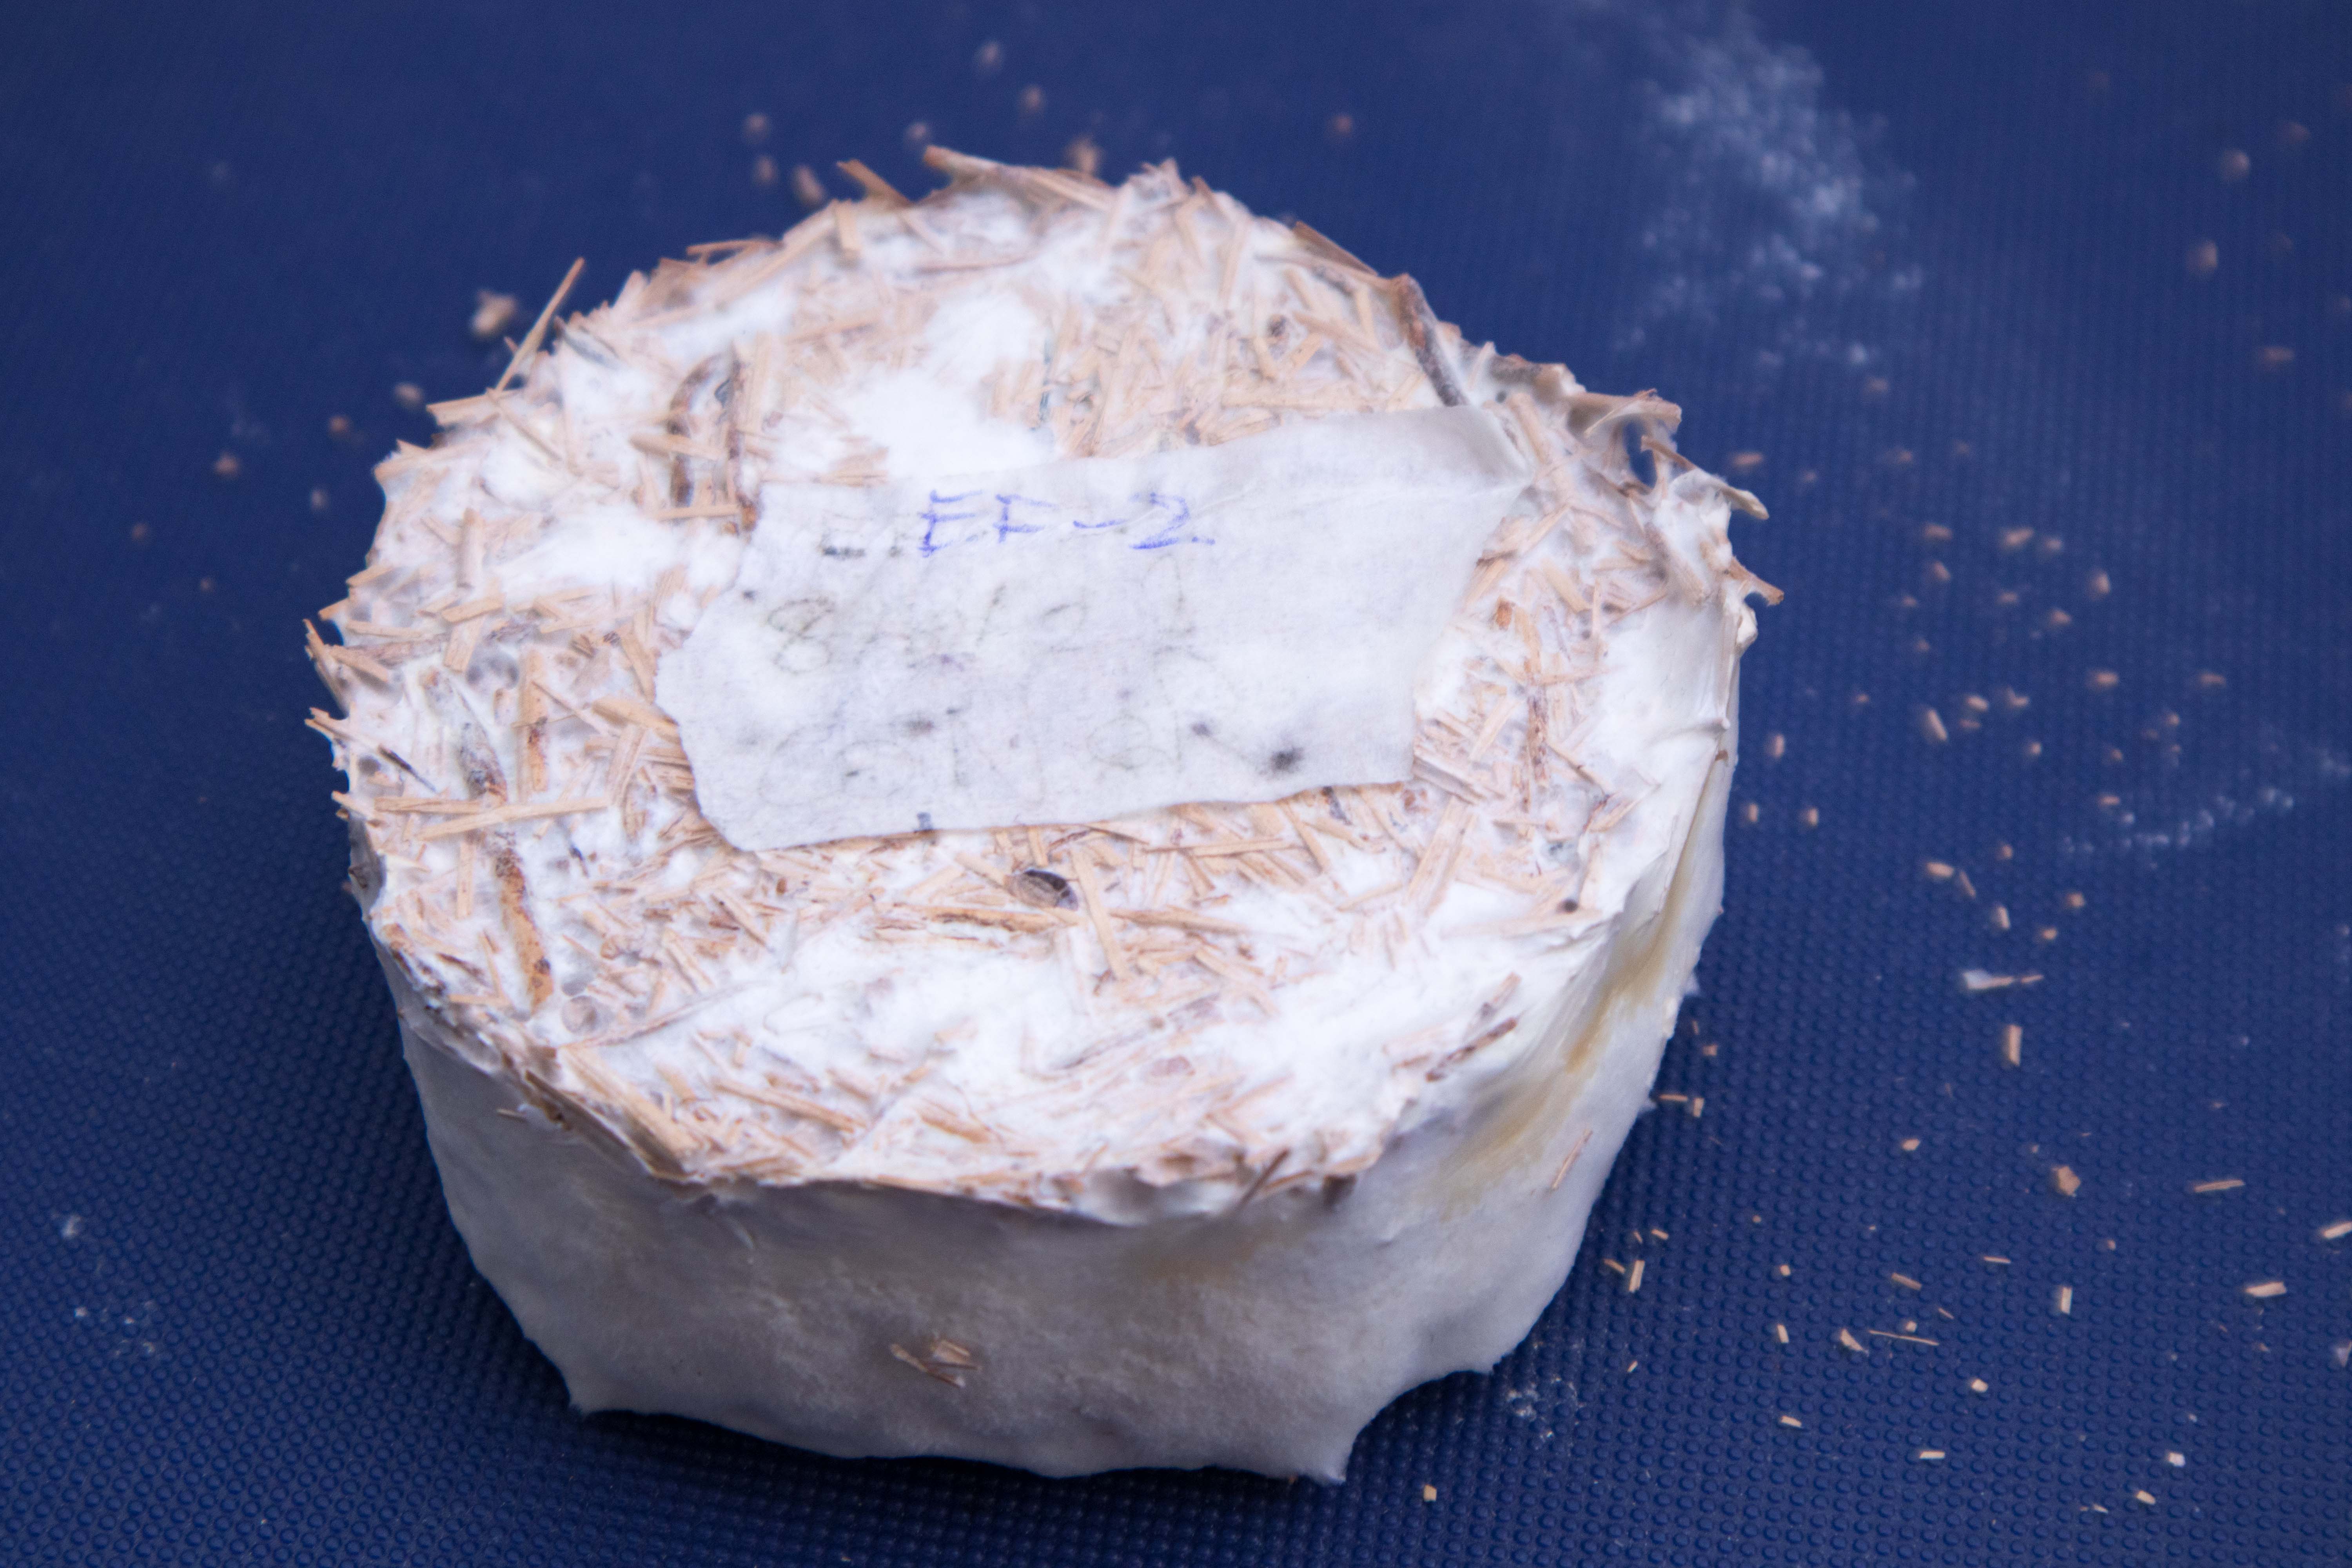
Blended flax waste w/ 200% grain spawn:
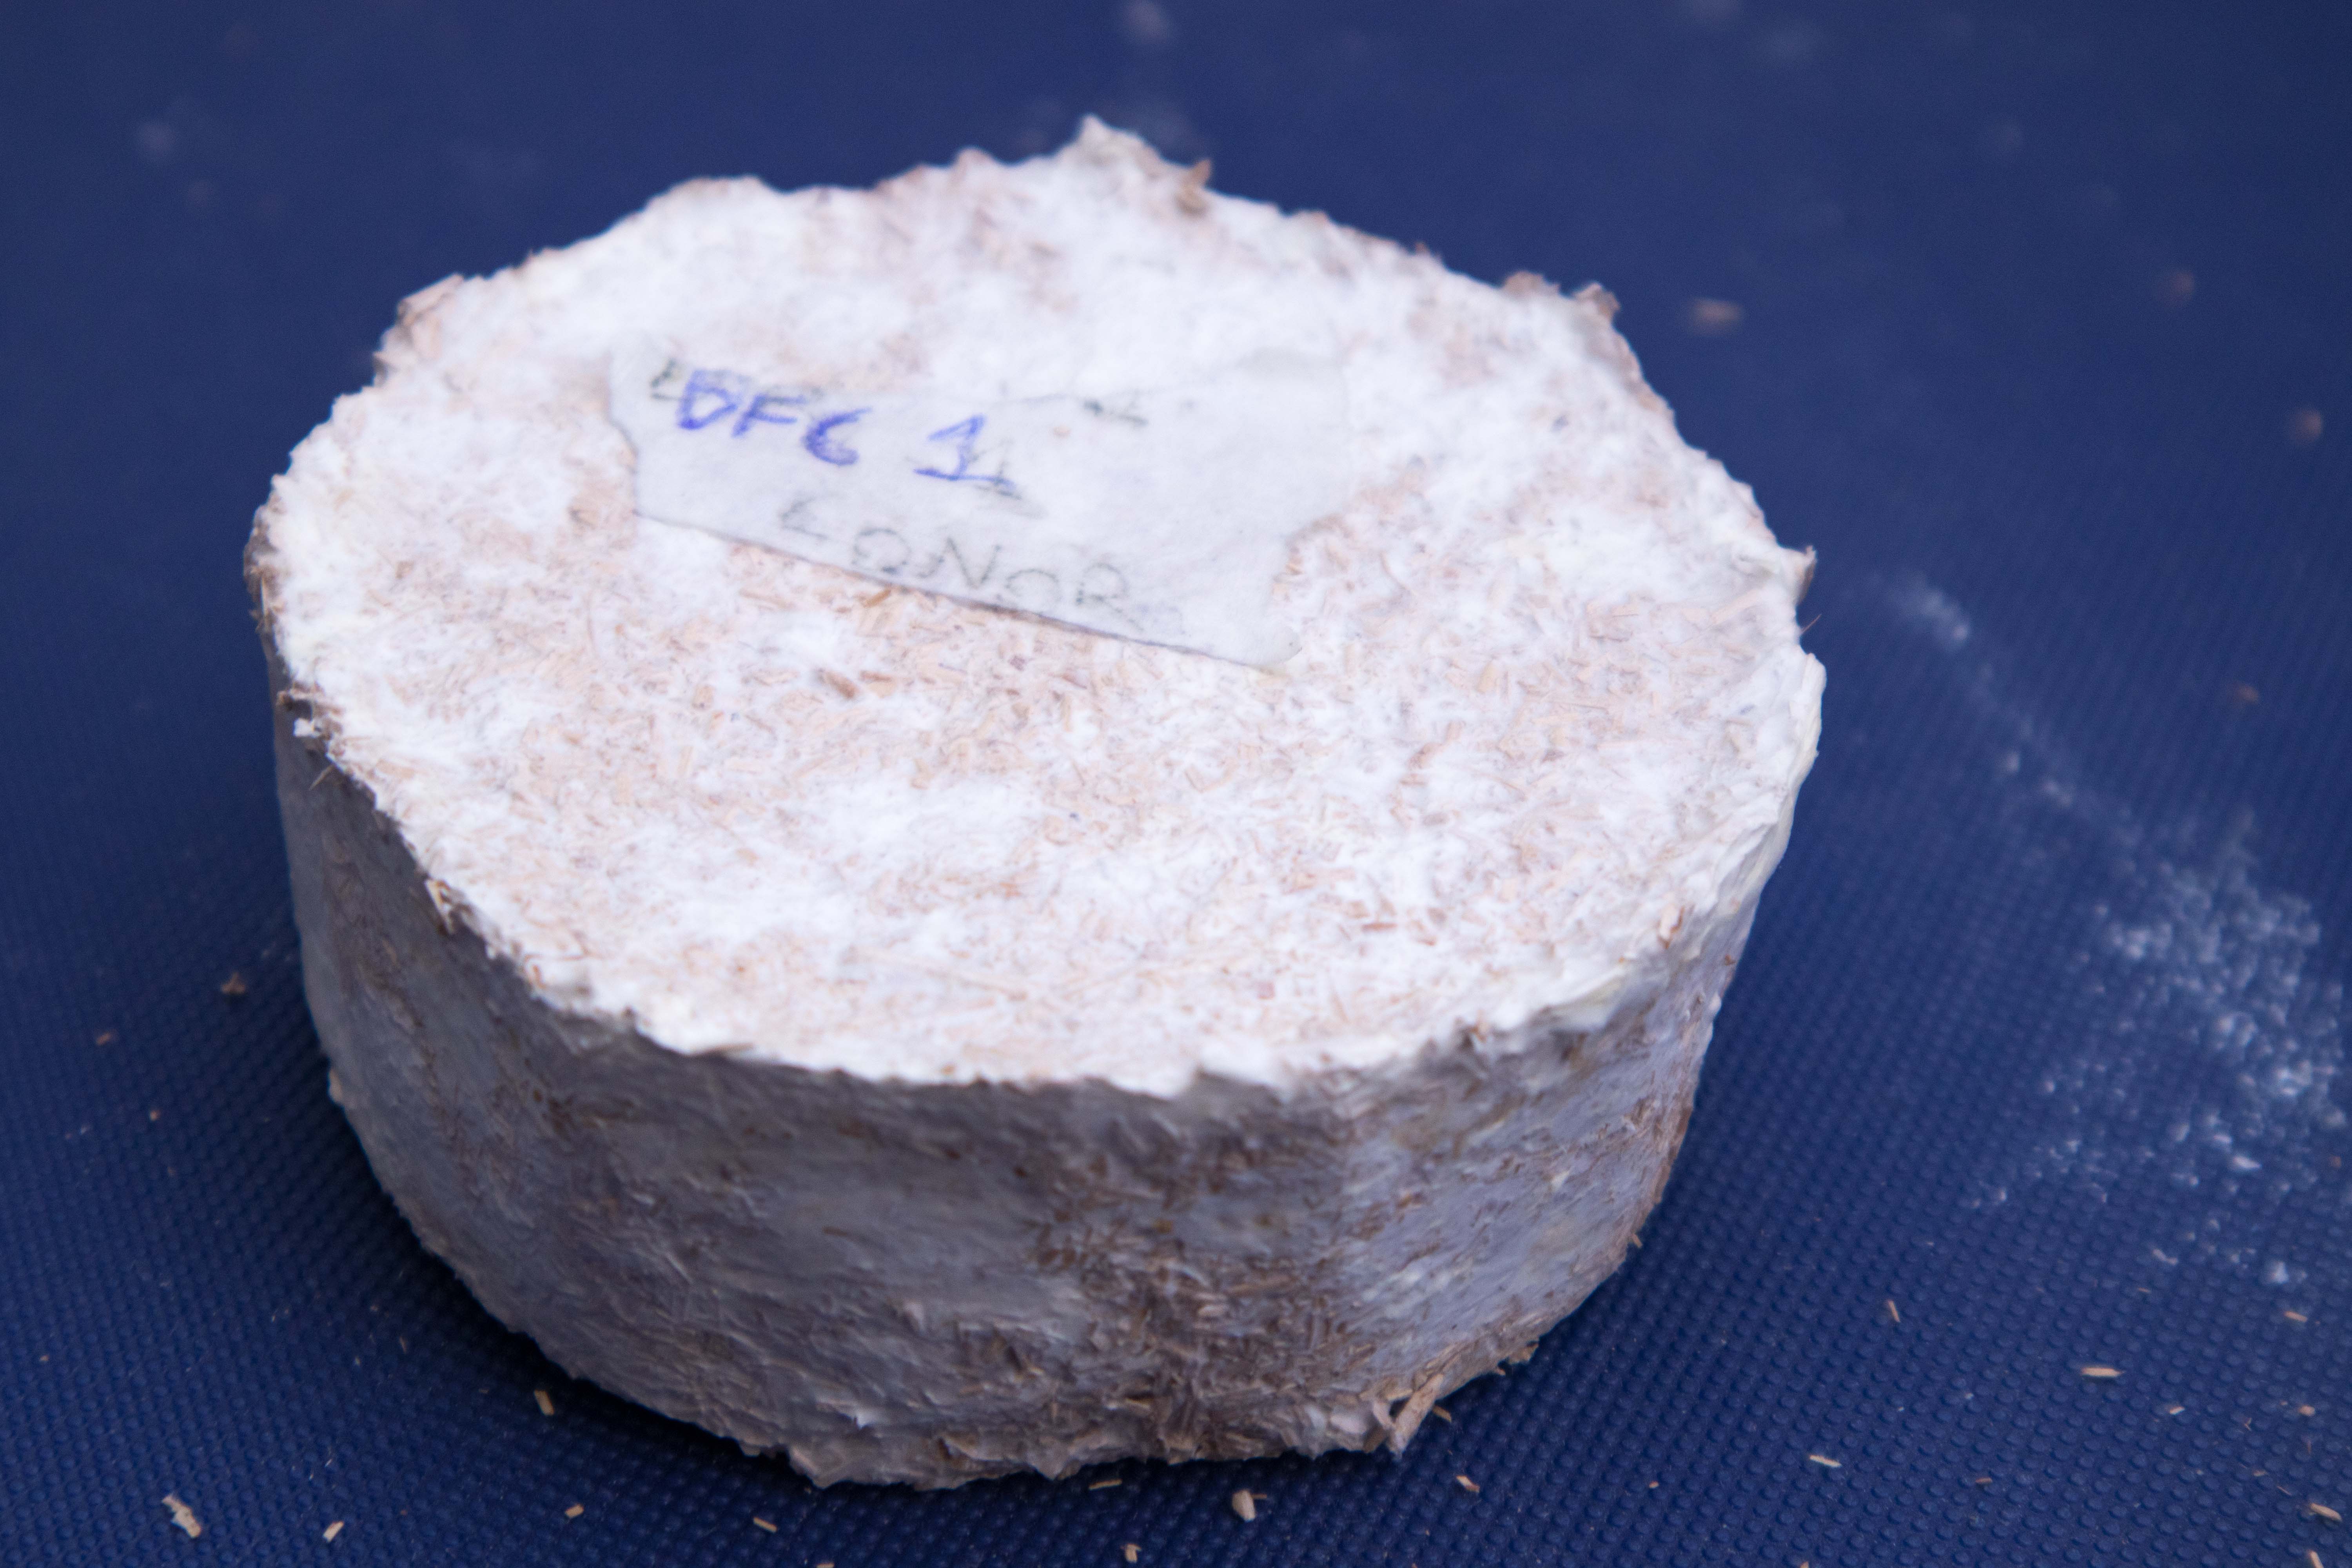
Unprocessed flax waste:
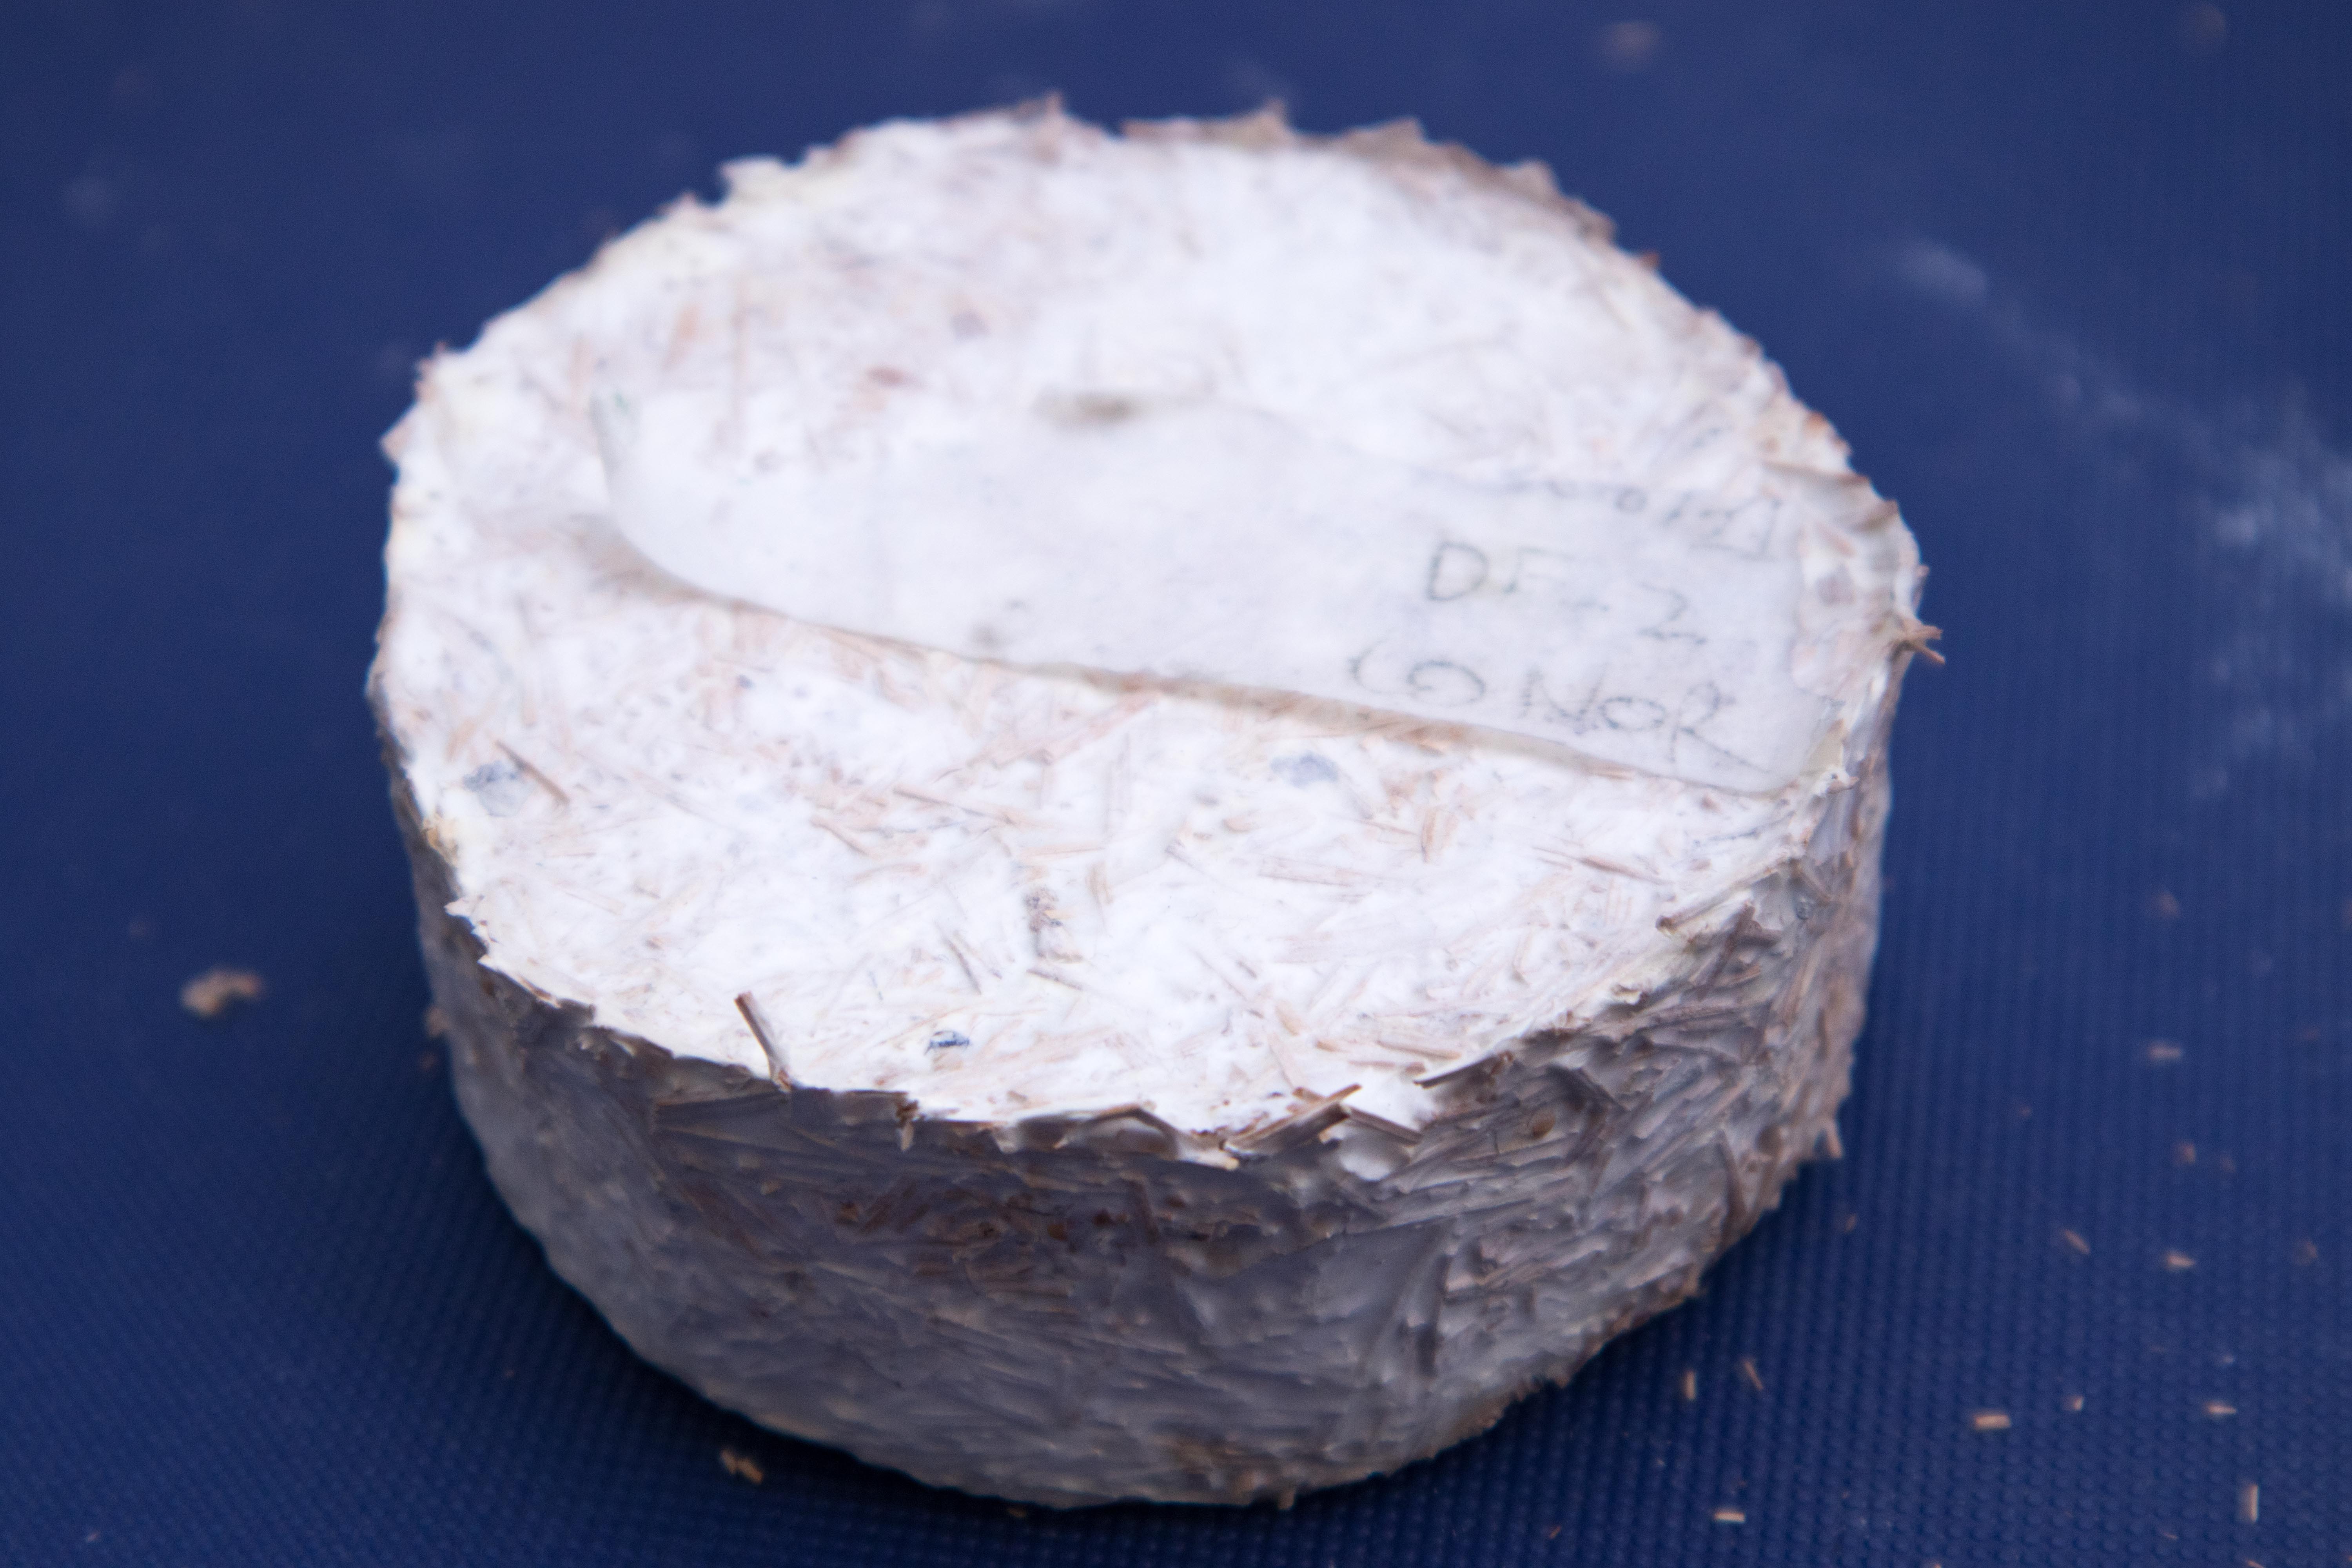
Compressed blended flax waste:
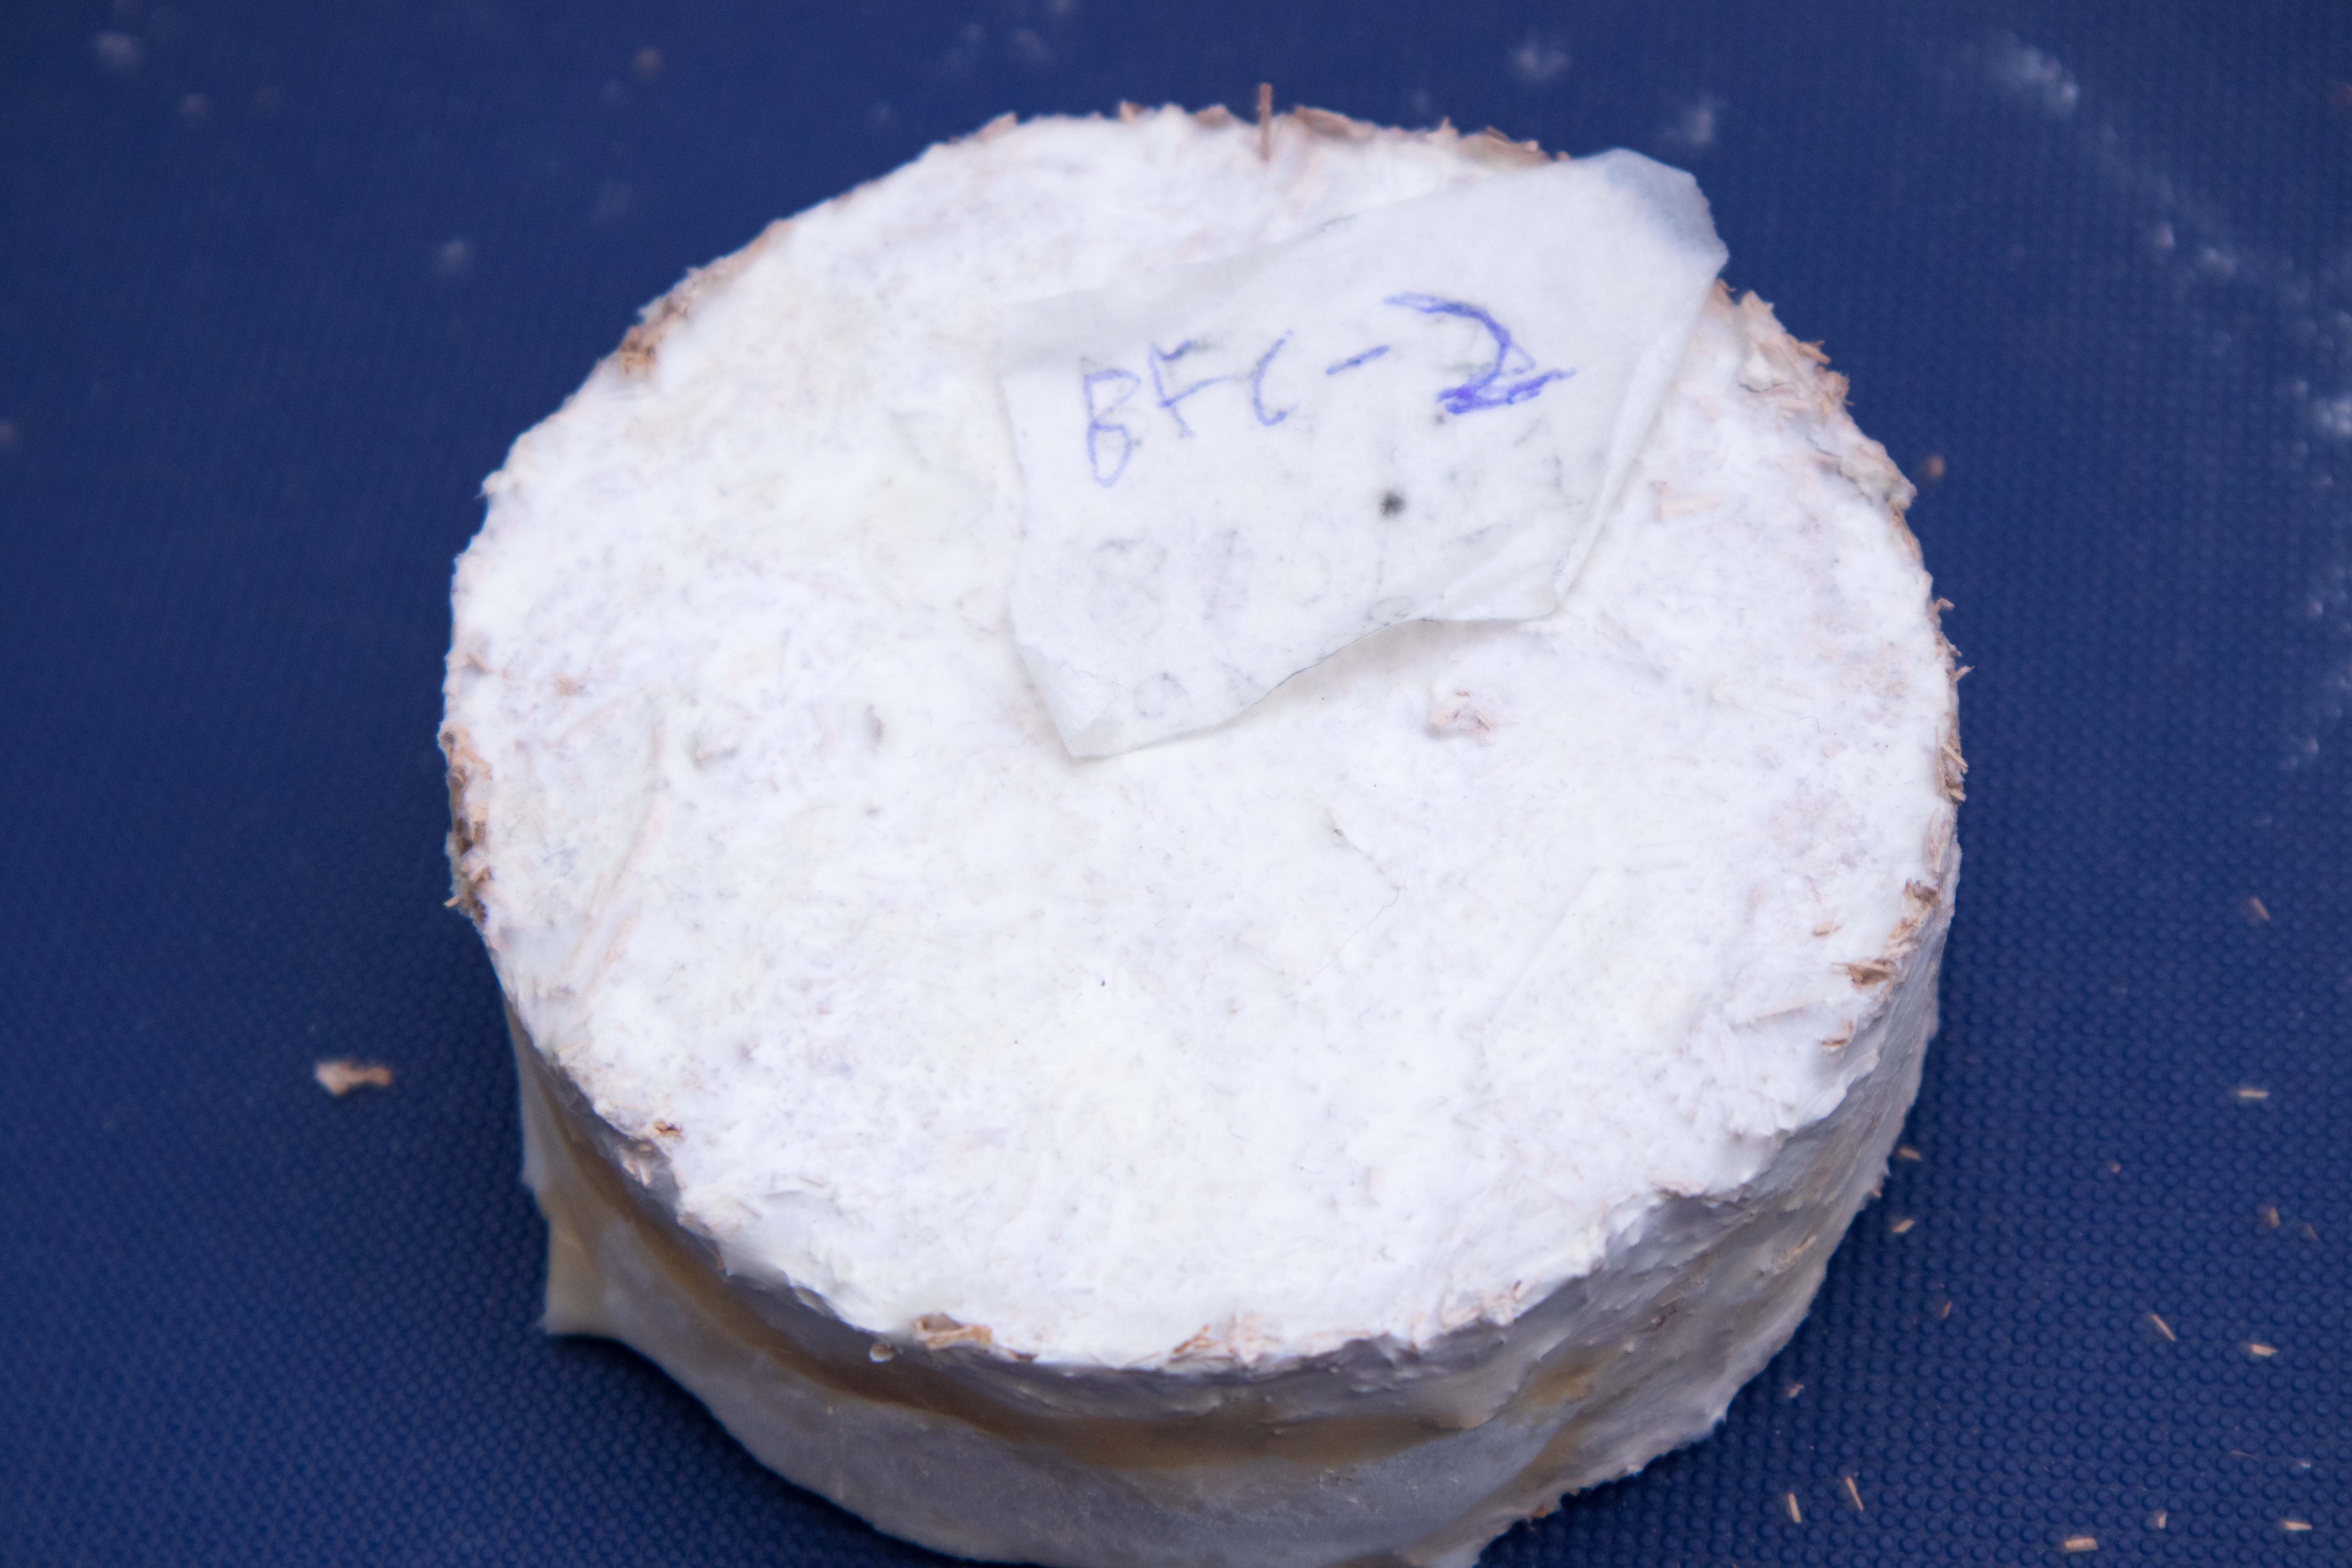
Compressed blended flax waste:
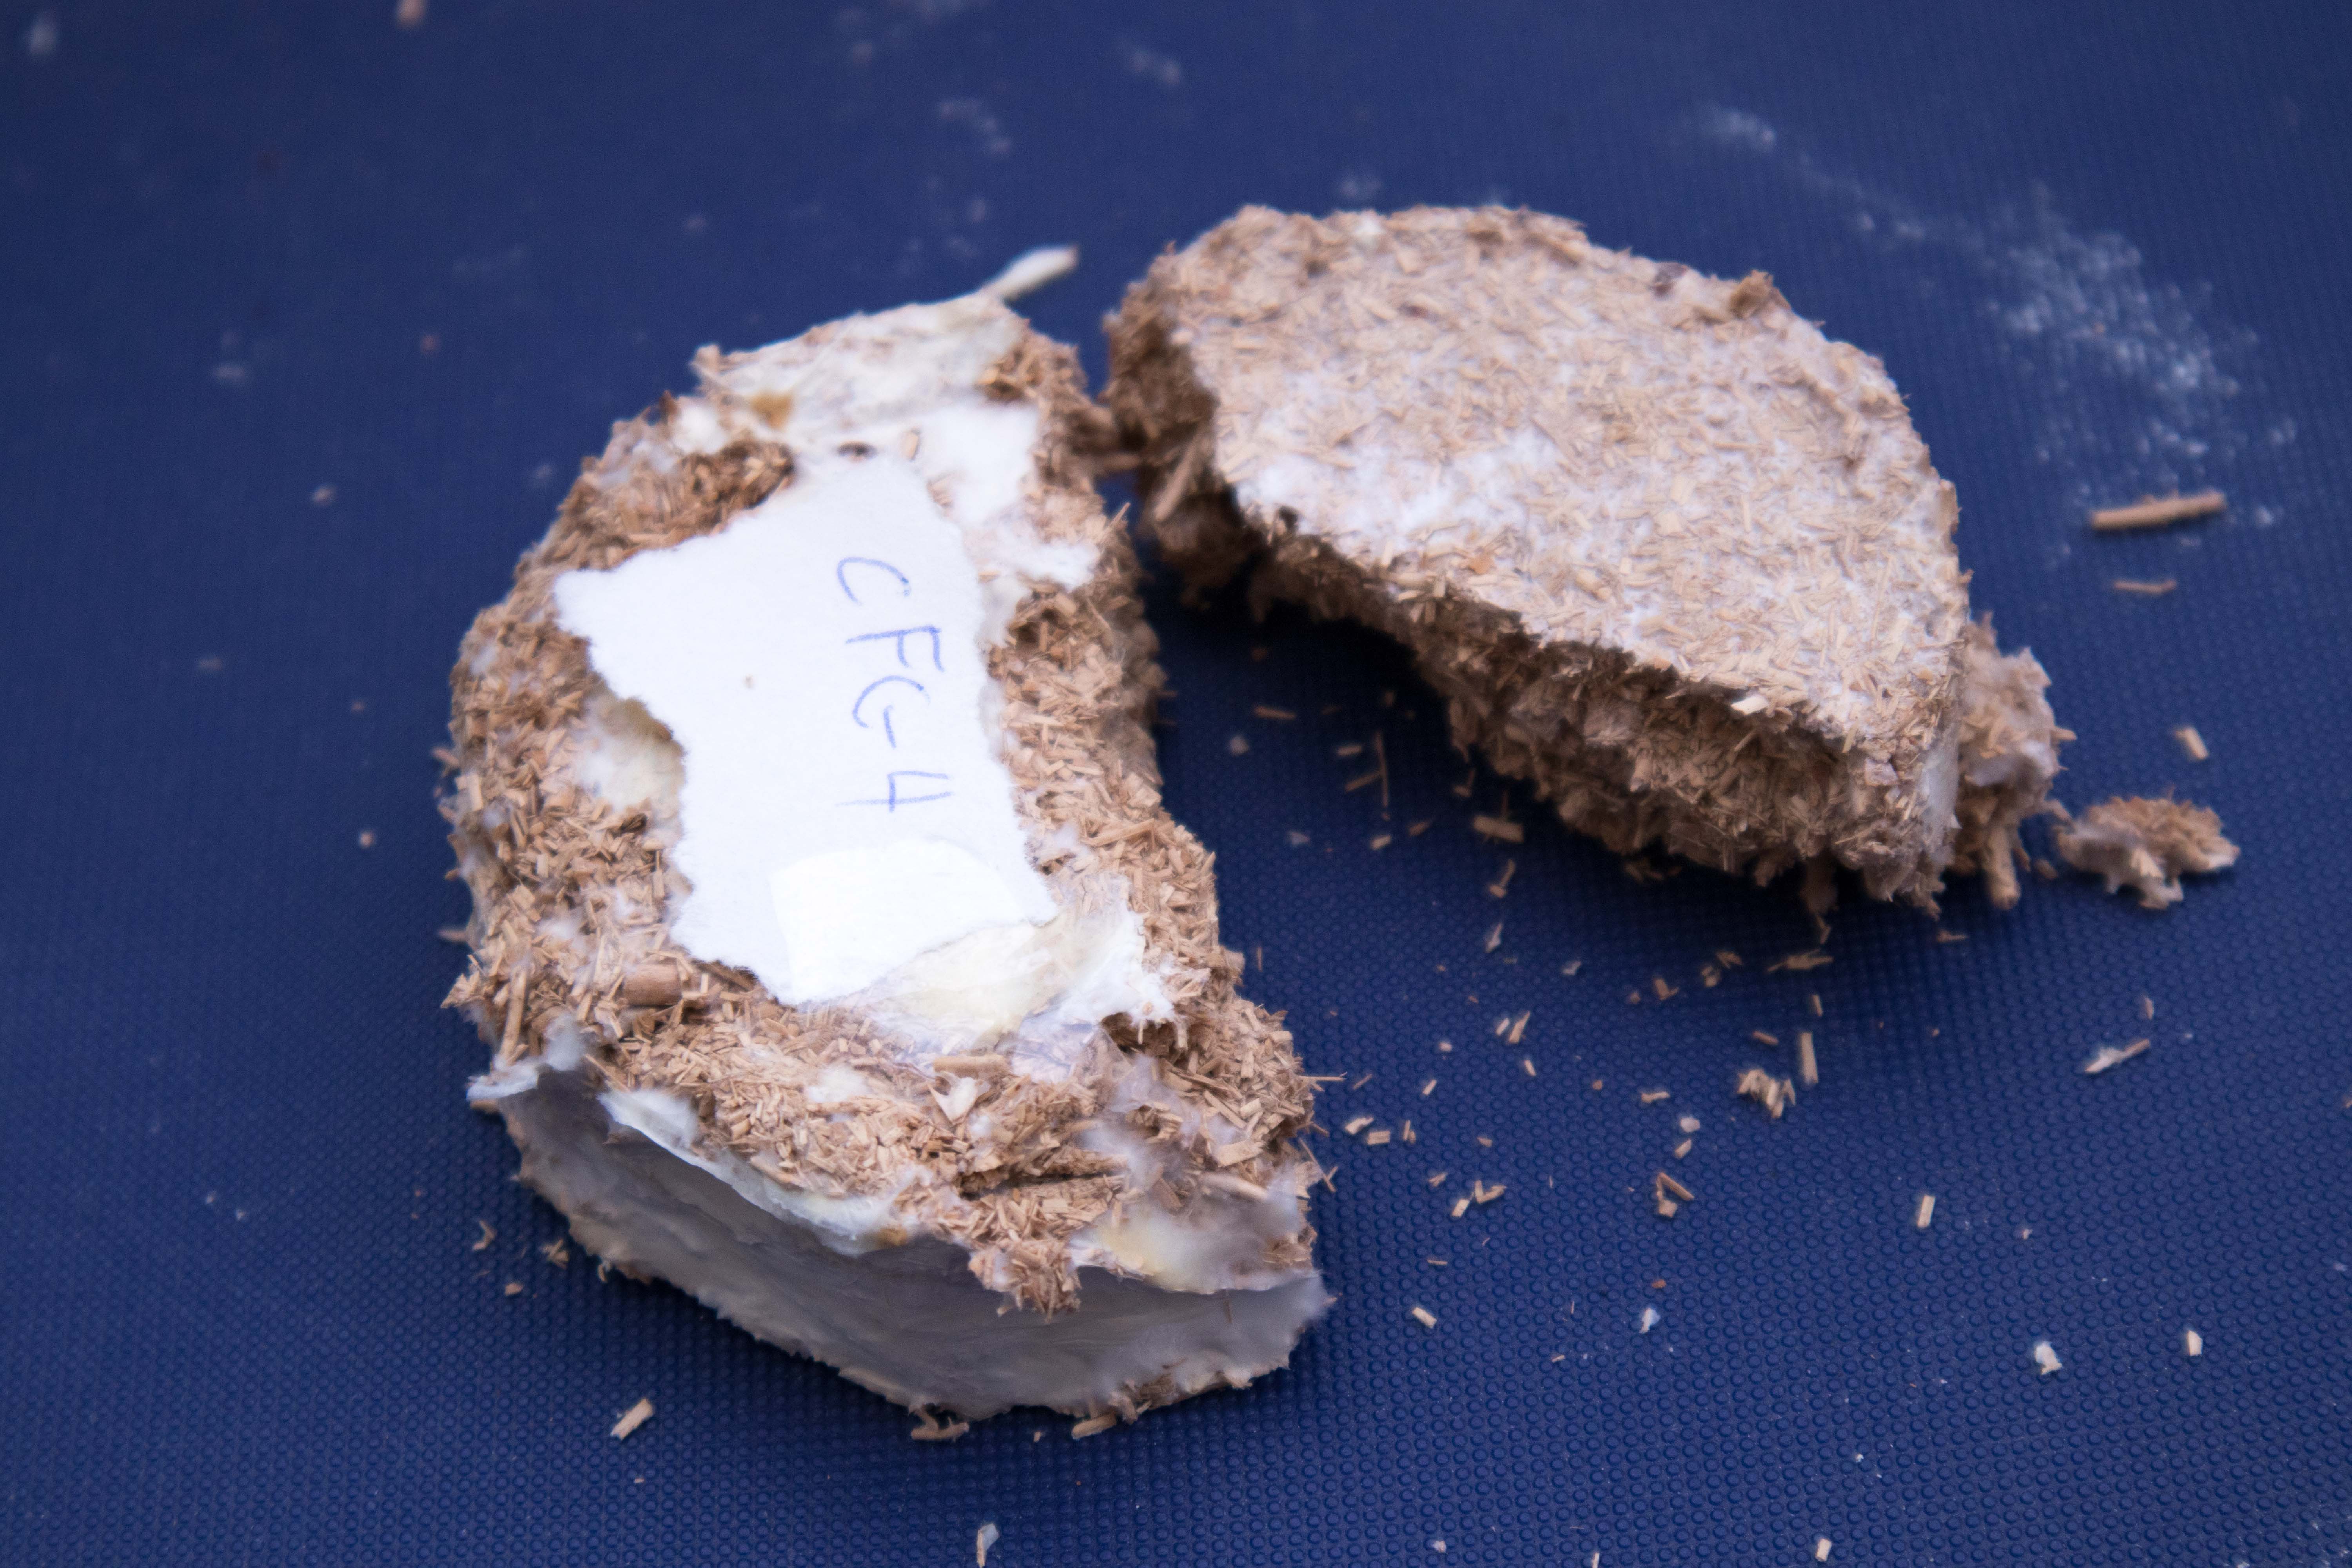
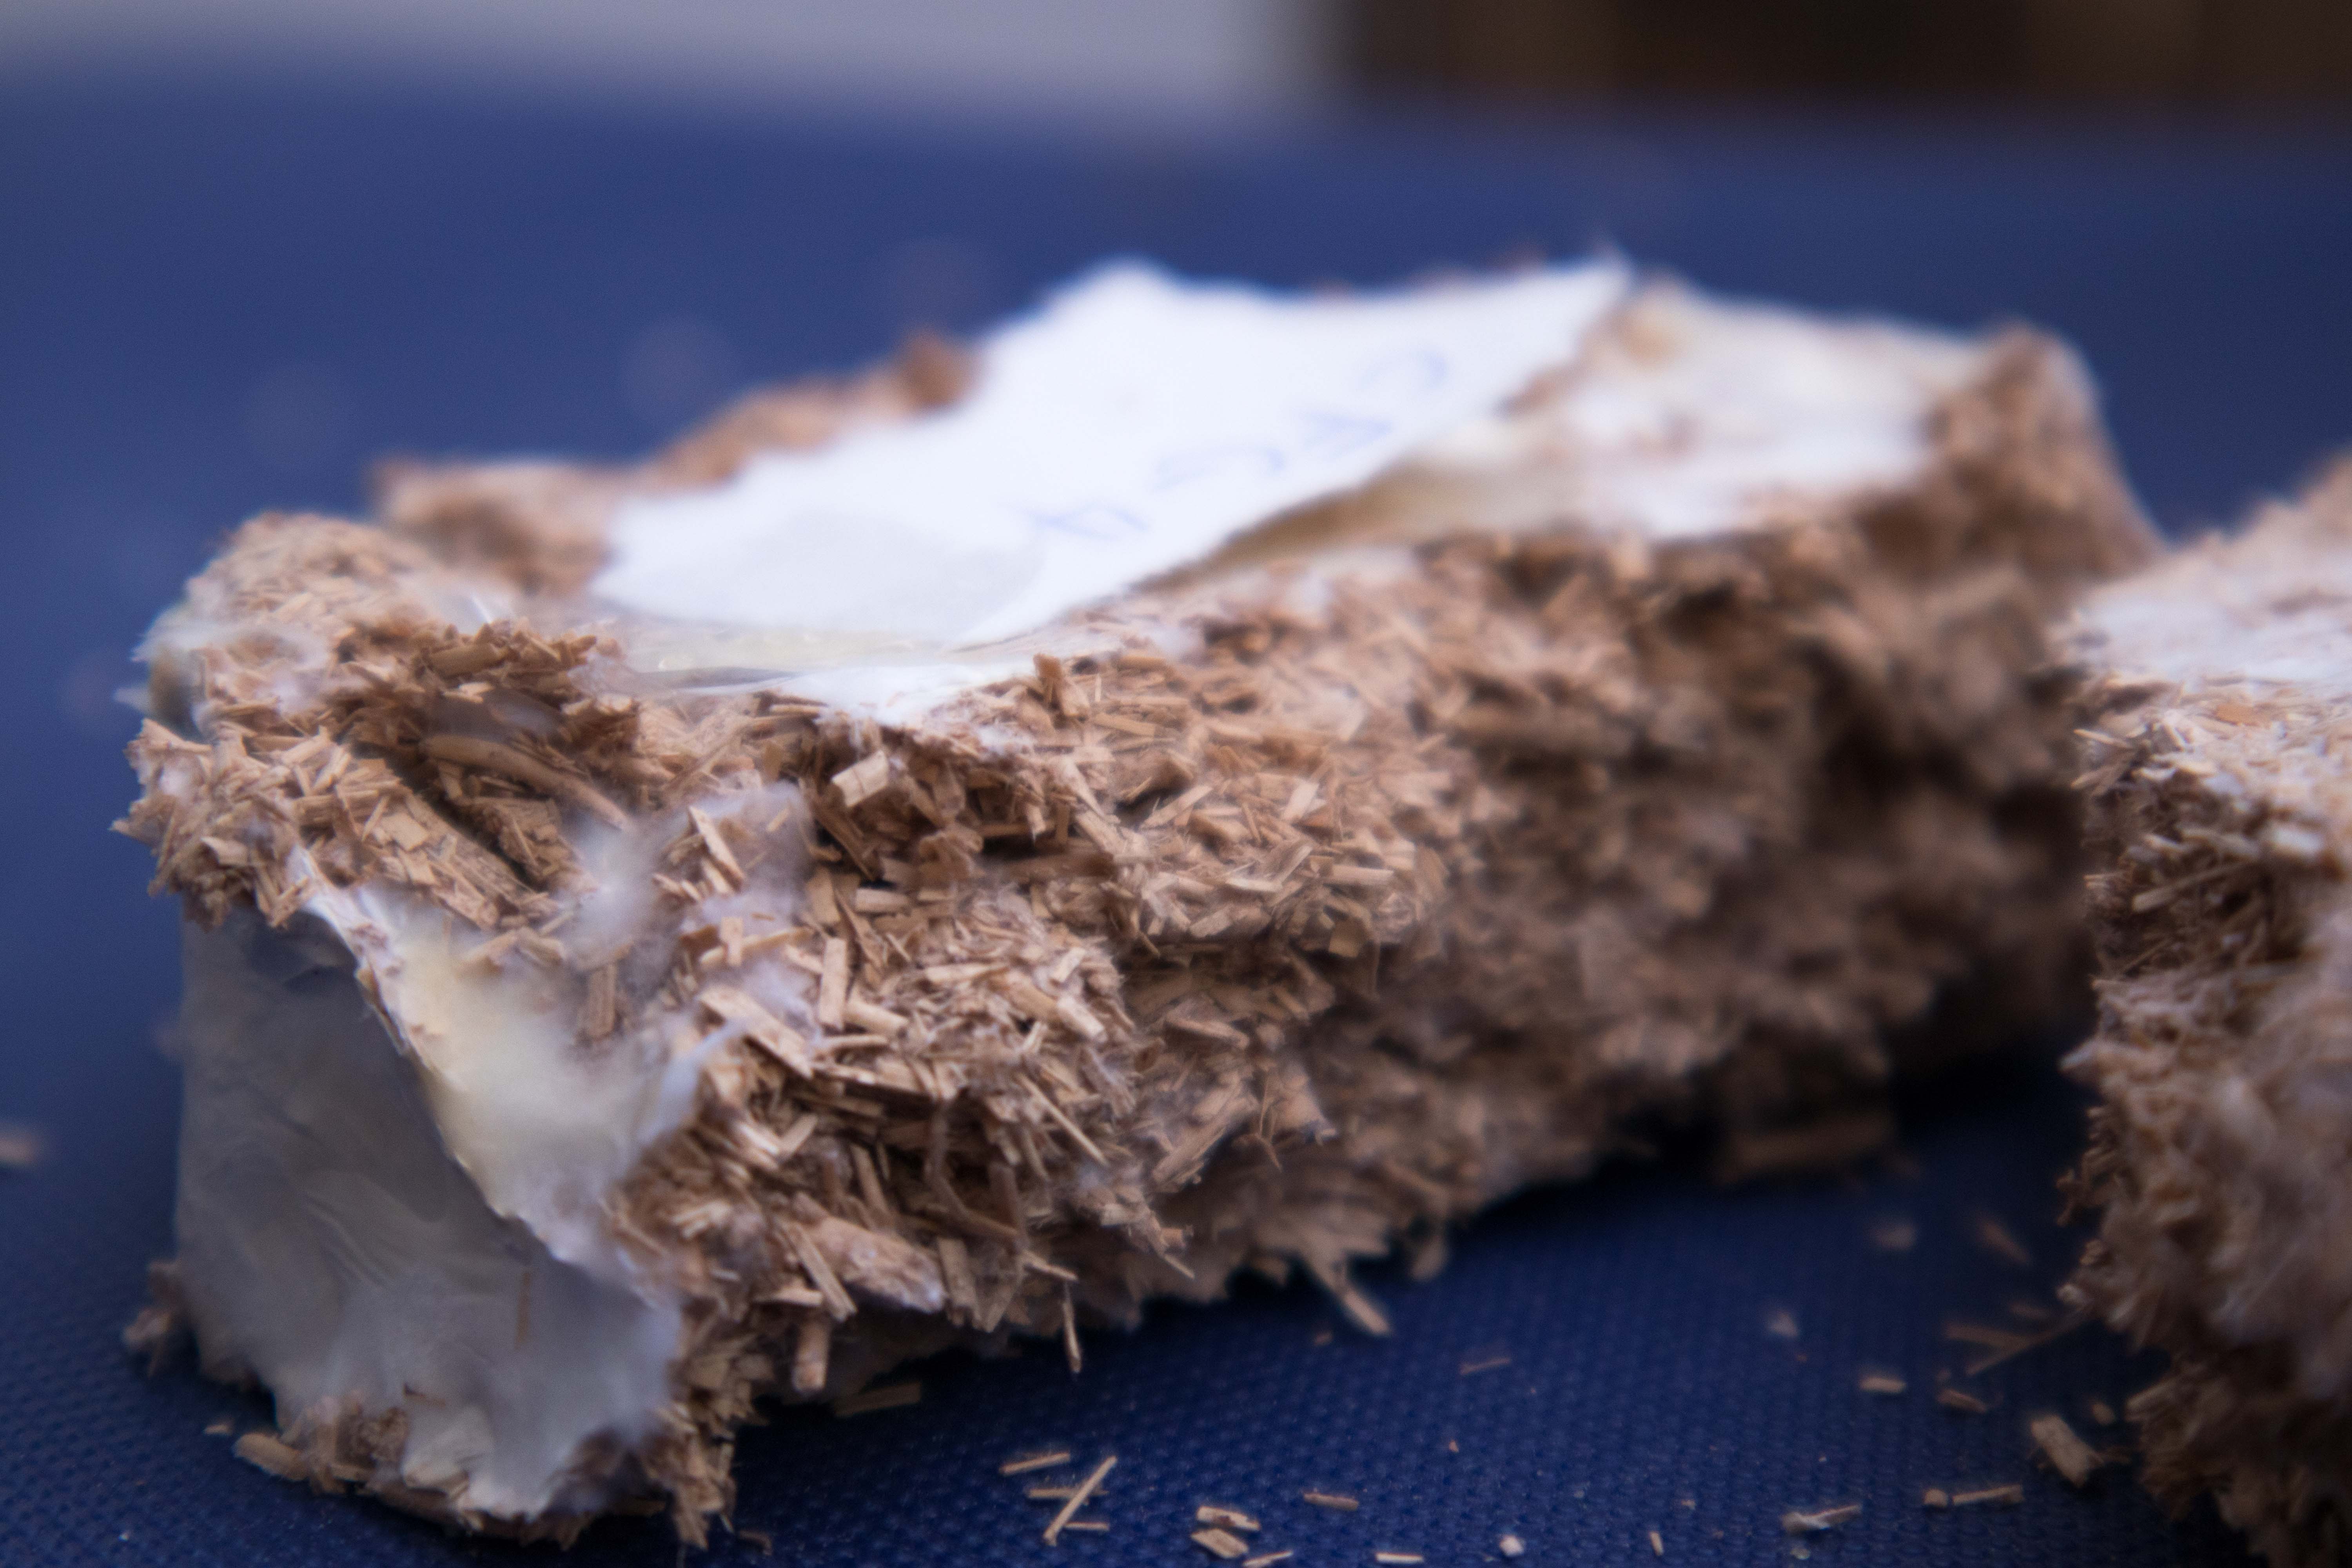
Blended flax waste w/ 200% grain spawn:
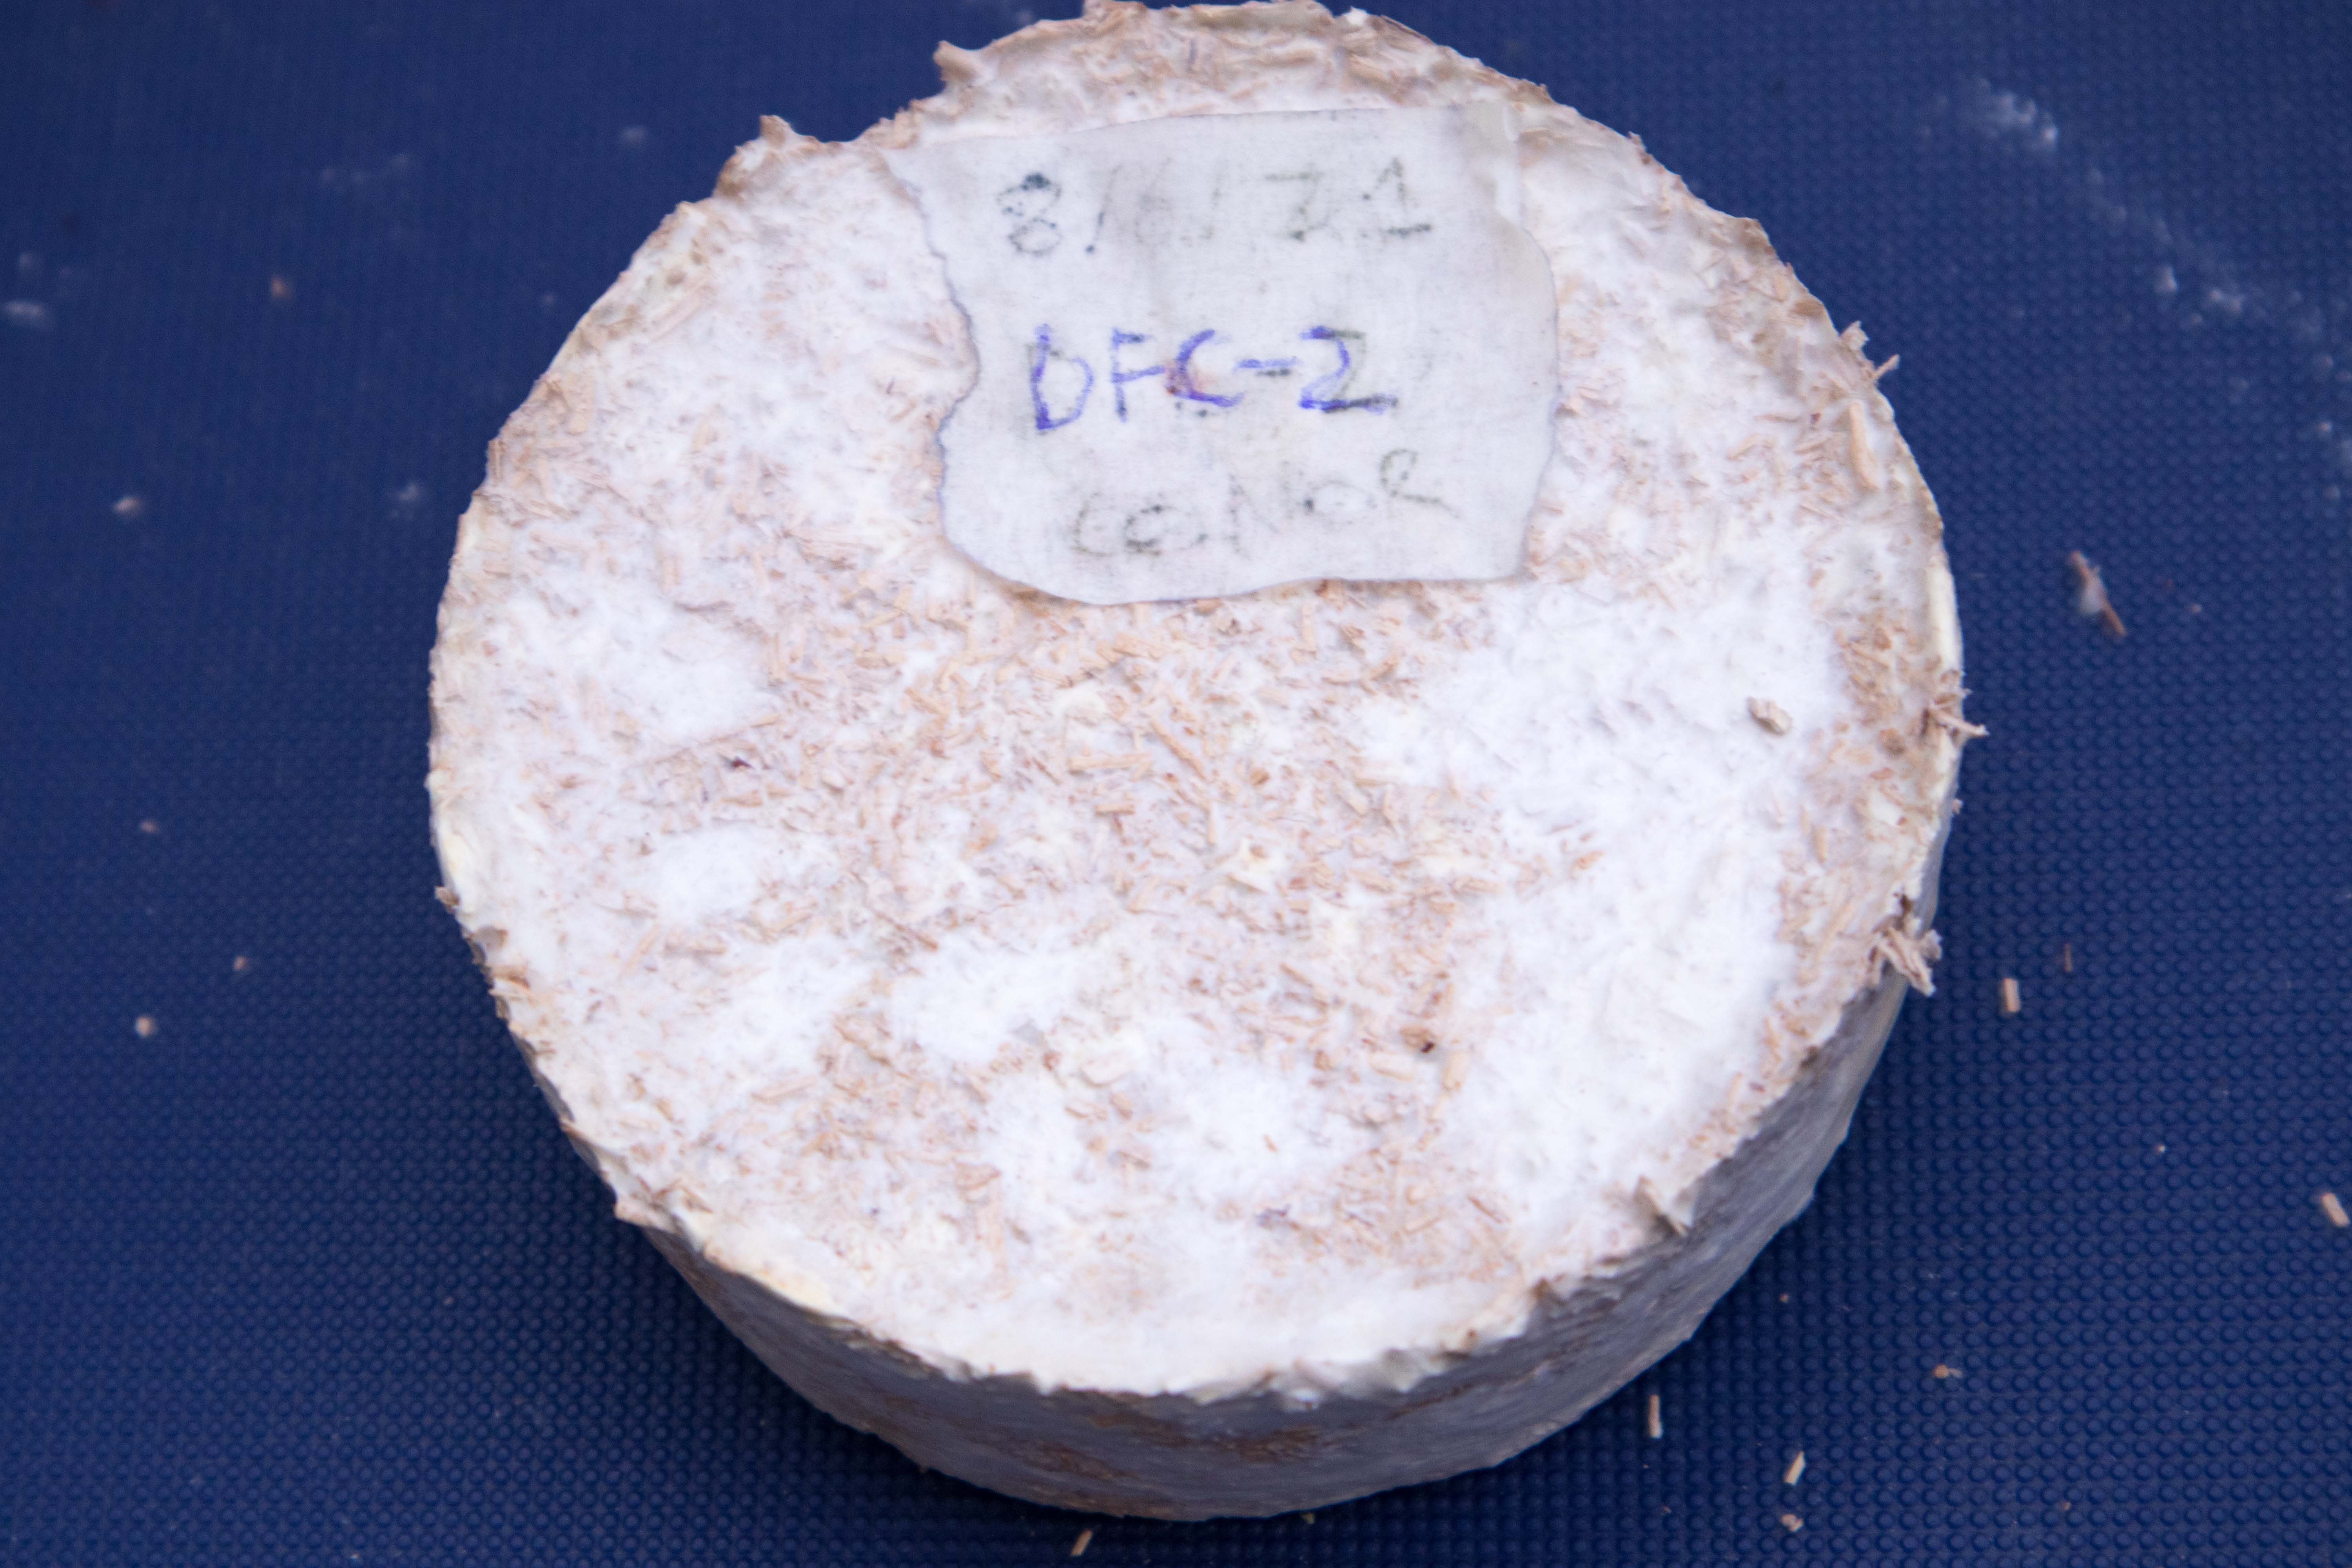
Compressed blended flax waste:
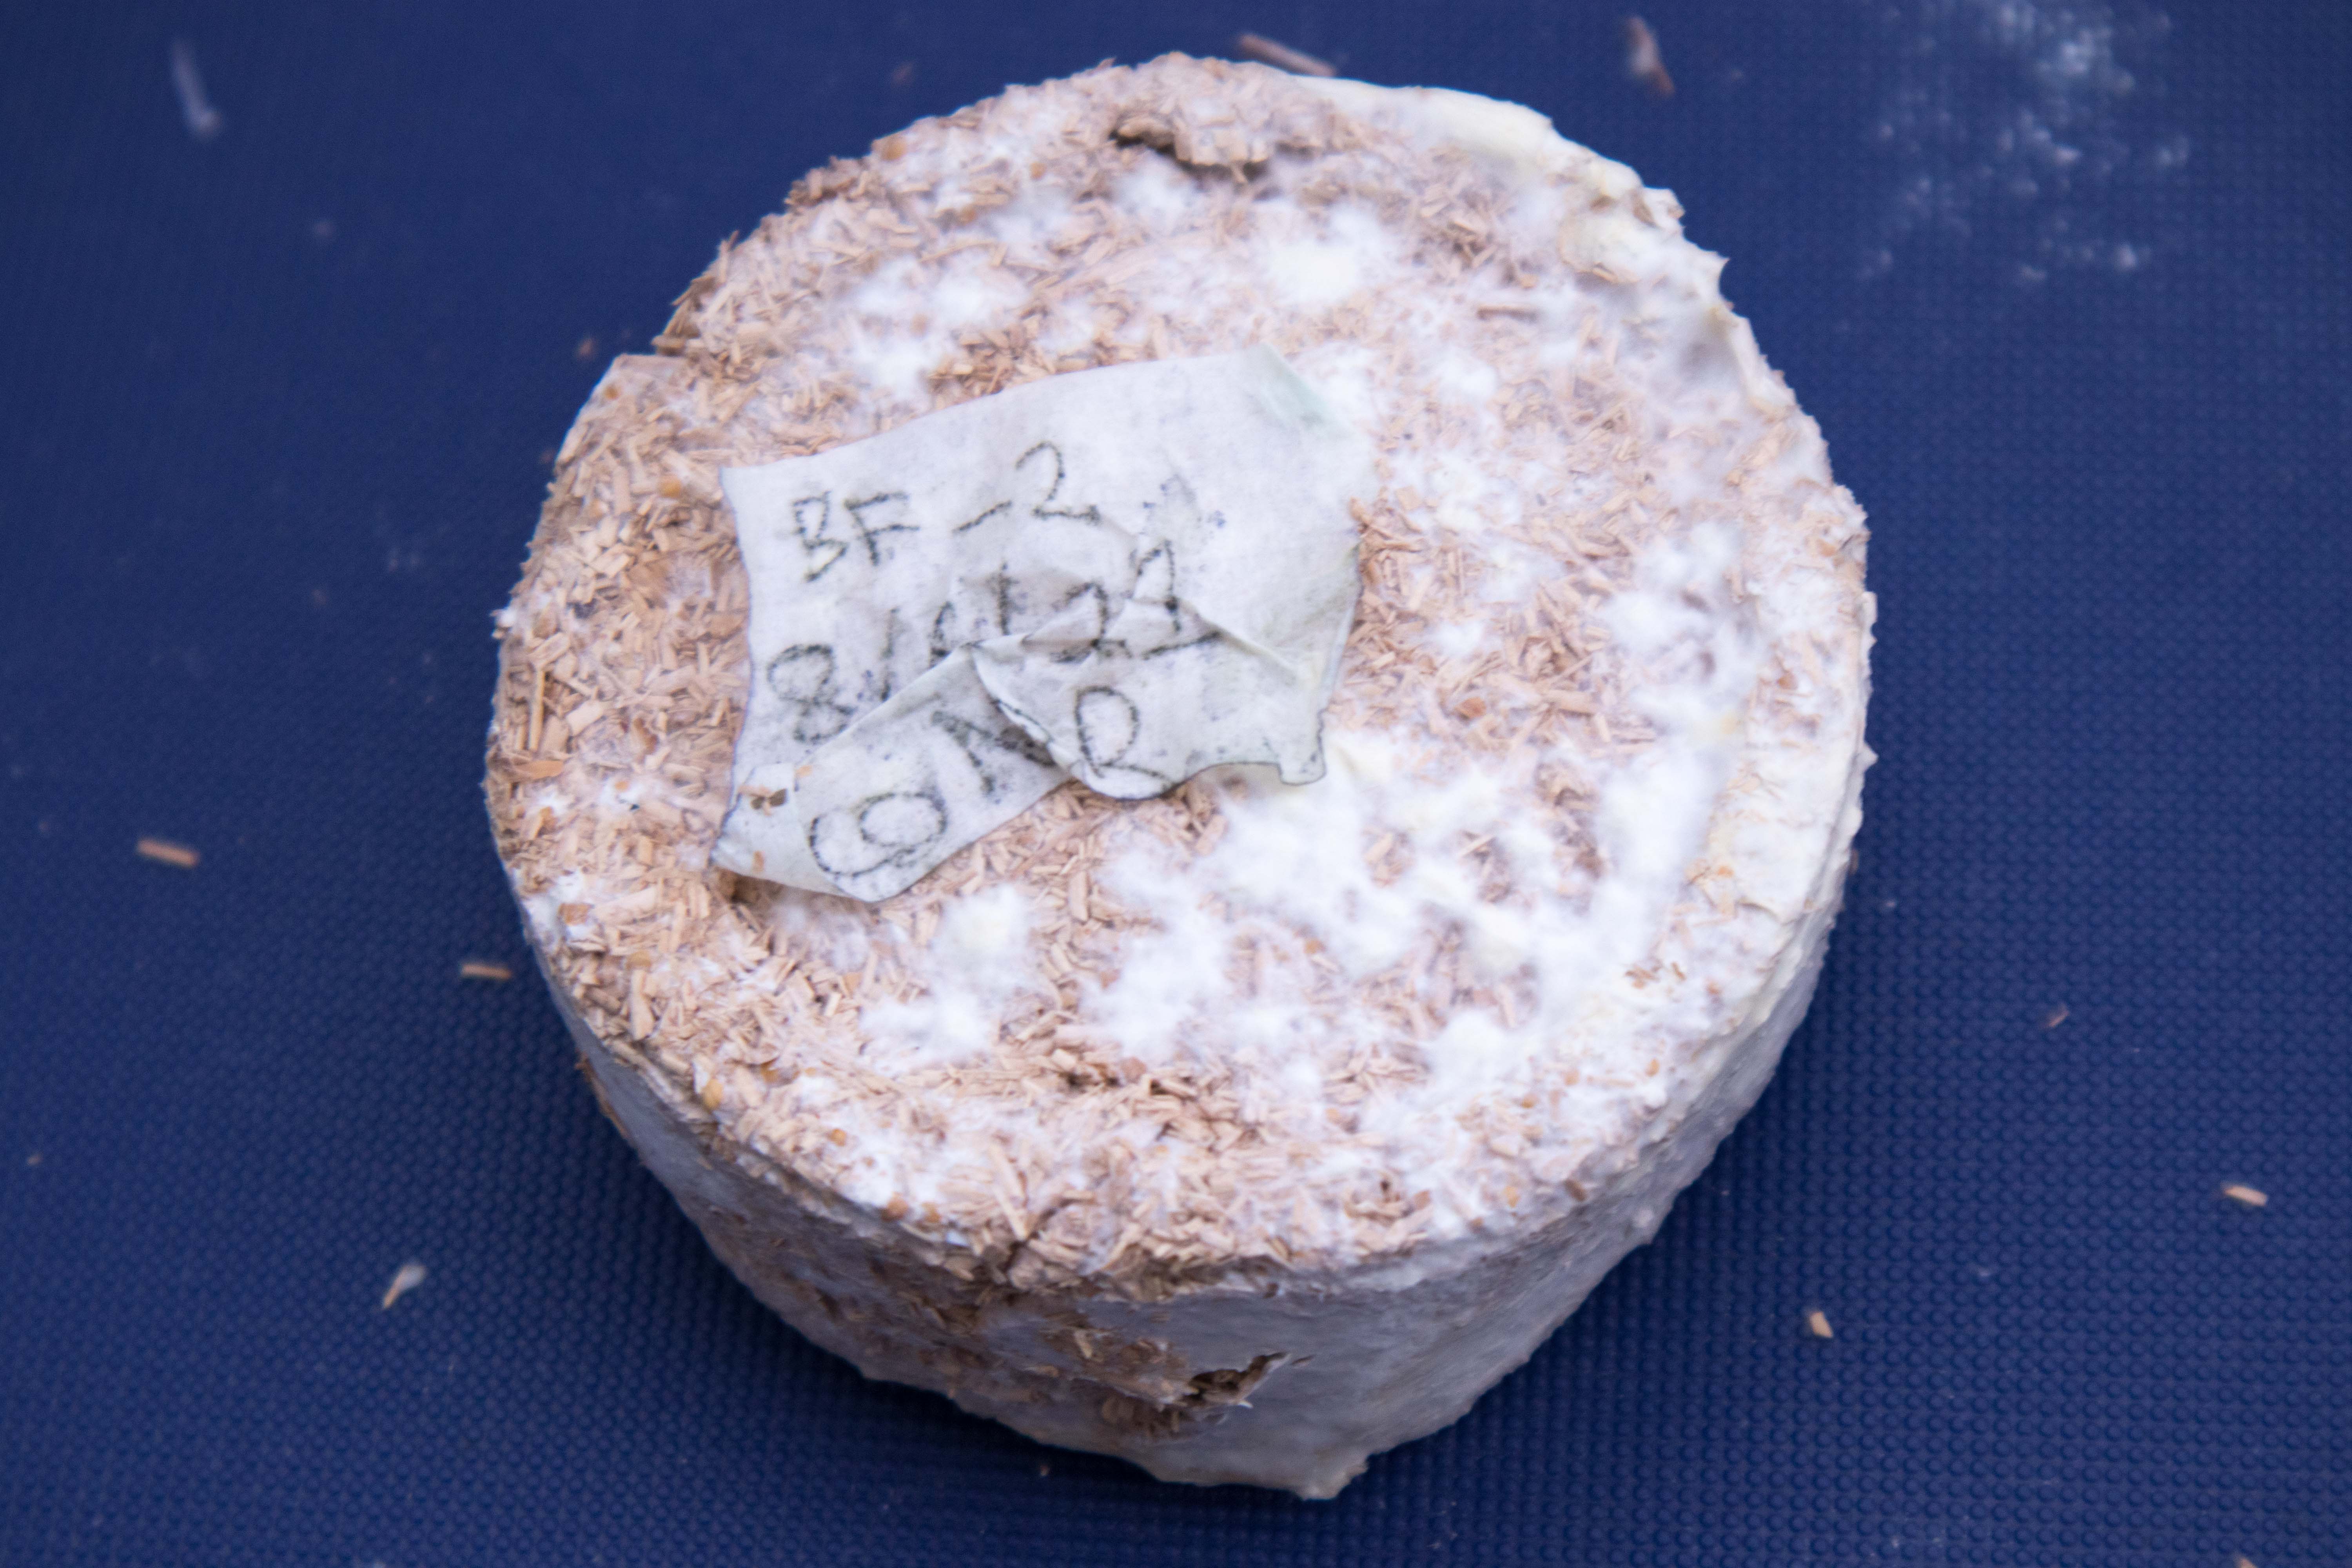
Blended flax waste w/ 200% grain spawn:
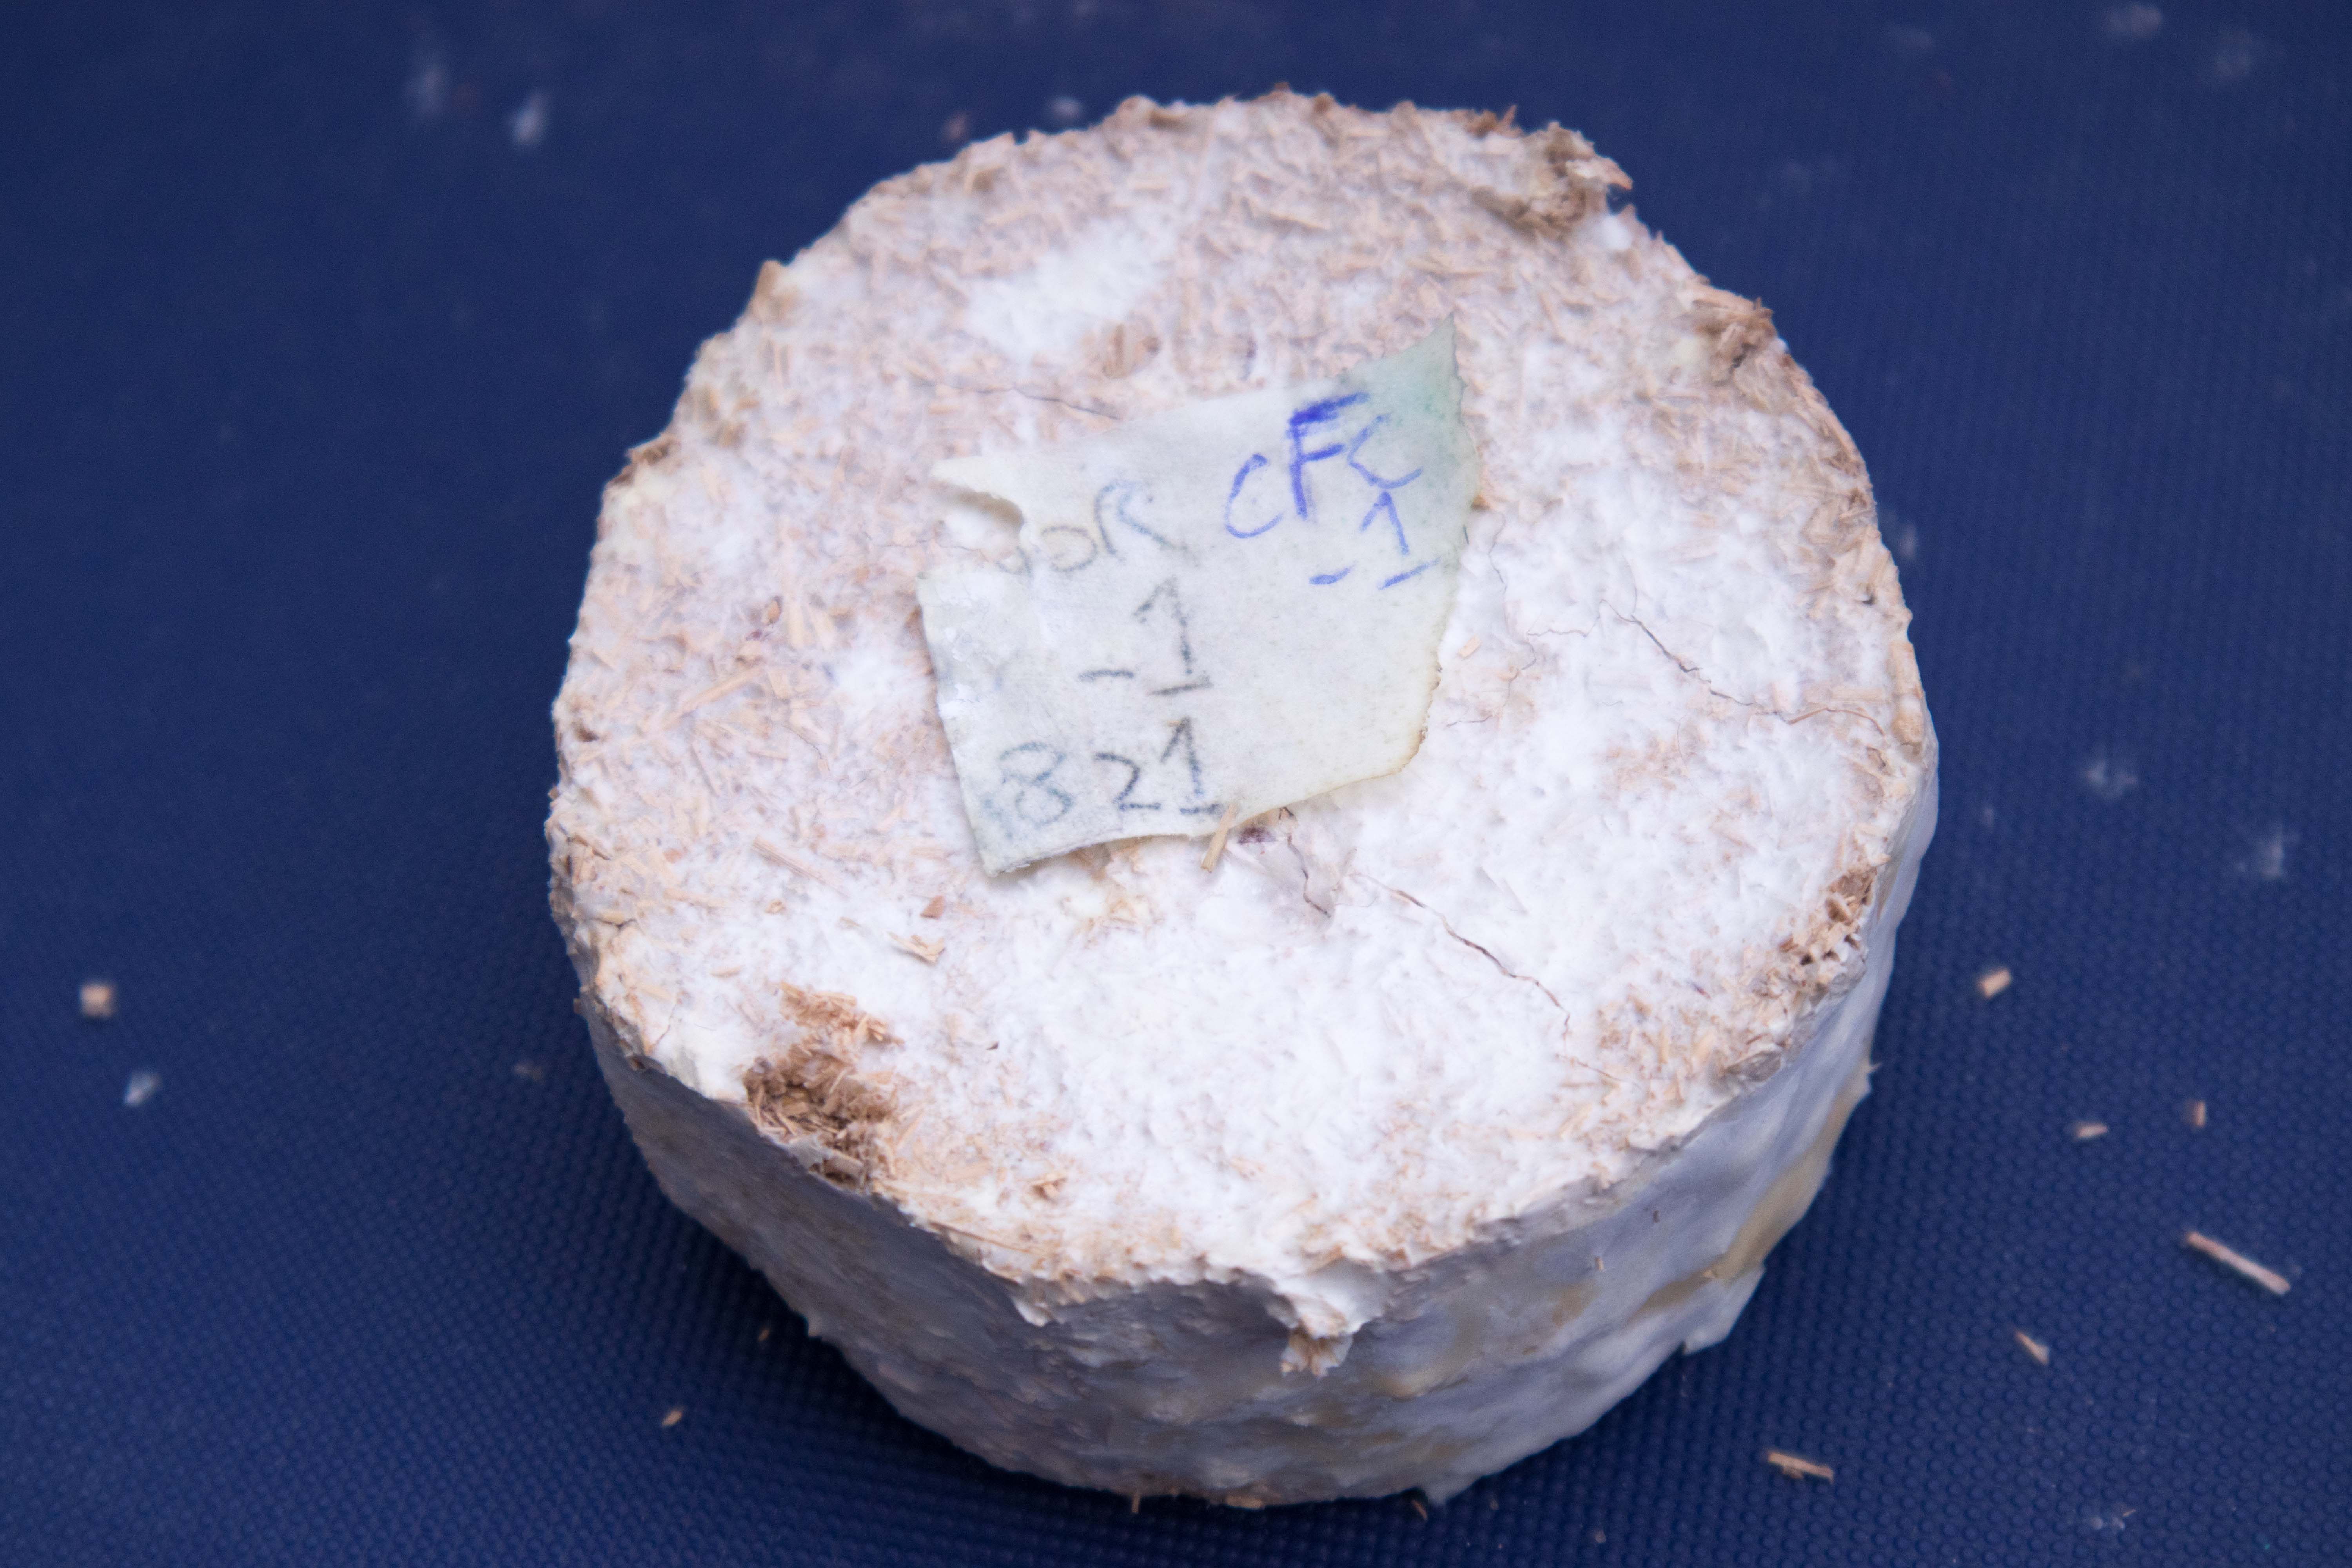
Compressed blended flax waste:
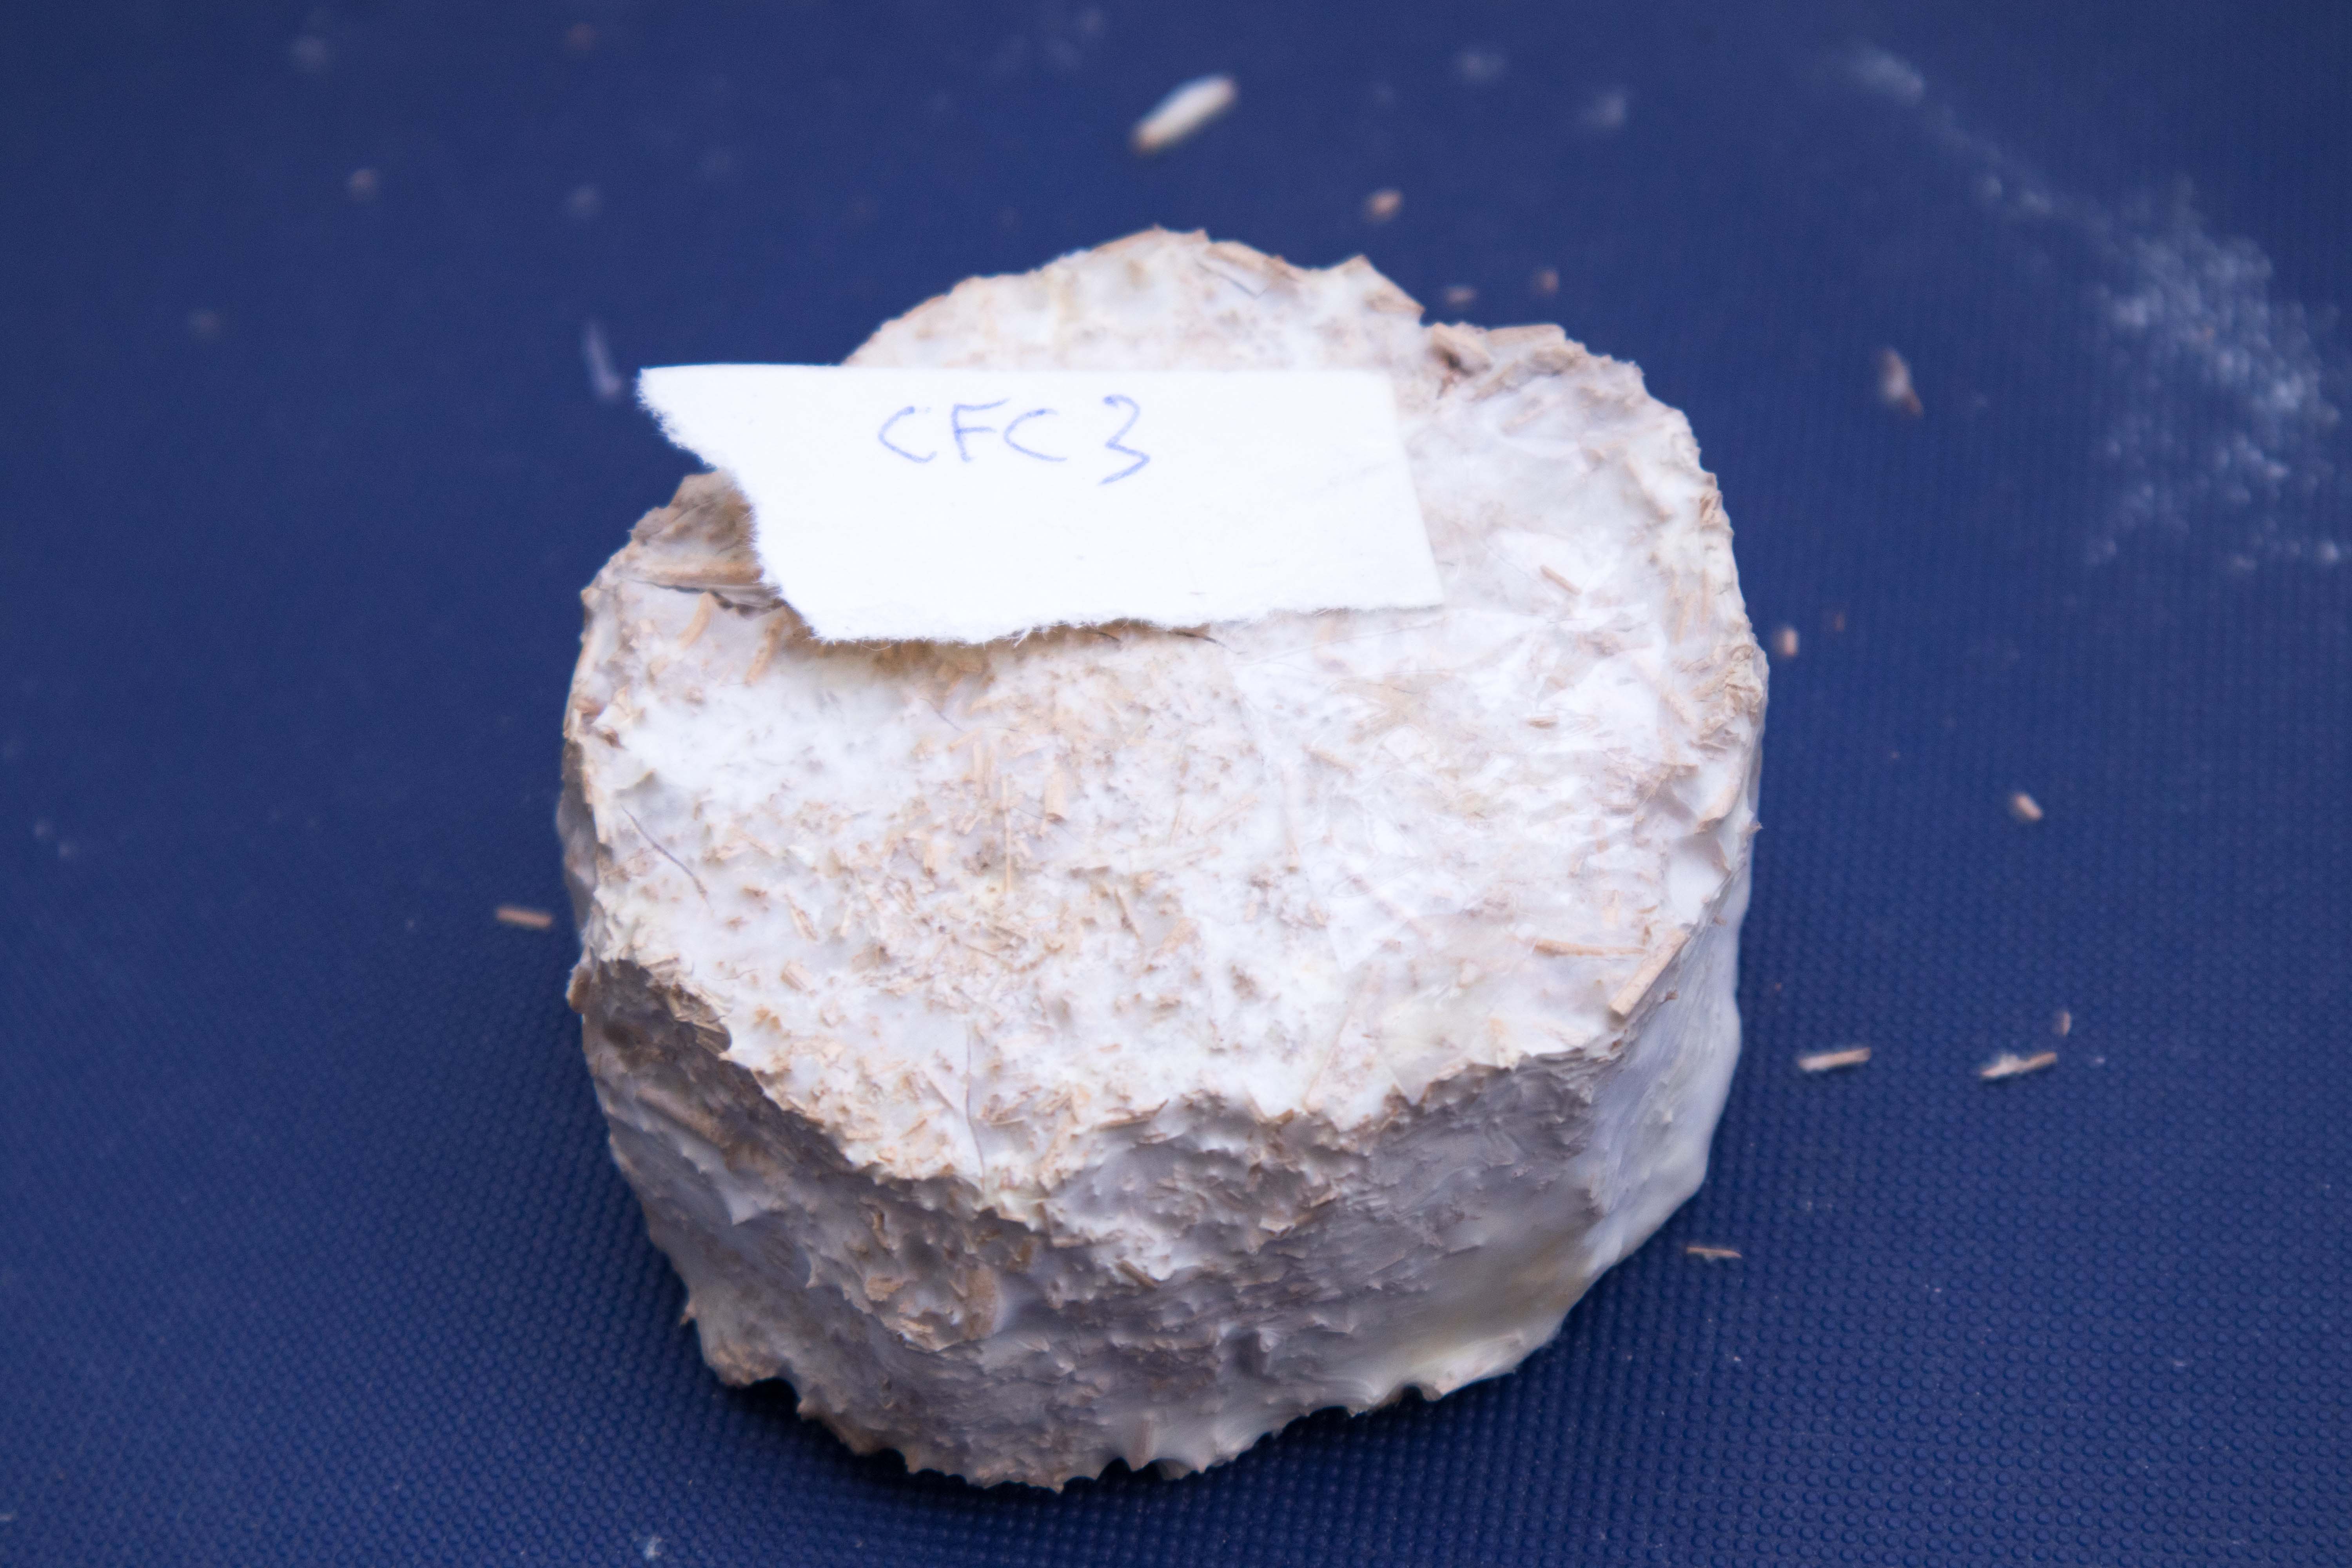
Compressed flax waste:
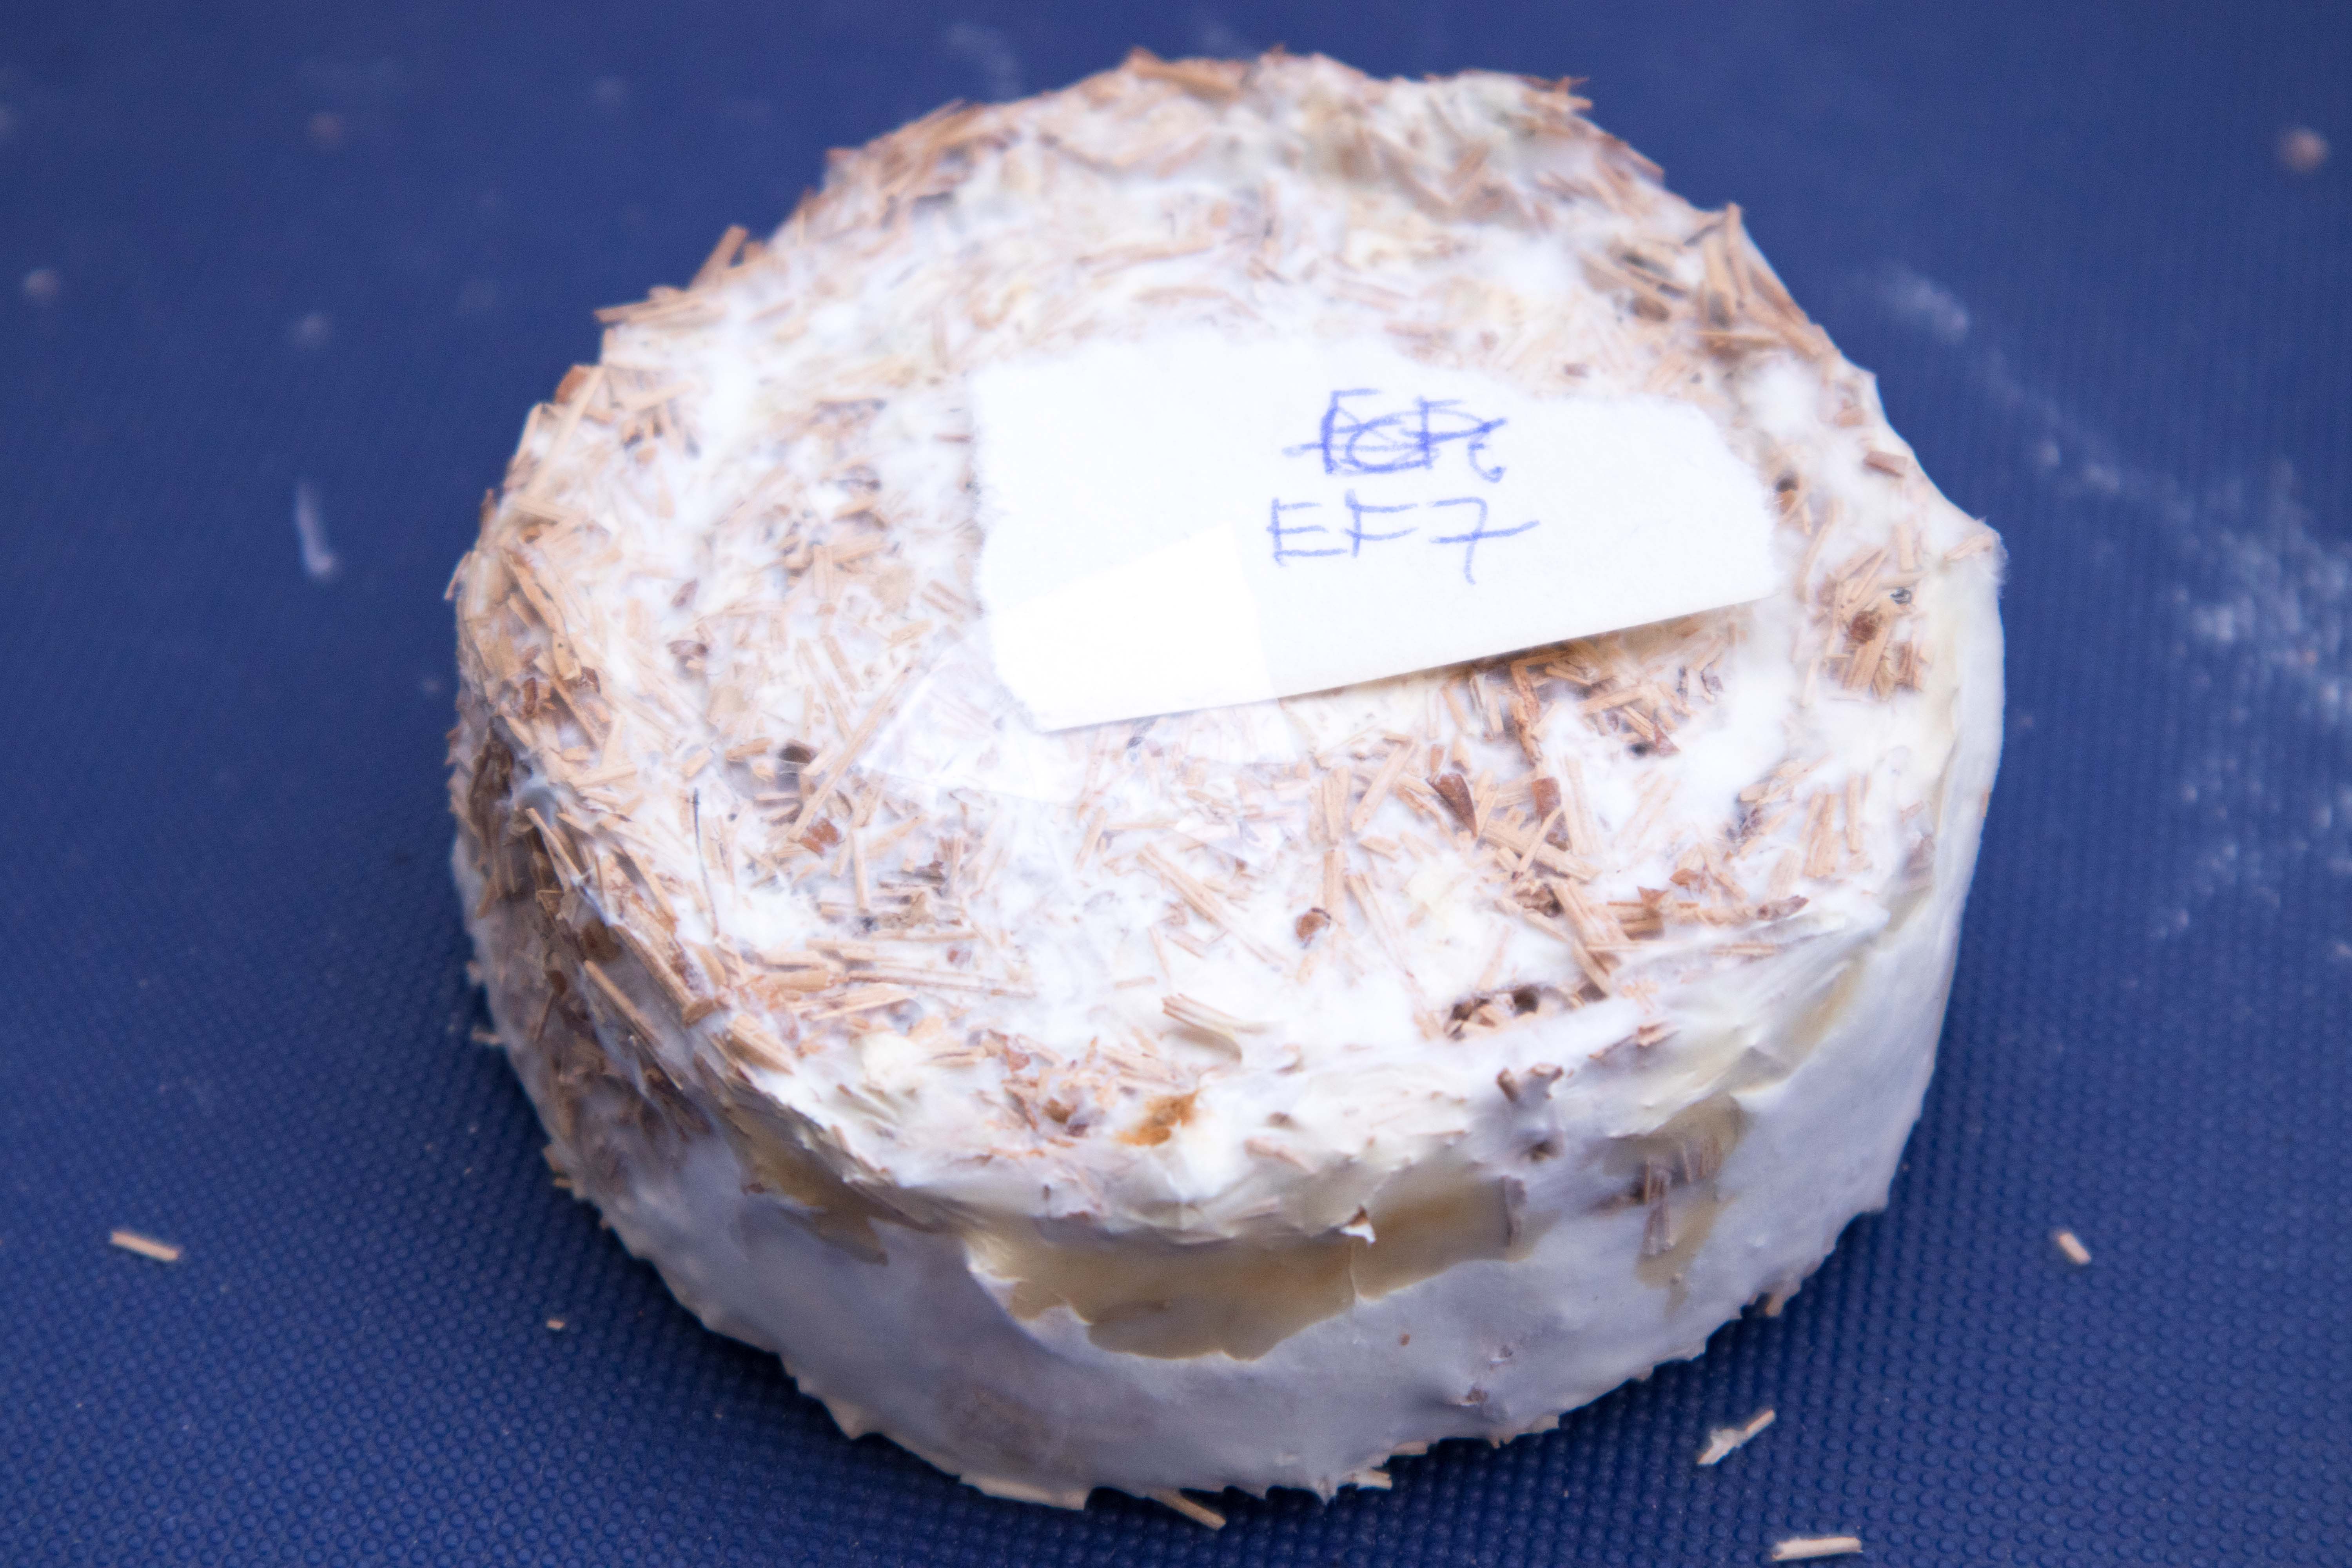
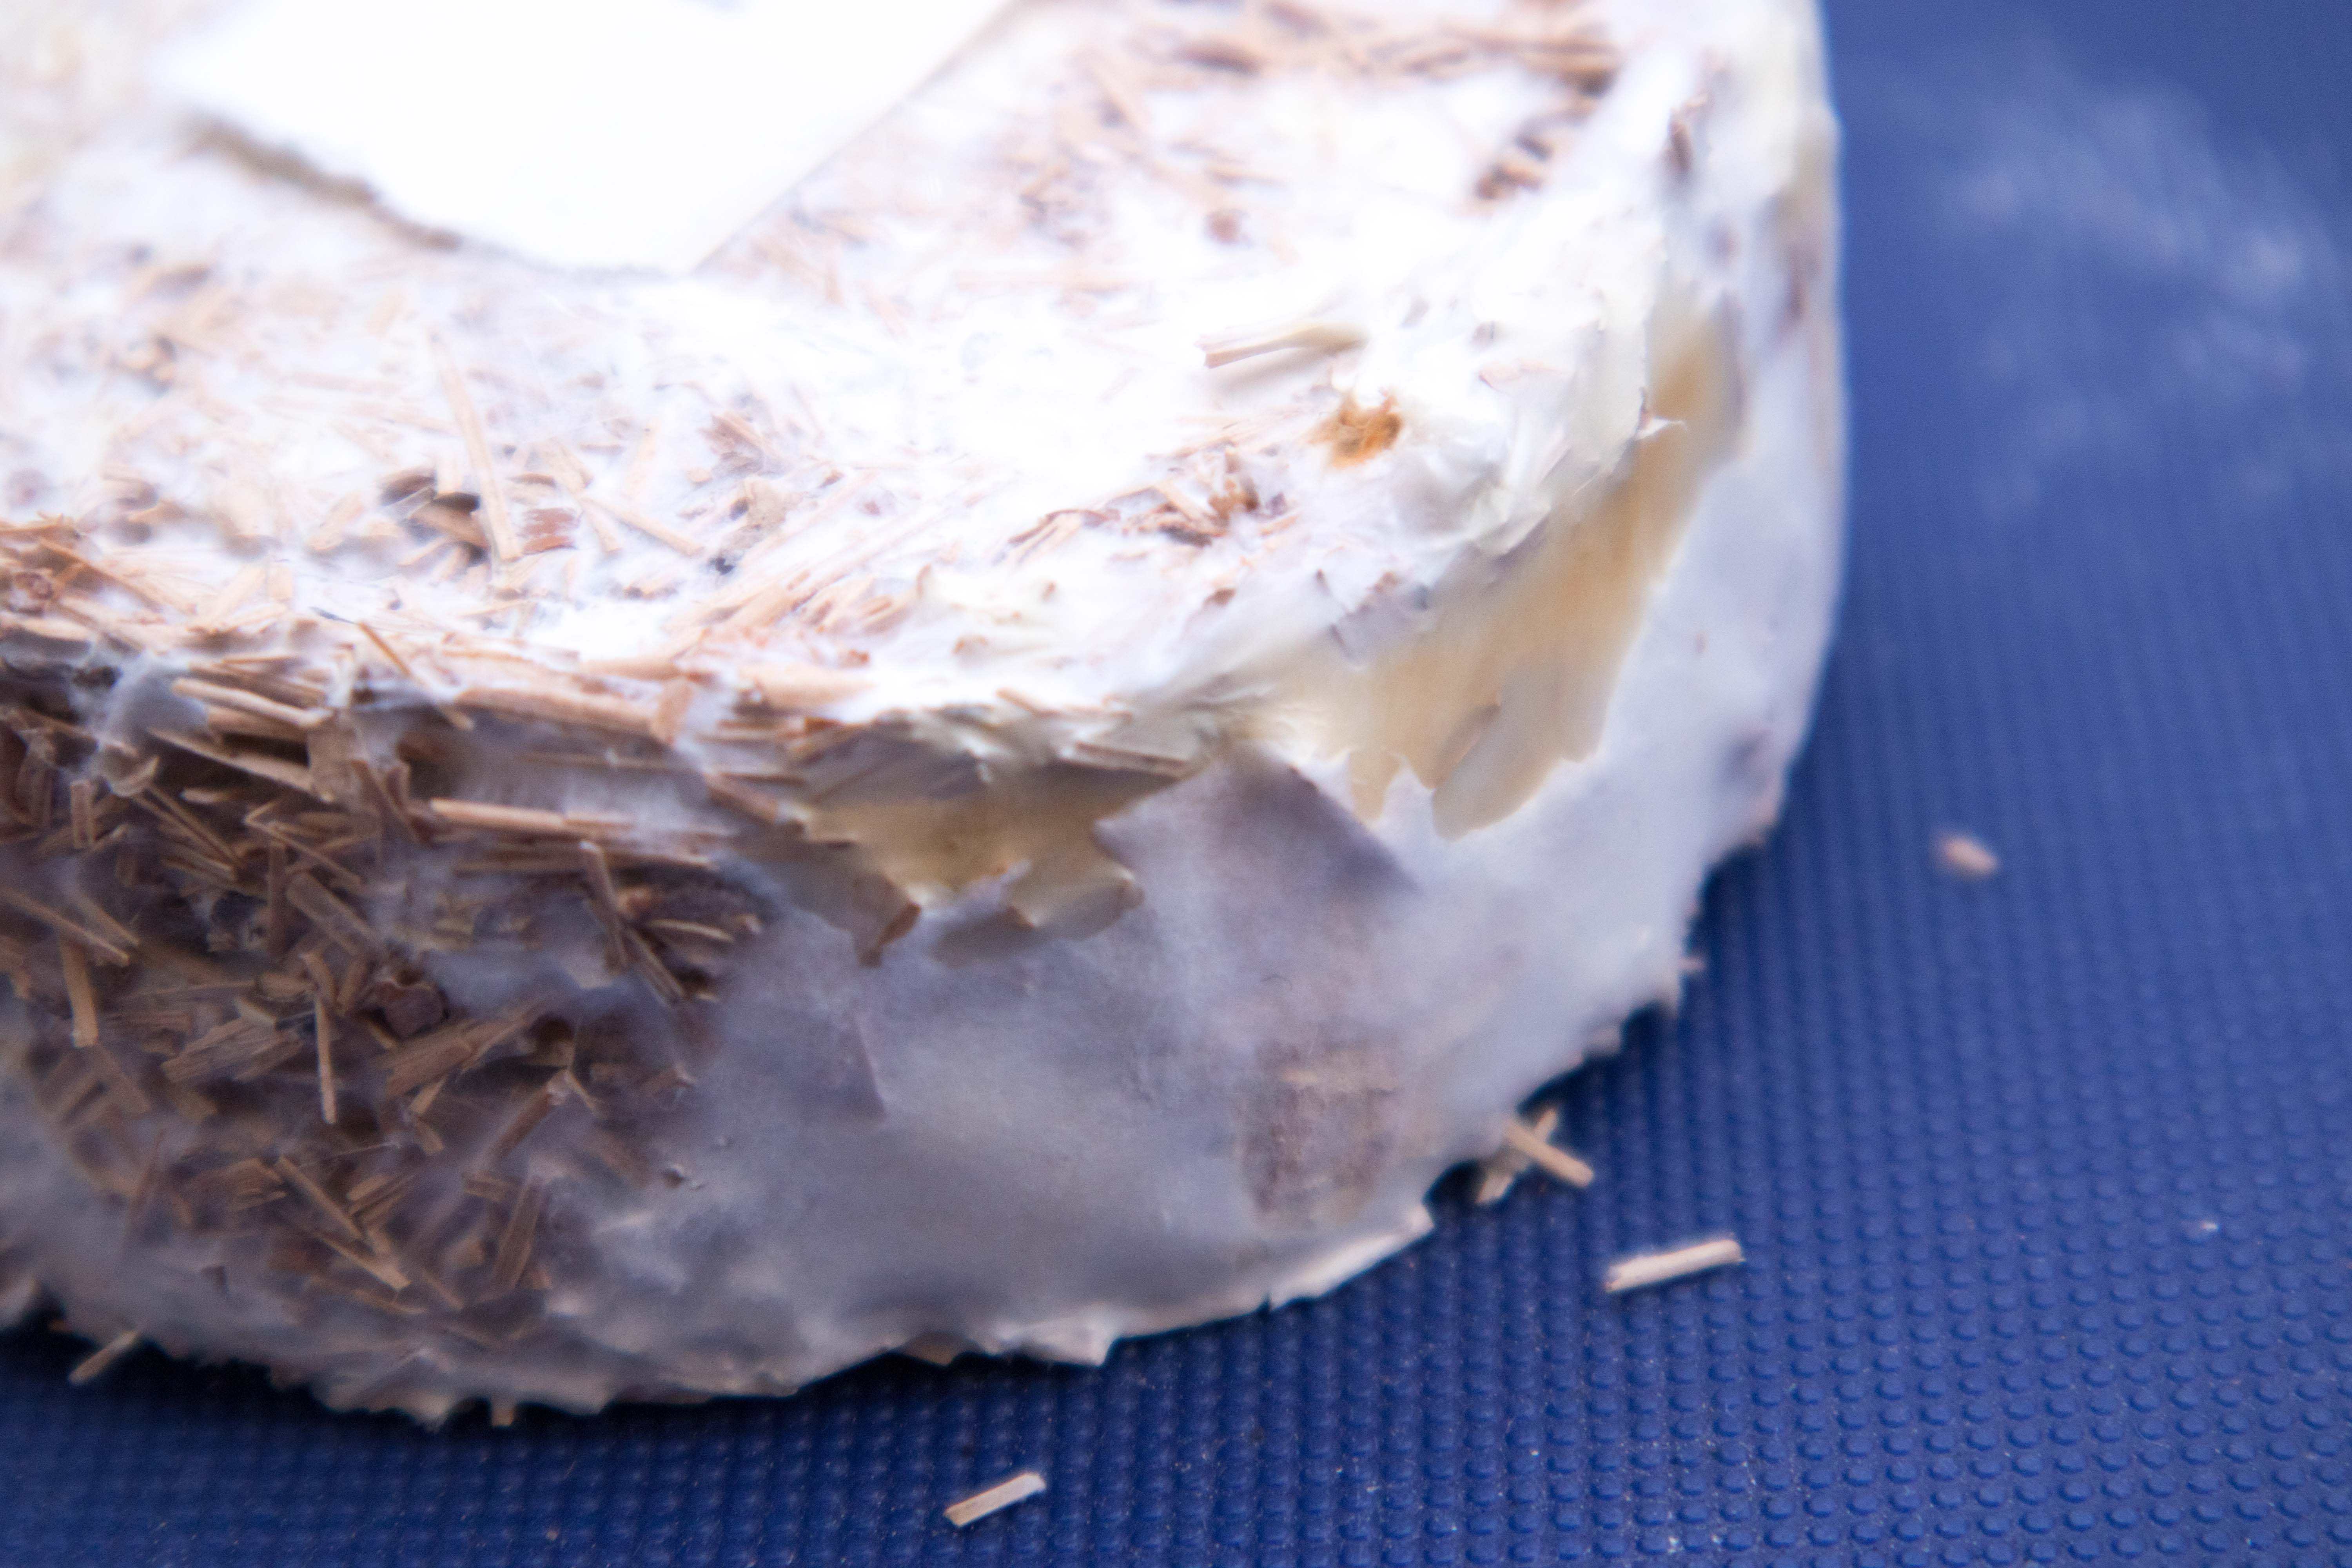
Unprocessed flax waste:
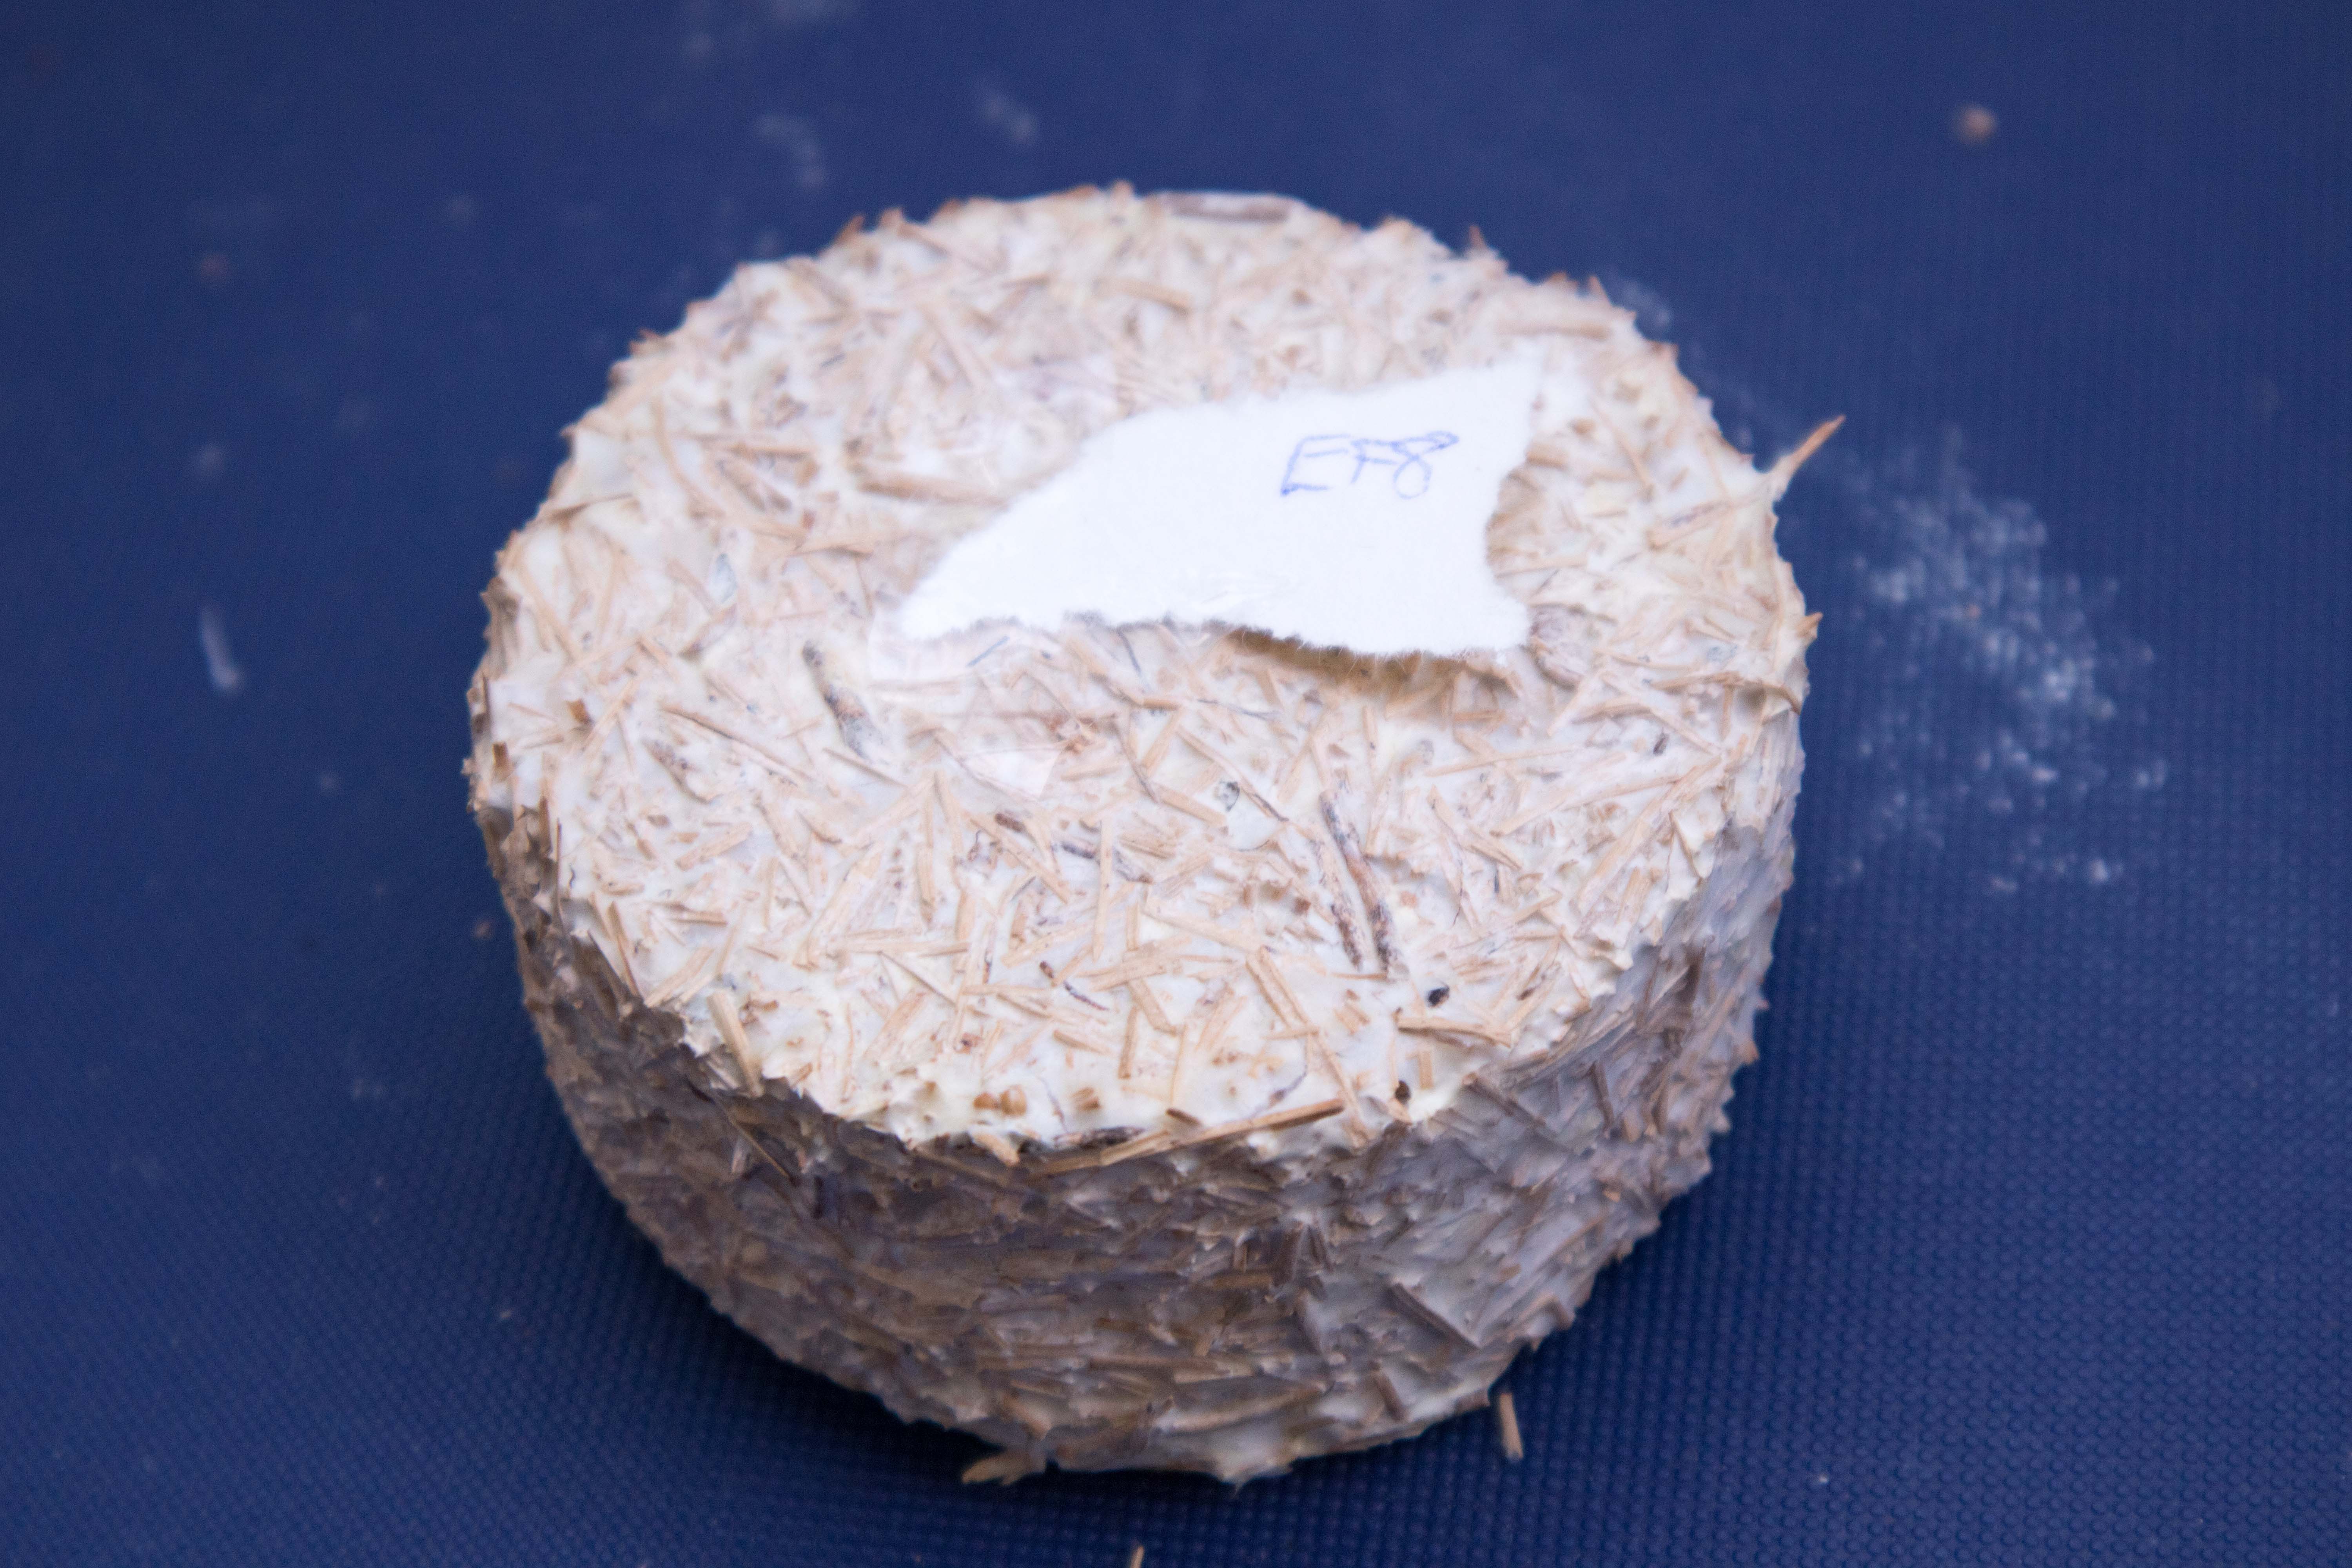
Conclusion
The results of this first test with growing flax/mycelium materials were promising. Some of the blended flax samples produced composites with similarities to a strong closed cell foam.
A material usable for living/dead jewellery pieces could be created if the density of the material could be improved and the thickness ( and thus the strength) of the outer skin could be increased. Both of these traits could be encouraged by ensuring proper hydration % of the substrate/mycelium mix and through humidity control in the growing environment.
Next I will use the samples for processing in different ways to see if the materials properties can be improved.
I will also begin experimenting with changes to this growing protocol to see if properties such as growth speed and material strength etc… can be improved.
I will attempt to grow only the “outer skin” of mycelium in a thick mat in order to investigate it’s usefulness in comparison to the flax/ mycelium composite for my jewellery.