Goal
To grow a layer of mycelium which can be used in the living jewellery.
Method 1: Growing on Liquid Nutrients
First I started with trying out this method posted by Elise to the BioFabForum: https://biofabforum.org/t/method-of-making-mycelium-leather/218 I used Ganoderma Lucidum as I didn’t have any Schizophyllum Commune.
“You need 1/2 to 1 agar plate of mycelium (e.g. species Trametes Versicolor, Schizophyllum commune, Pleurotus ostreatus).
Remove all the agar to keep pure mycelium
Inoculate the pure mycelium in a sterilised liquid nutrient-rich medium For example:
Malt extract 3g Yeast extract 3g Peptone 5g Glucose 10g Distilled water: 1000ml Sterilise the medium by autoclaving at 121°C for 15 minutes
Let it grow in static position in a container of the desired size
Incubation at 23-28°C for 5-10 days
The mycelium will grow at the surface of the liquid and fill the size of the container.
Add more nutrient medium under the sheet of mycelium with a syringe after 5-10 days.
Incubate again for 5-10 days. The growth time depends on the dimensions of the container.
Harvest the mycelium sheet
Dry it at 70-130C for several hours. This step can also be skipped. So, first plasticise the mycelium-sheet while the organism is still alive and the sheet still humid. The mycelium sheet can also be heat-pressed.
Let the mycelium-sheet soak in a plasticiser (glycerol, choline chloride:ethylene glycol, …) for several hours (24-48h).
Rinse the sheet of mycelium abundantly to make sure all the plasticiser is removed.
Dry it again at 70-130C for several hours”
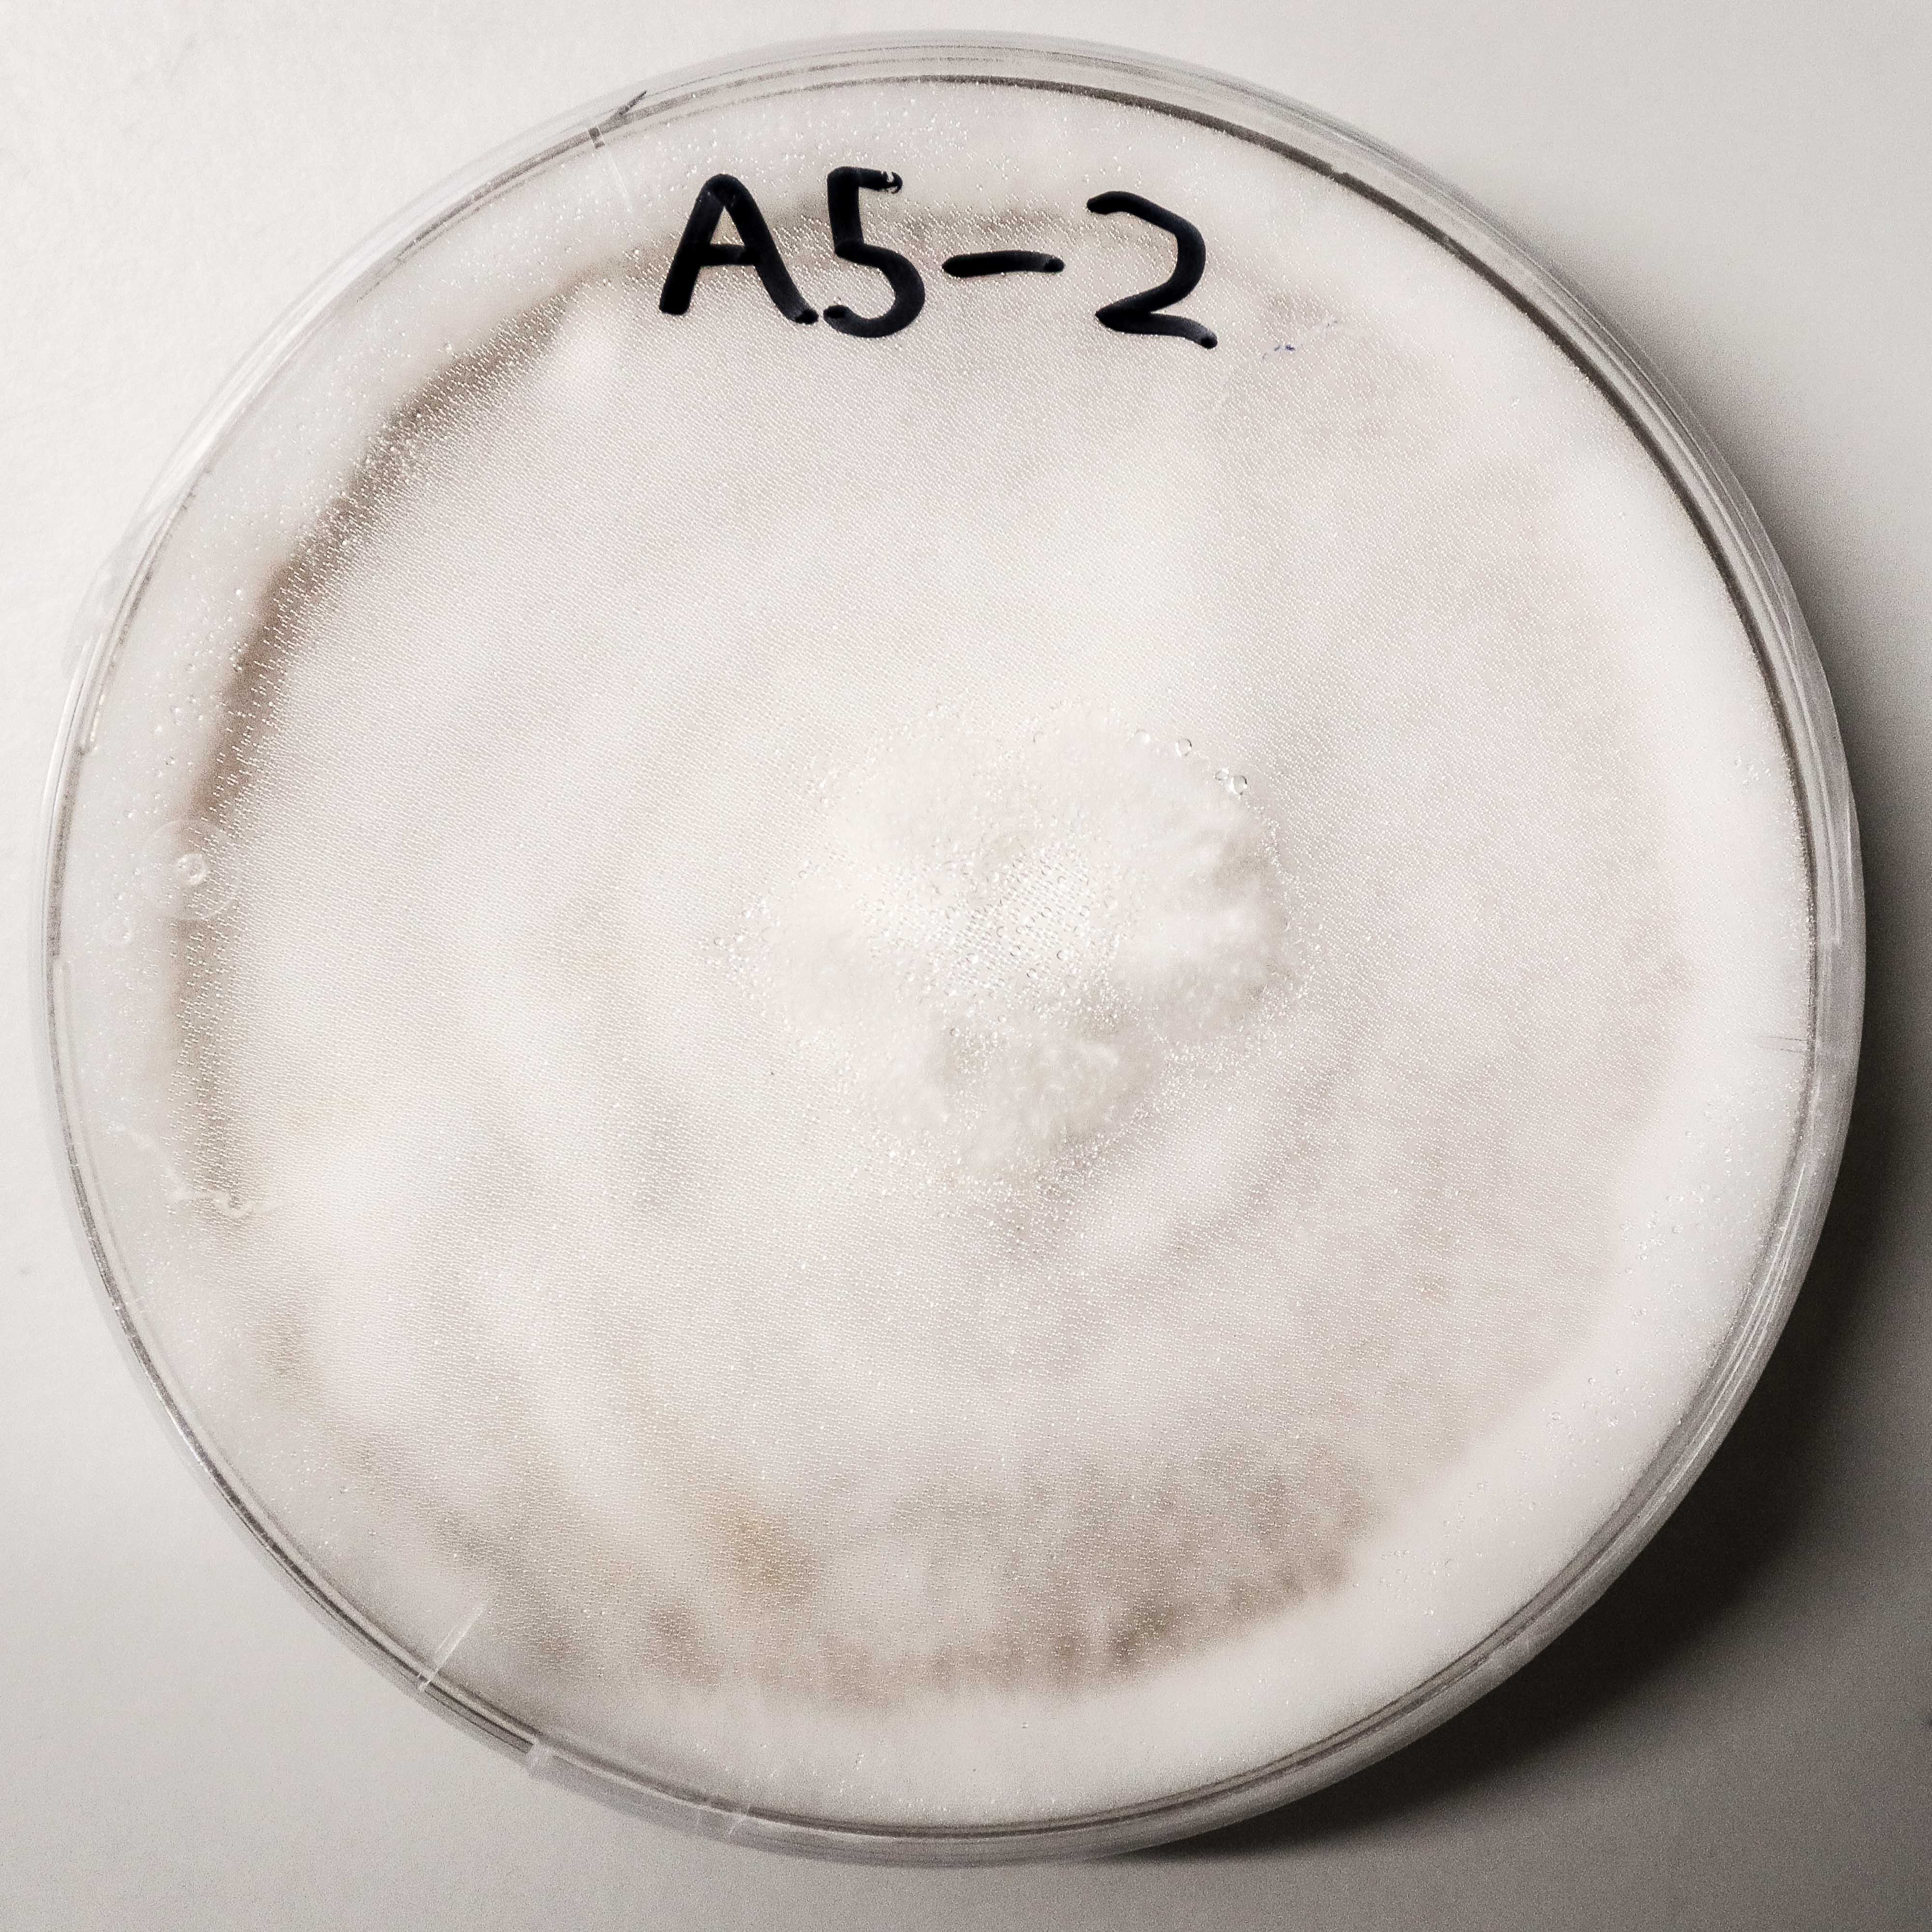
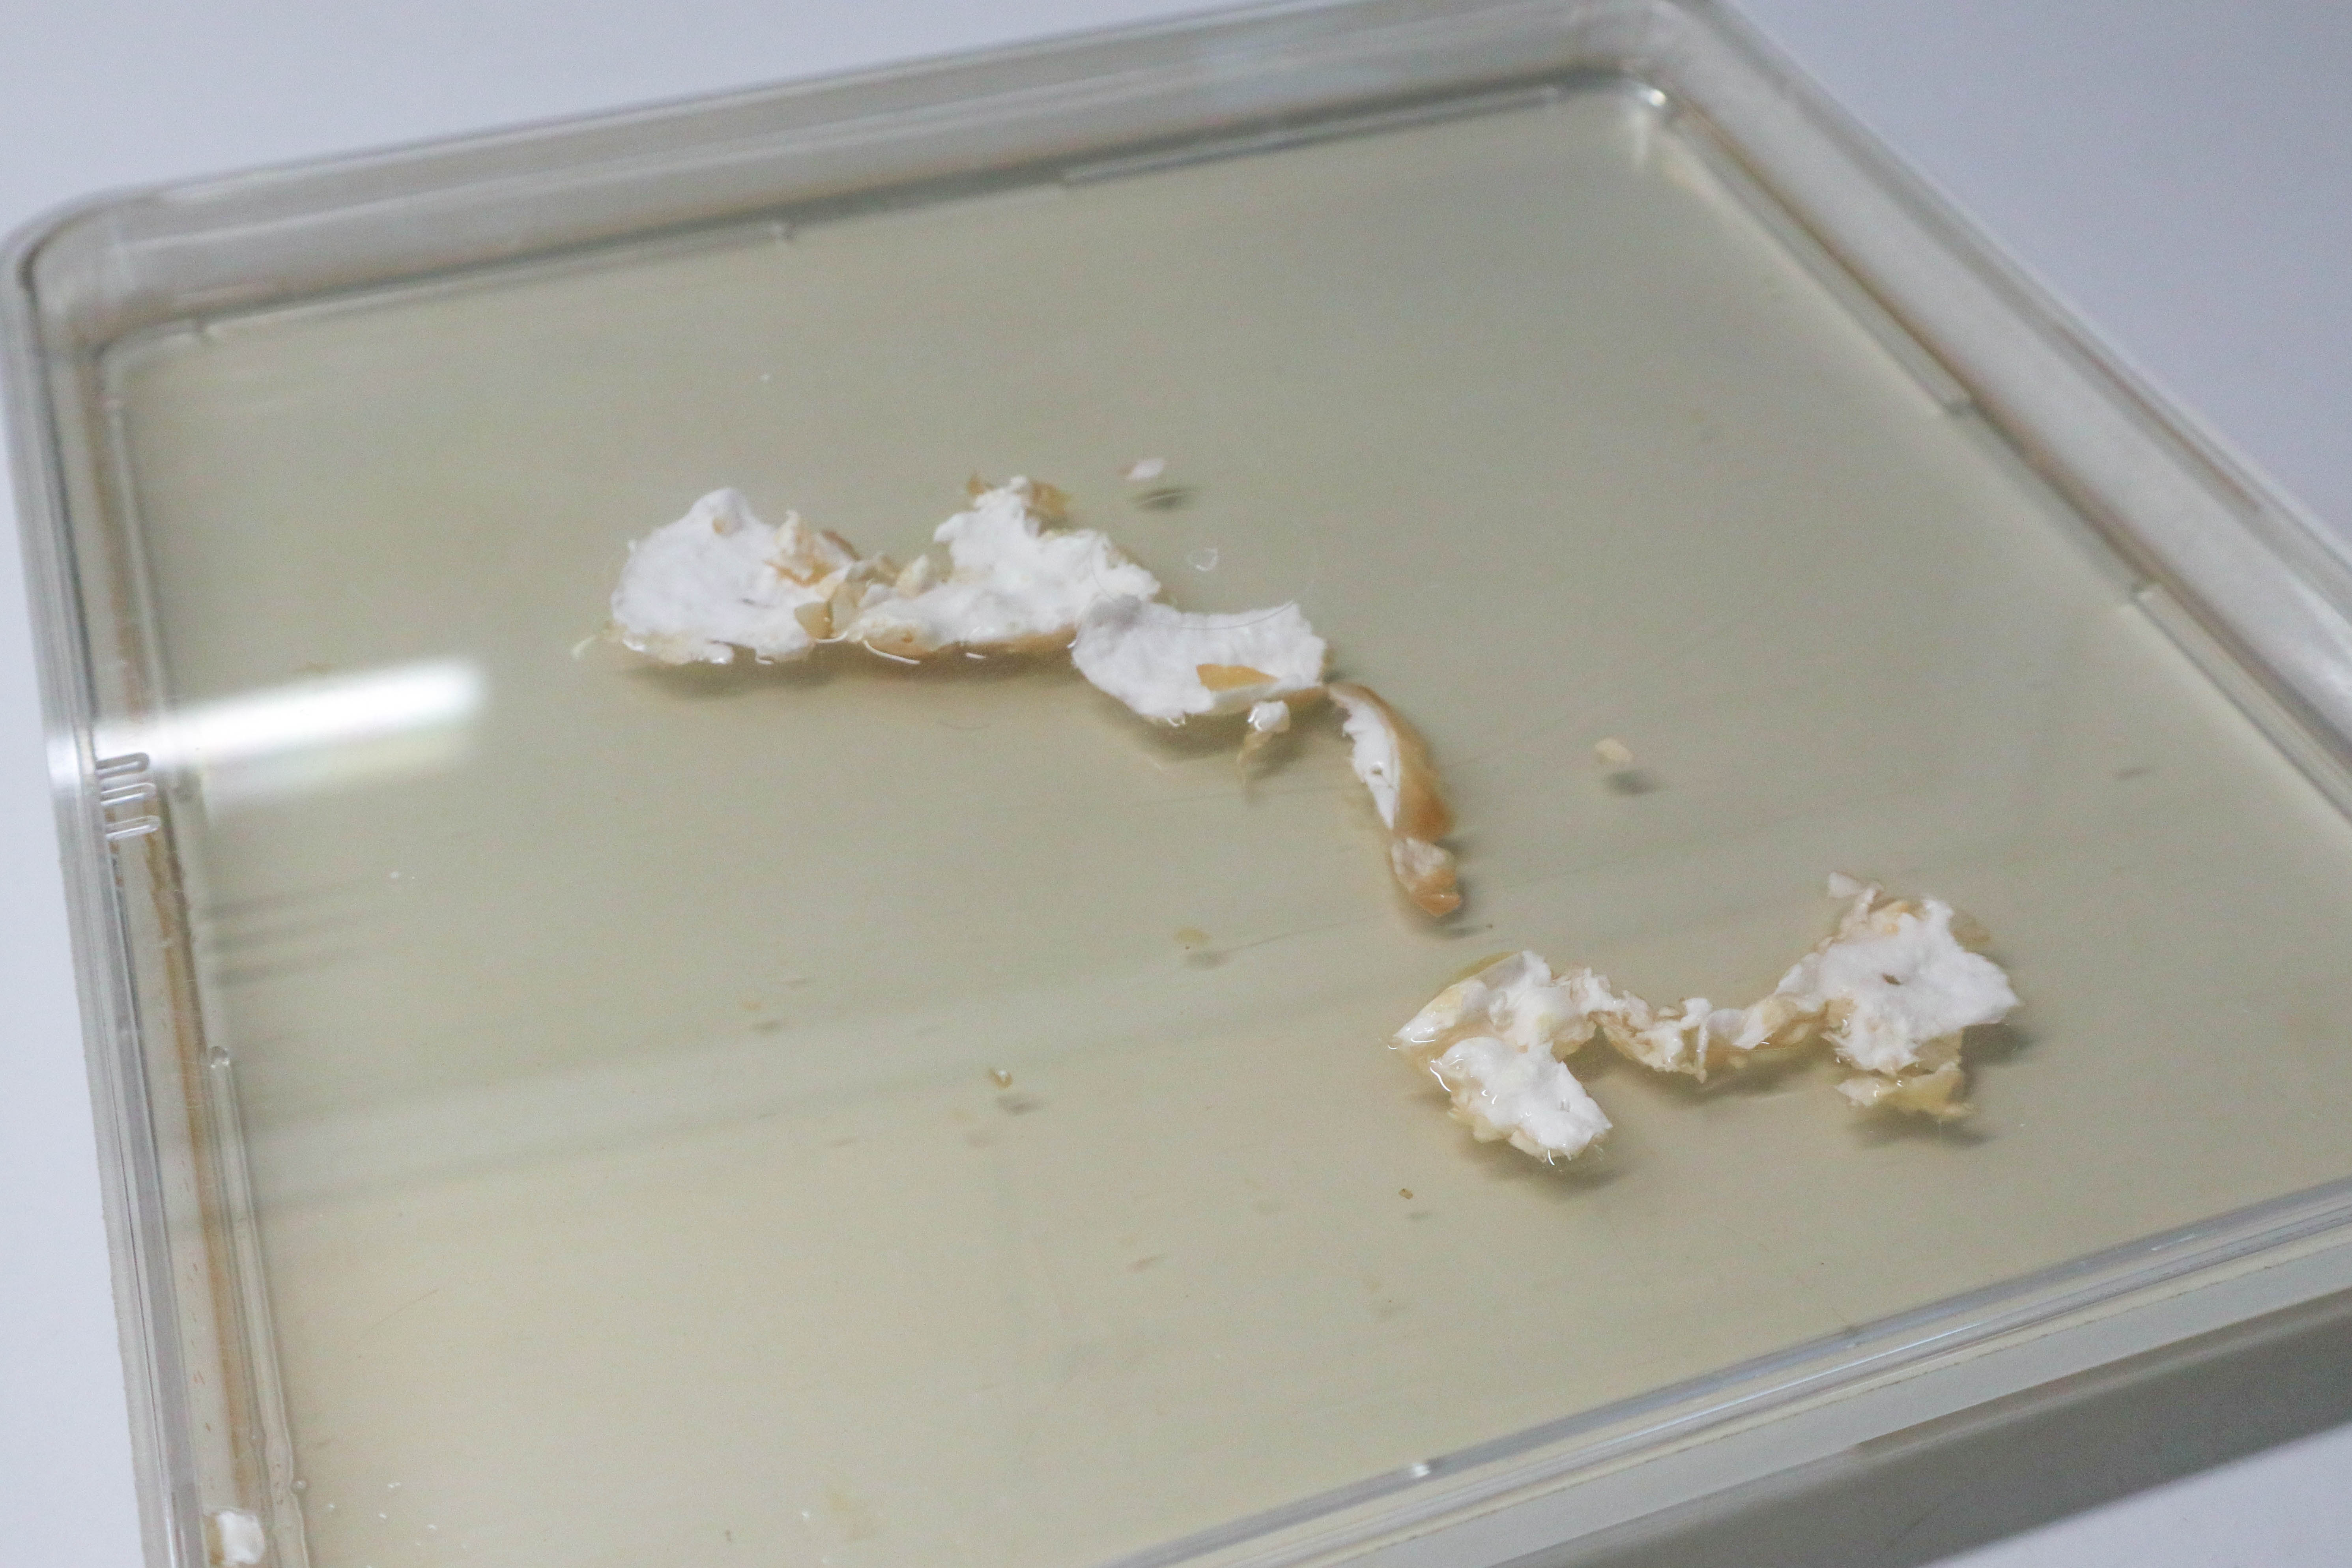
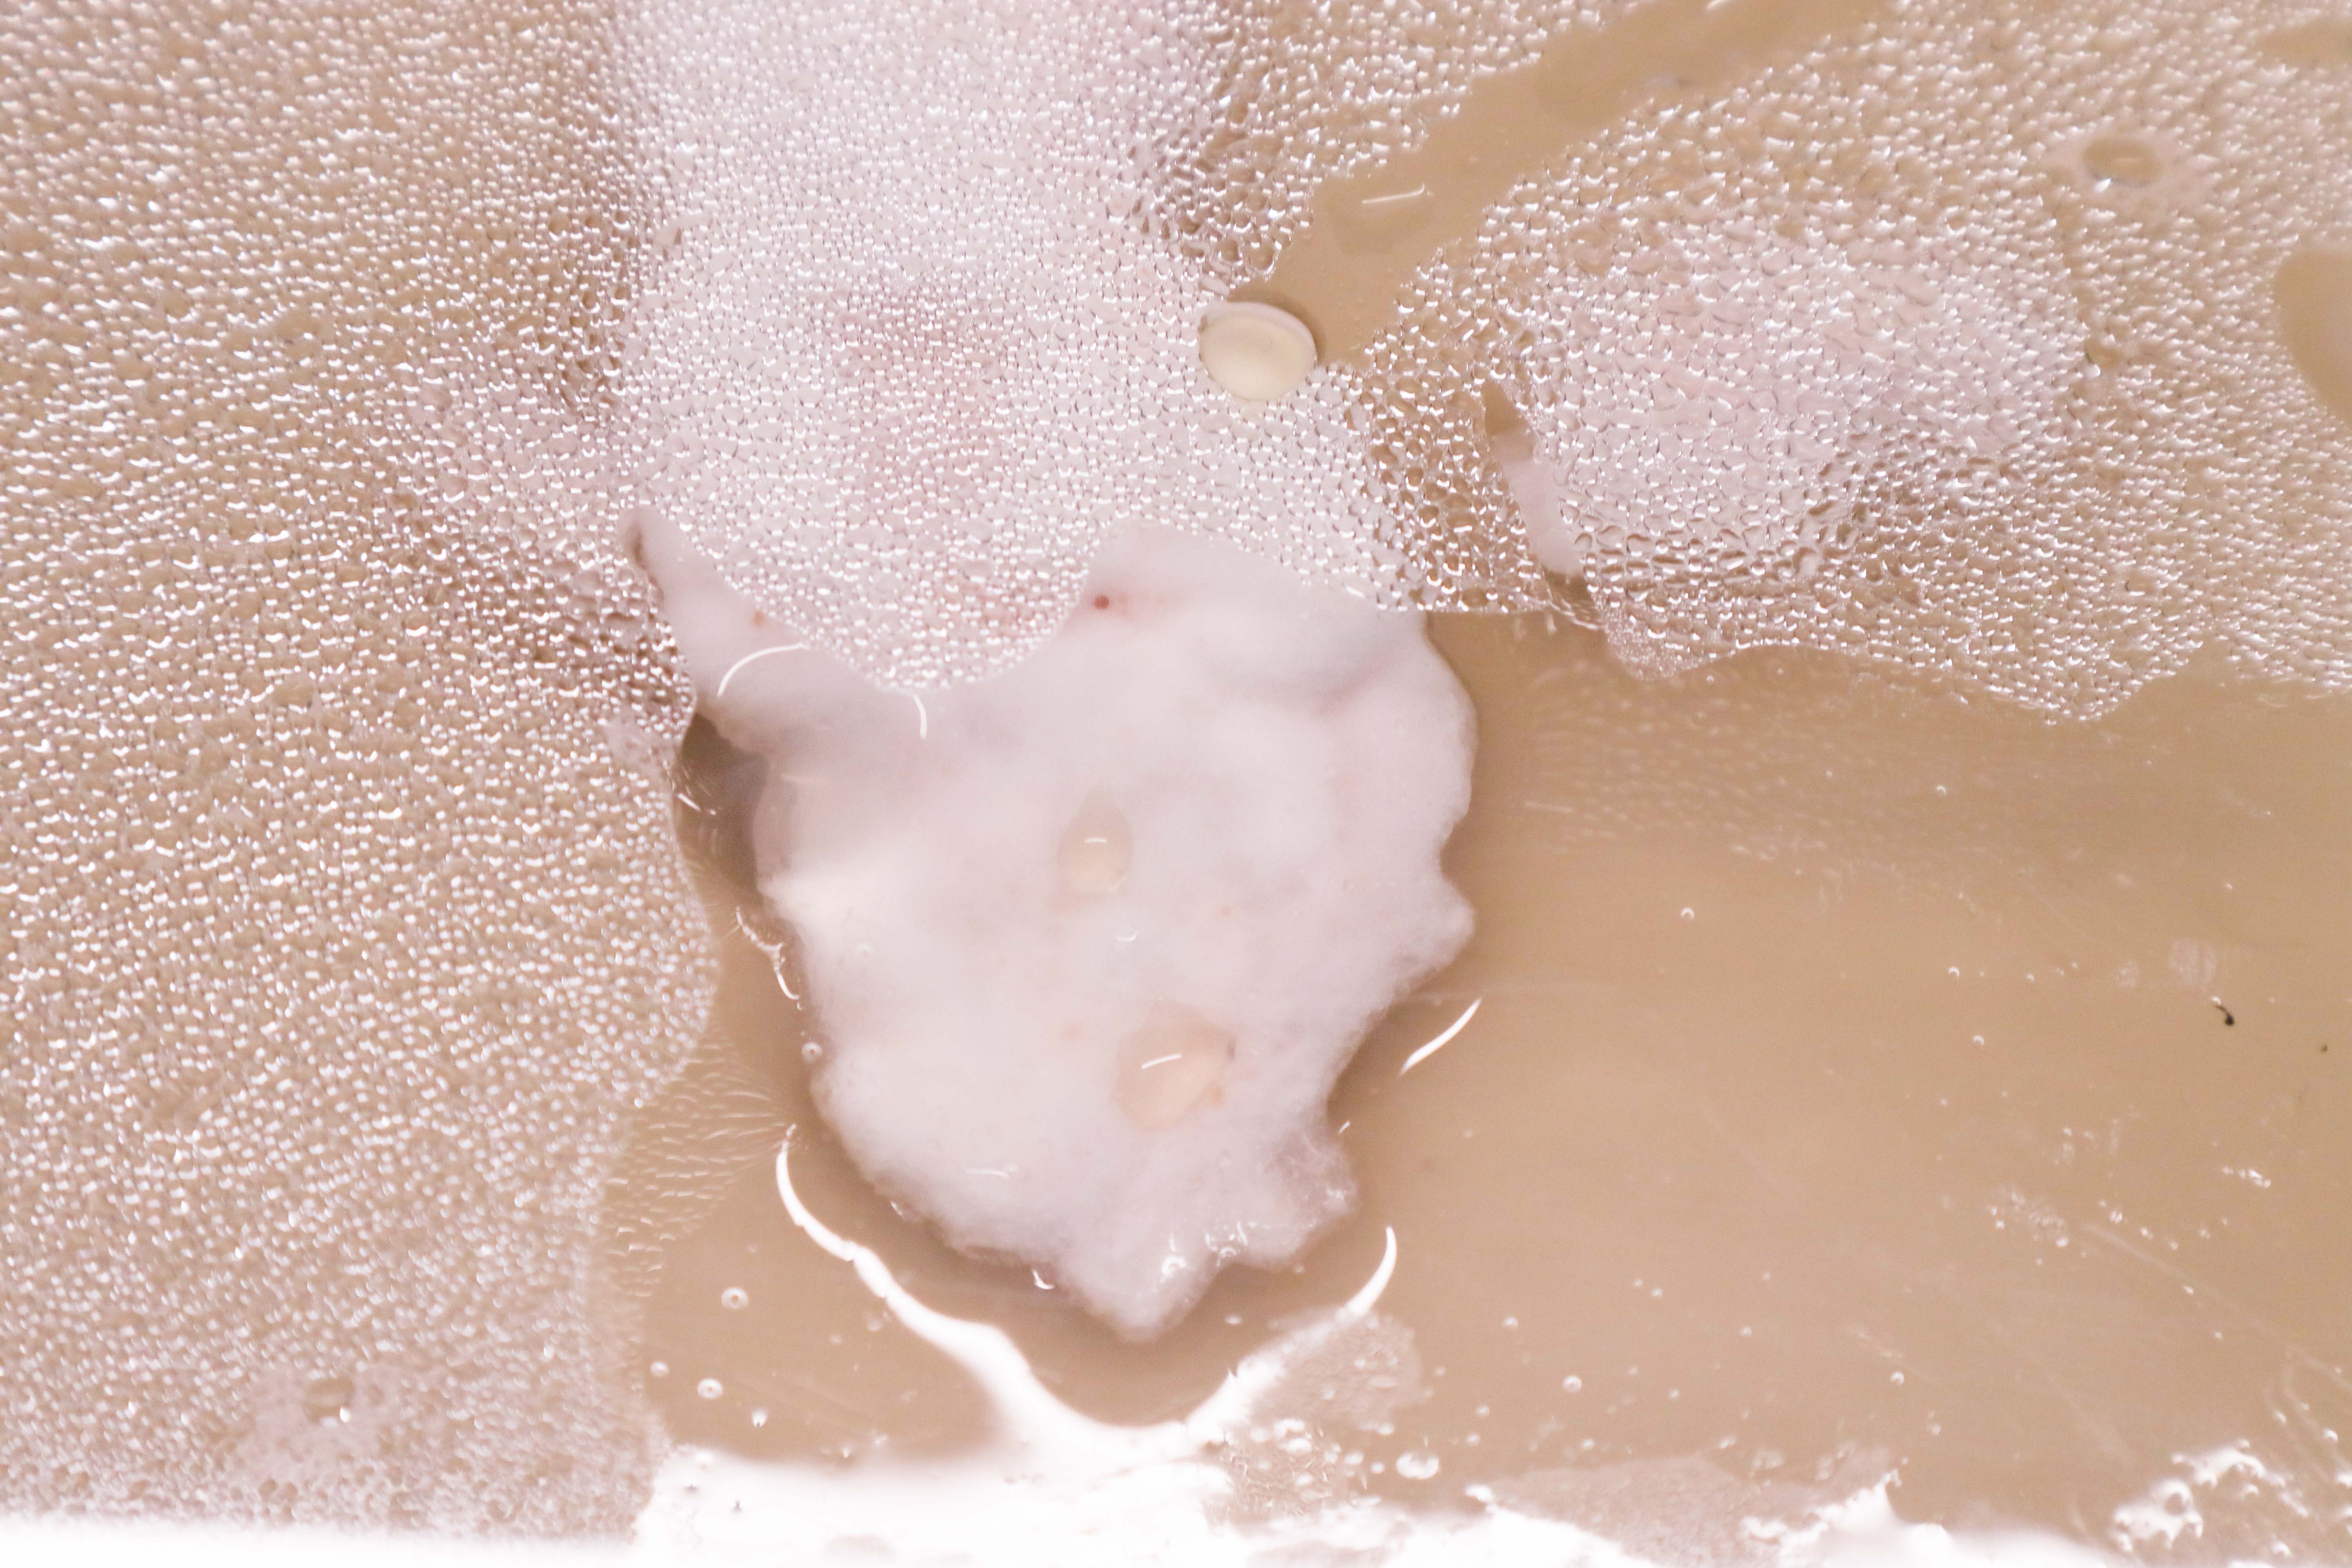
6 Days:
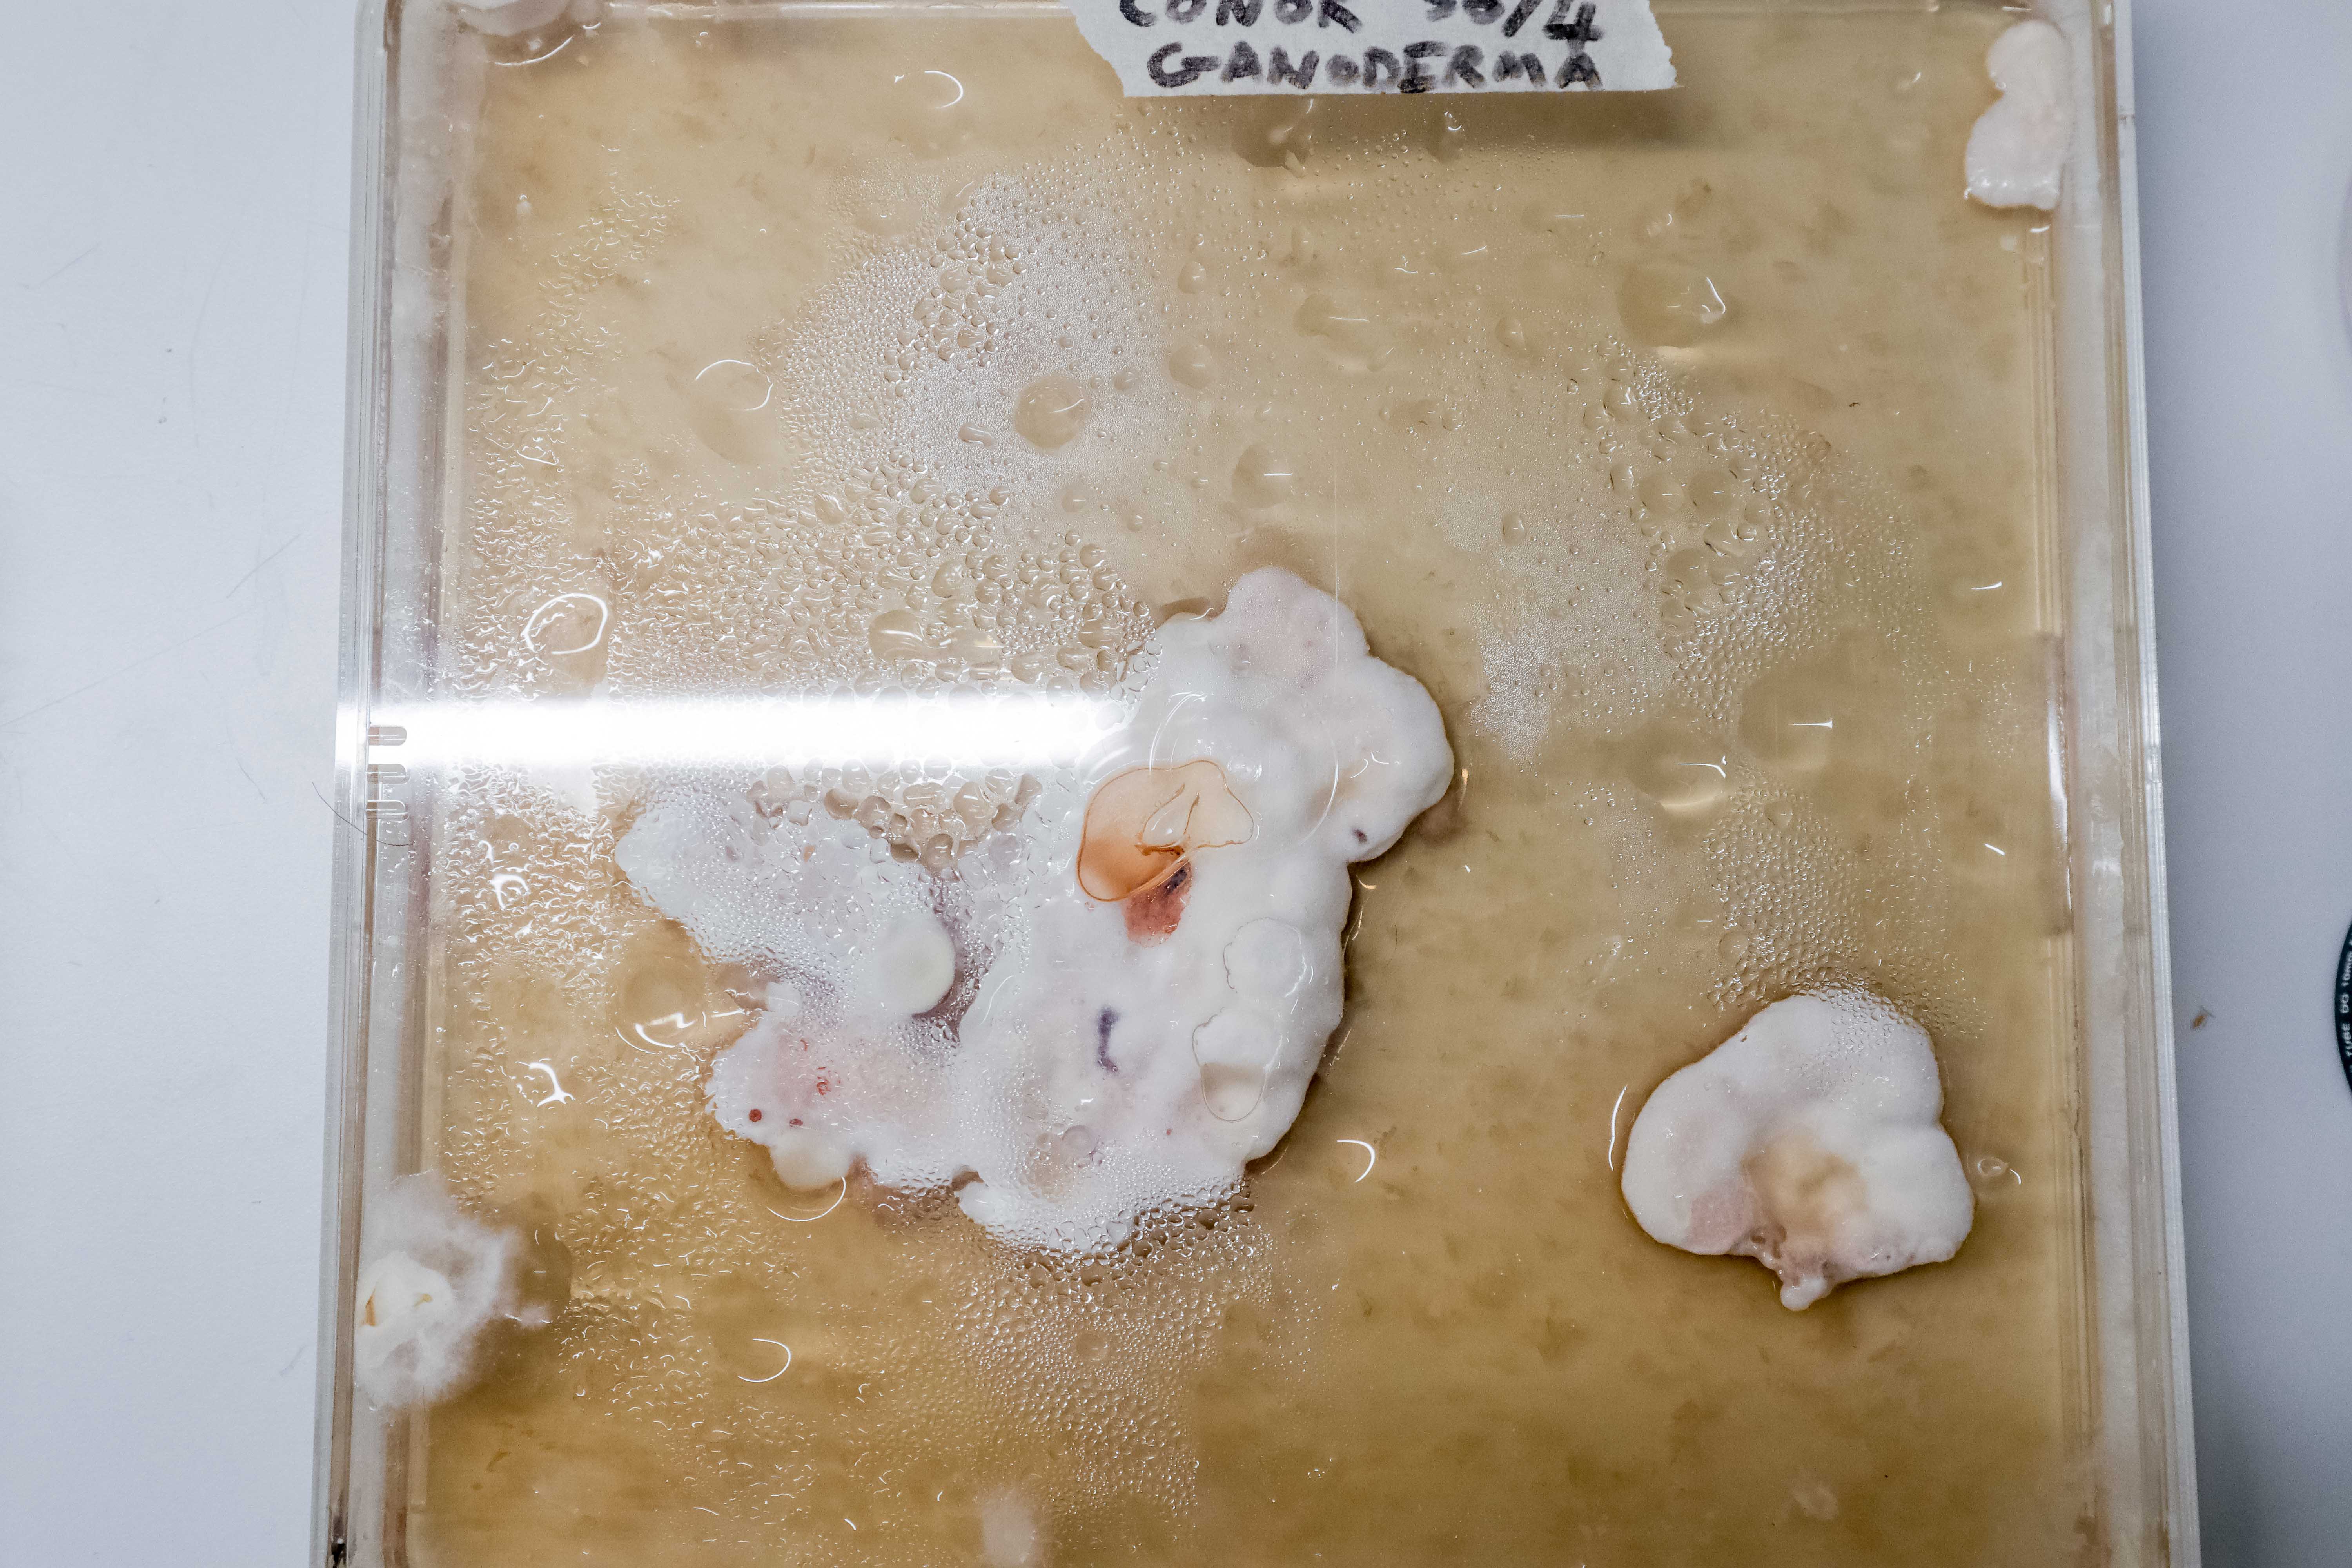
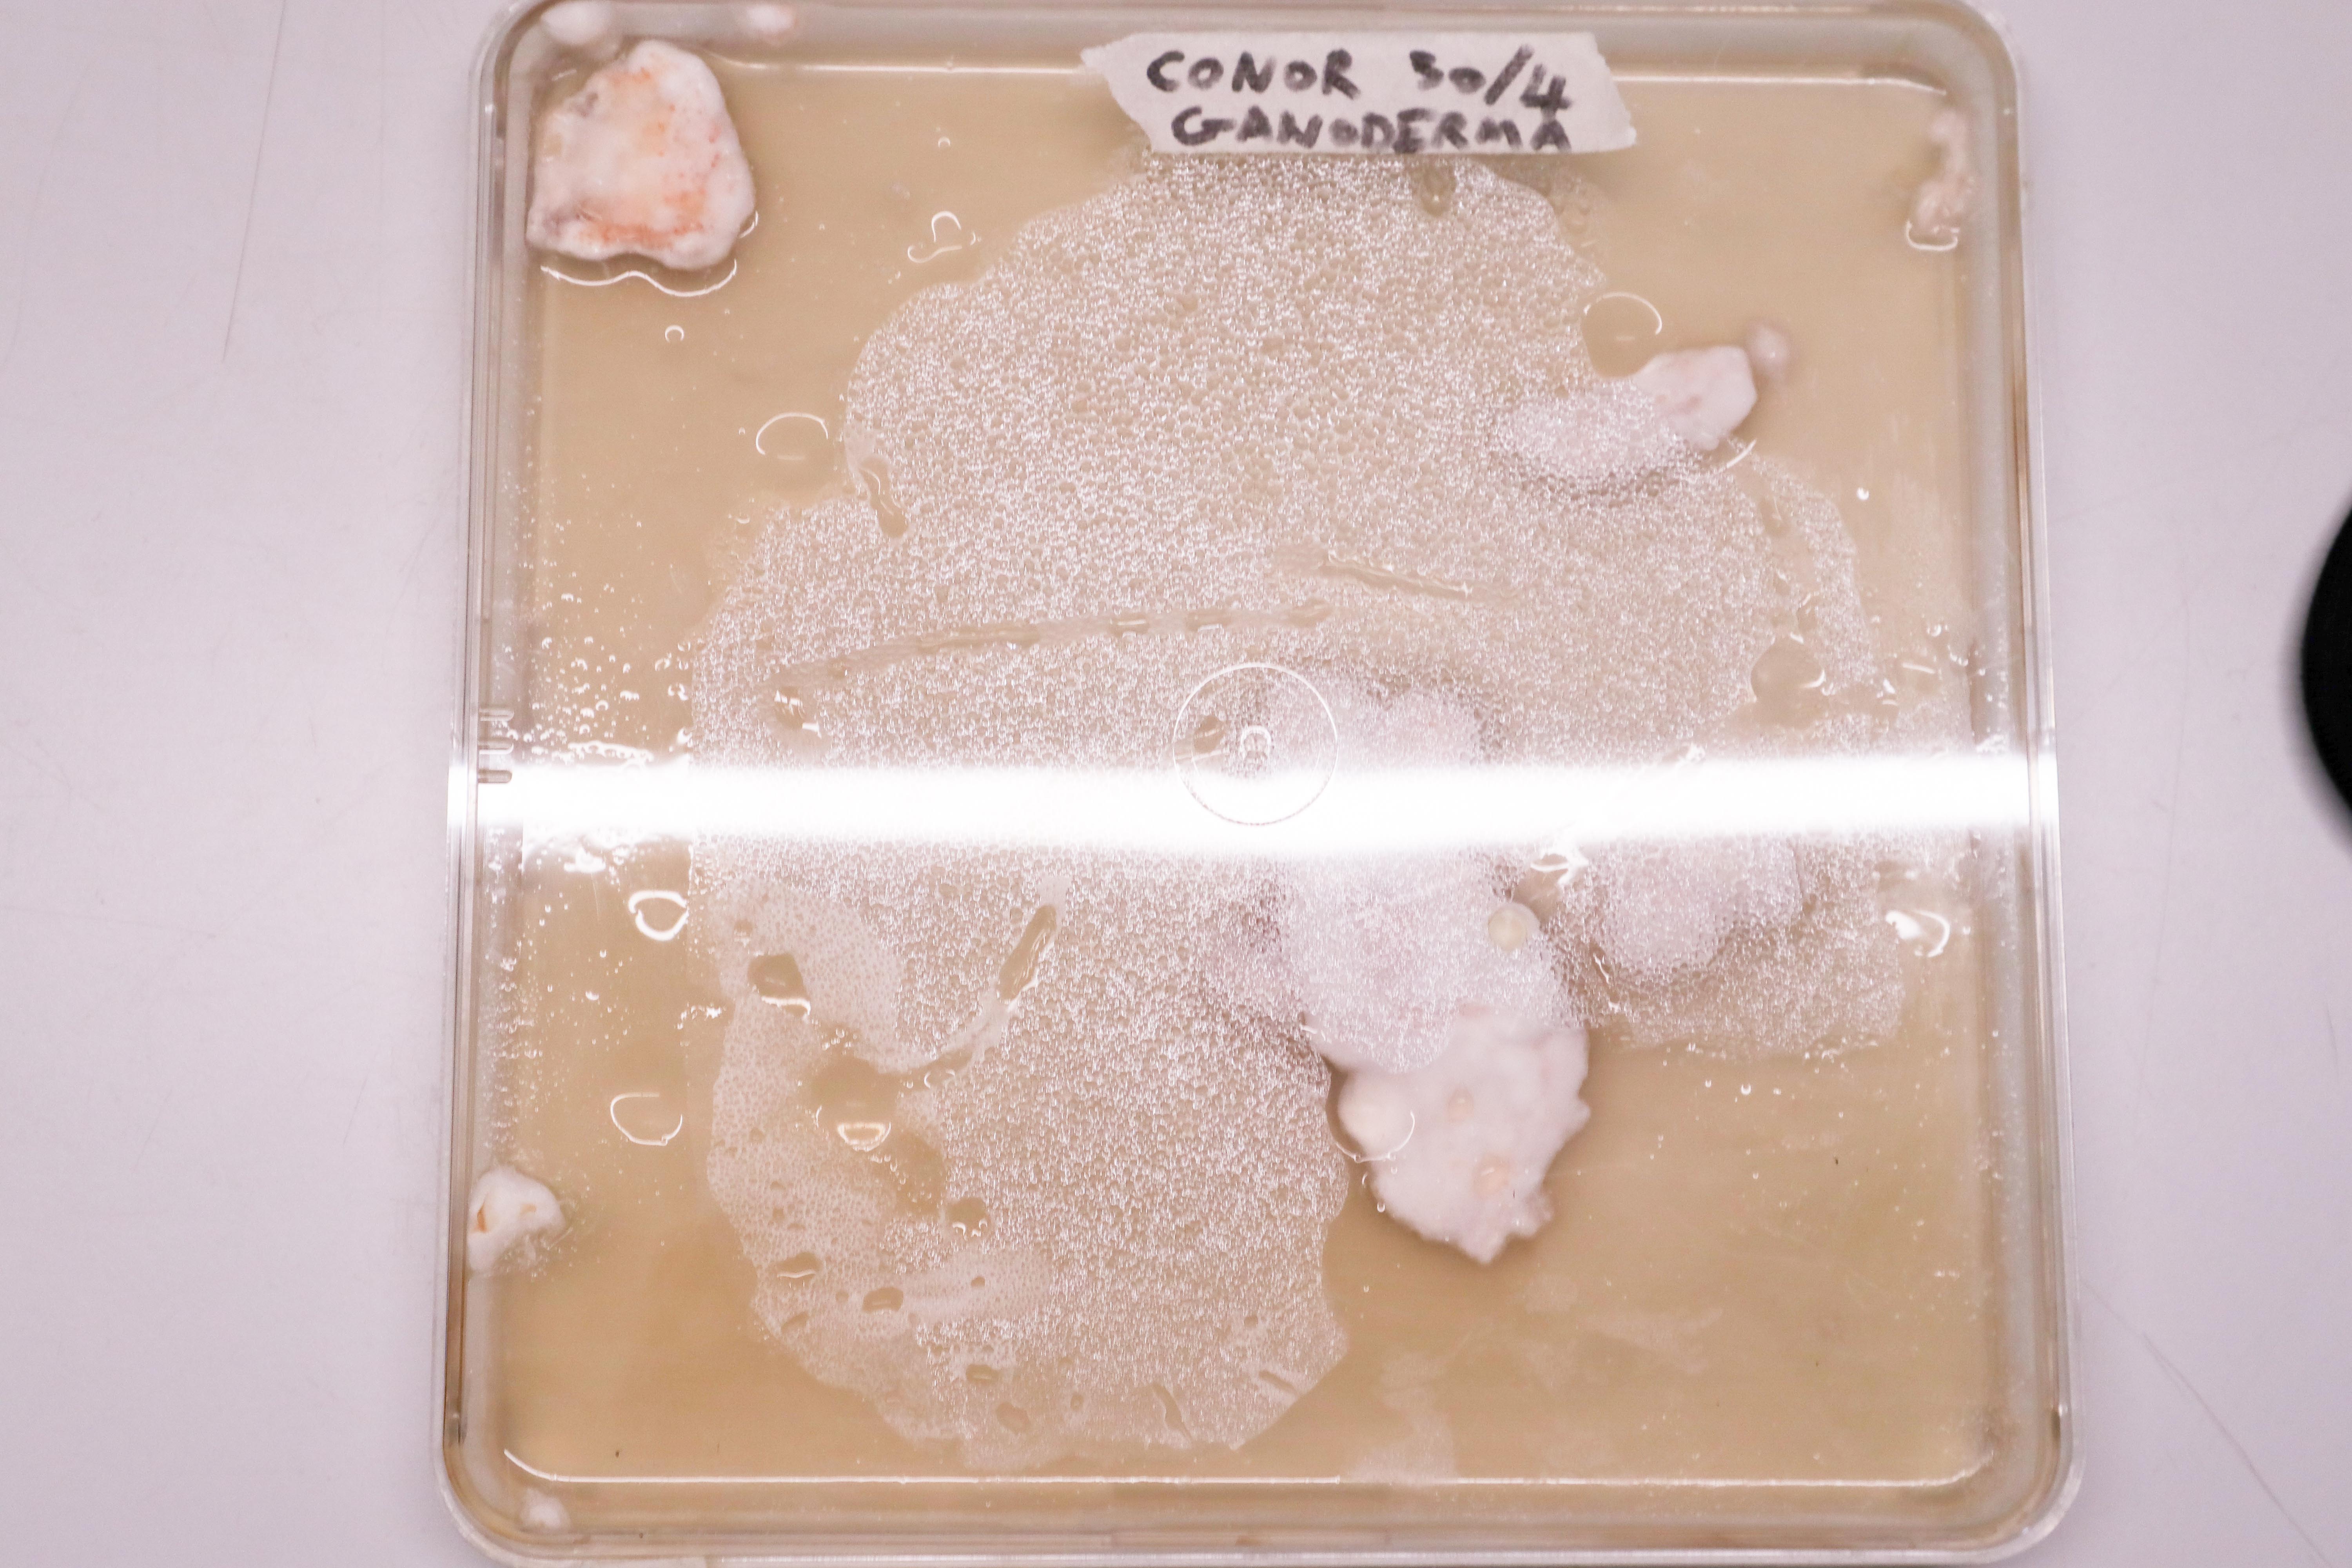 After 6 Days there was growth but not as much outward growth on the surface as I had hoped.
17 Days:
21 Days:
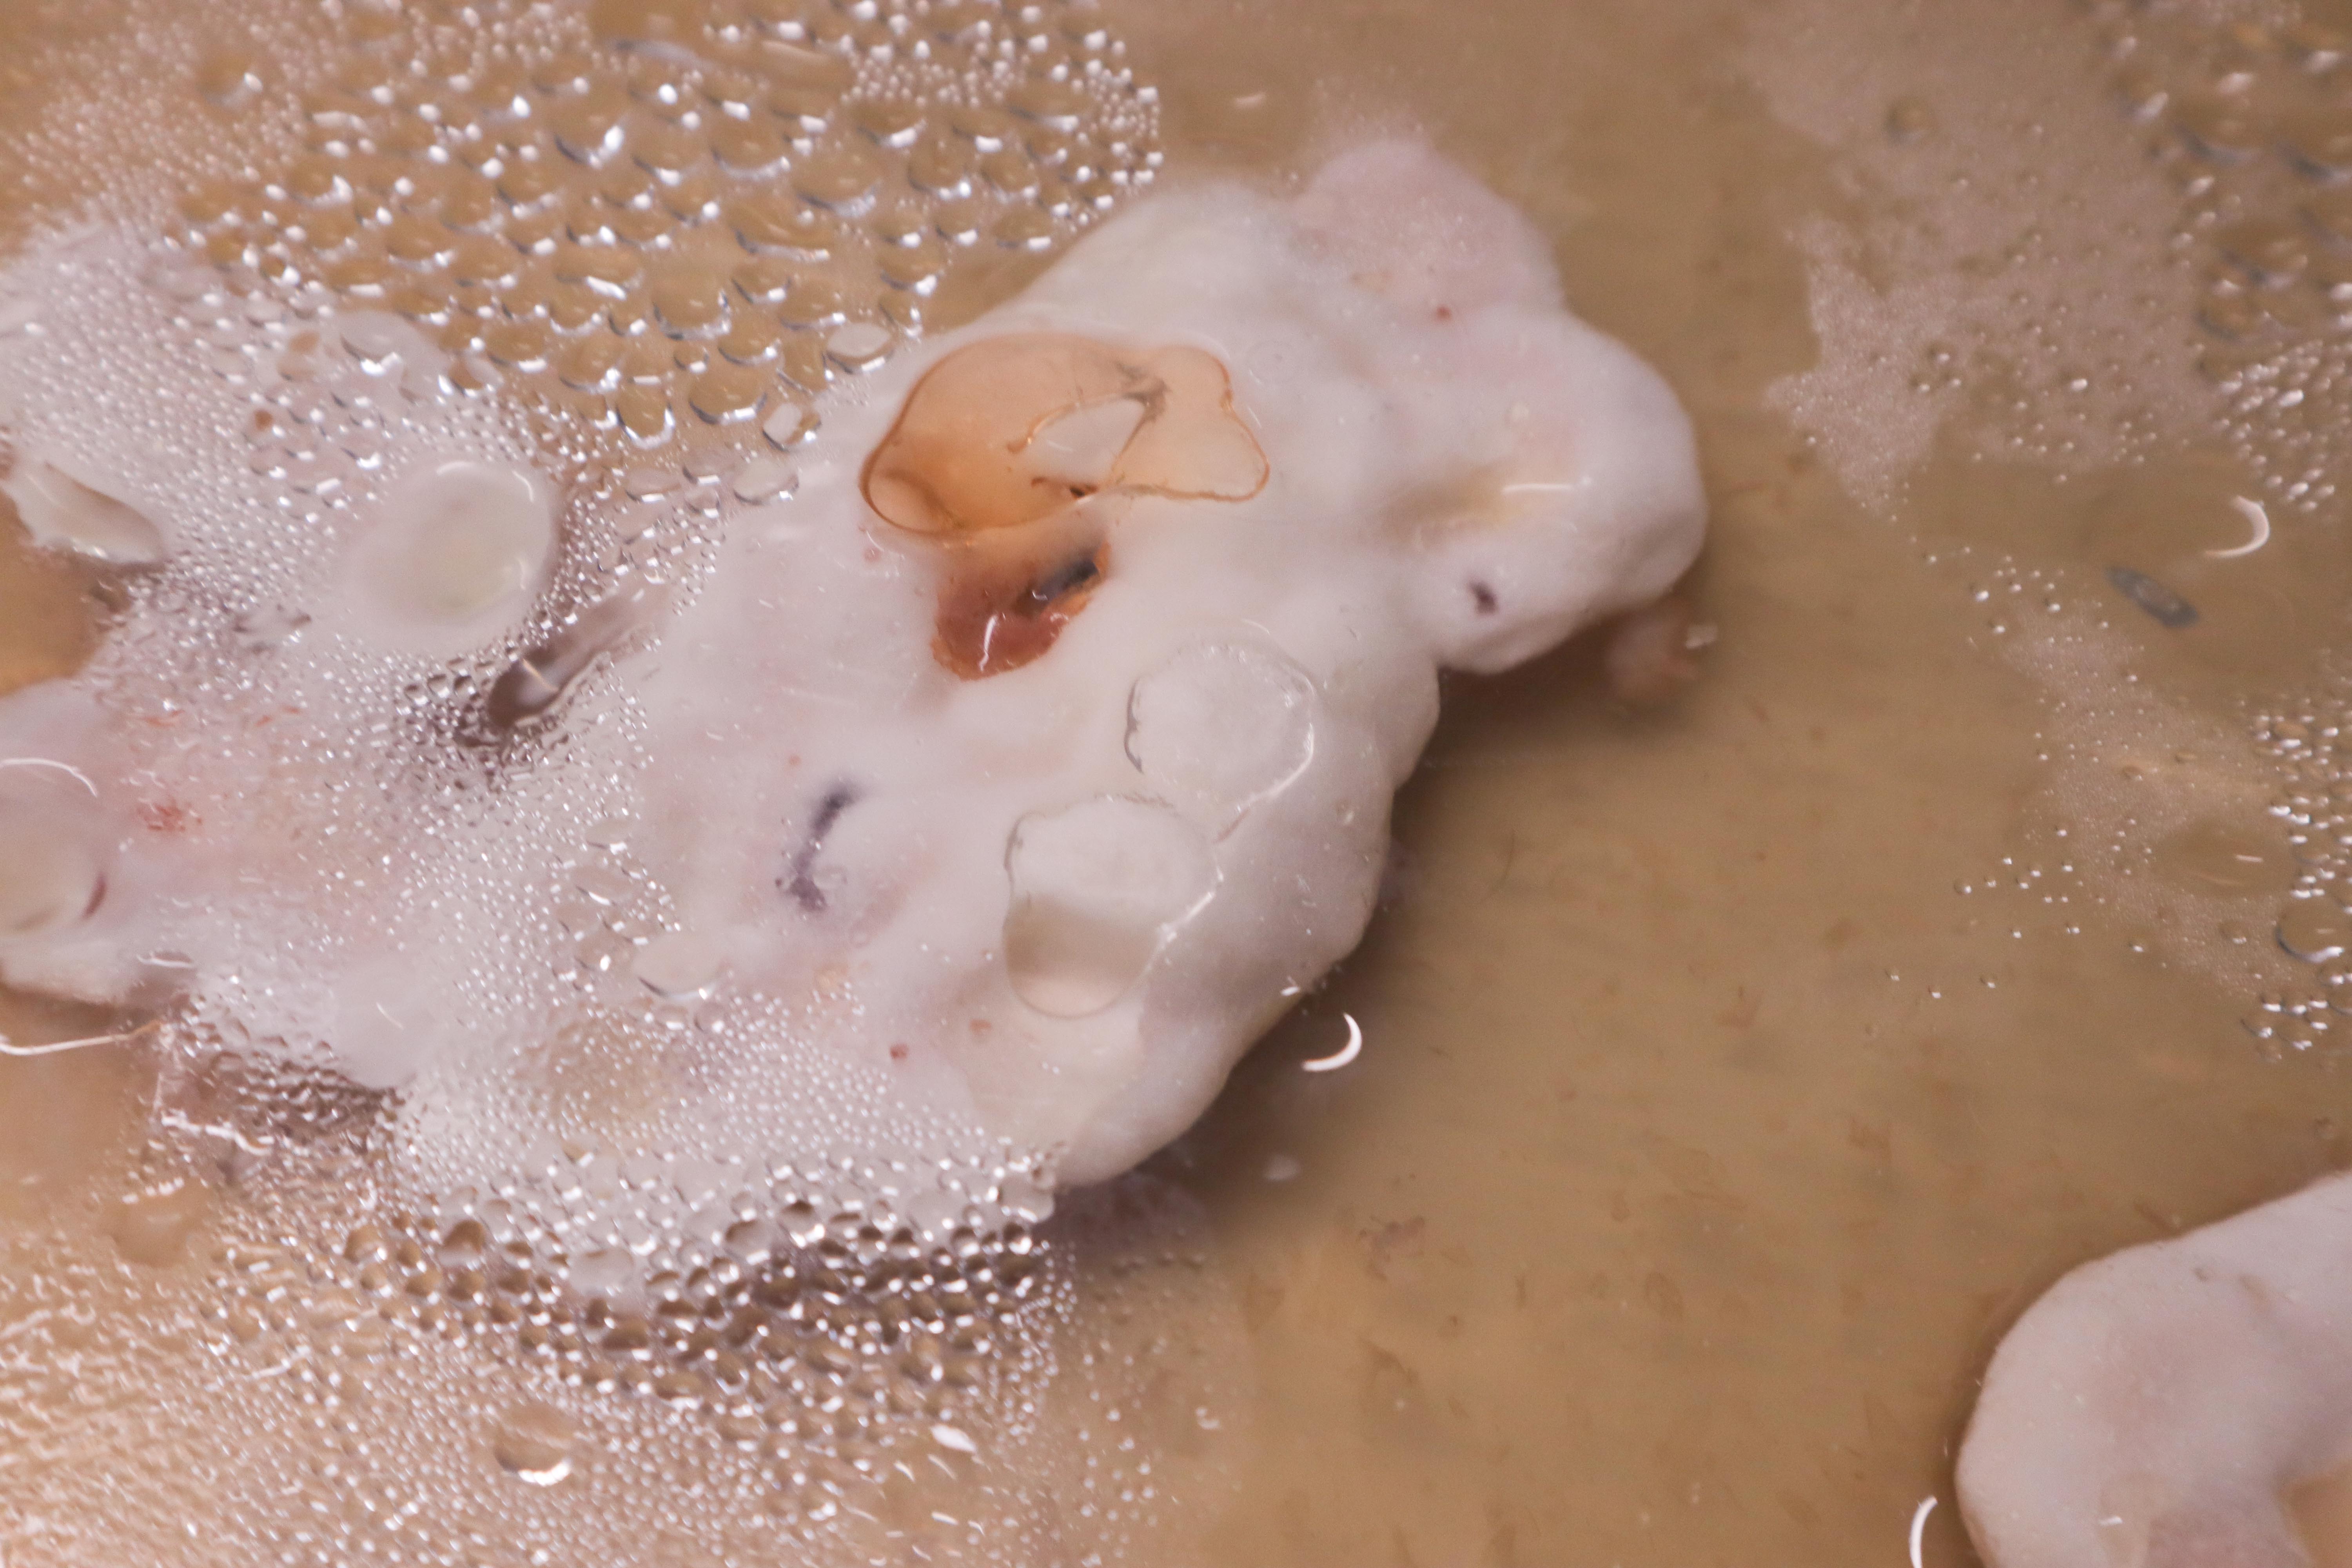
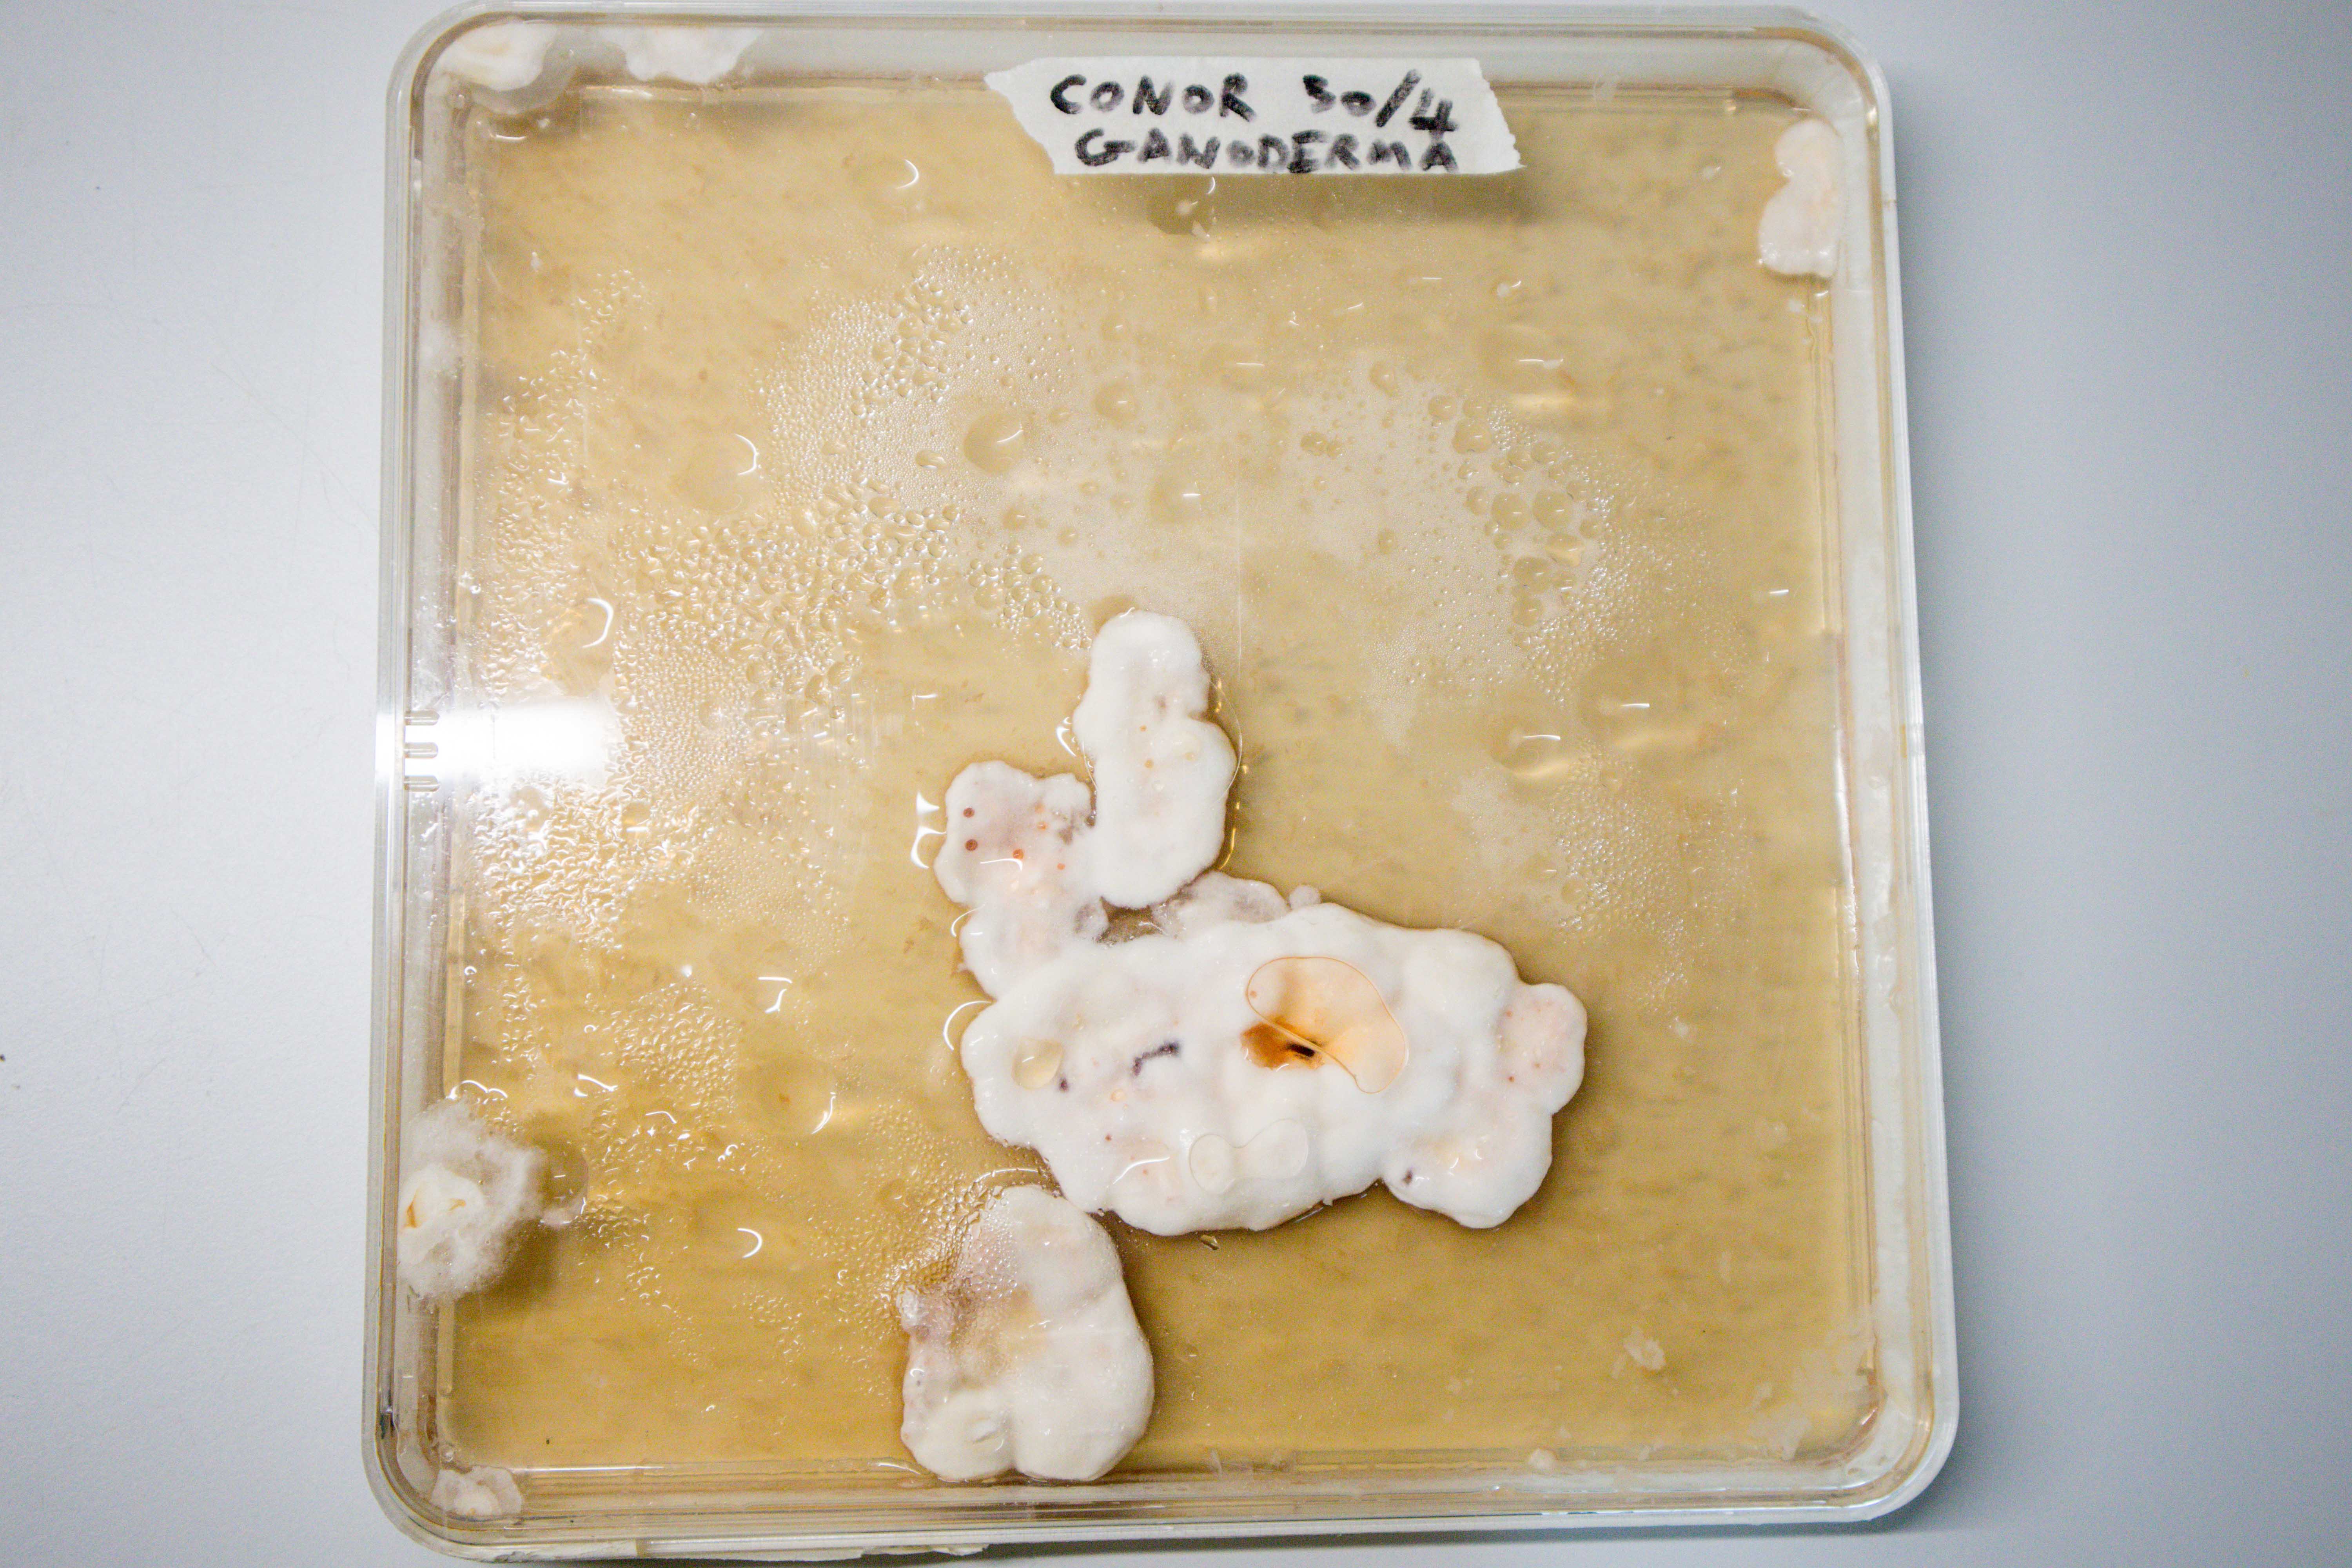 After 21 days the pieces of mycelium were removed and stored in the fridge.
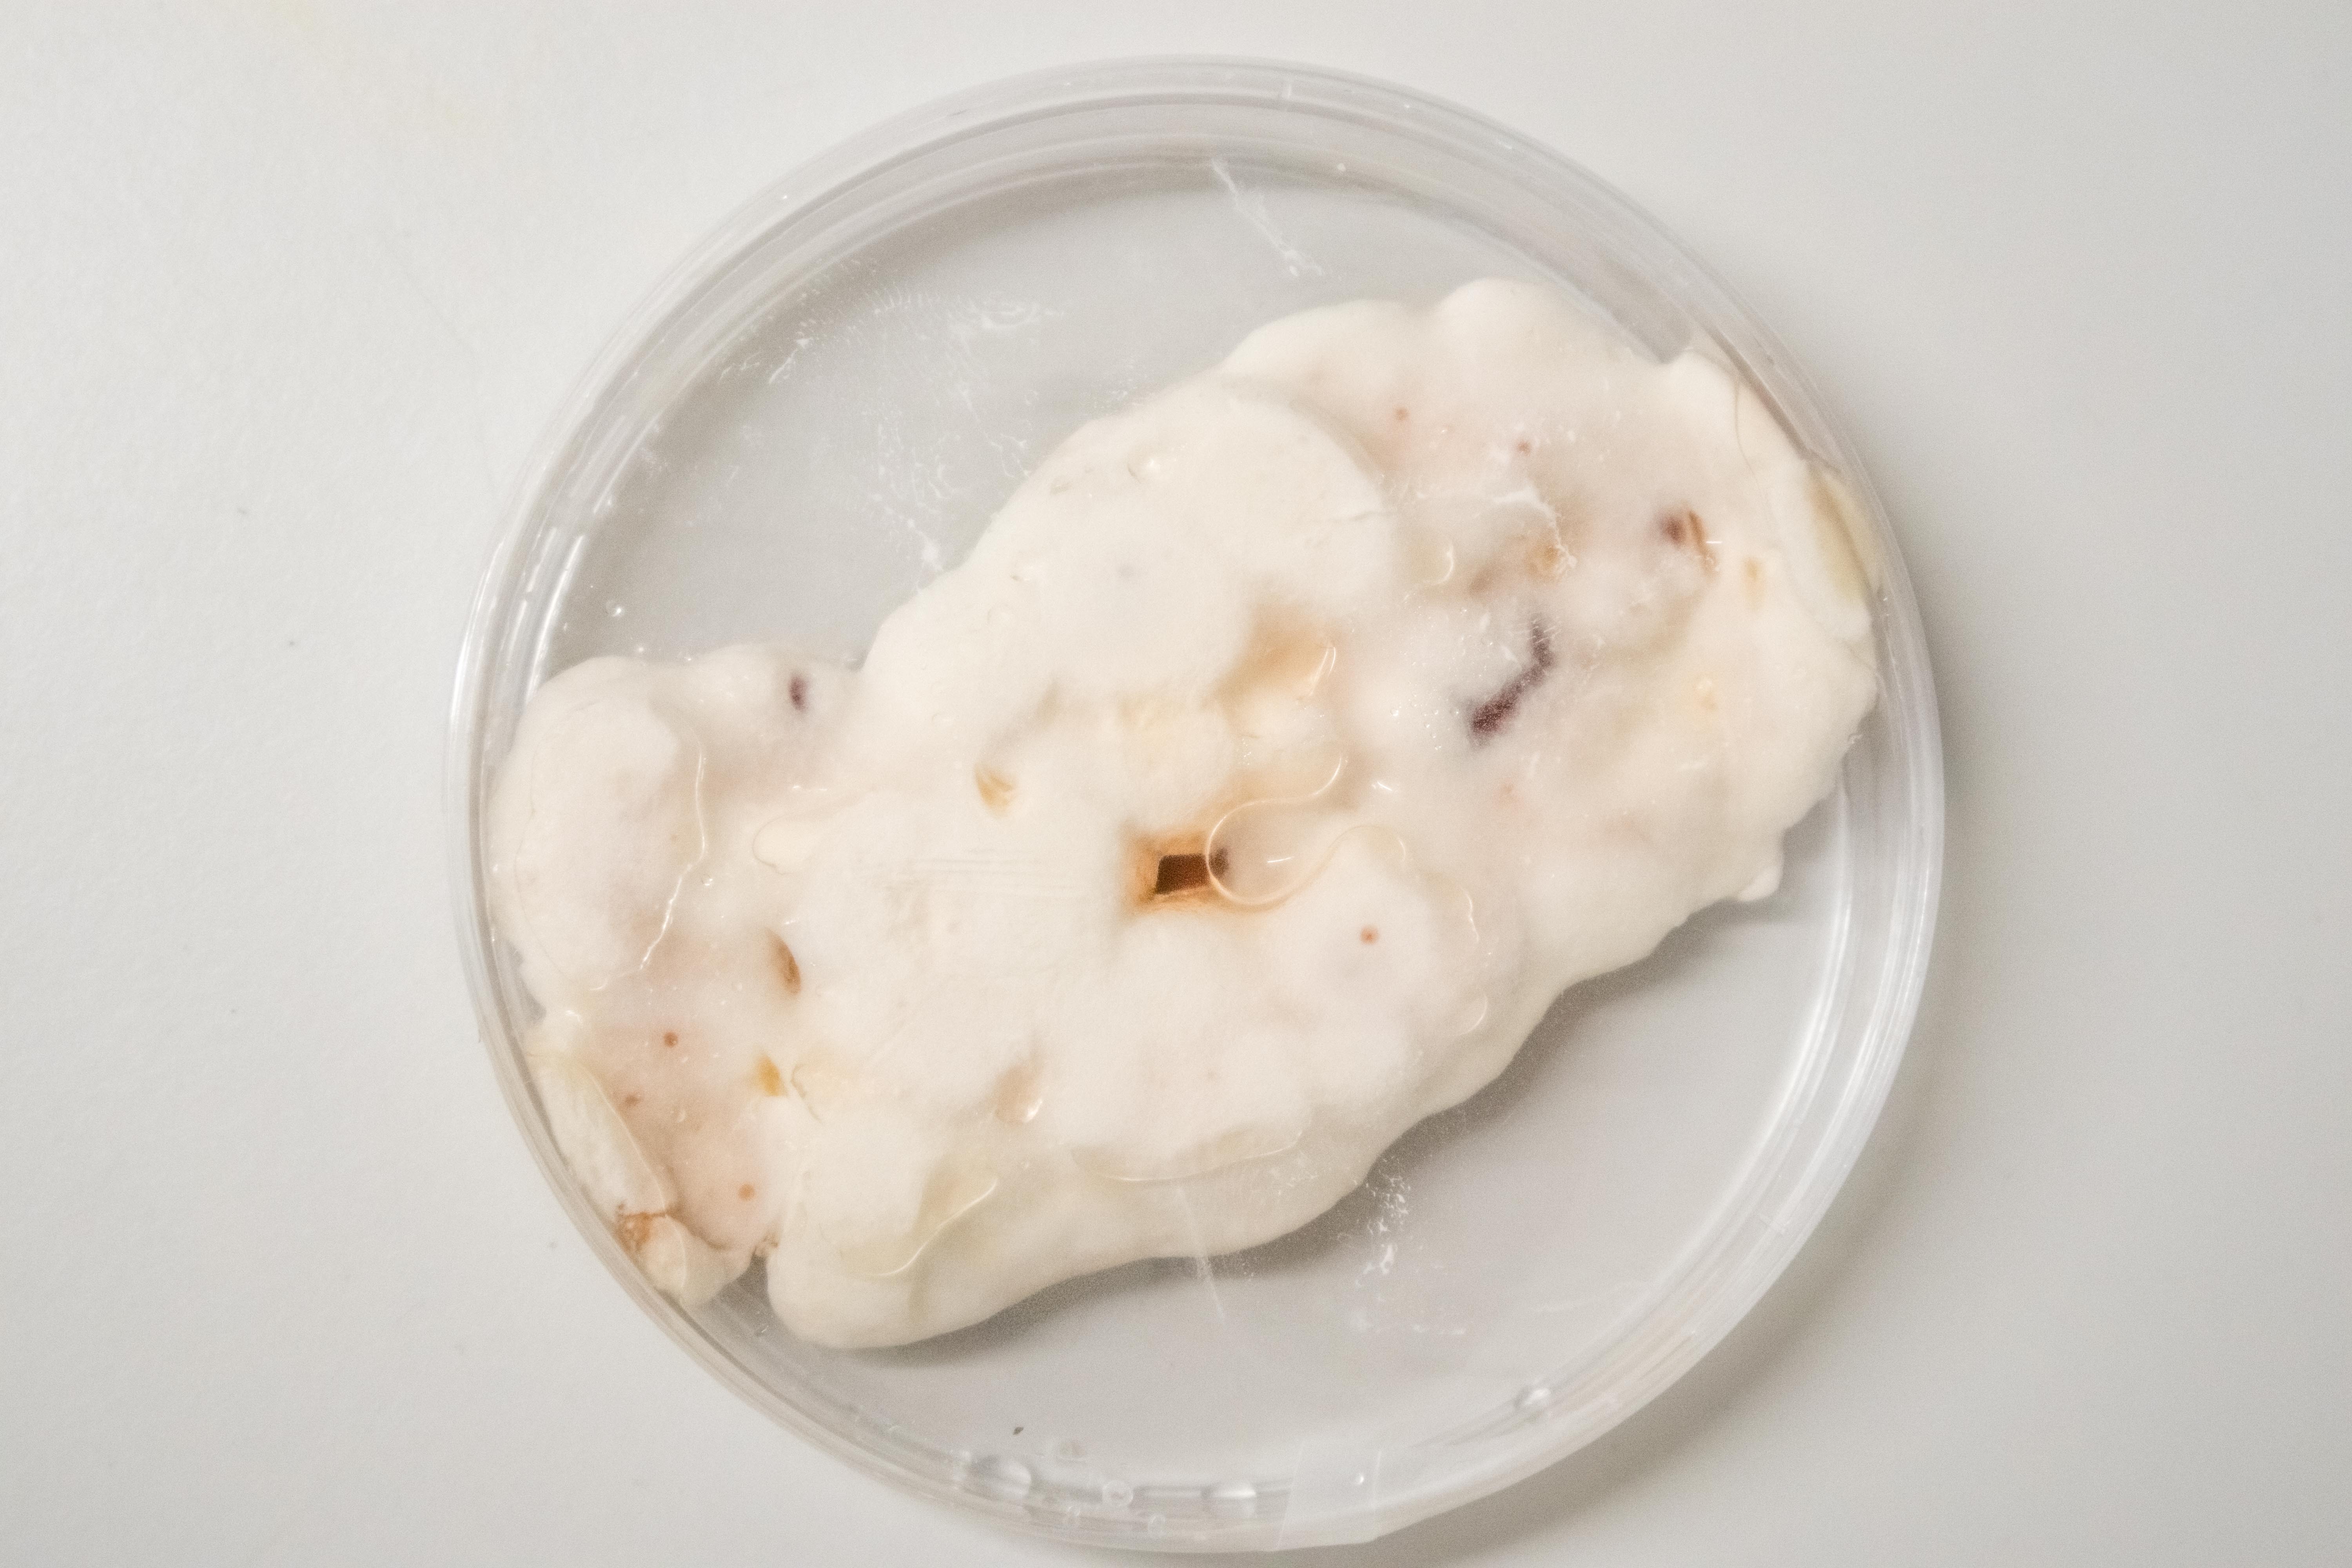

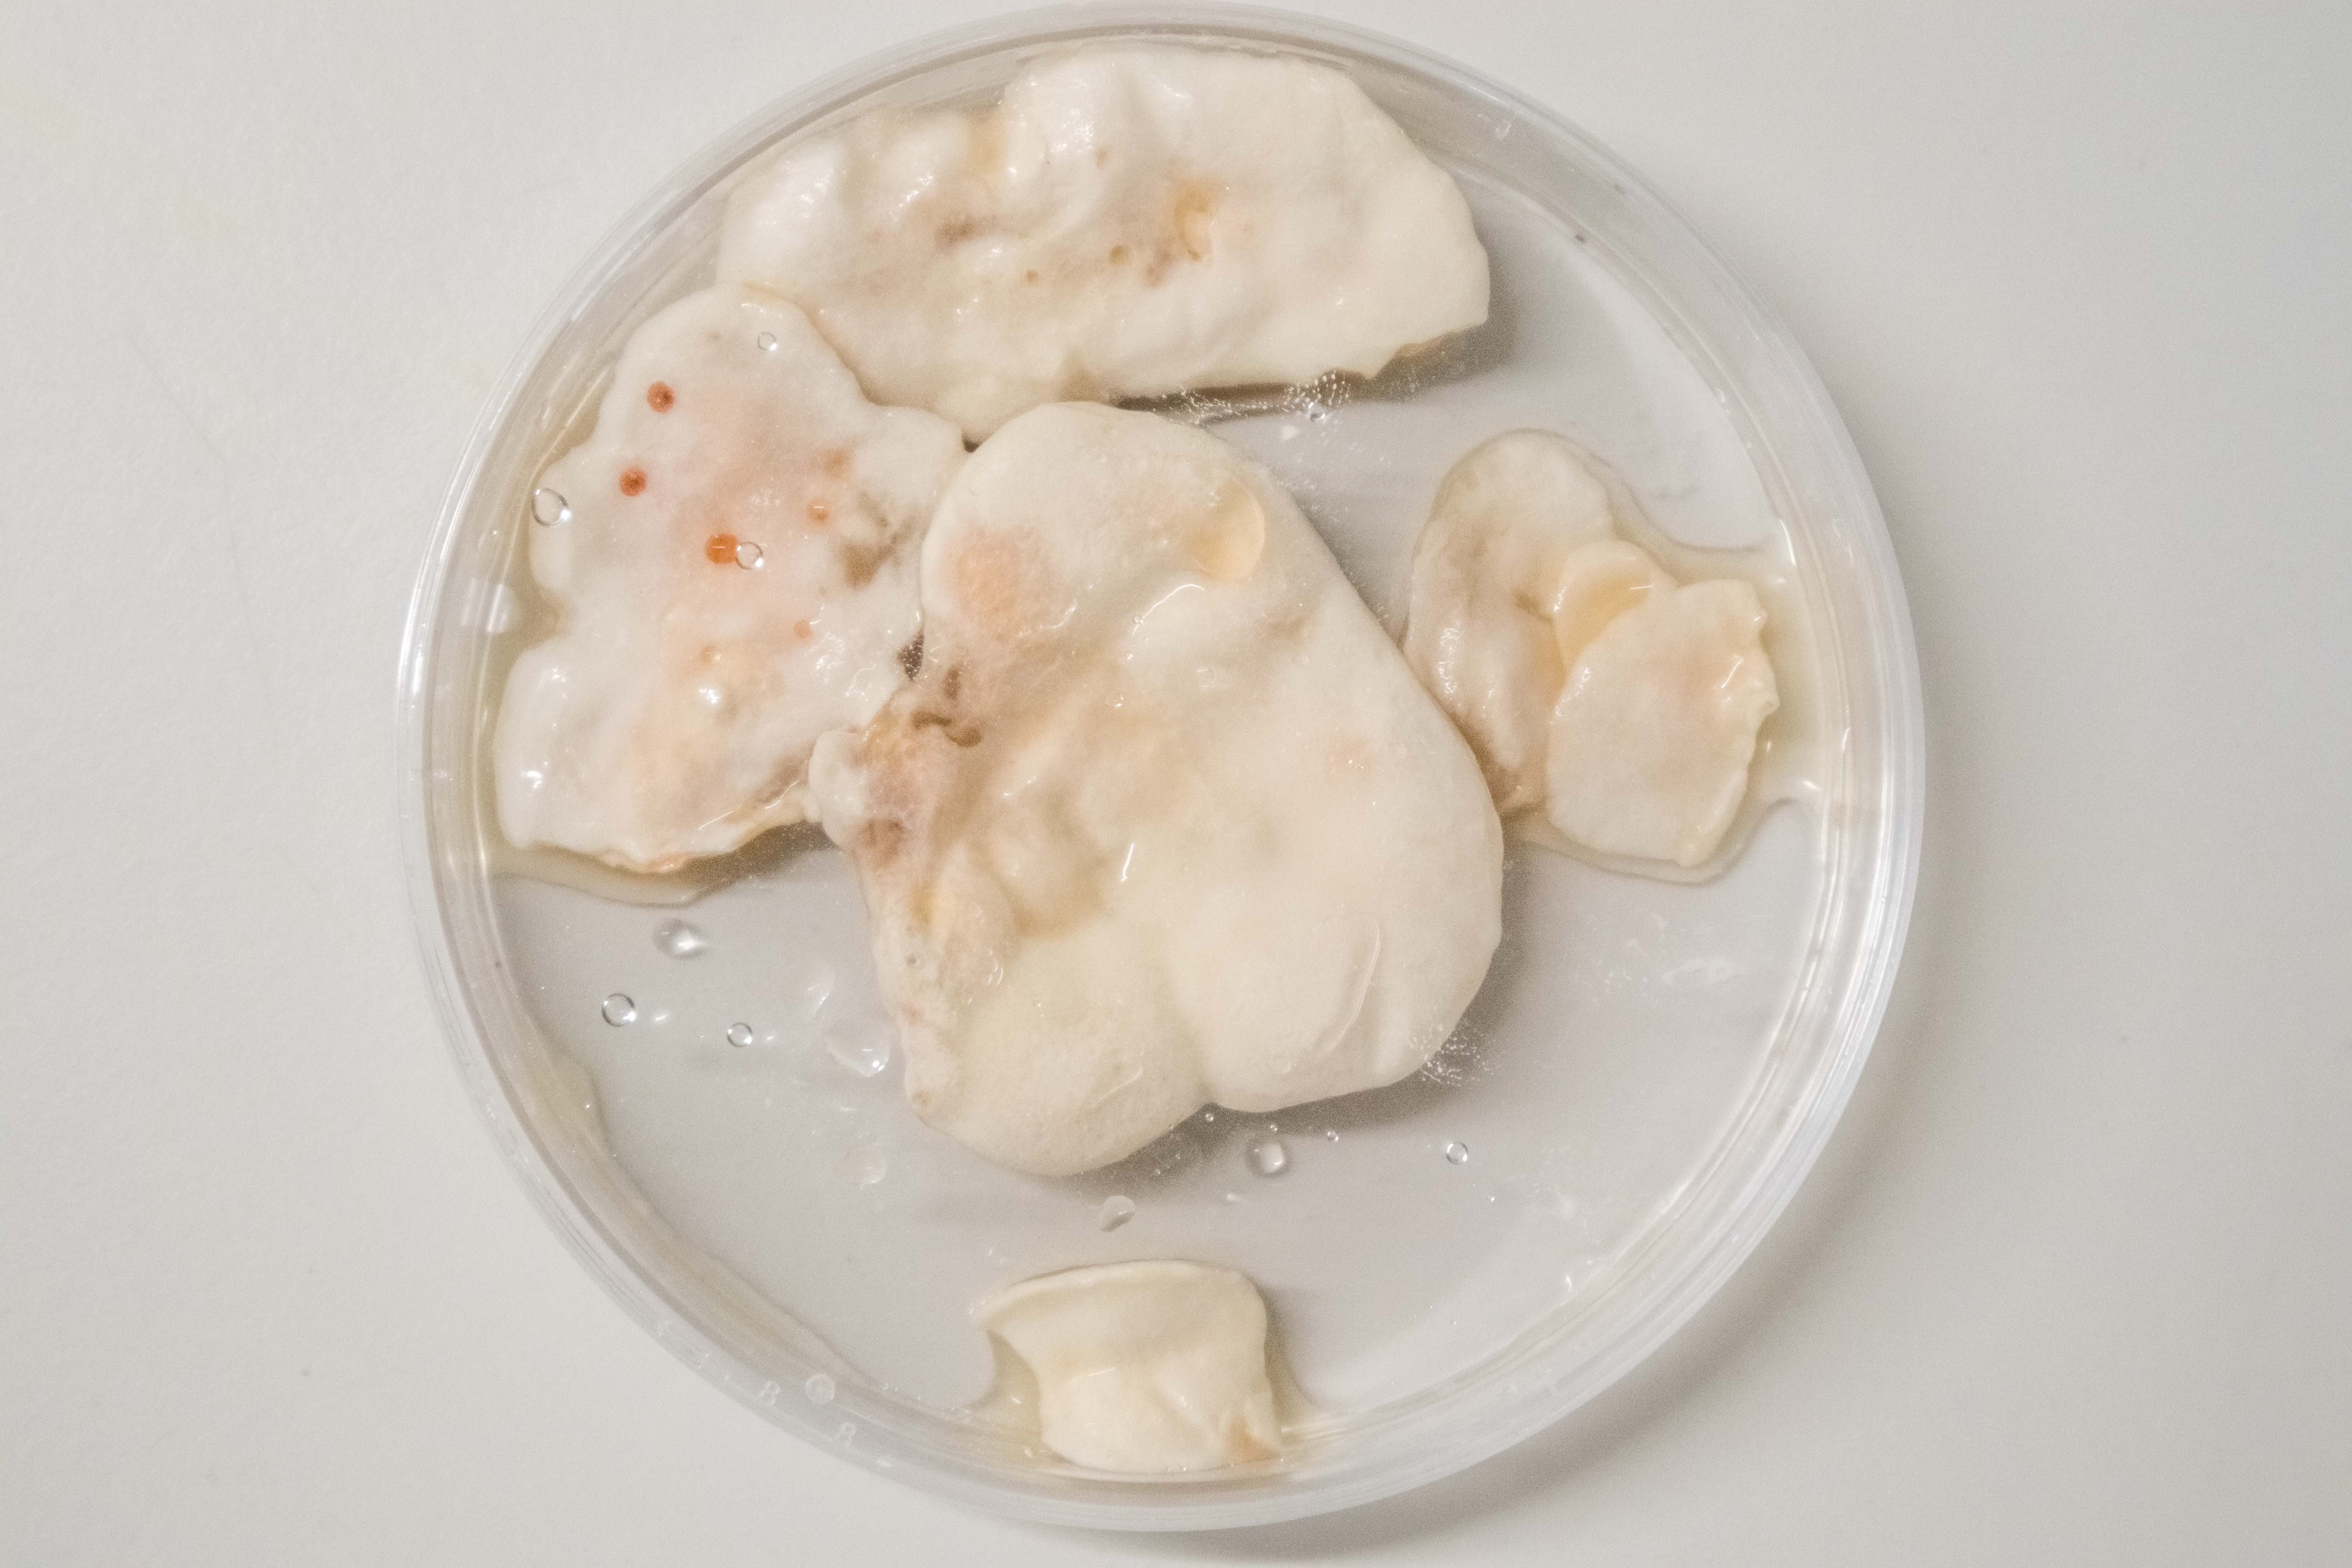
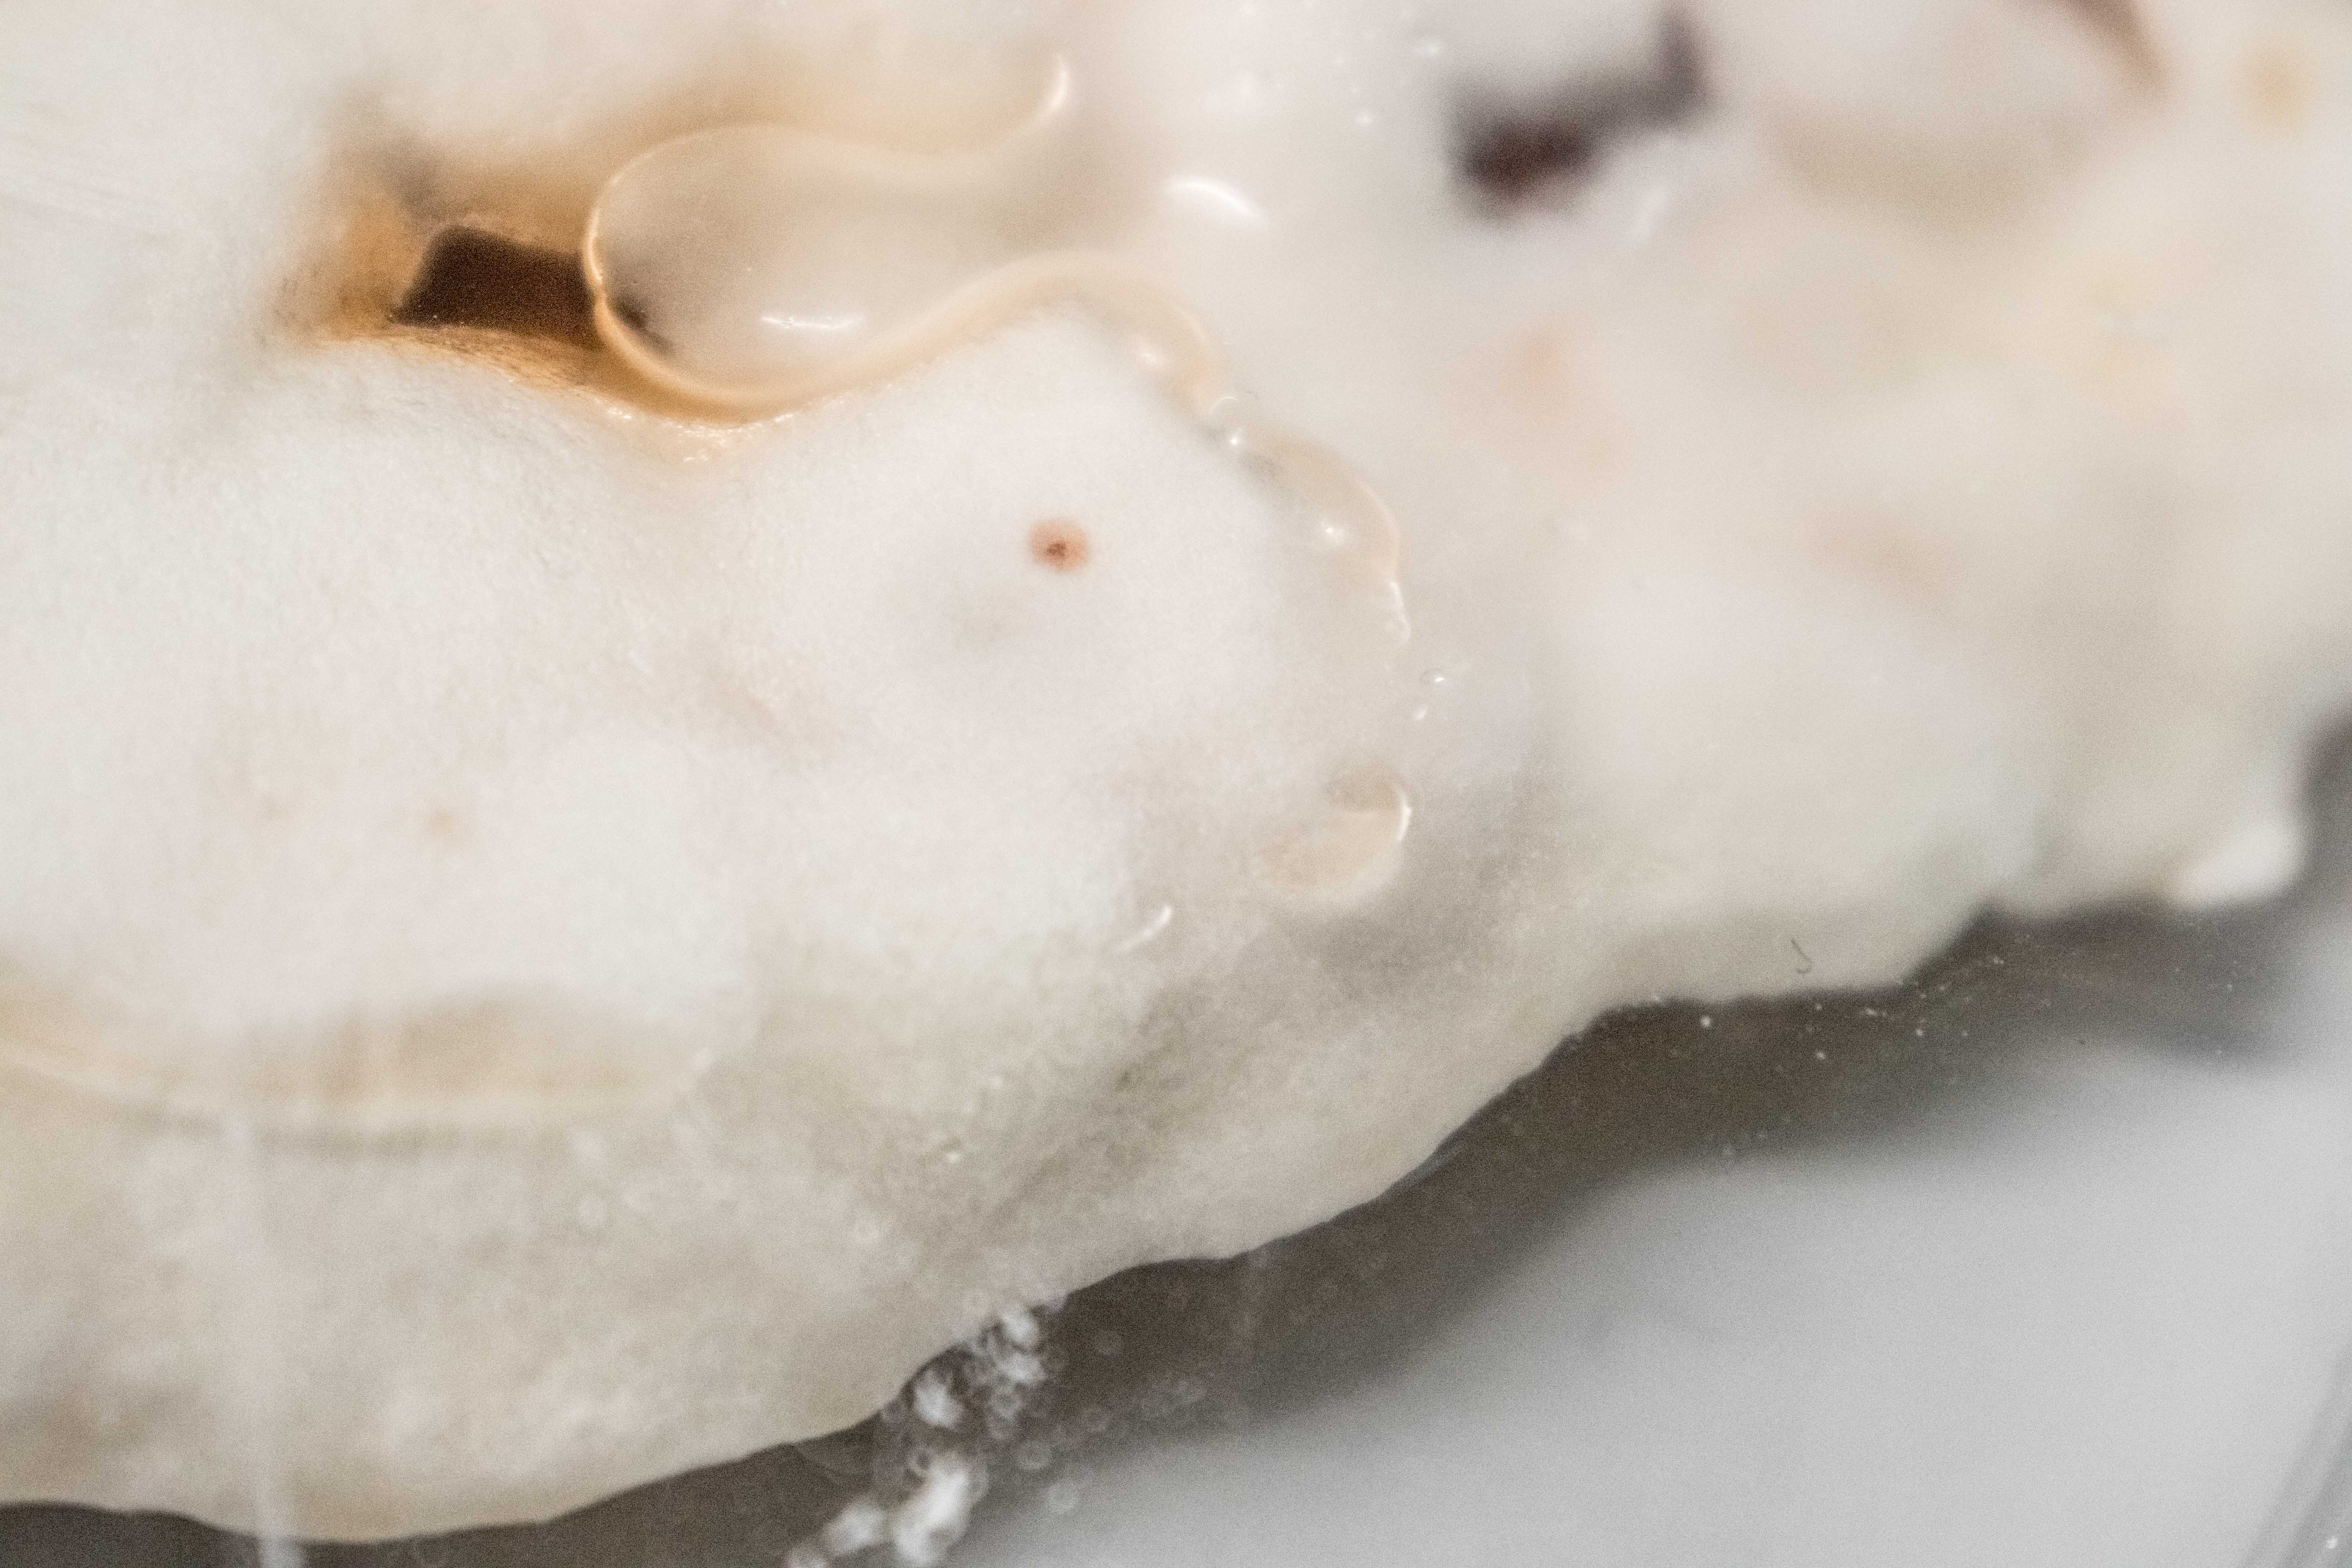
What about many inoculation Points?
Upon observing the progress of the liquid grown Ganoderma, I thought that the growth of the mycelium could be sped up immensely cutting up the inoculating mycelium into as small pieces as possible in order to get as much surface area in contact with the nutrients as possible.
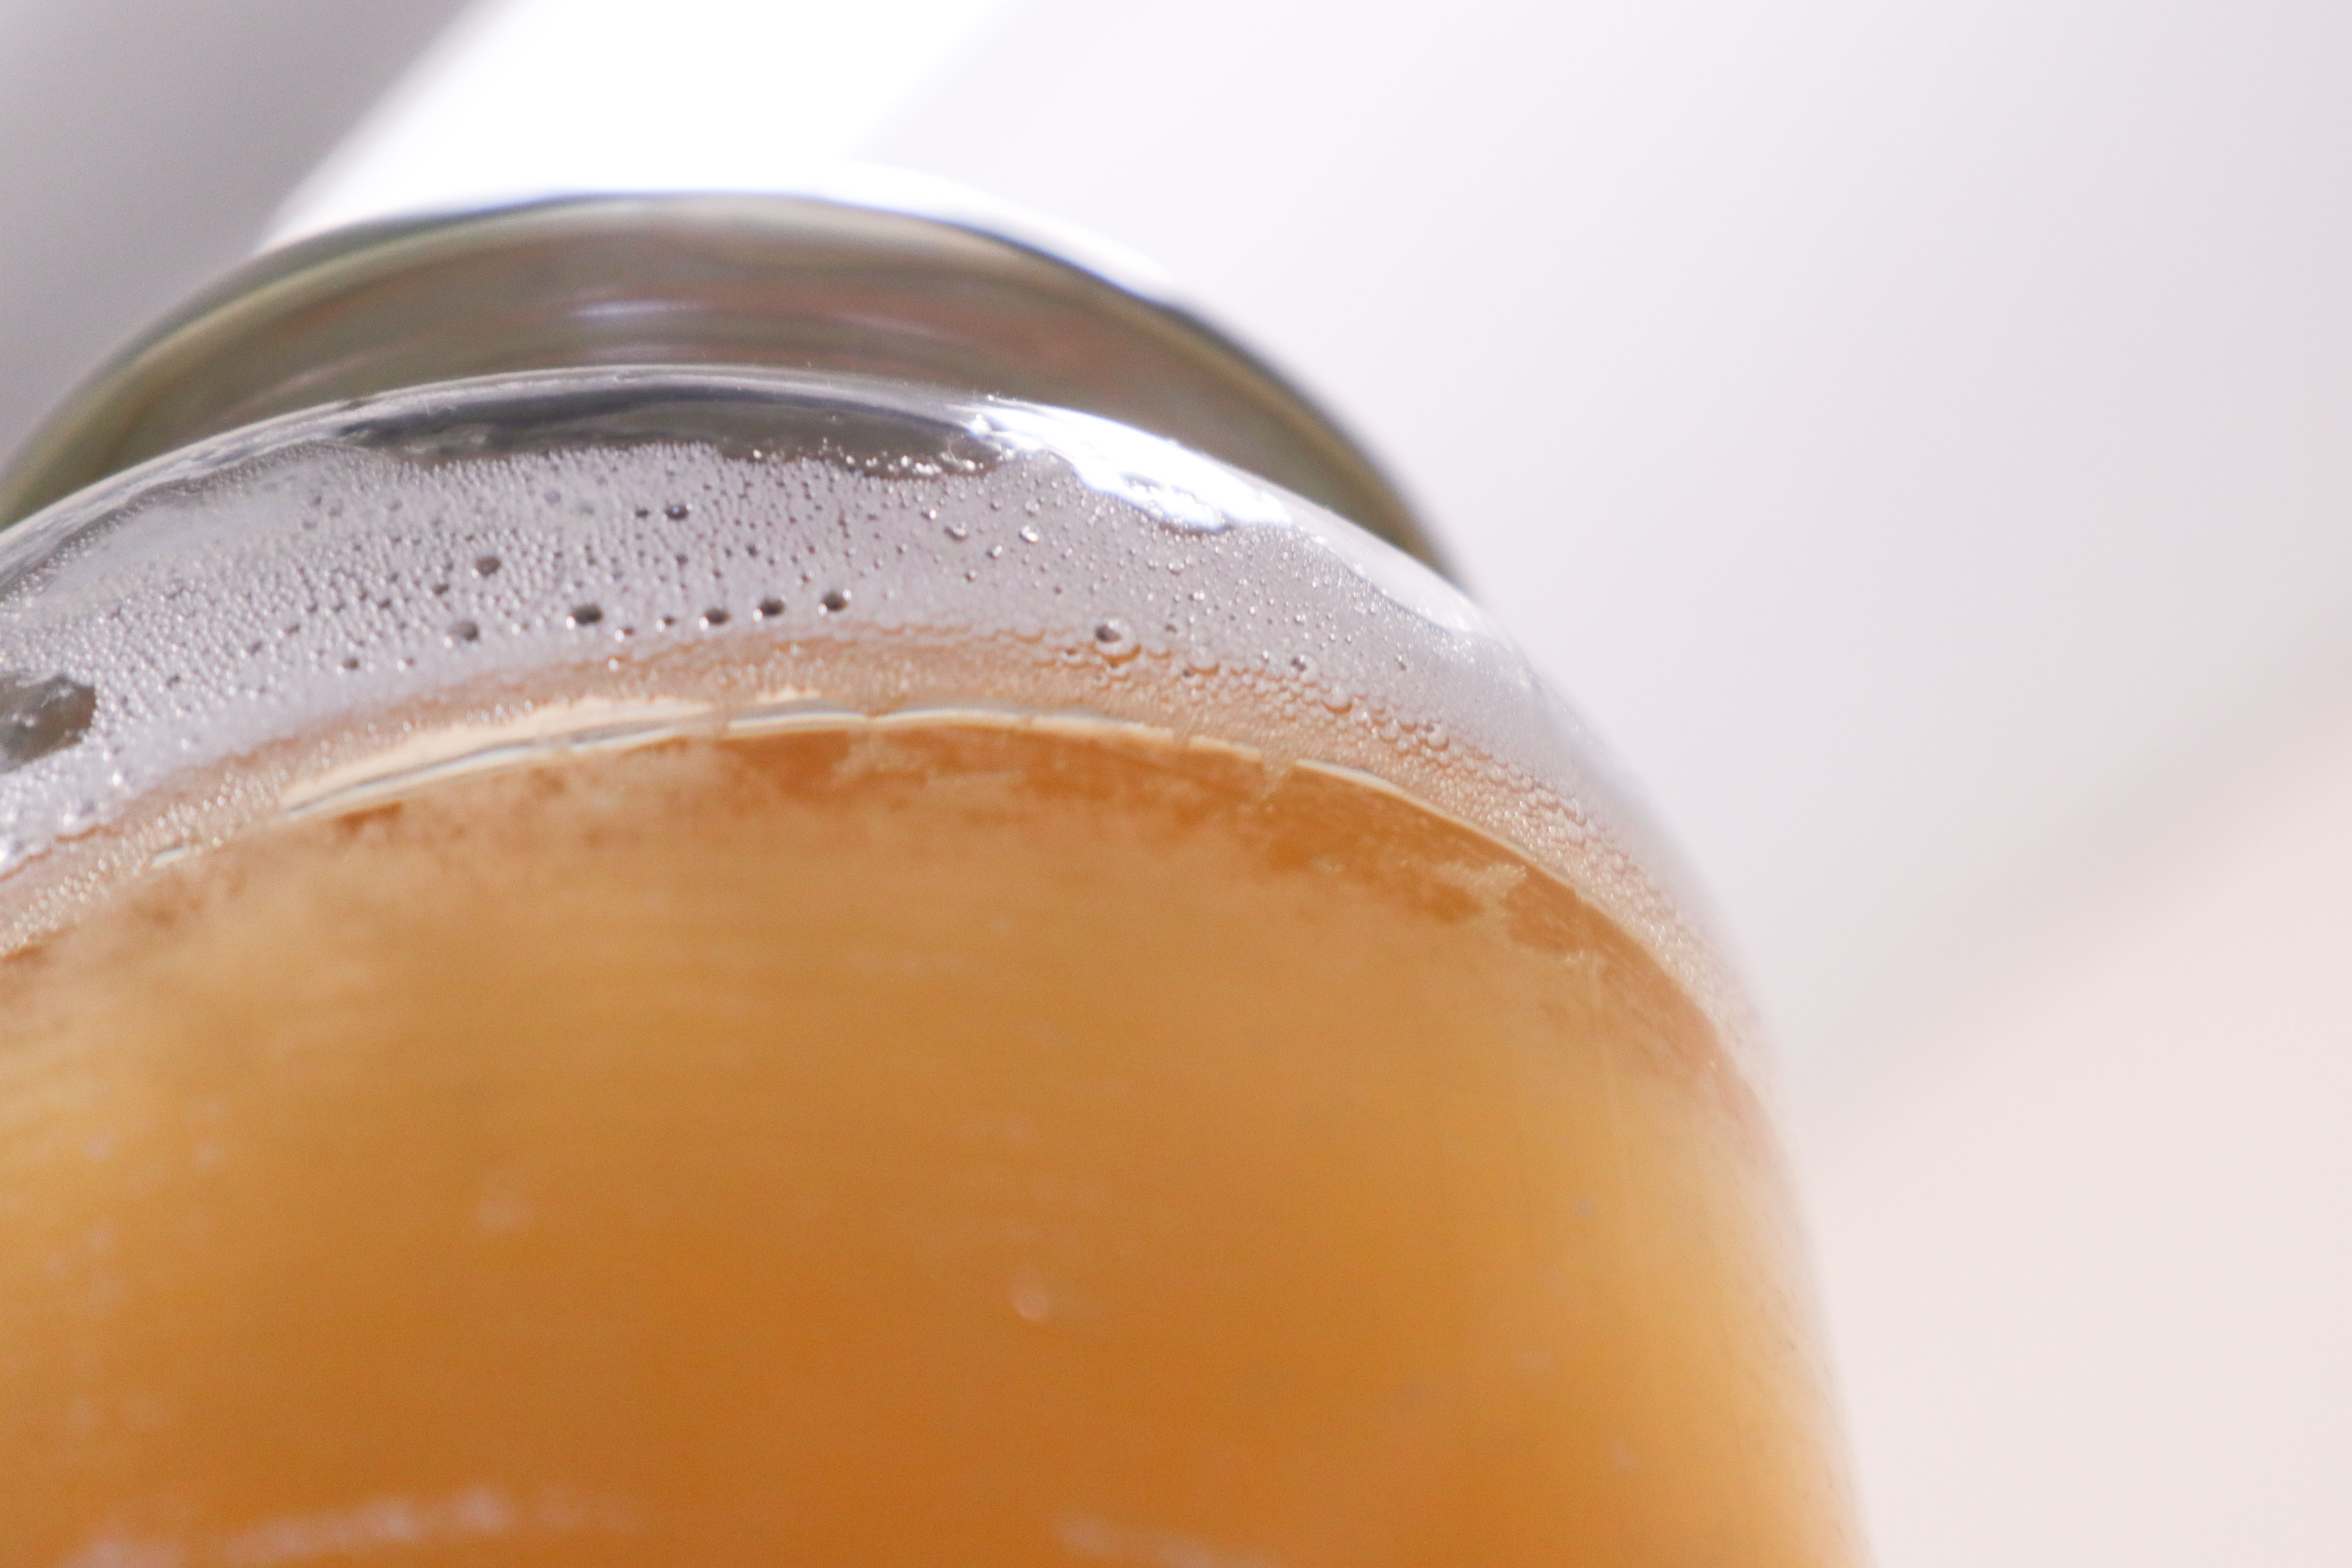
Rather than use a Petri dish of agar grown mycelium to inoculate a container of nutrient liquid I decided to instead thoroughly inoculate the nutrient medium first and then pour the mycelium/nutrient liquid mix into the container and let it grow. A magnetic stir bar inside a glass jar containing the nutrient mix and 1/2 to 1 Petri dish worth broken up mycelium pieces. The stir bar breaks up these initial mycelium pieces into many smaller ones, each of which is a new inoculation point. This process continues as the mixture continues to be stirred. Ideally the liquid would be temperature controlled at 25 Celsius to speed up colonisation time, however, I didn’t have the ability to do that for my first test with this method, which I will refer to as Pre-mixing.
Pre-mixing: Test 1
Equipment:
70% alcohol for sterilising surfaces and
Malt, yeast liquid medium: 1 litre water, 20g malt extract, 2 grams yeast
Bottles for autoclaving
A jar with lid
A small (3x3cm approx.) piece of foam. Make sure it is made from a plastic which can withstand autoclaving temperatures such as polyurethane.
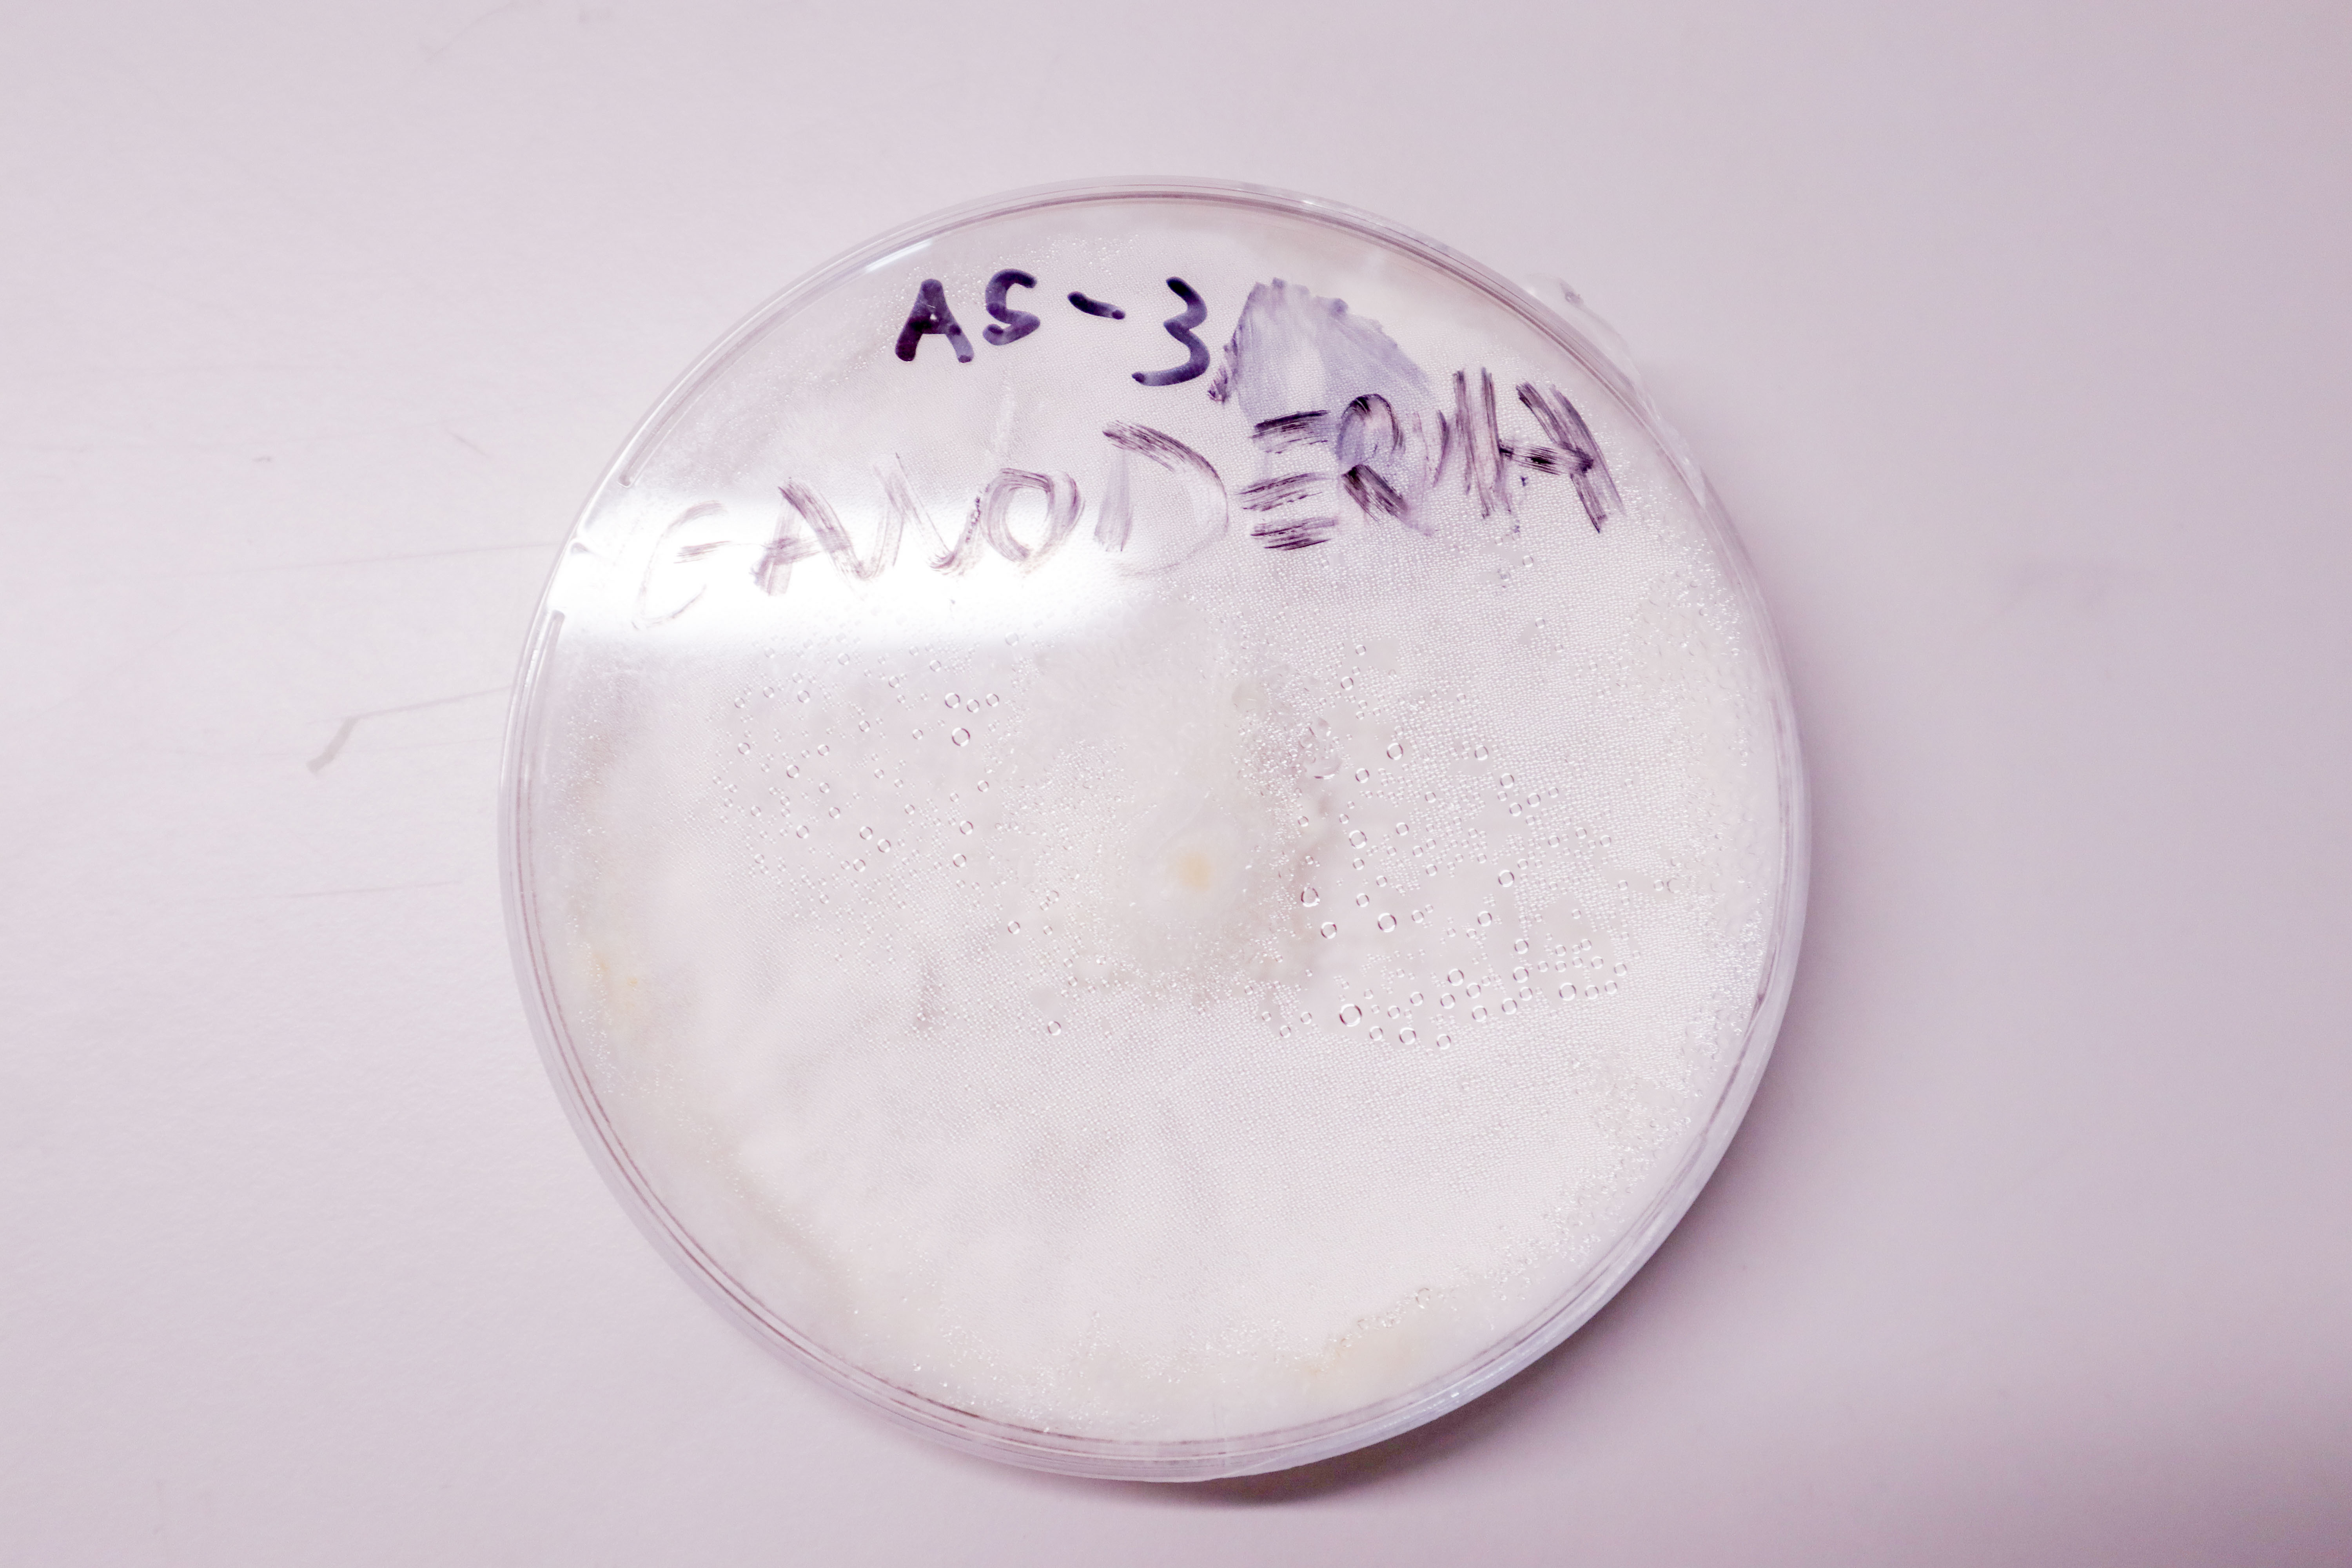
Some living mycelium which isn’t contaminated. I used 1 90mm petri dish of PDYA colonised with Ganoderma.
A pressure cooker or autoclave
A timer. You can use your phone but an old school one with a bell is much more cool.
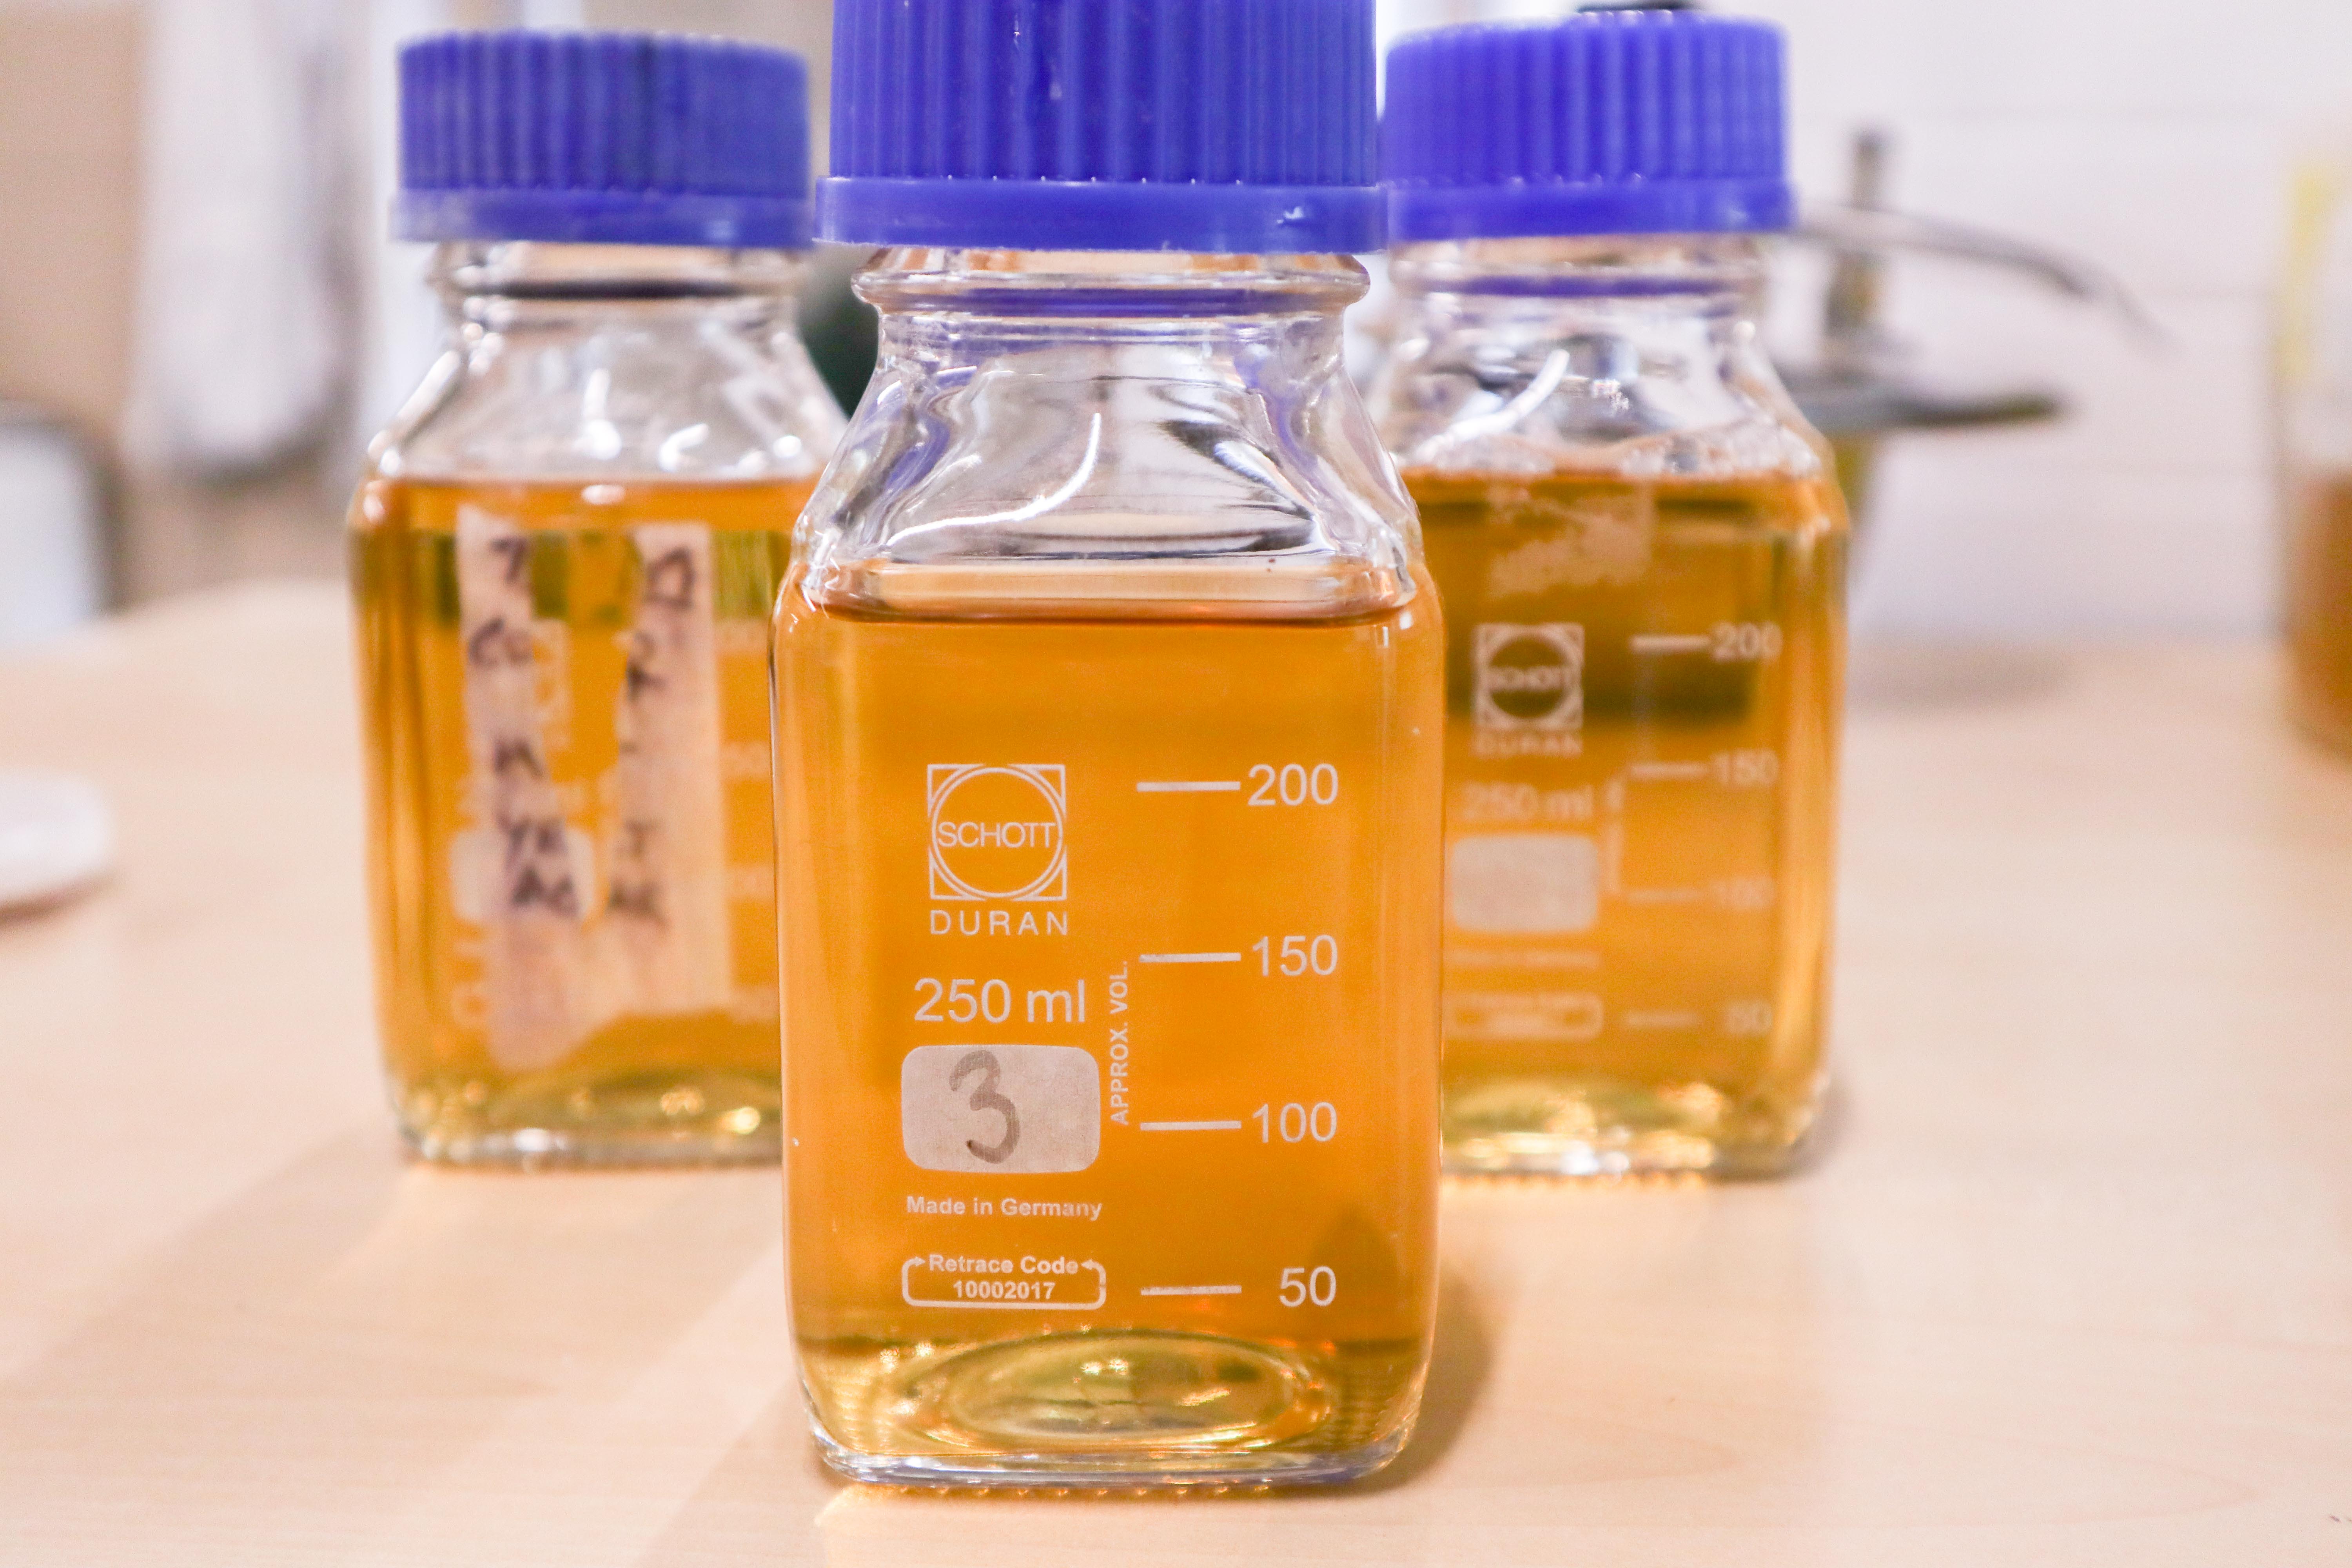
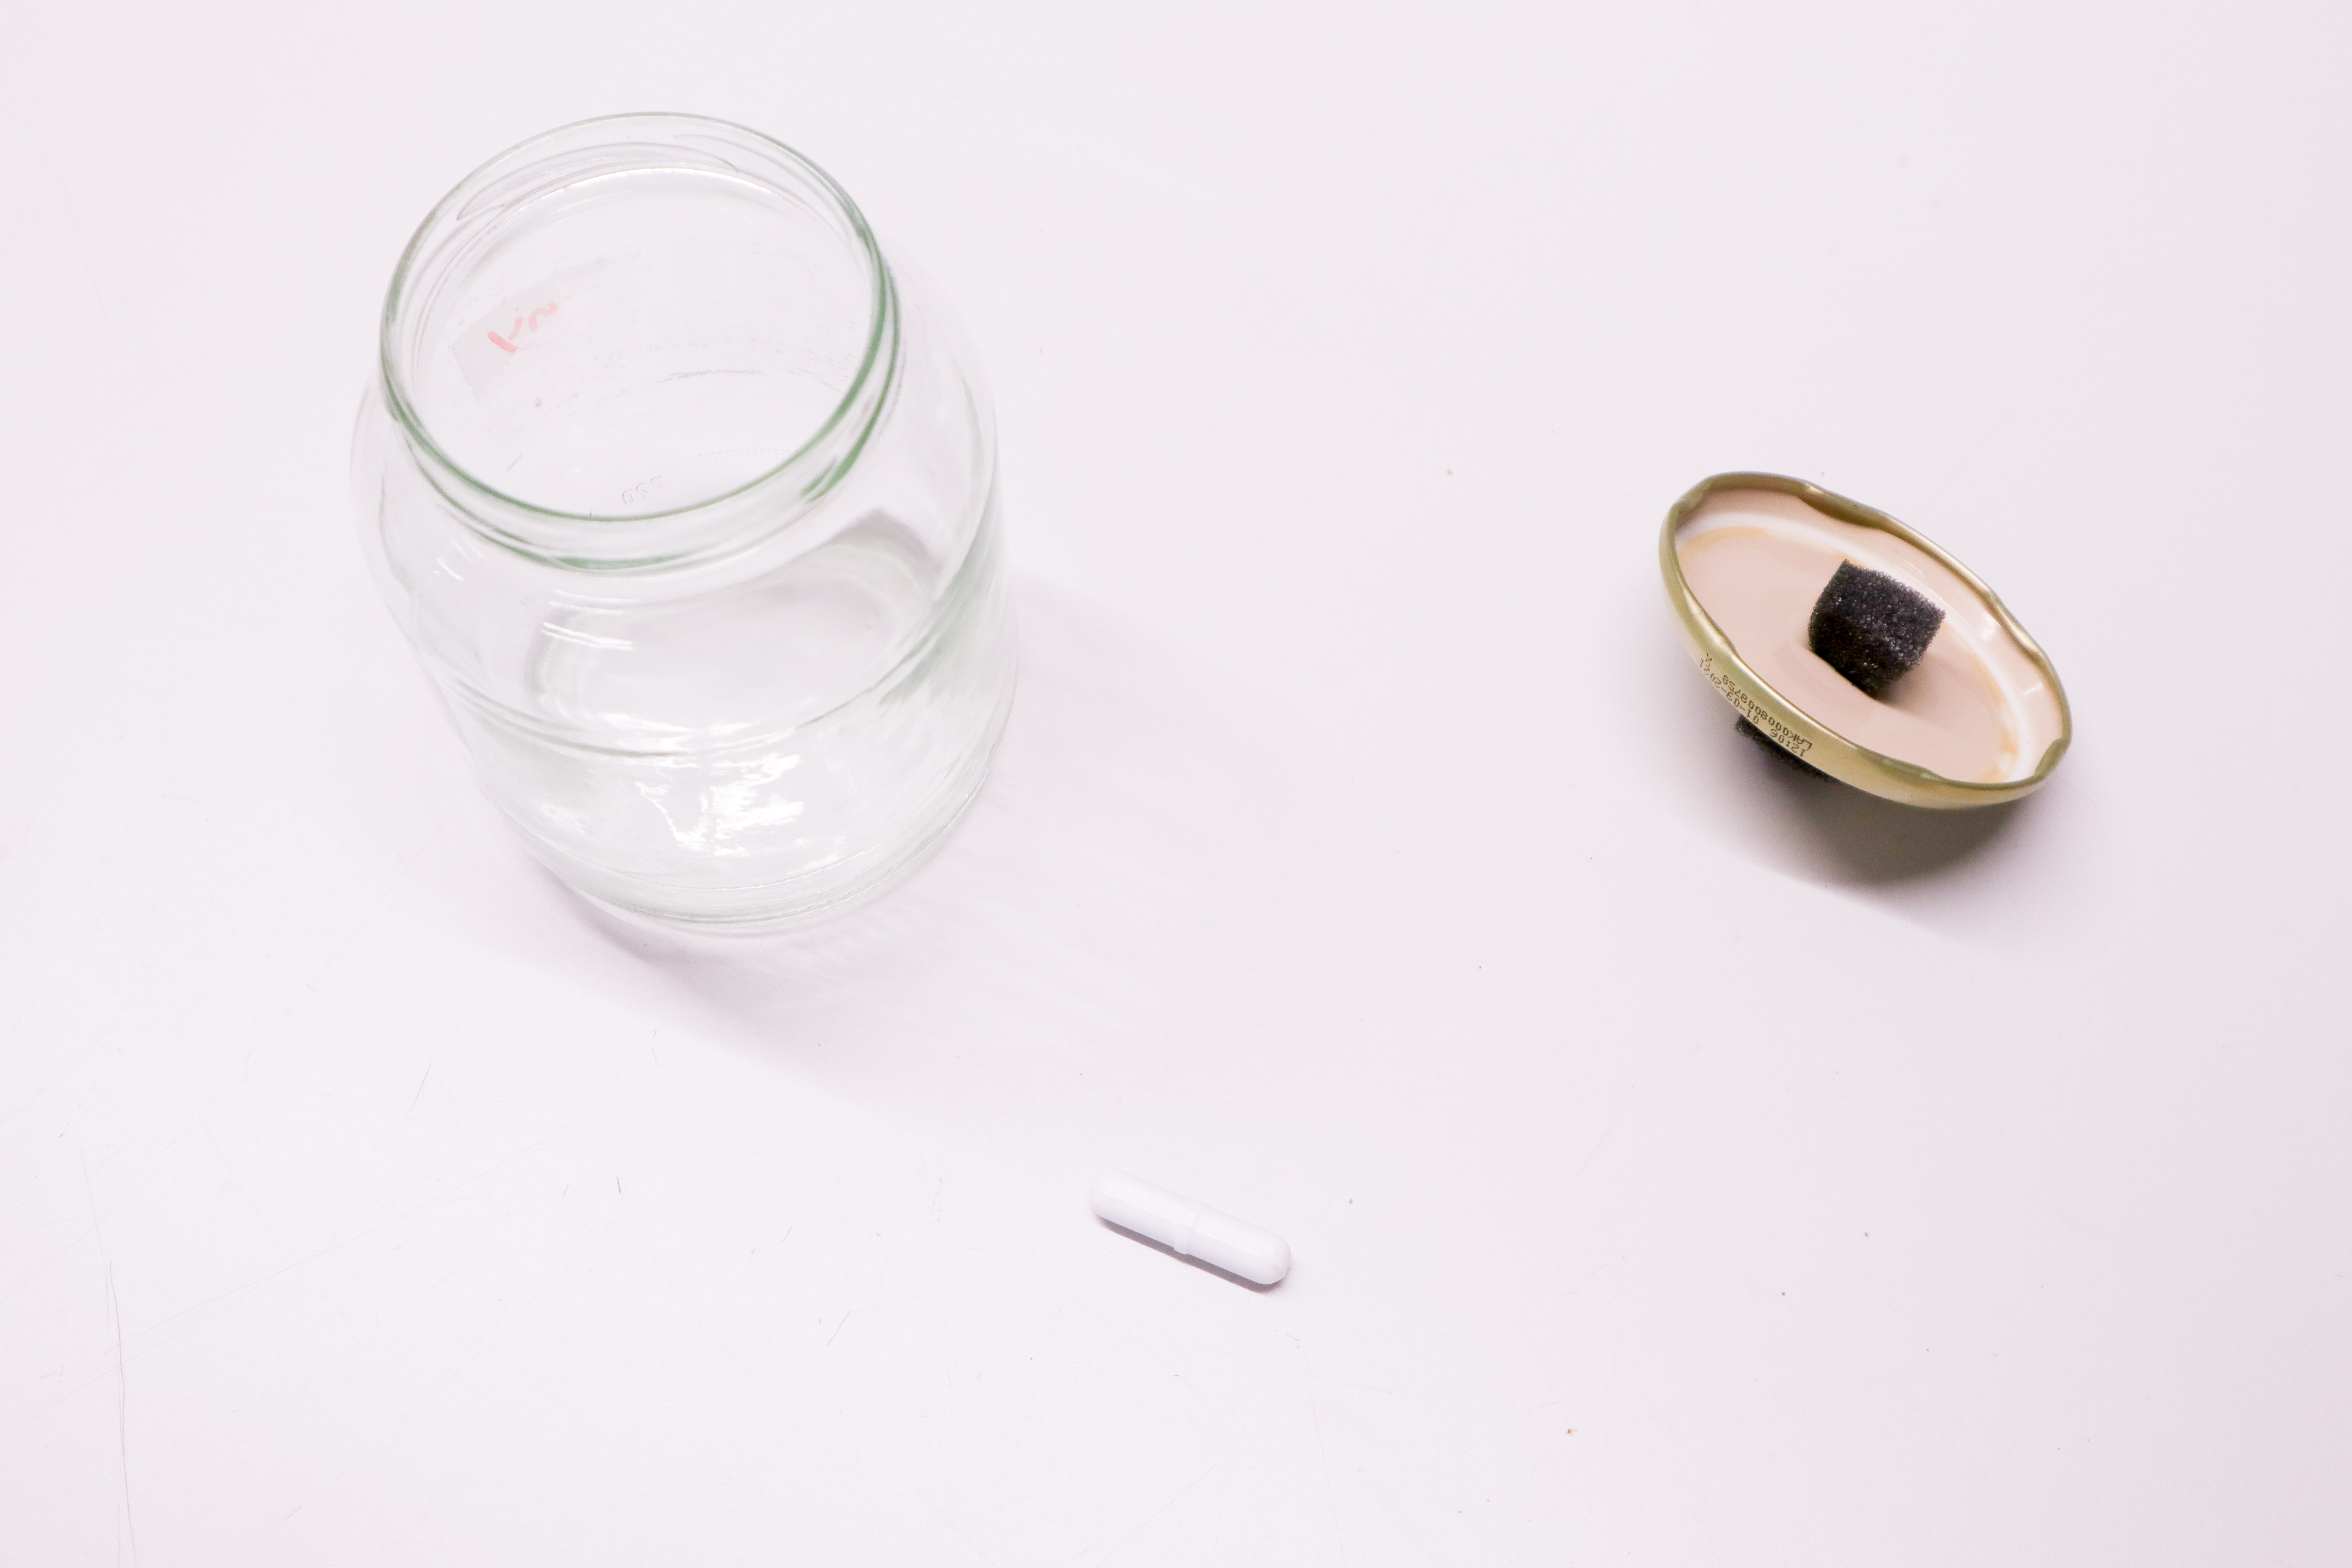
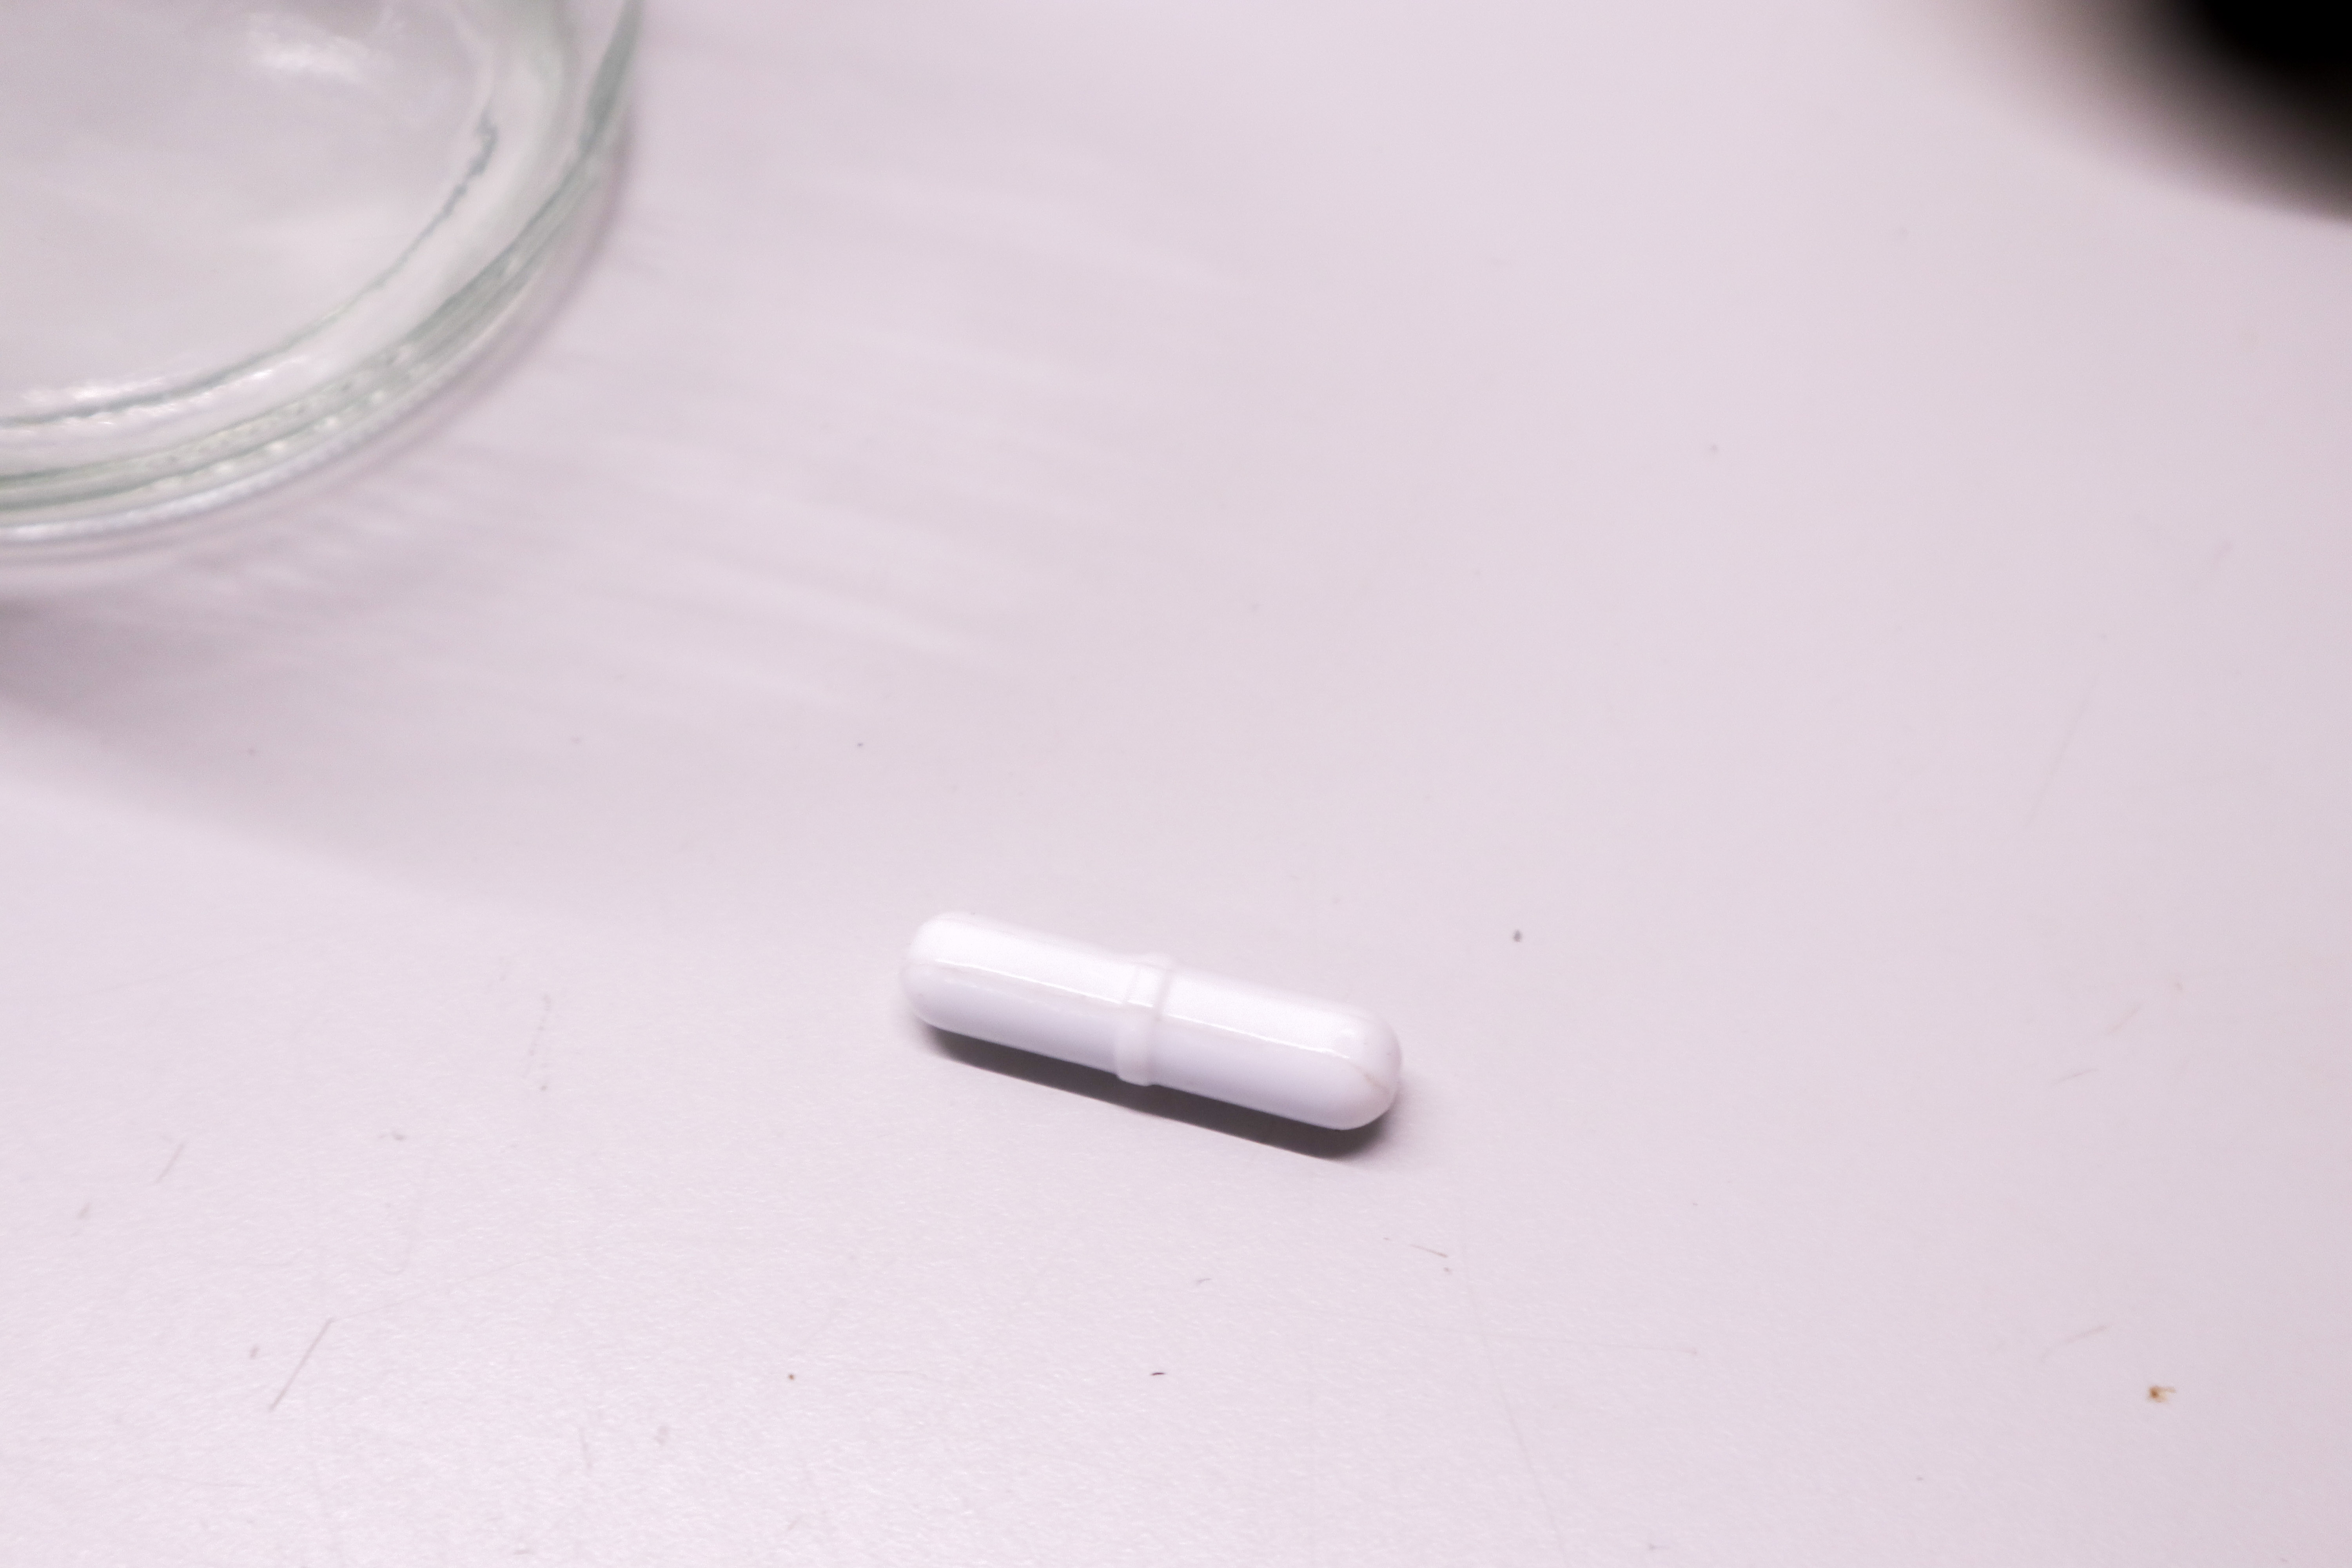
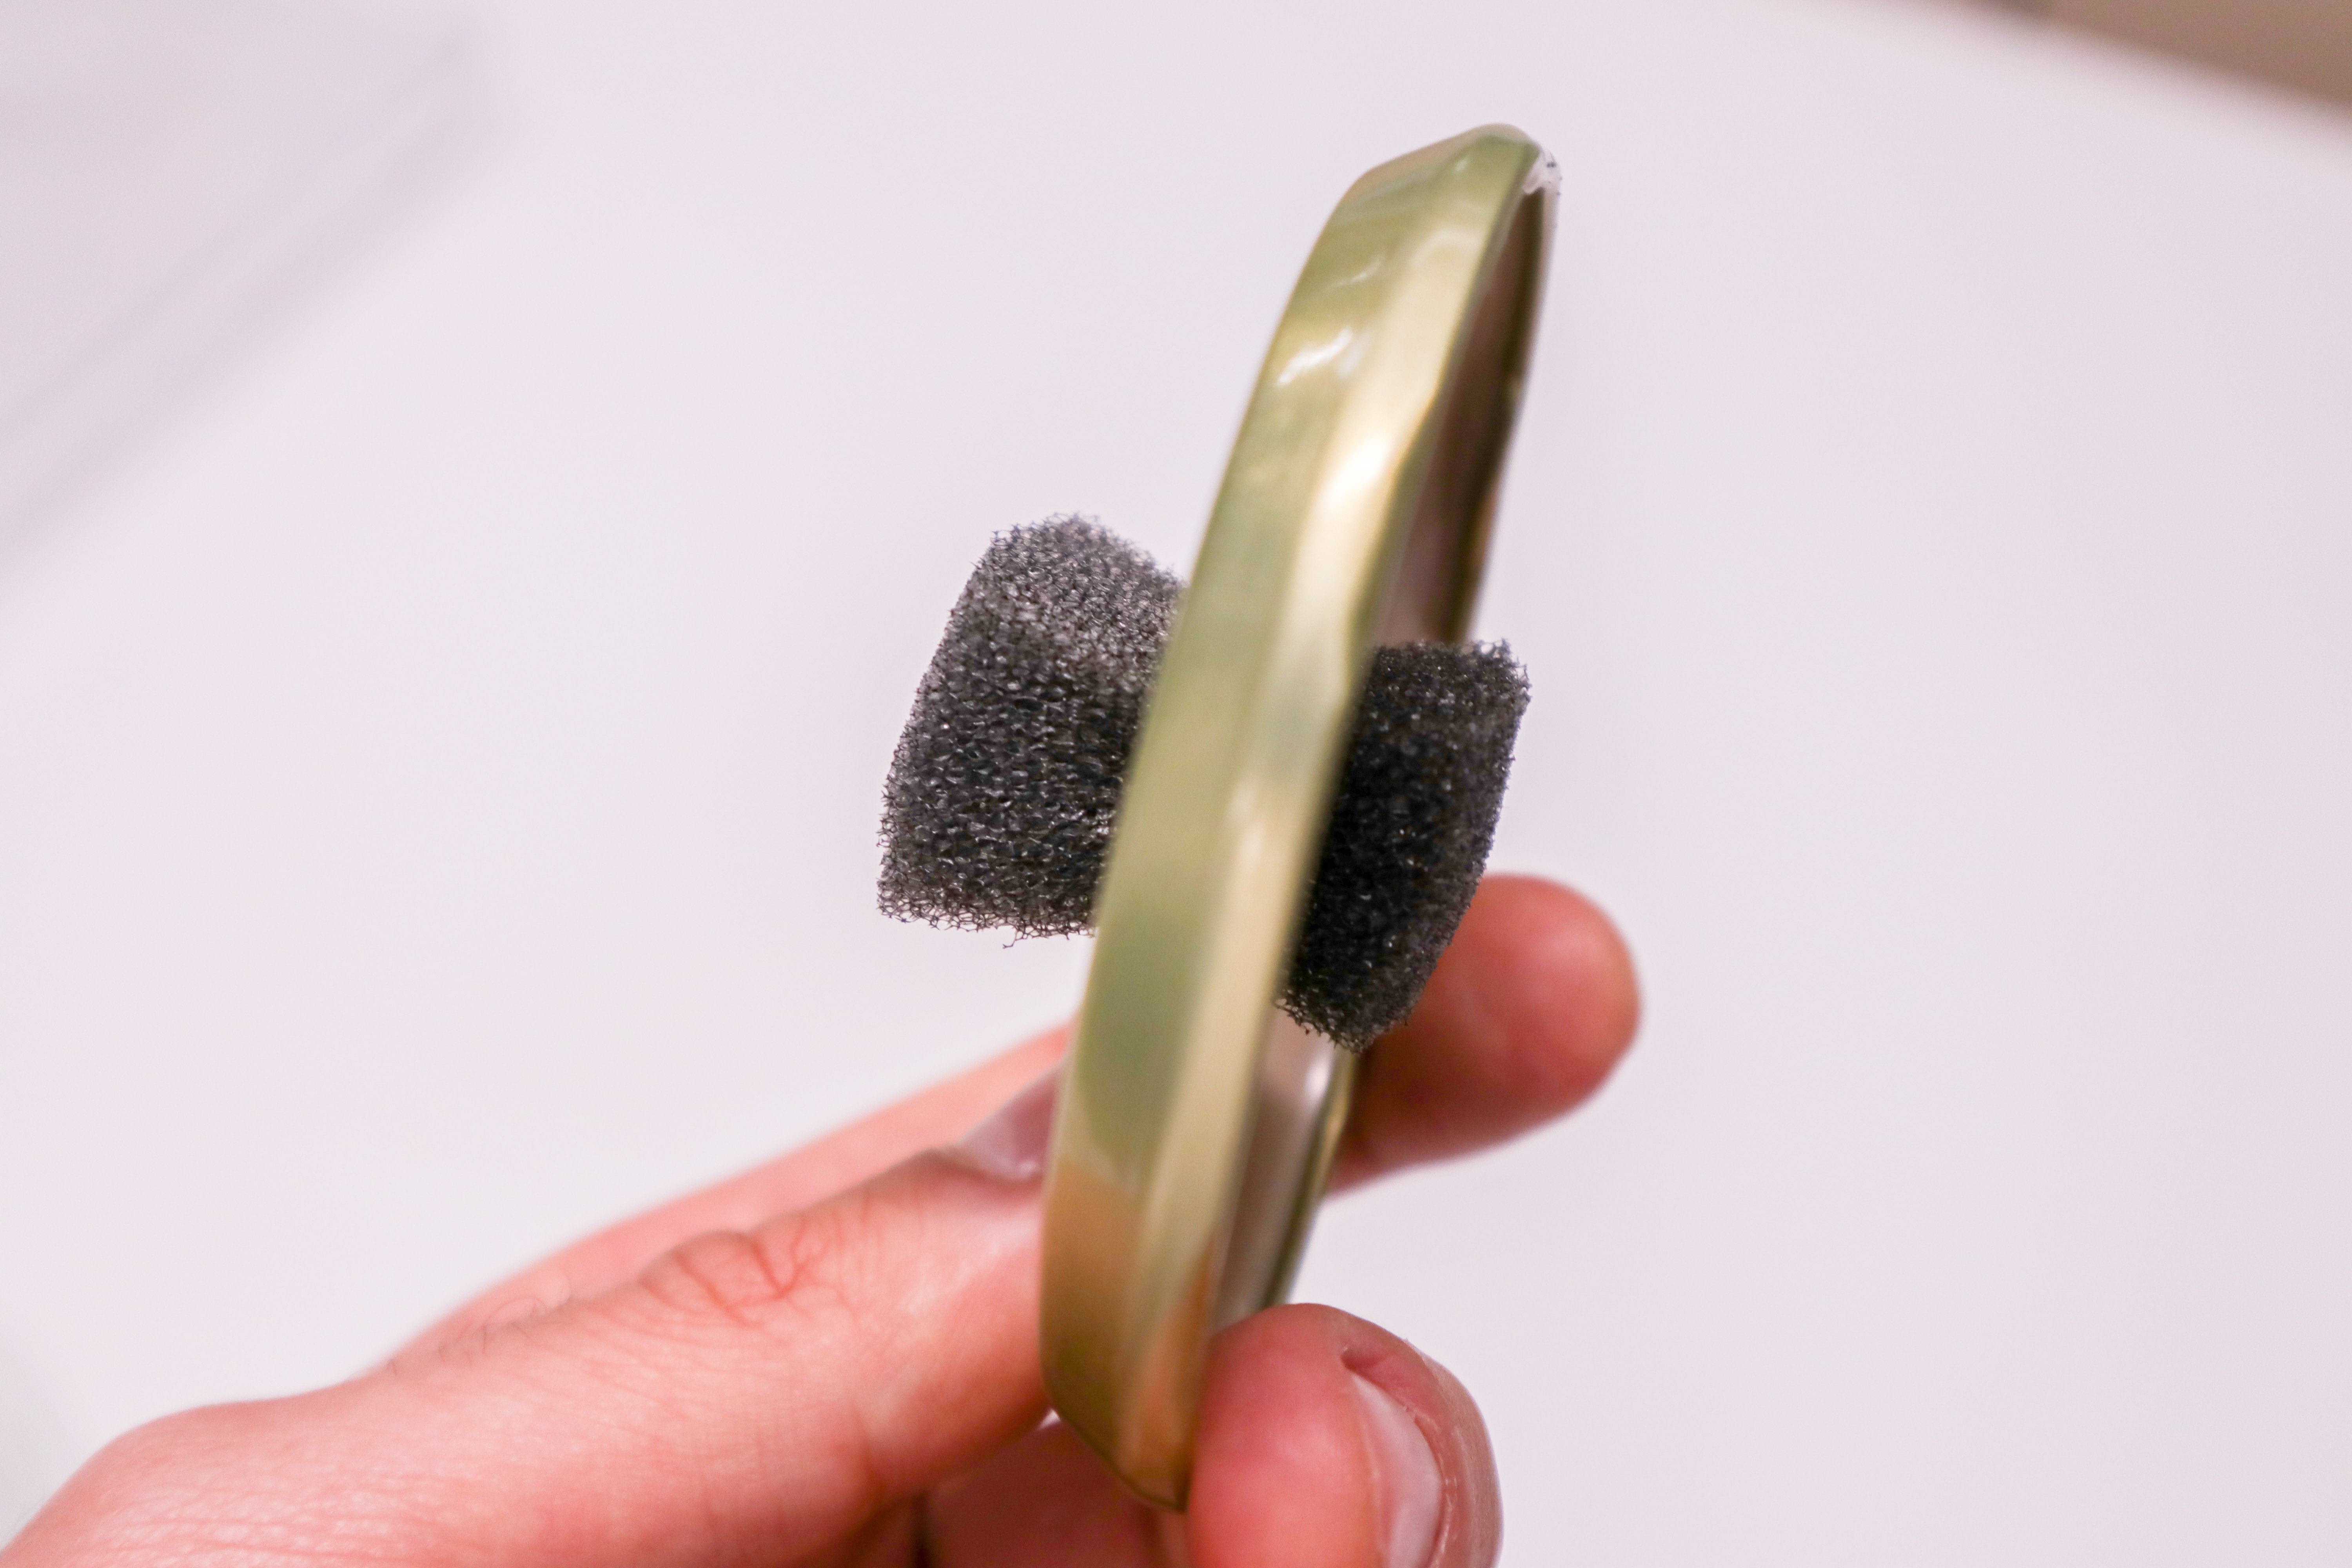
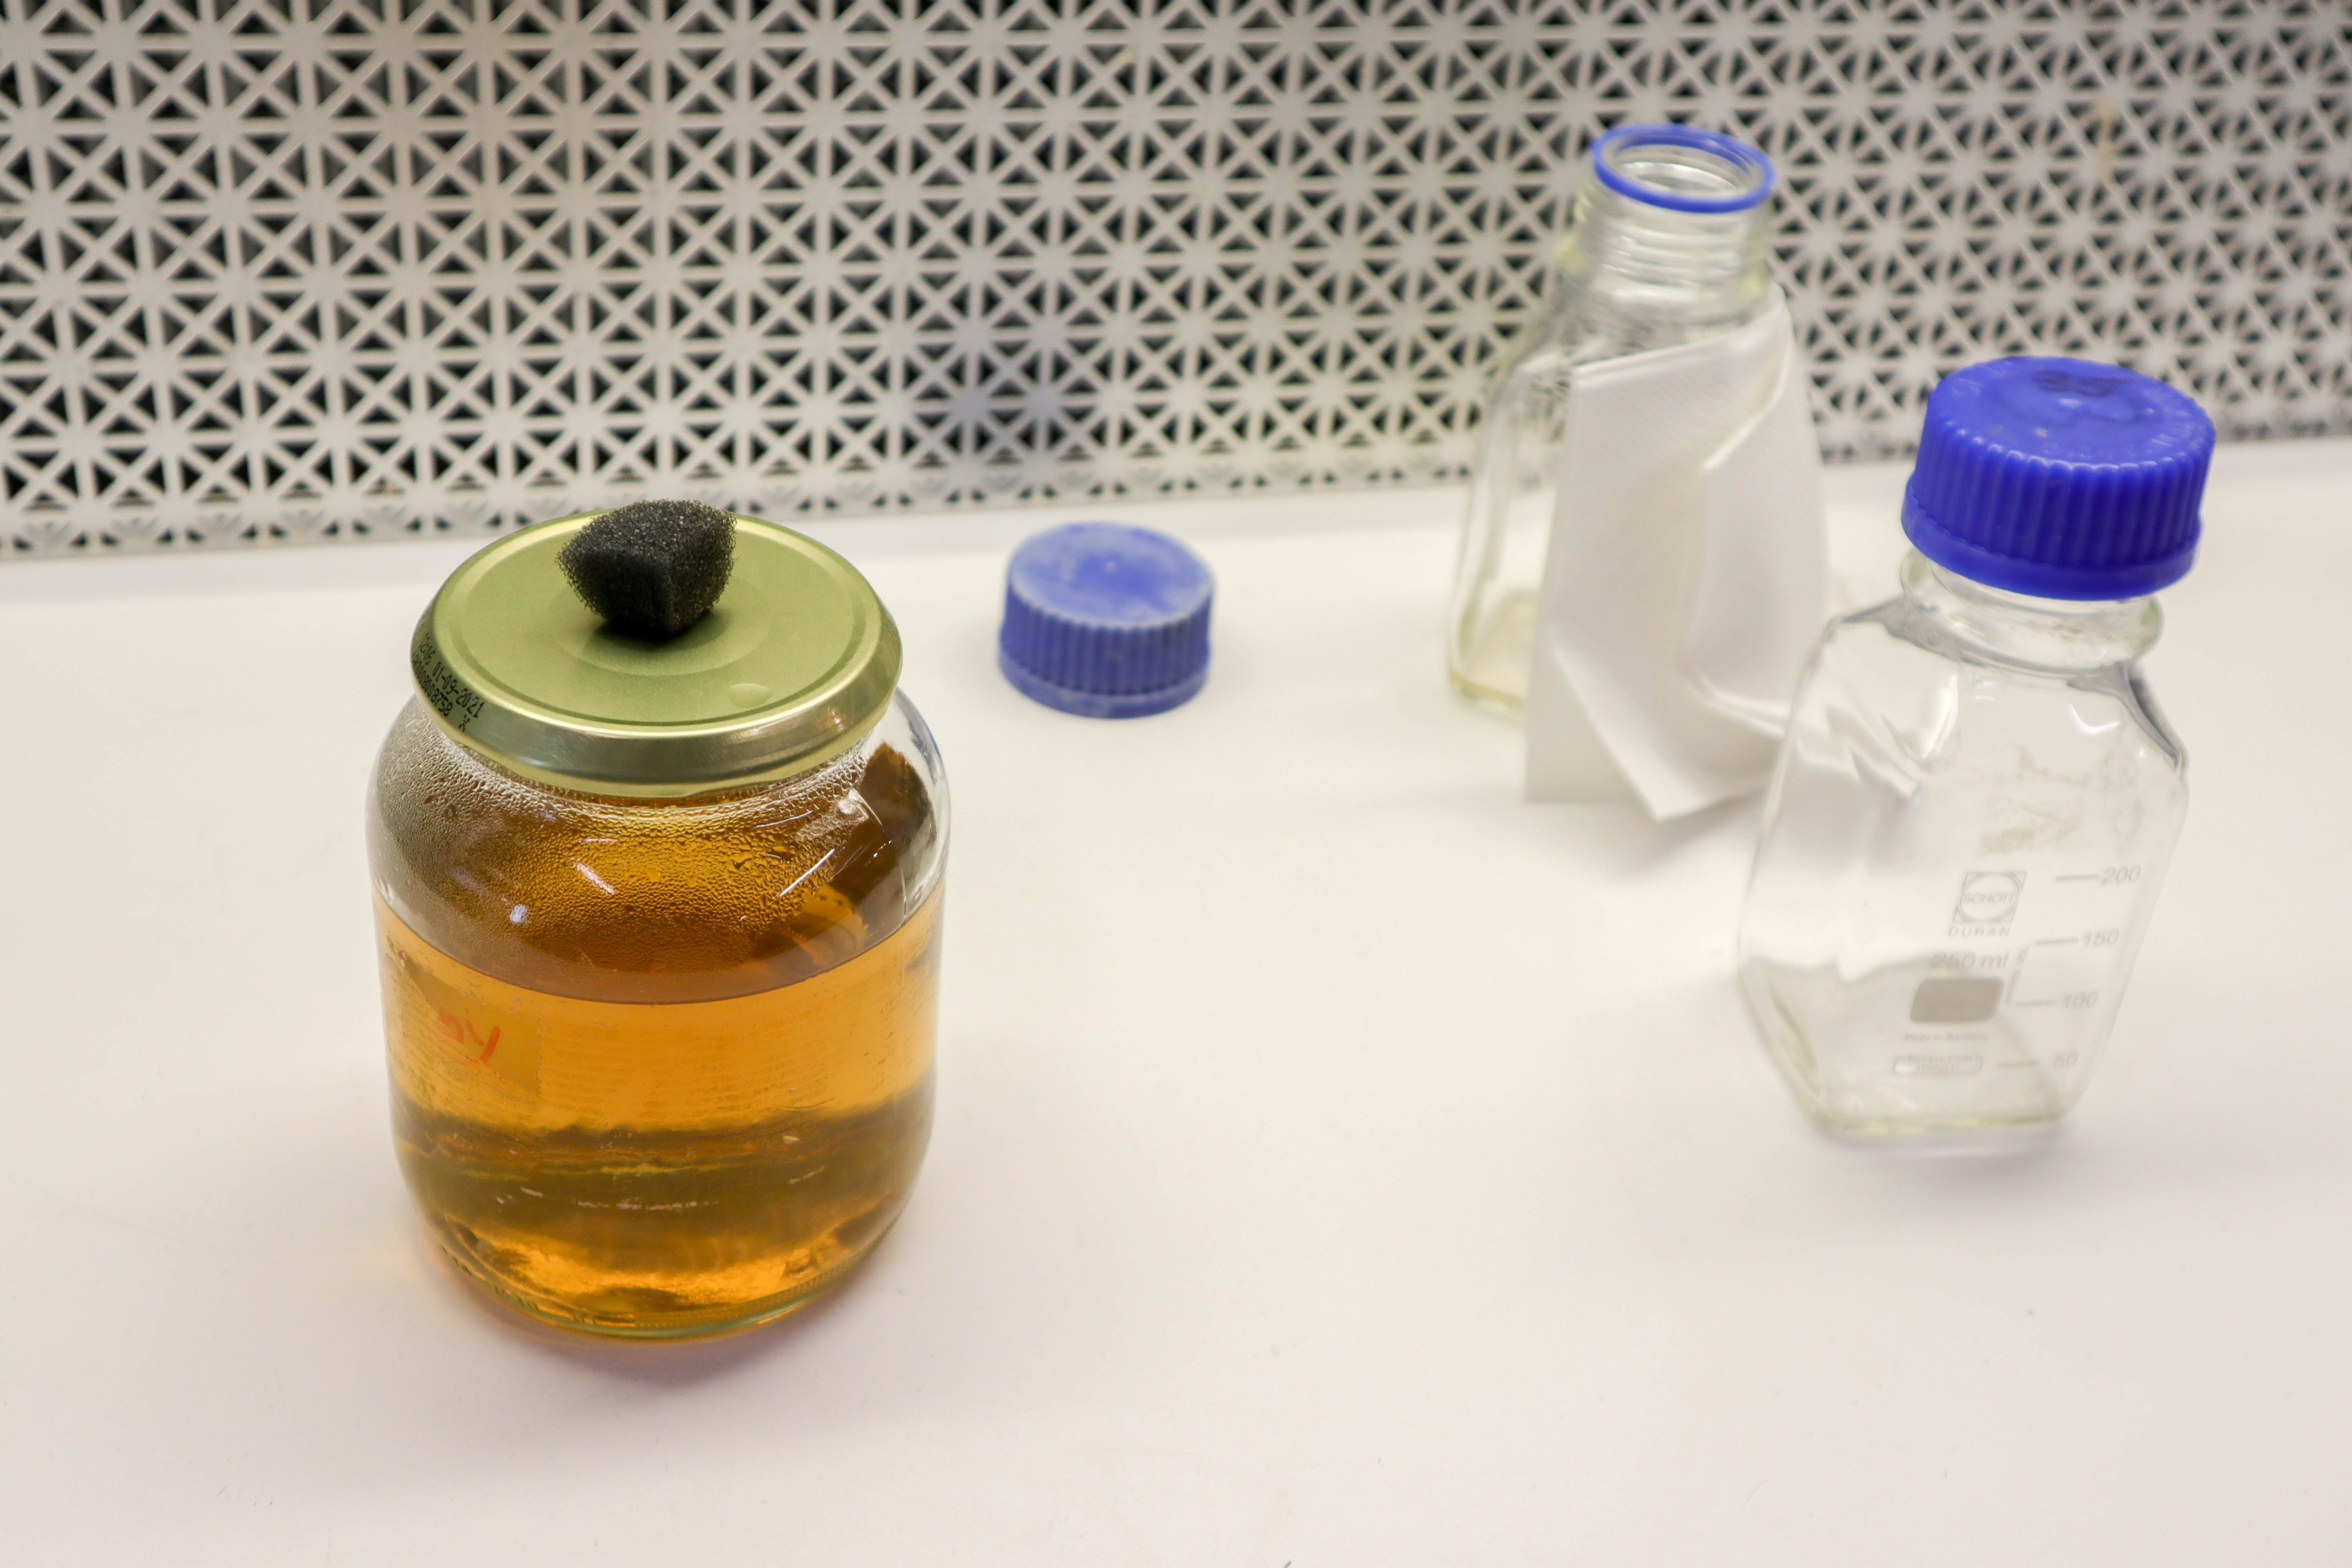
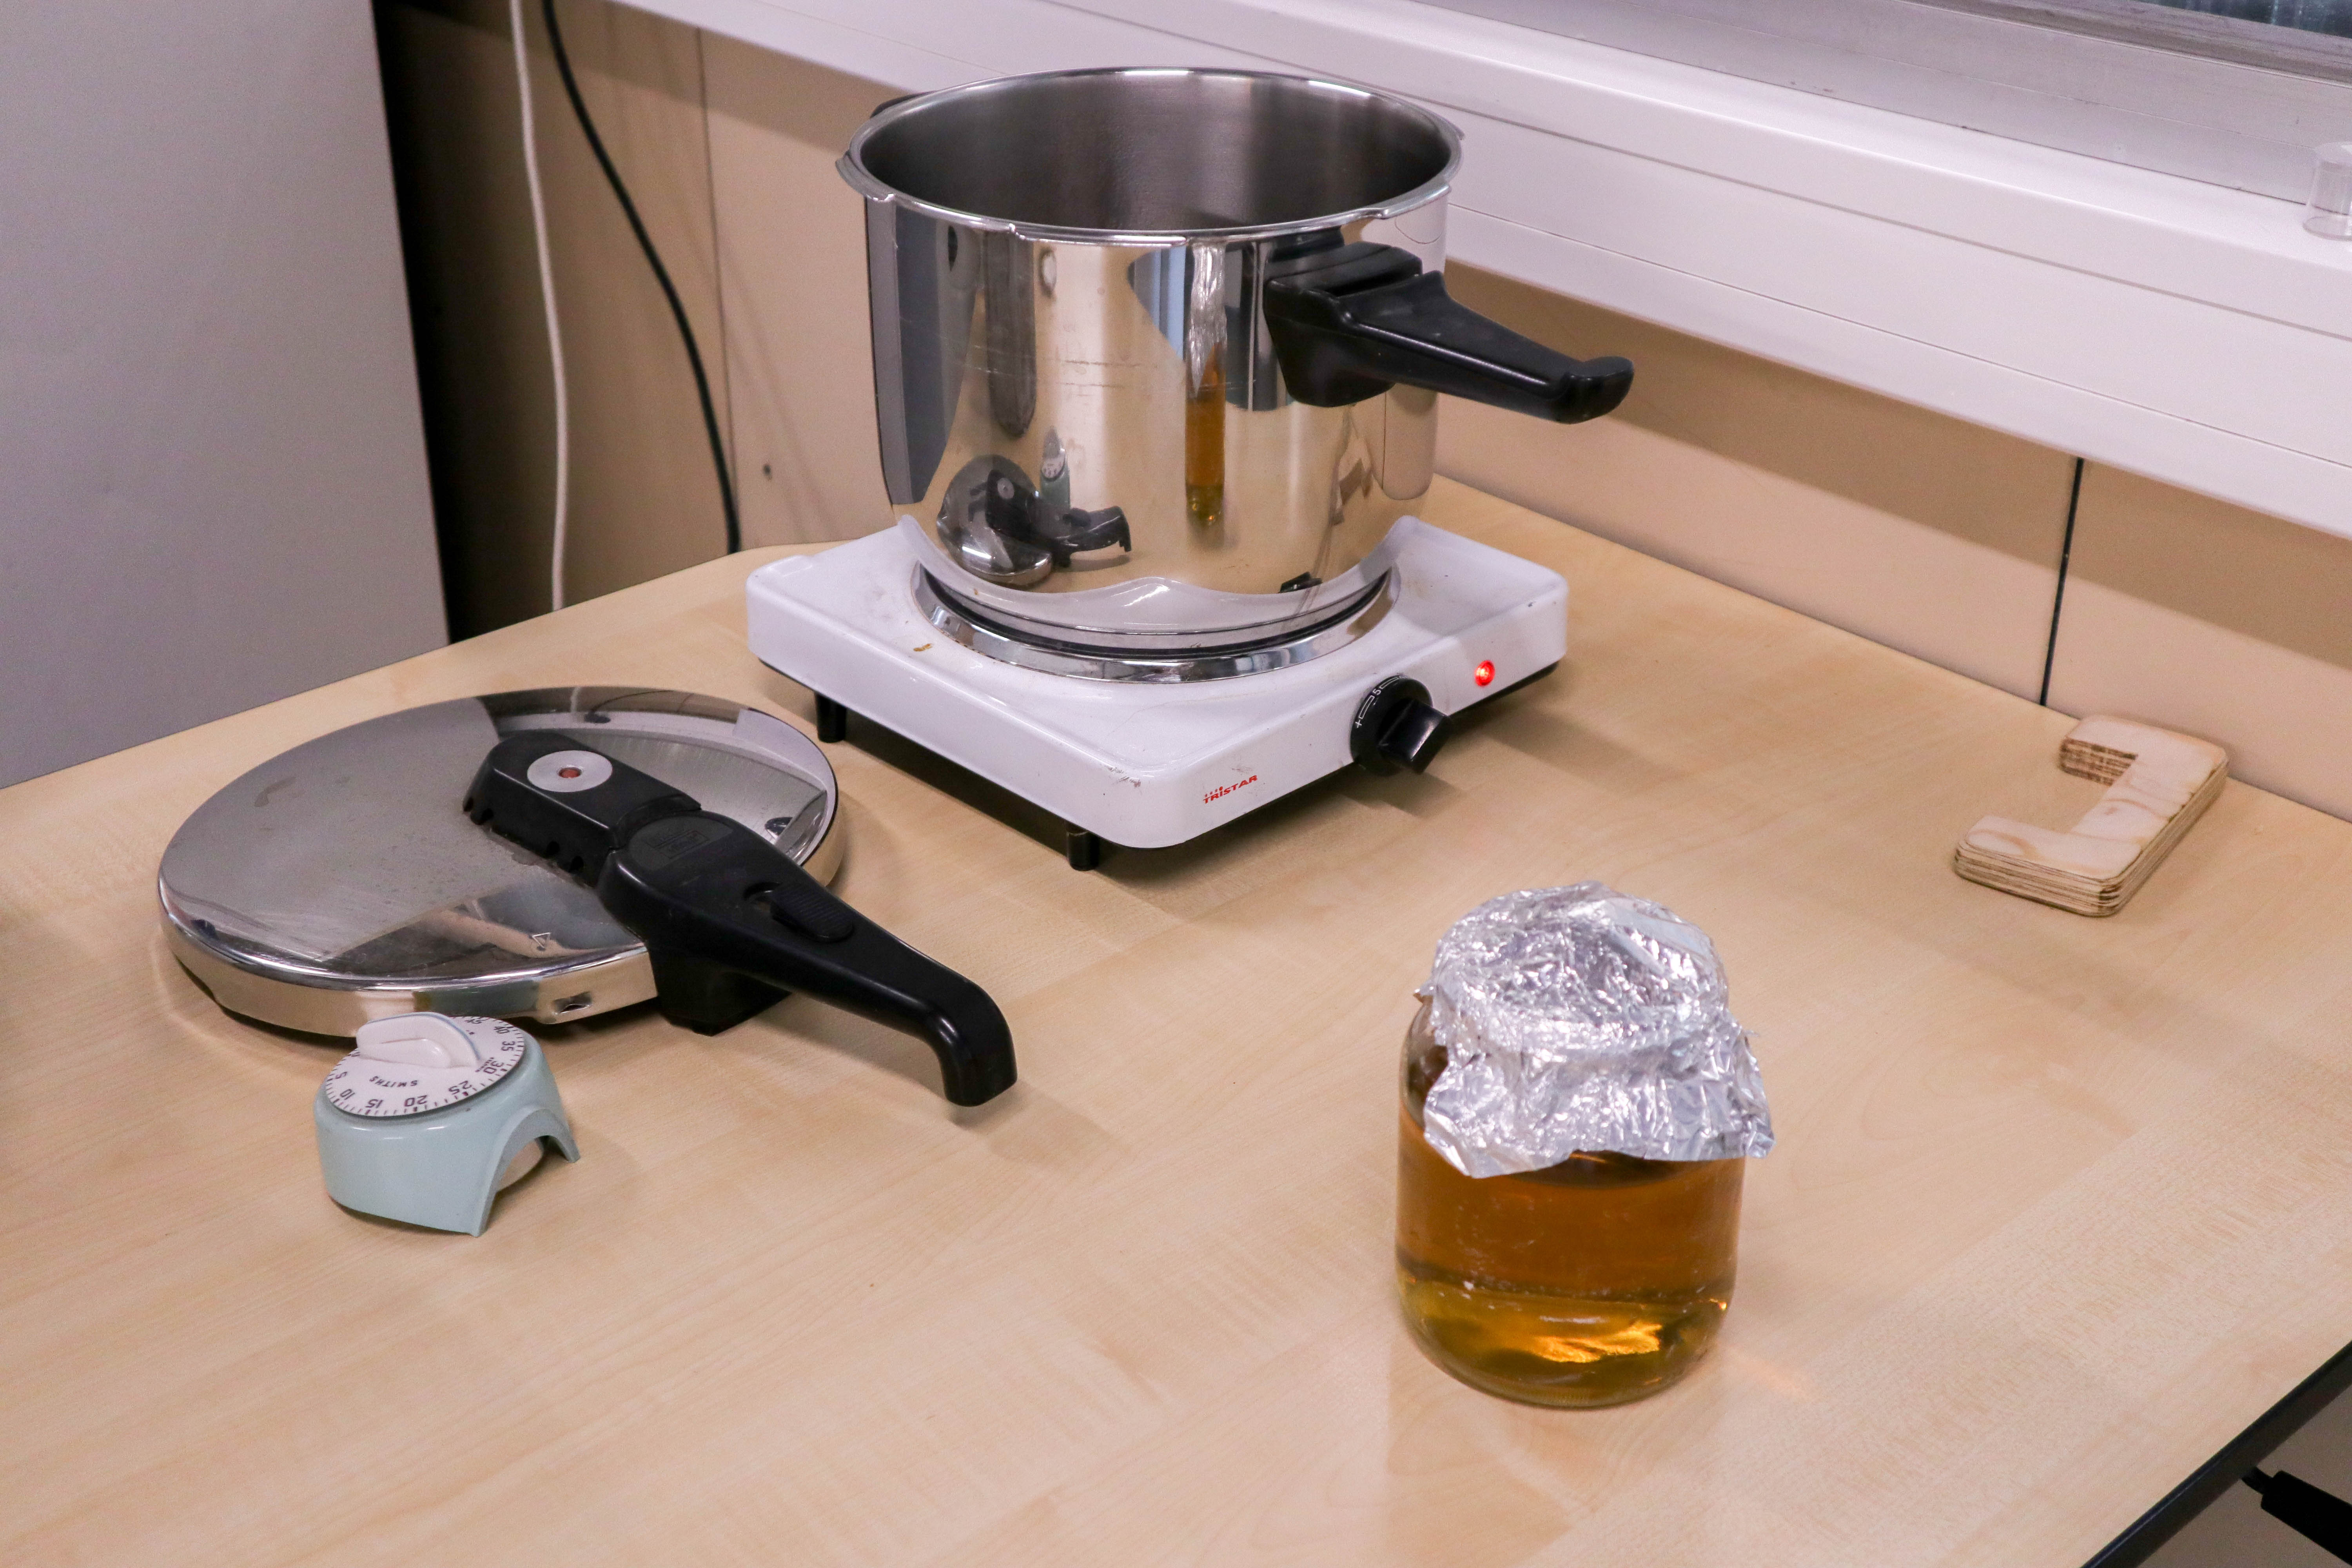
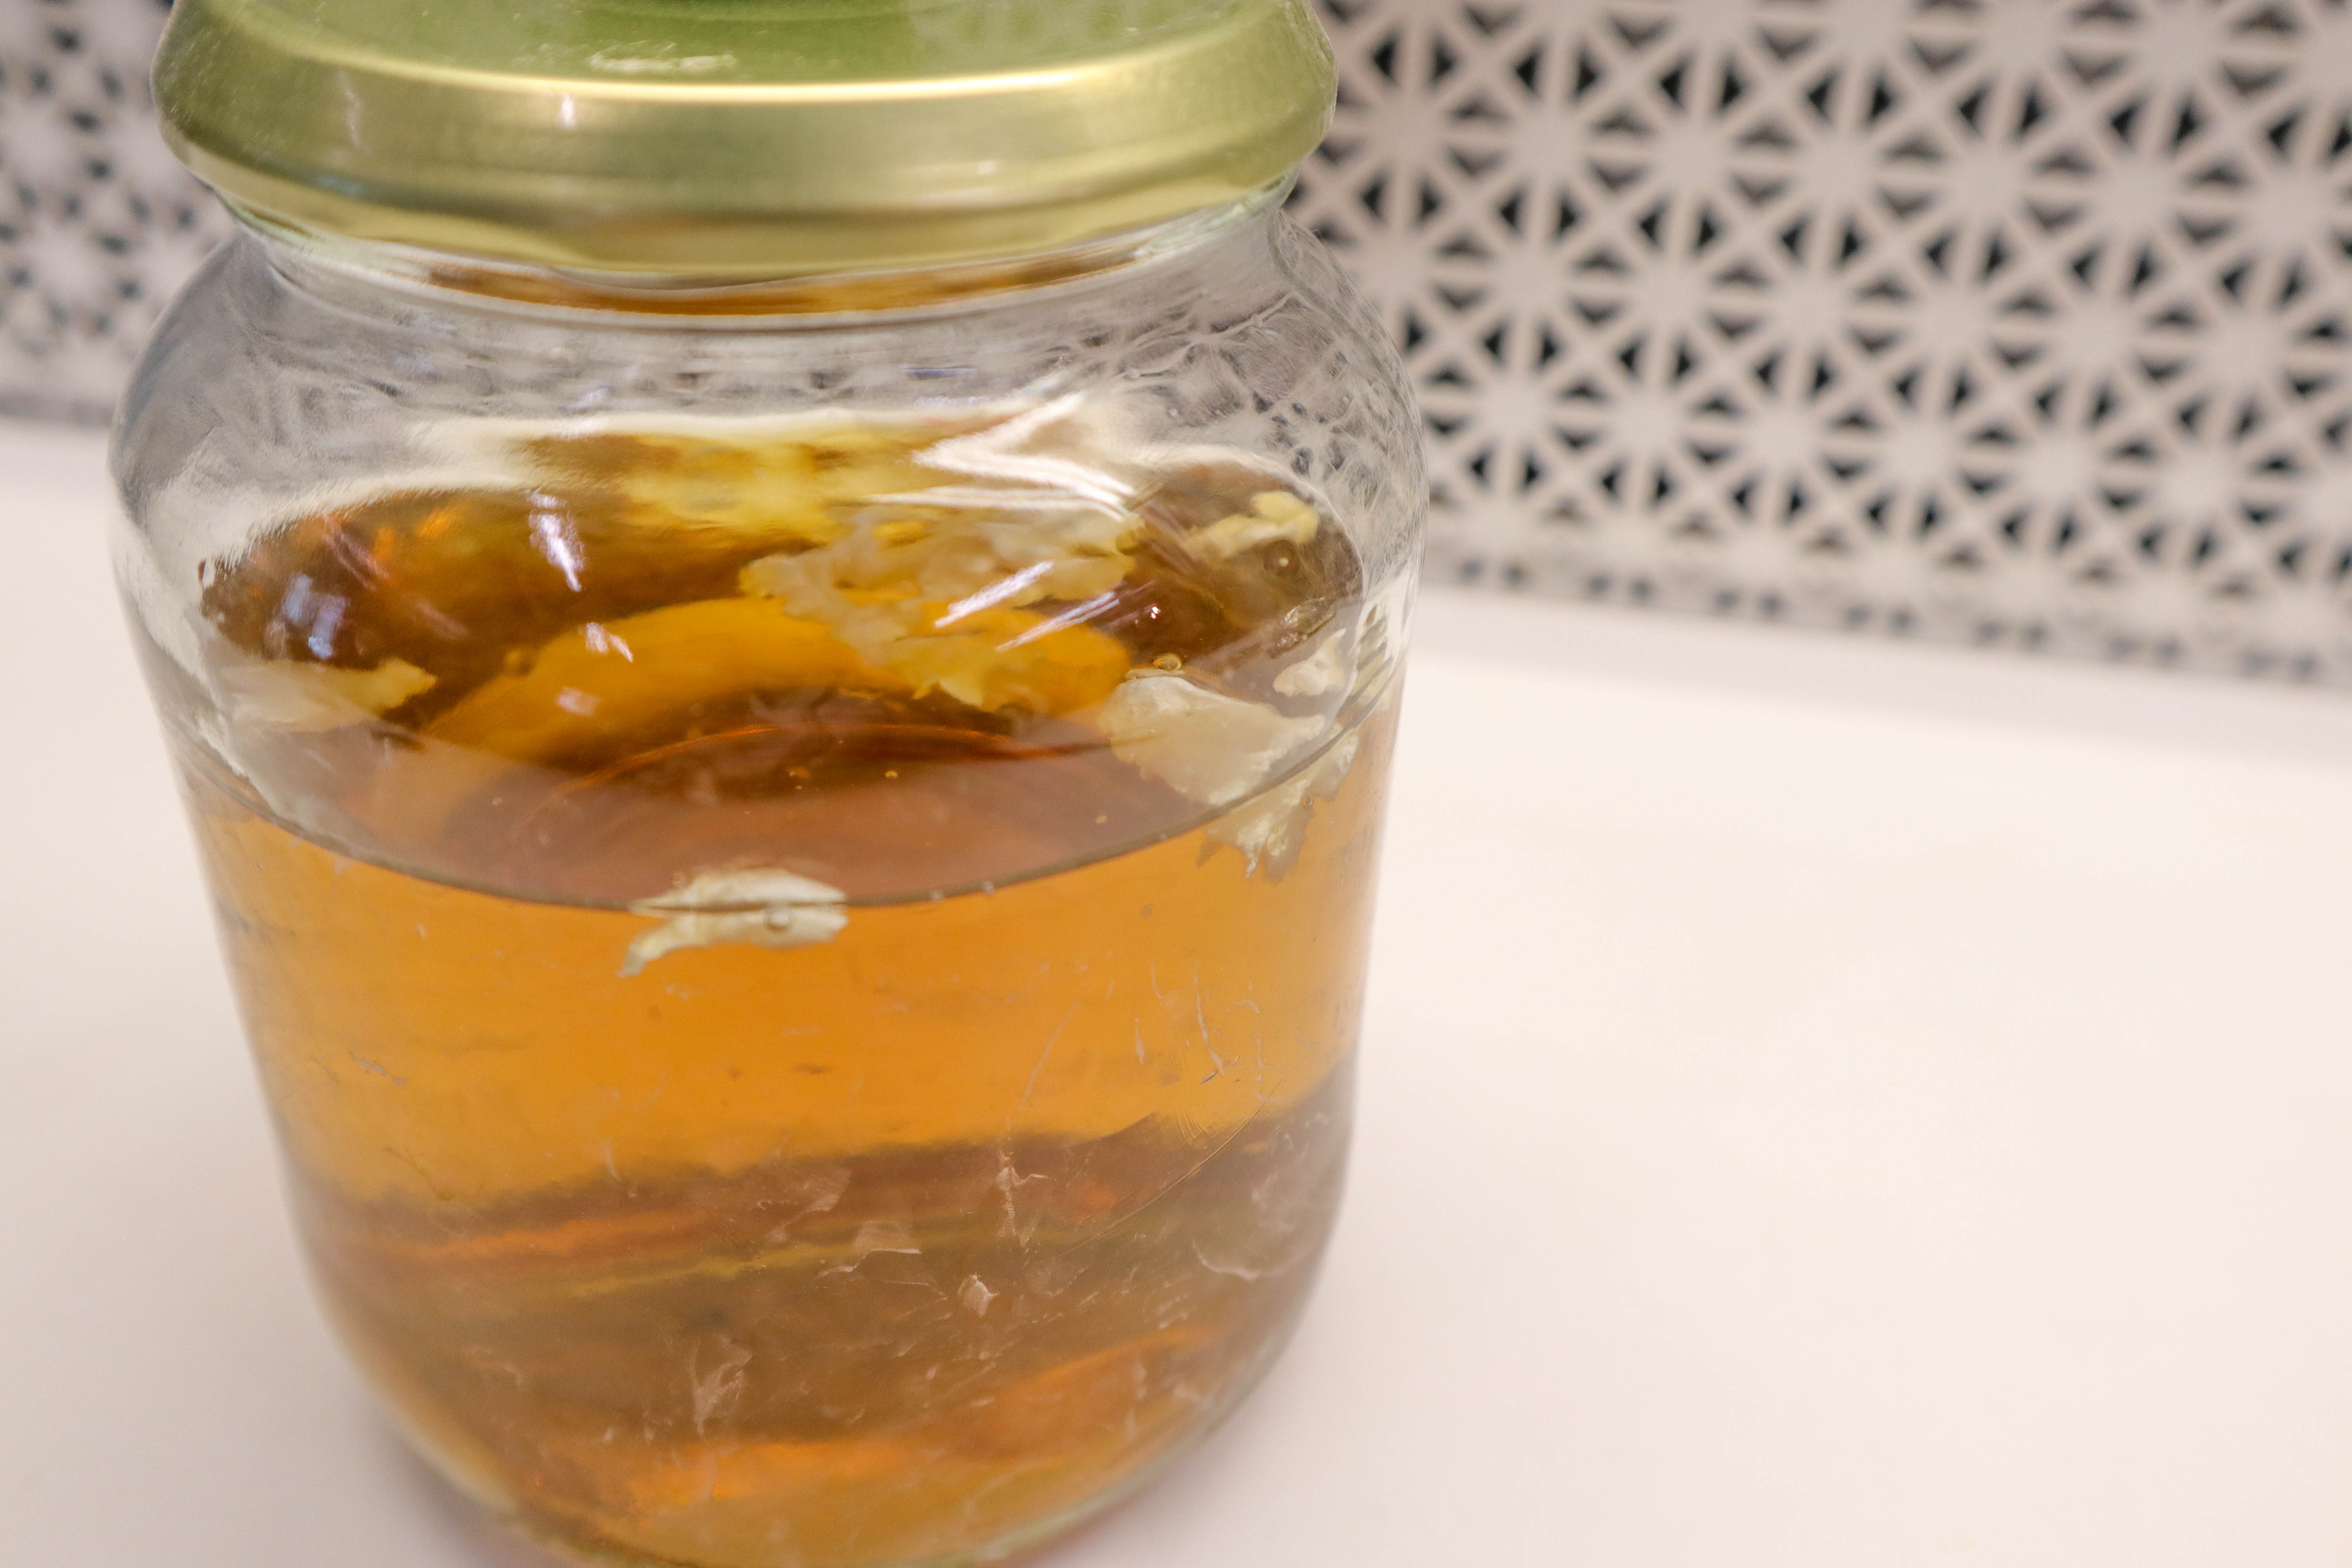
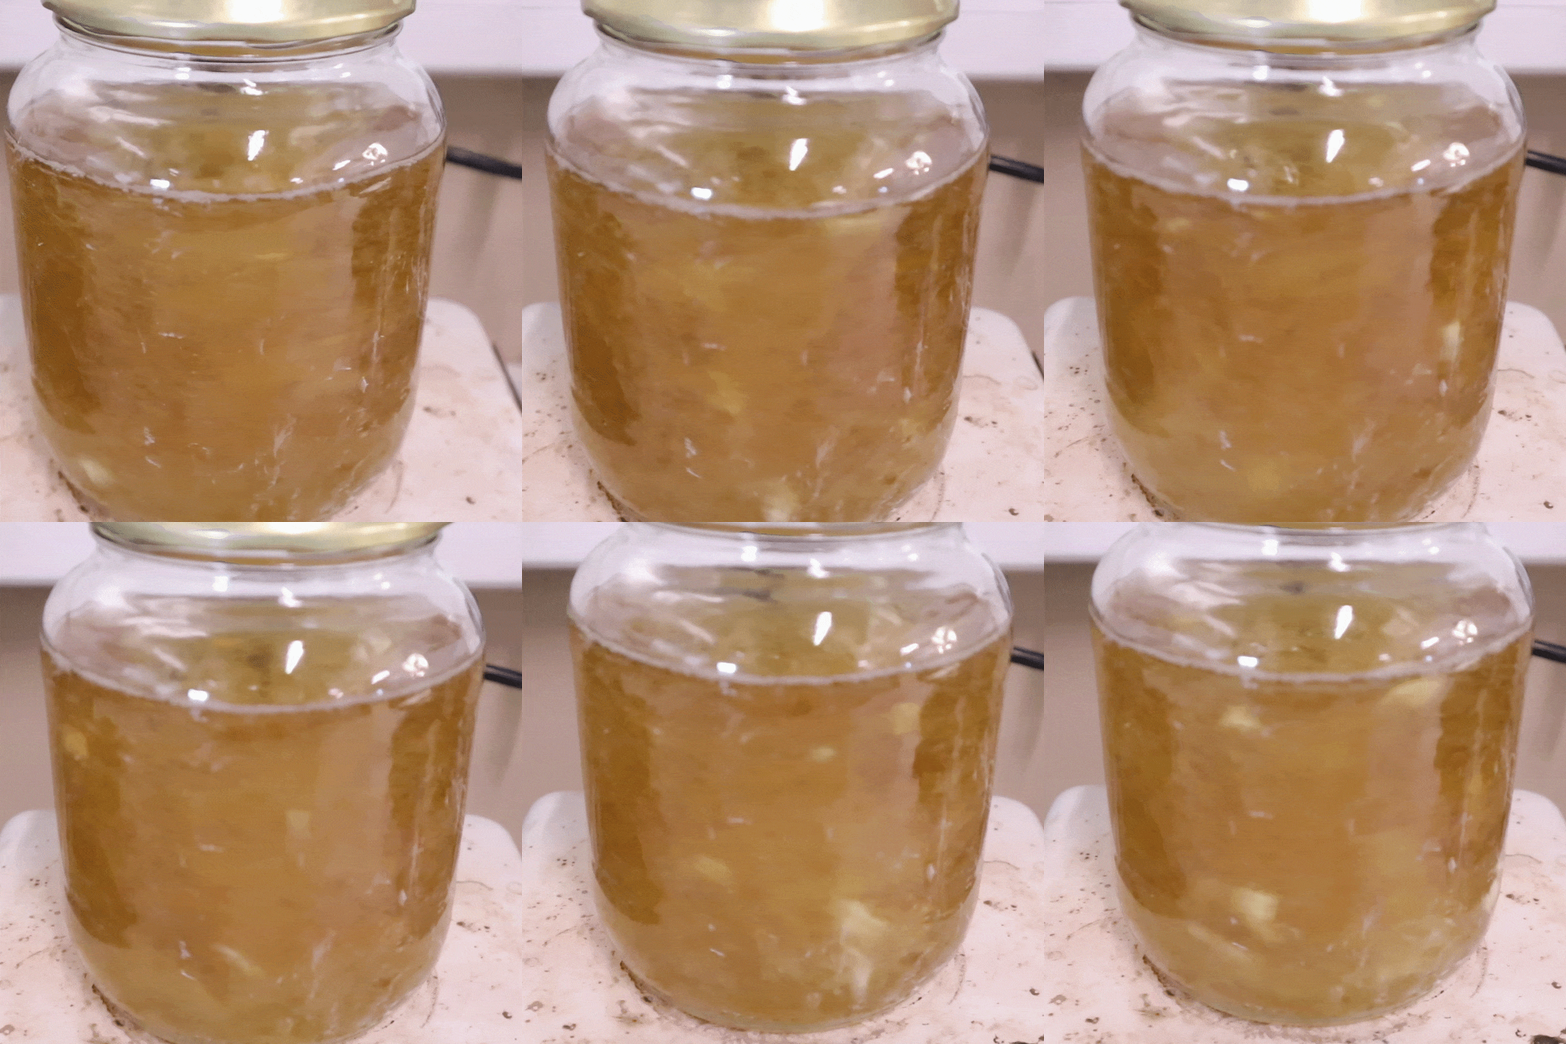 The mixture was stirred for 5 days at ambient temperature of the lab (17-19 Celsius approx.) for this first test.
6 Days:
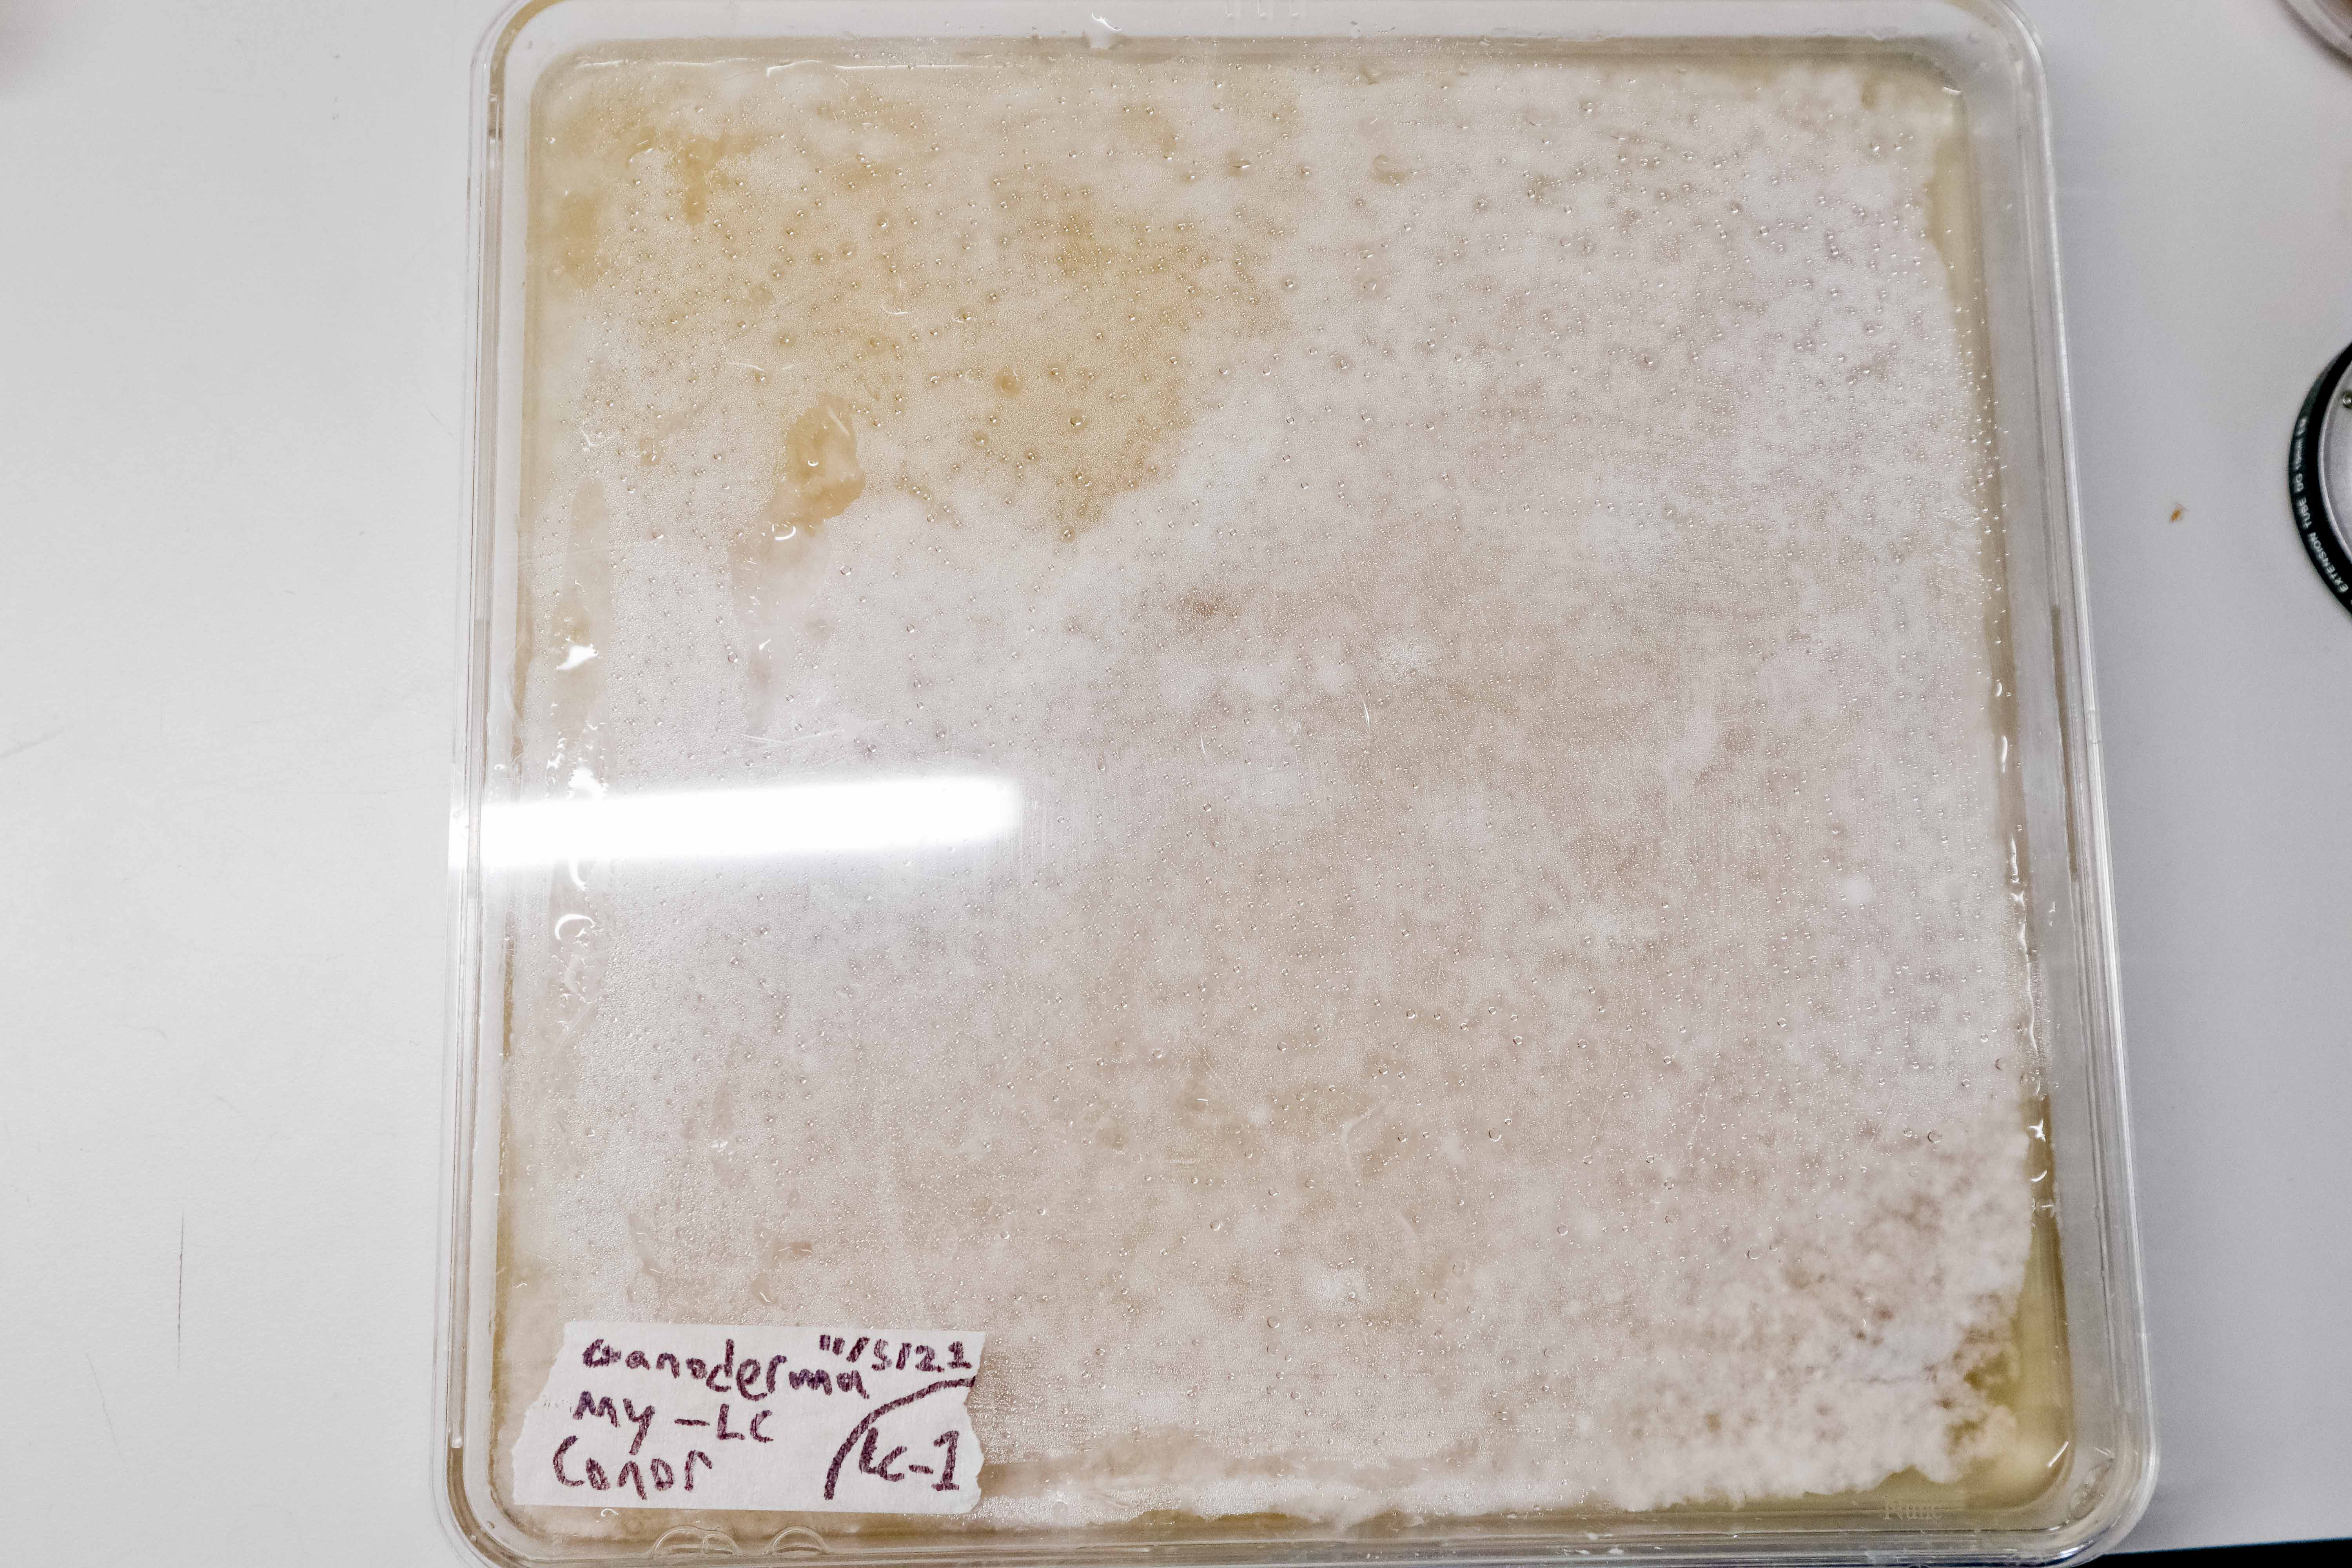
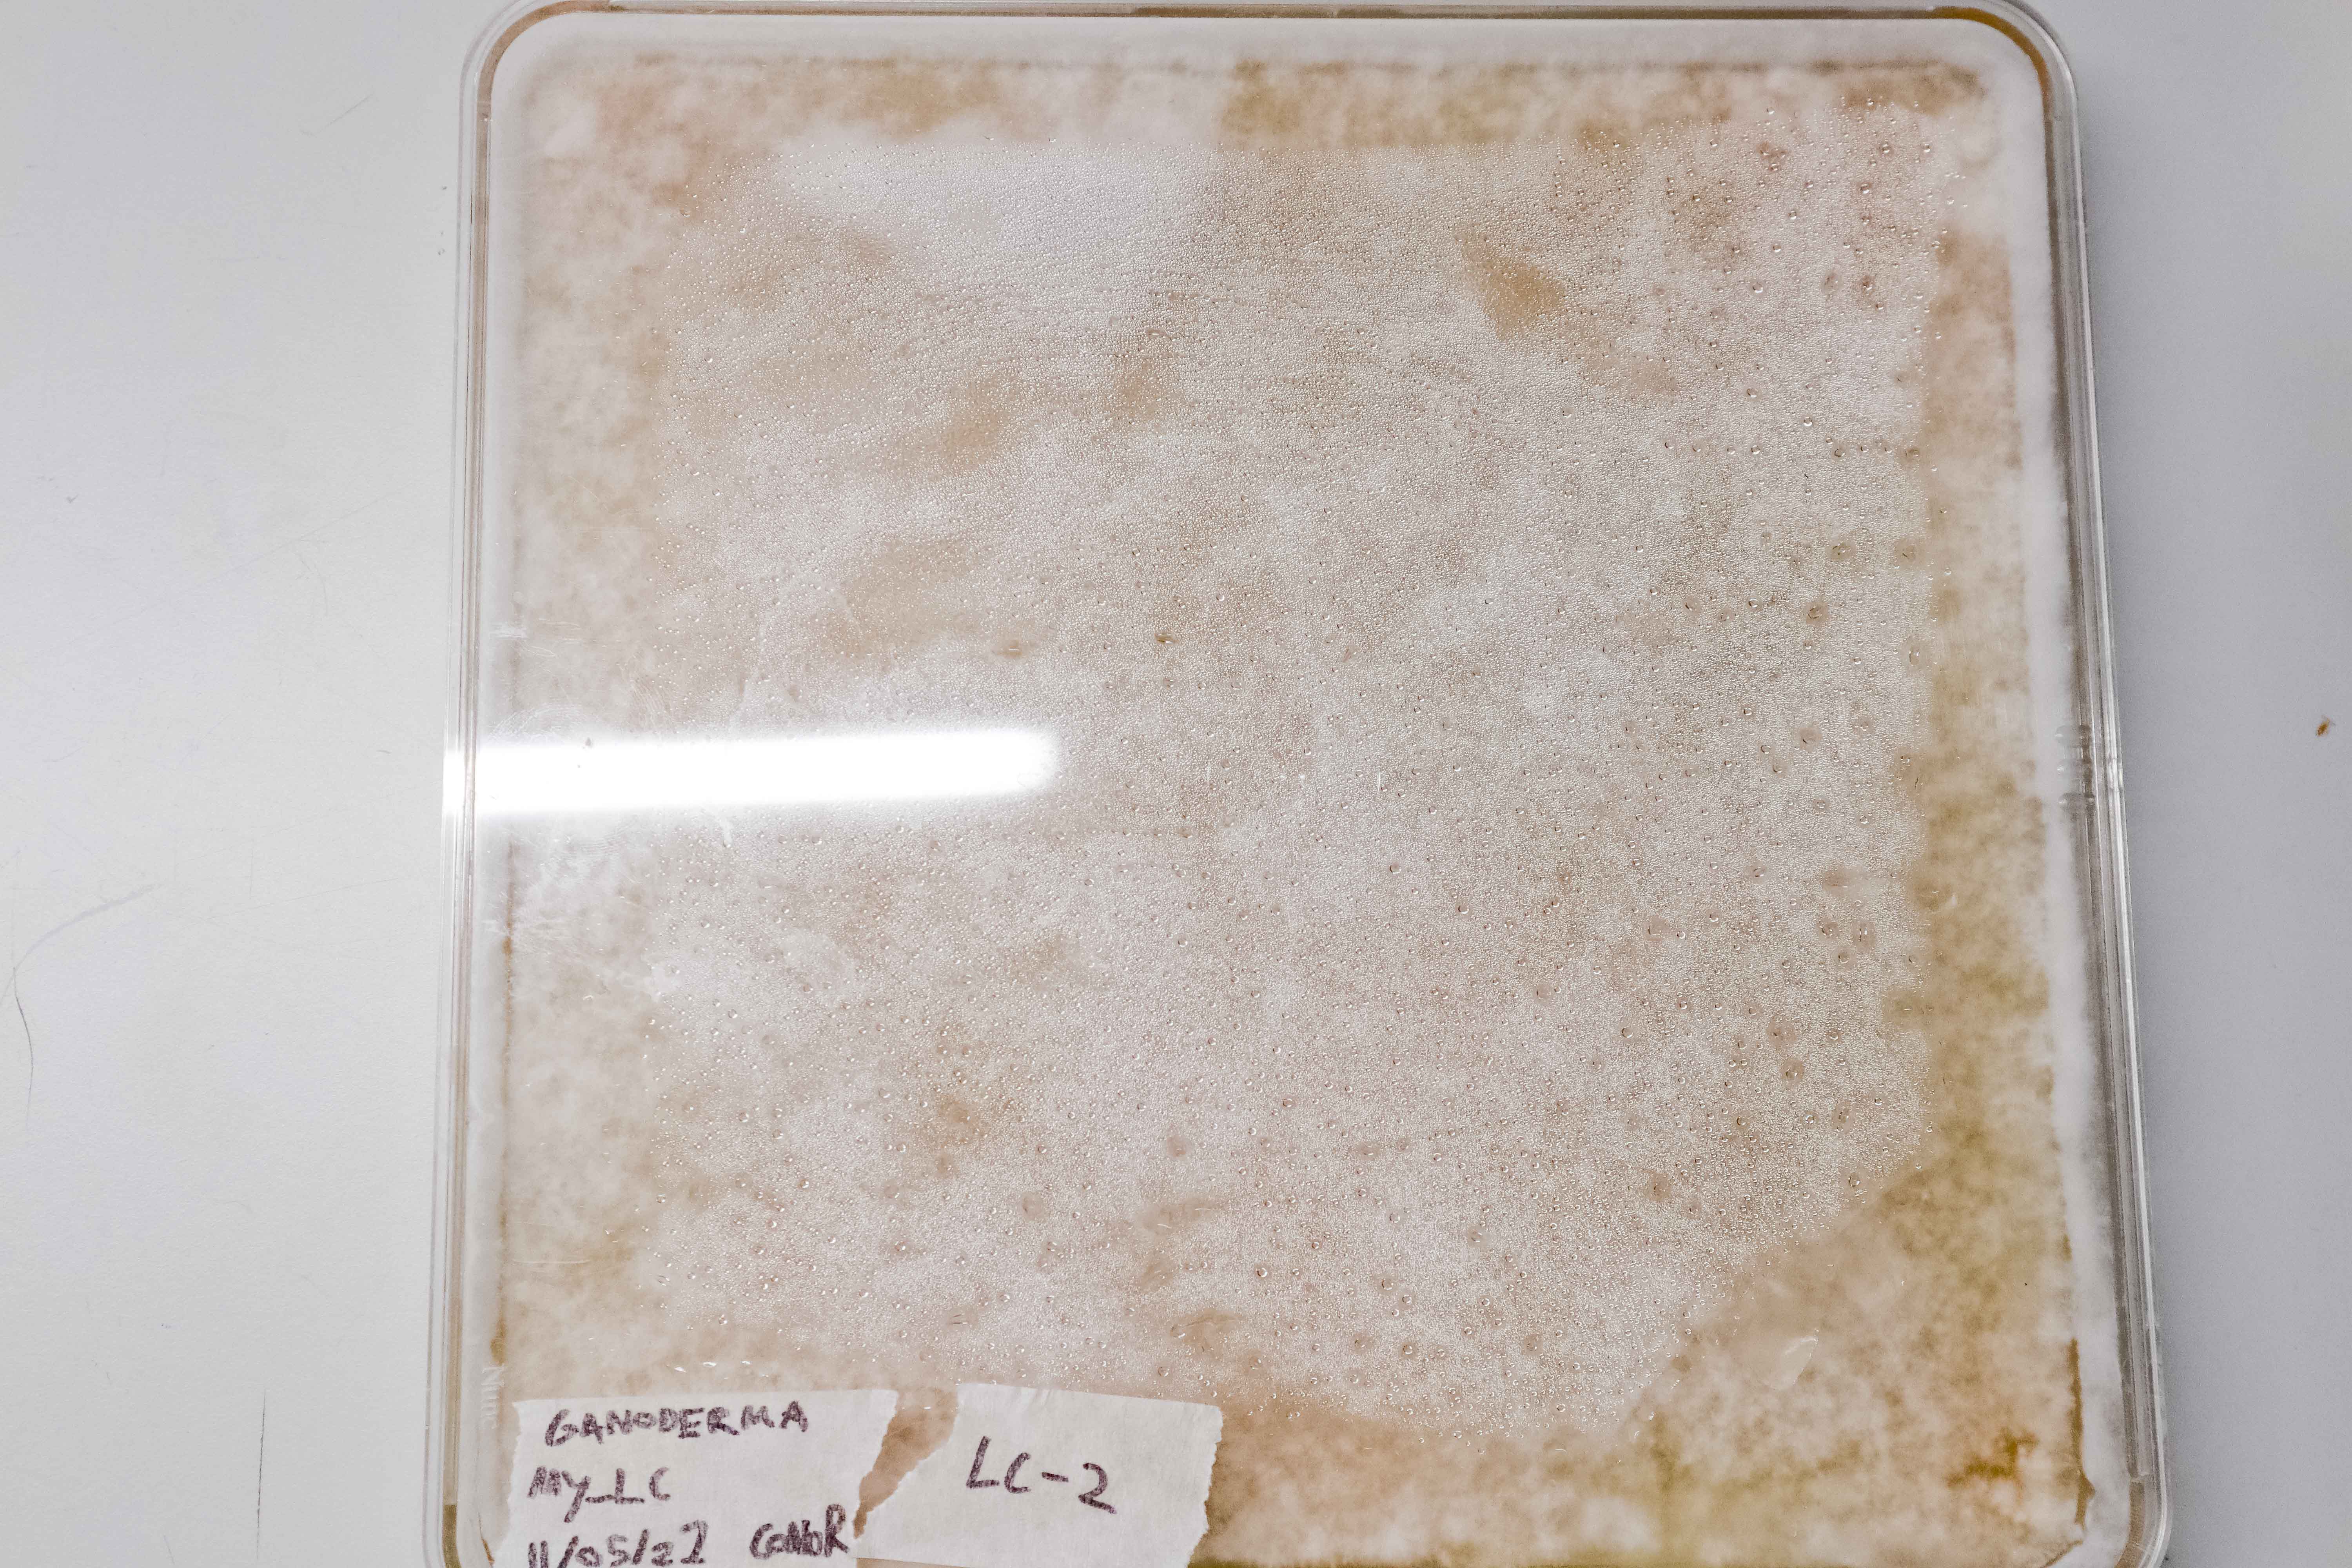
9 Days:
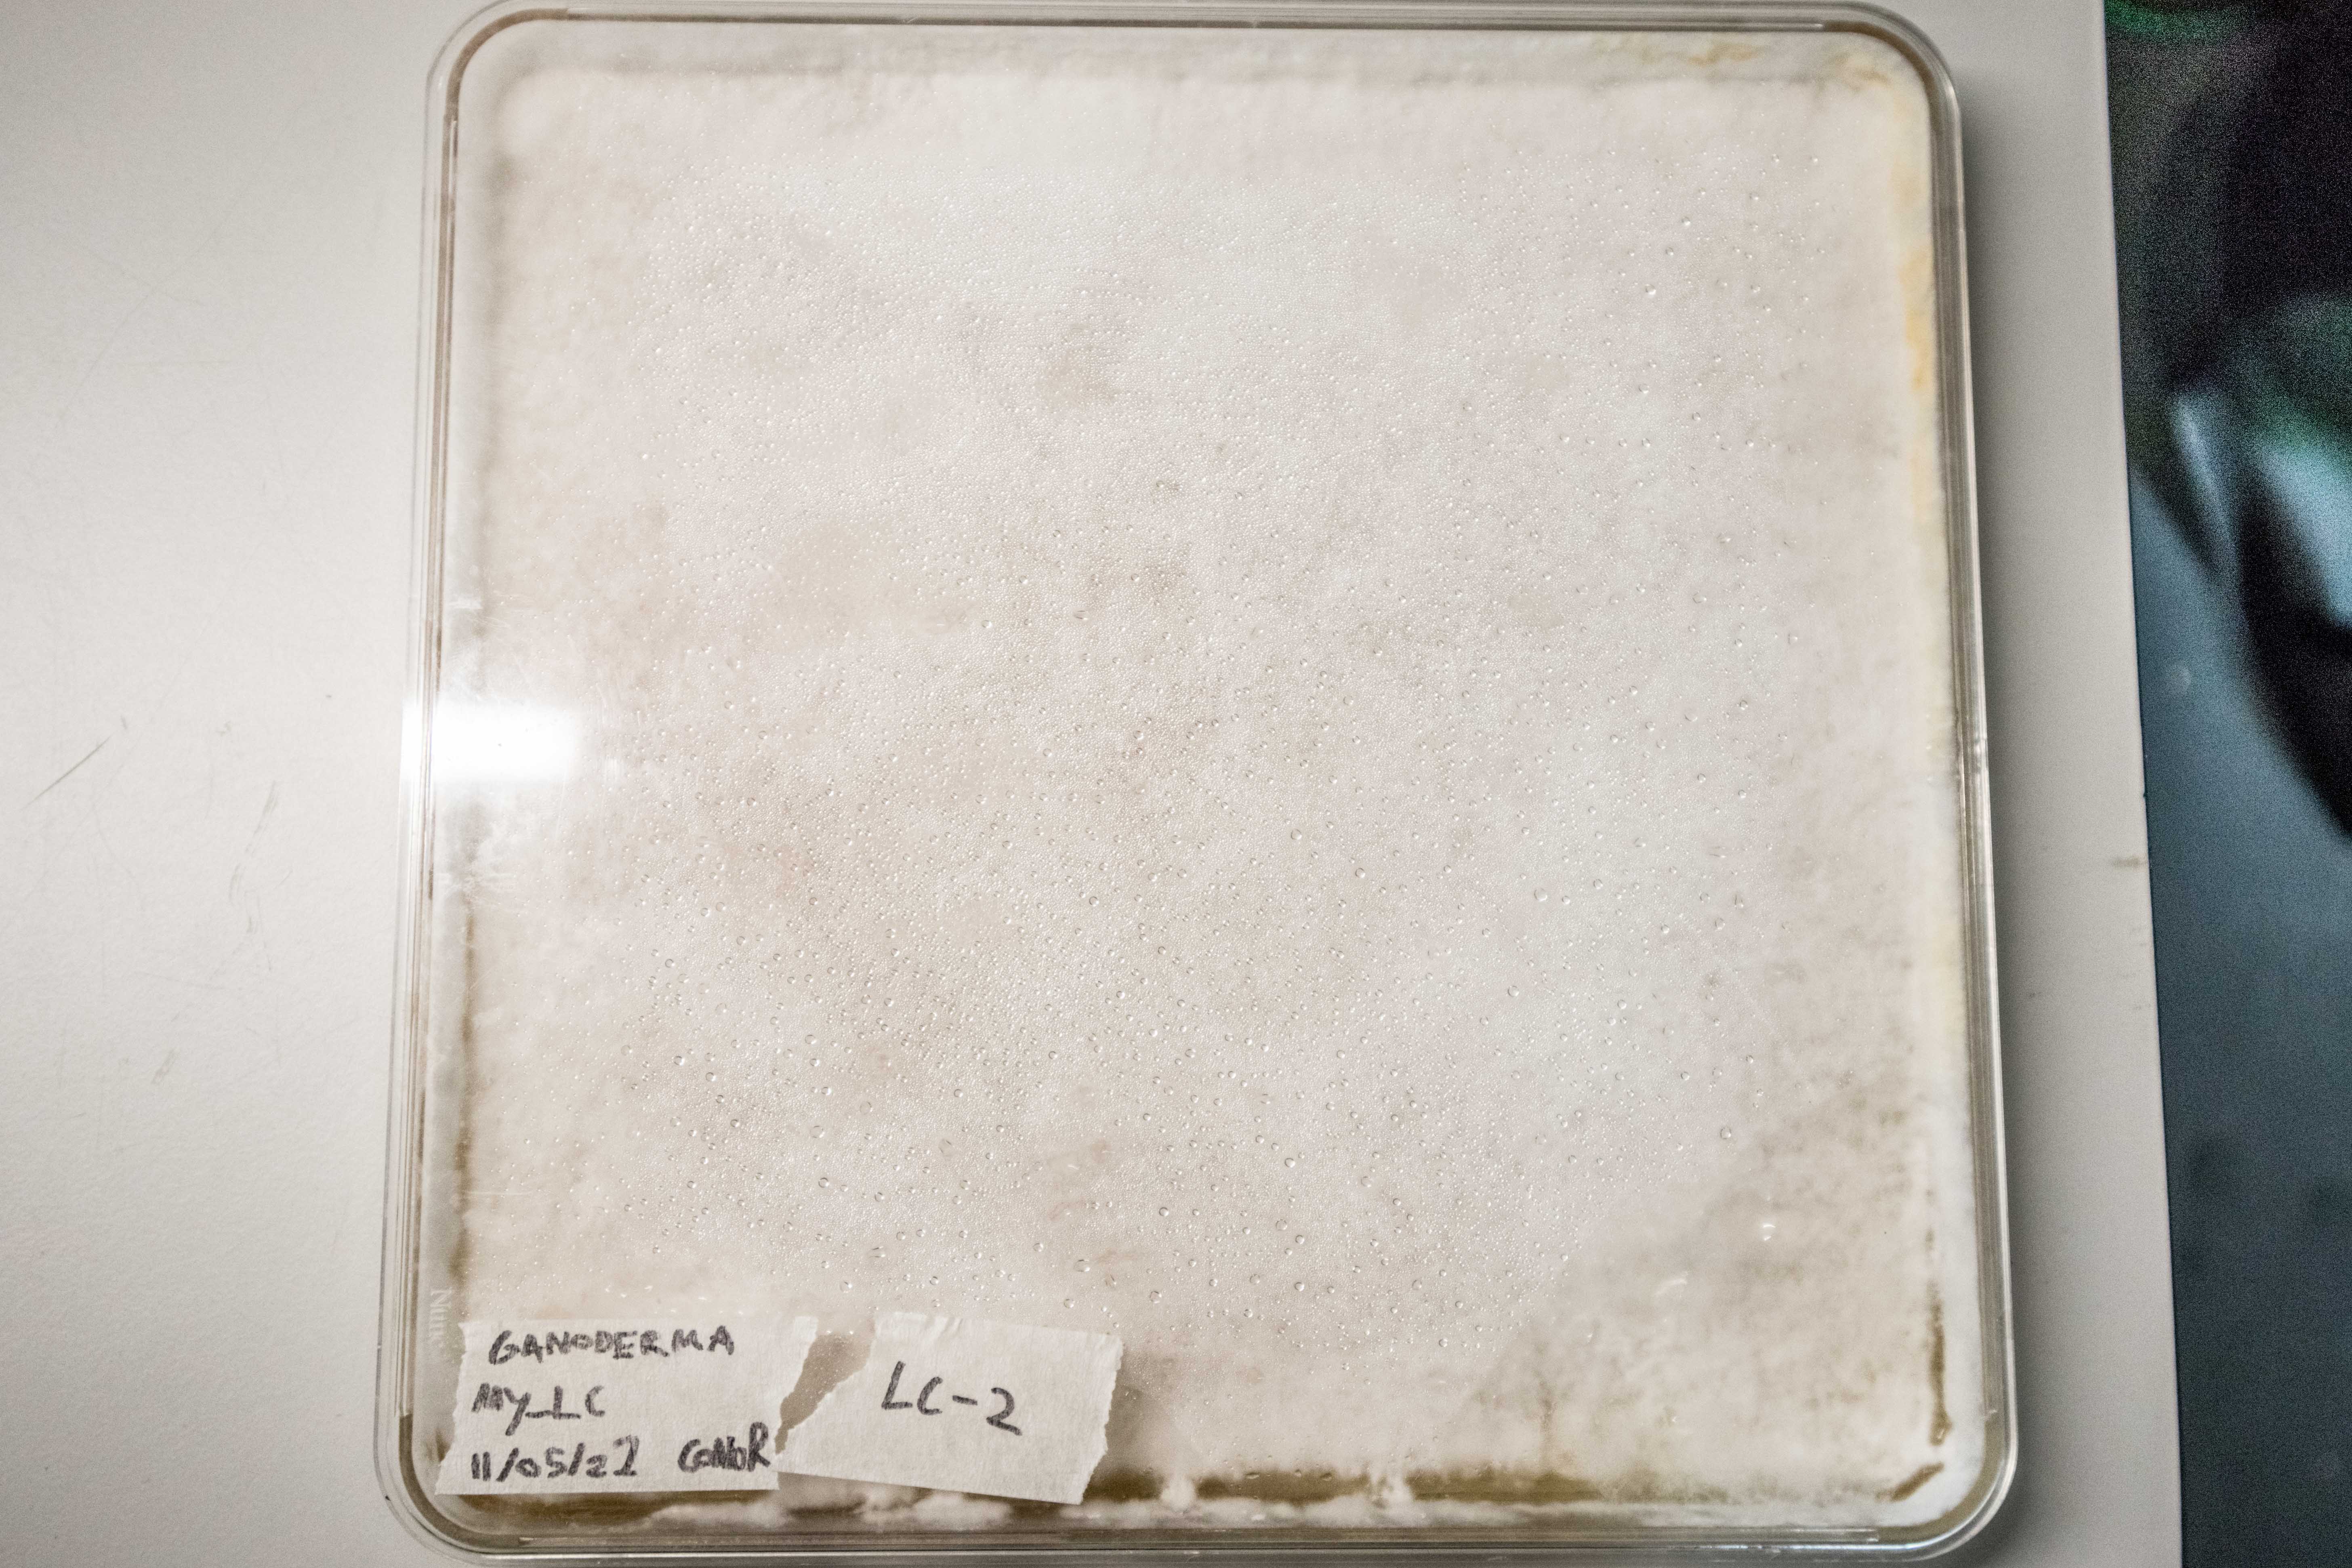
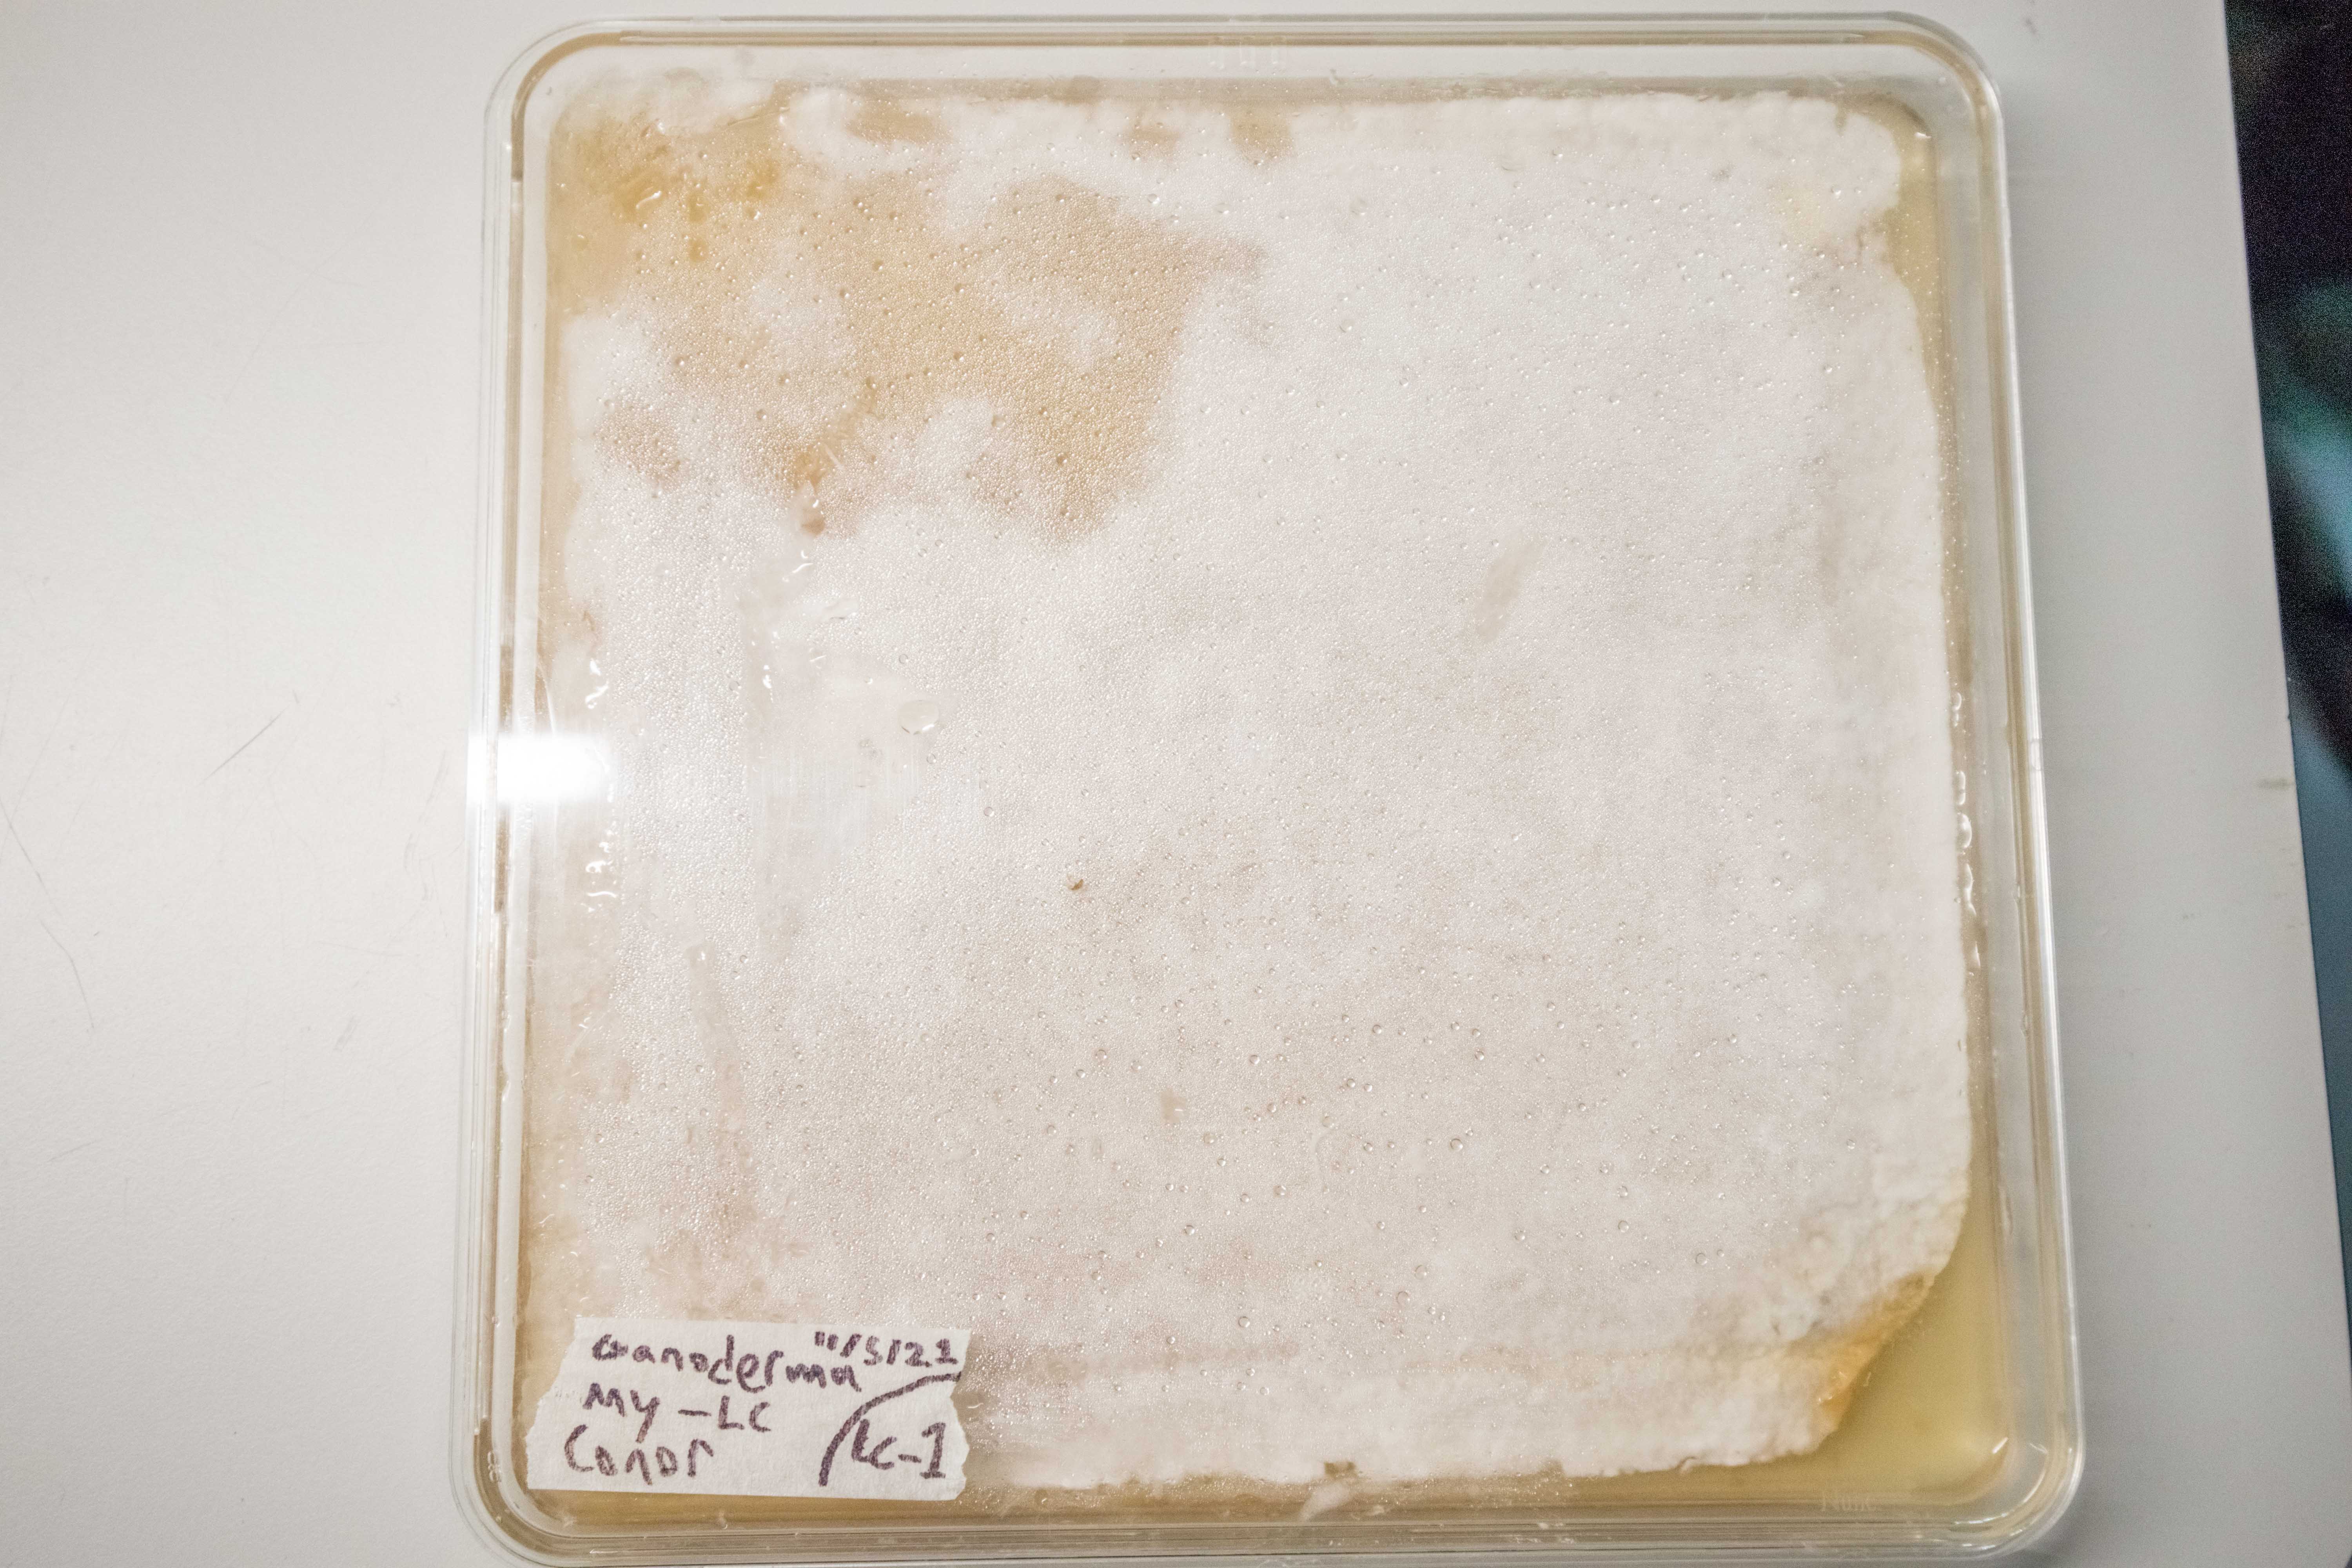
14 Days:
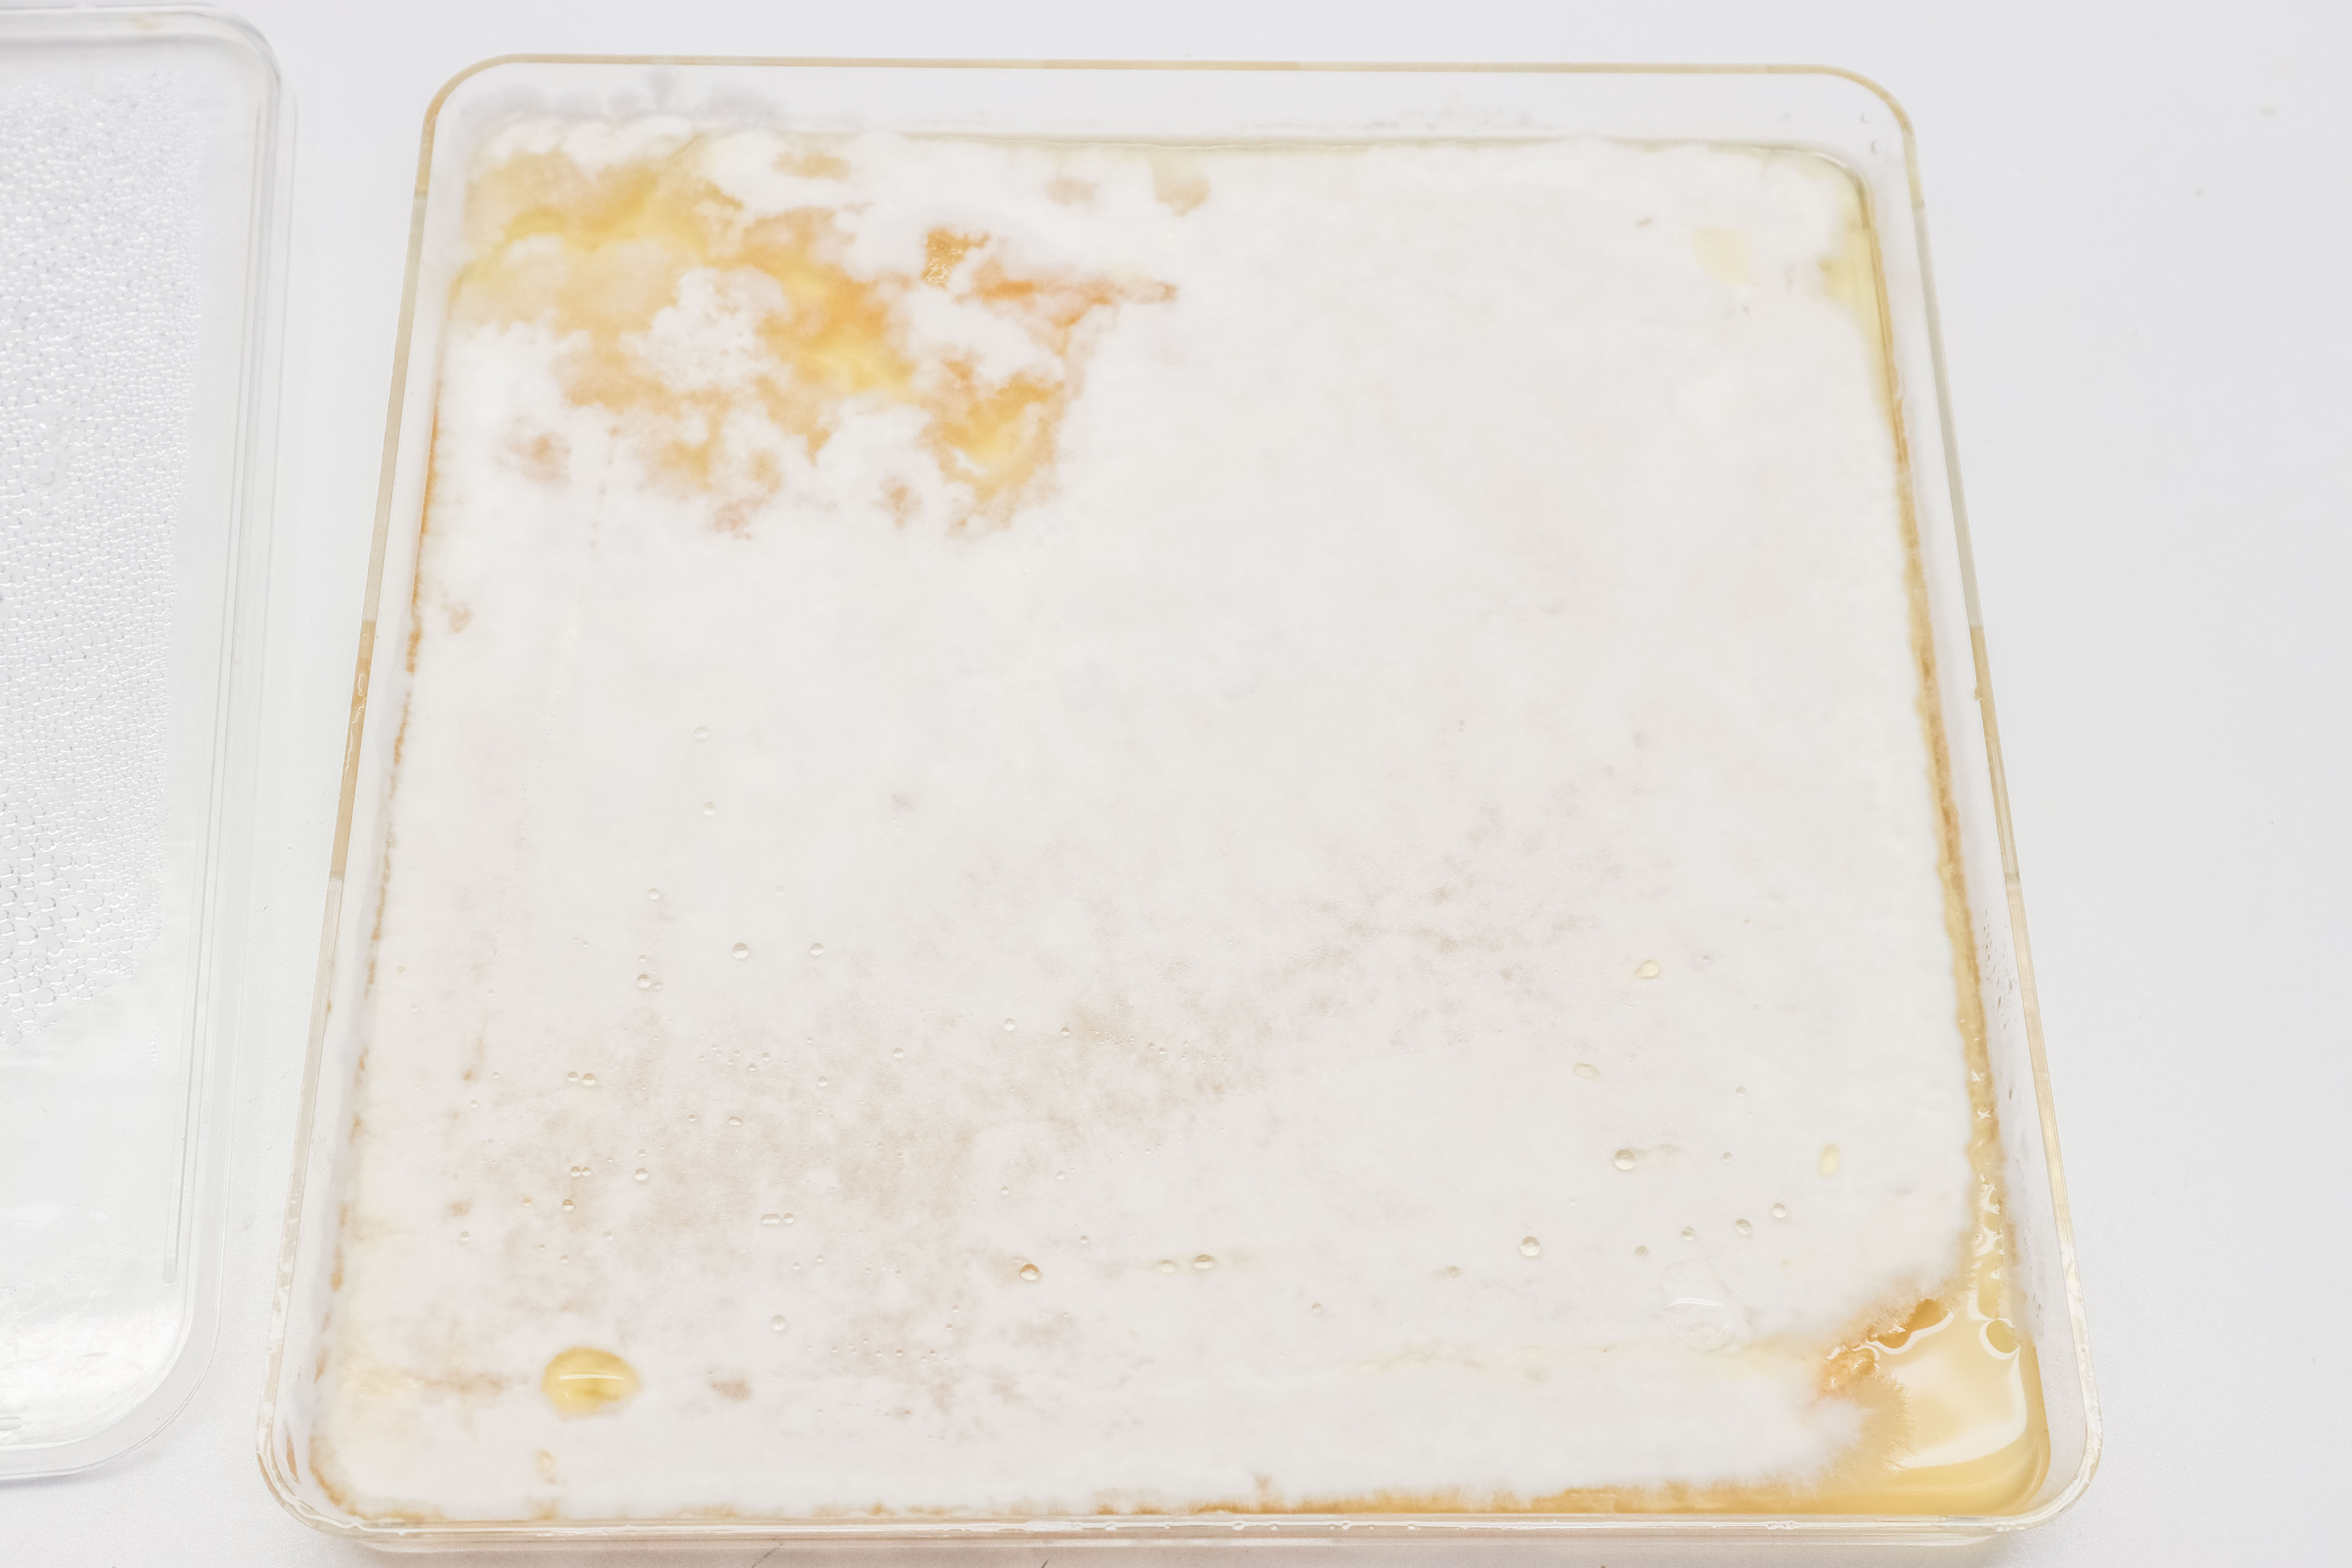
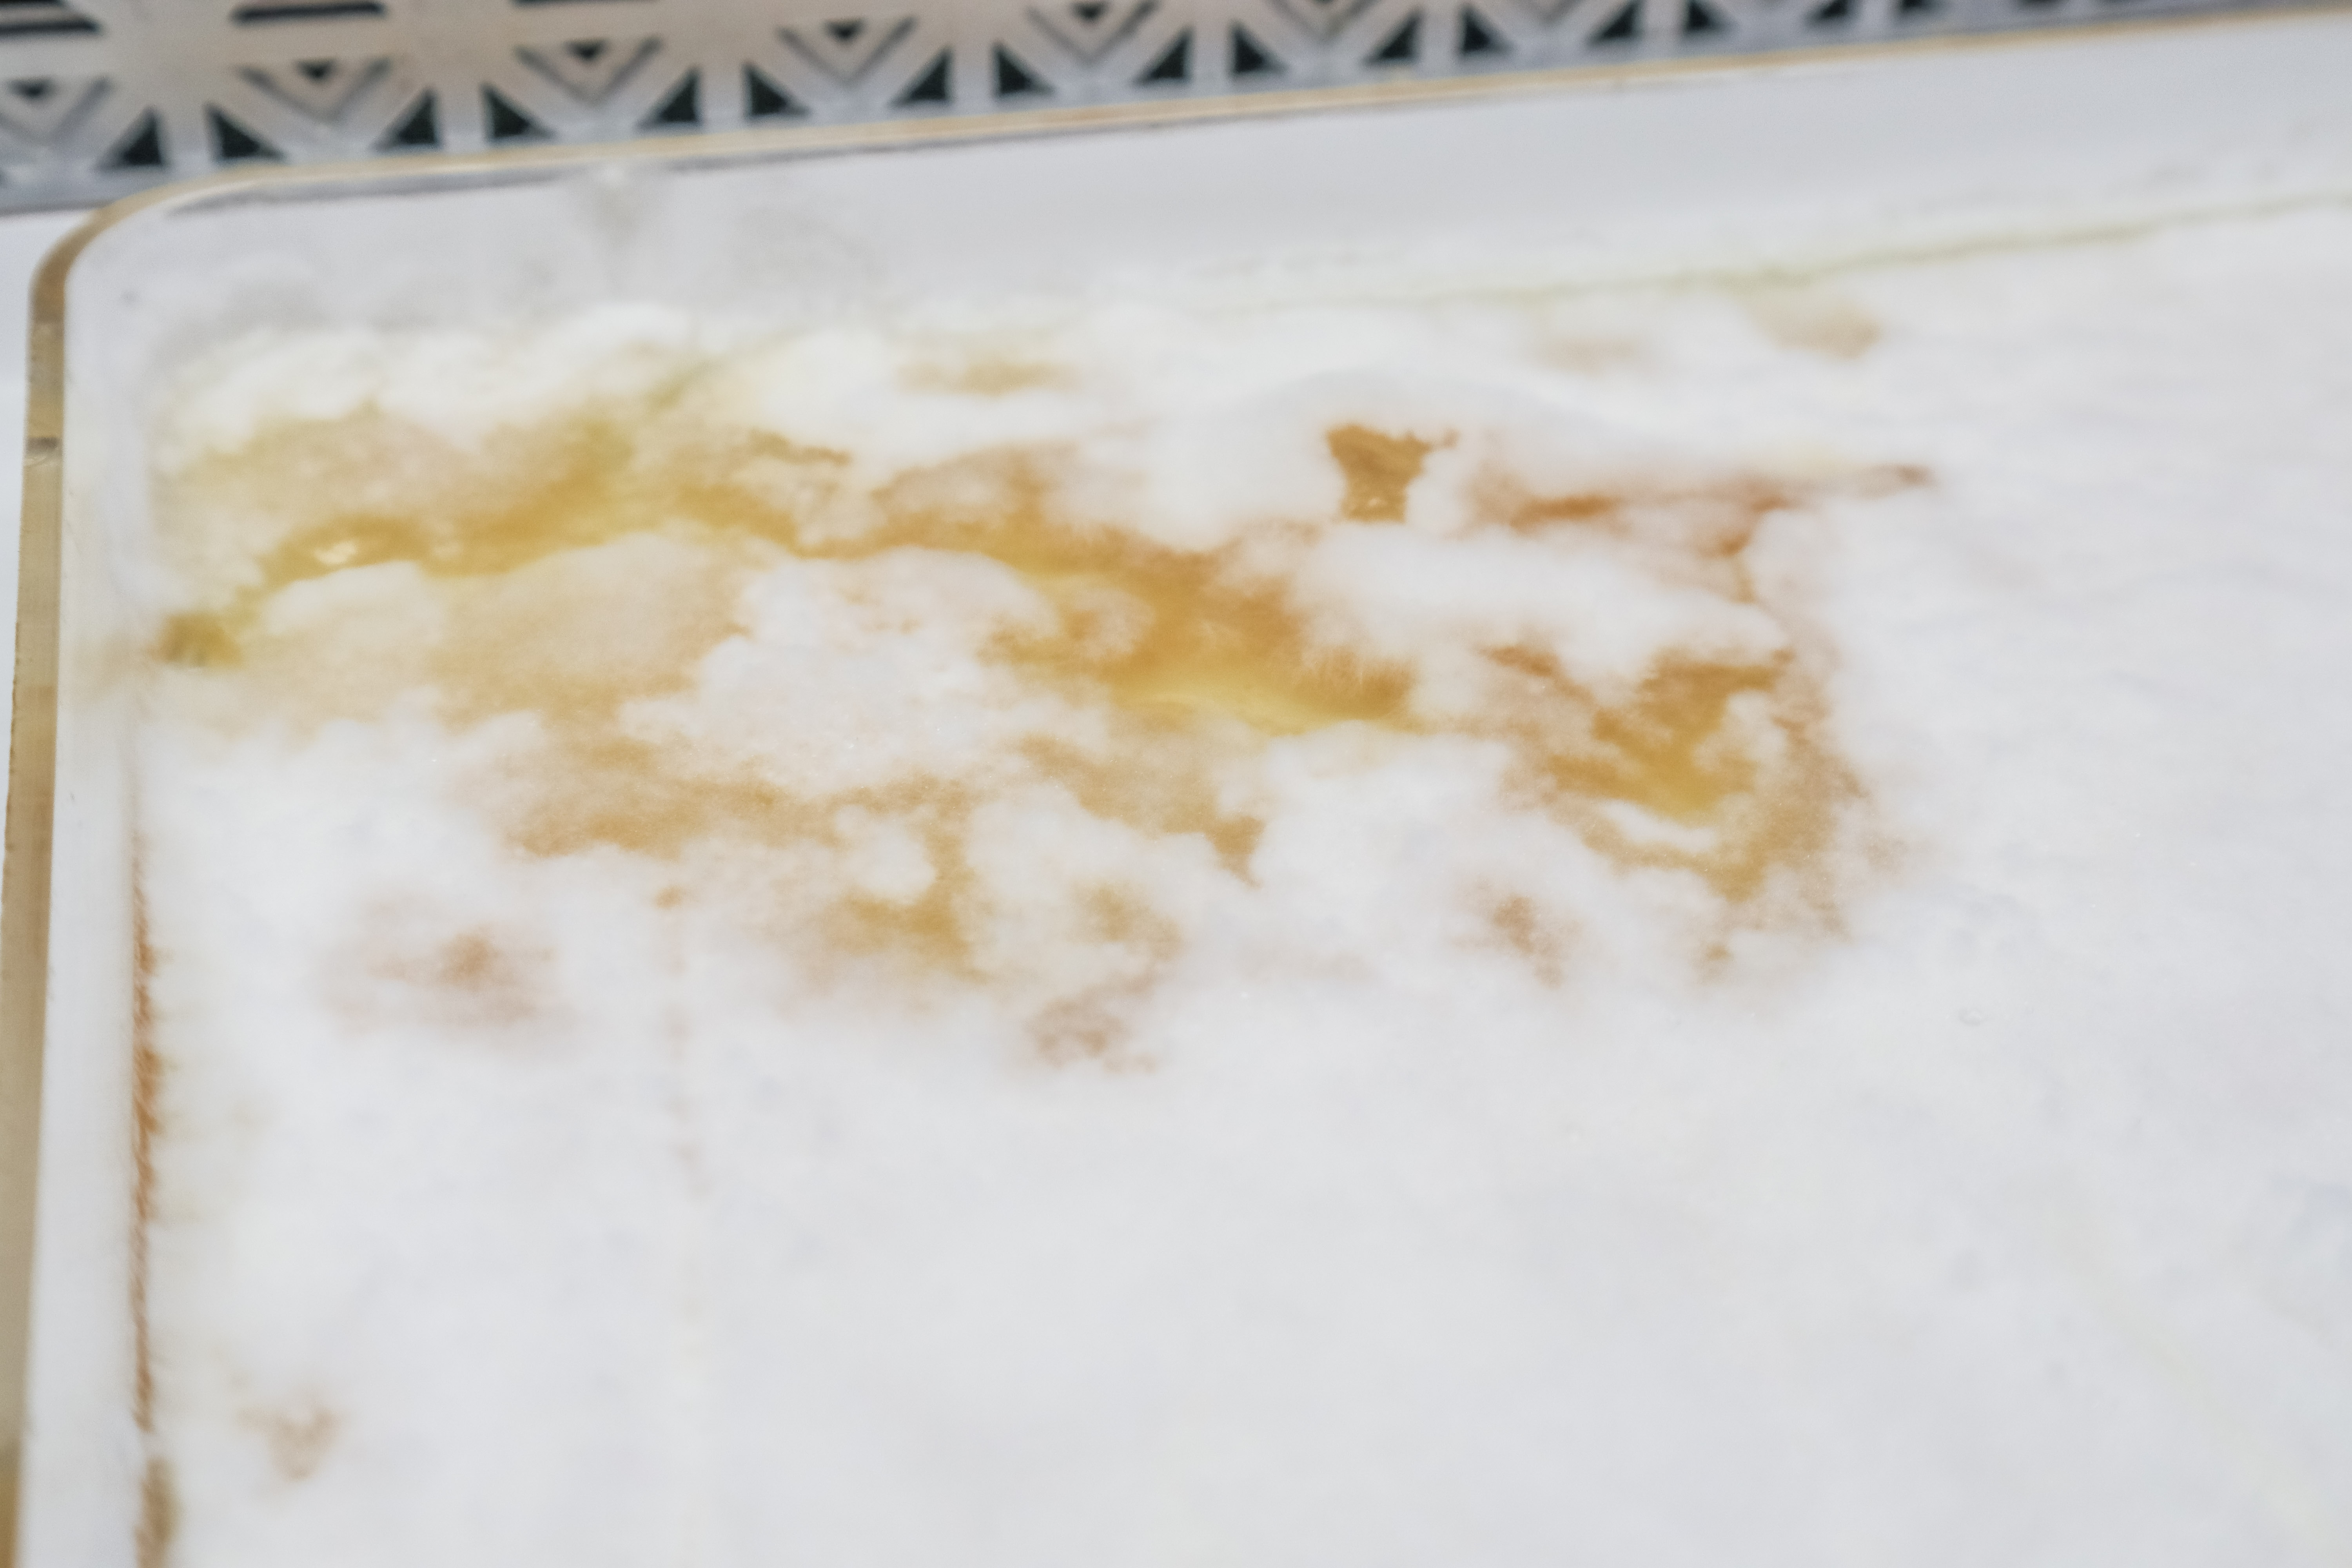
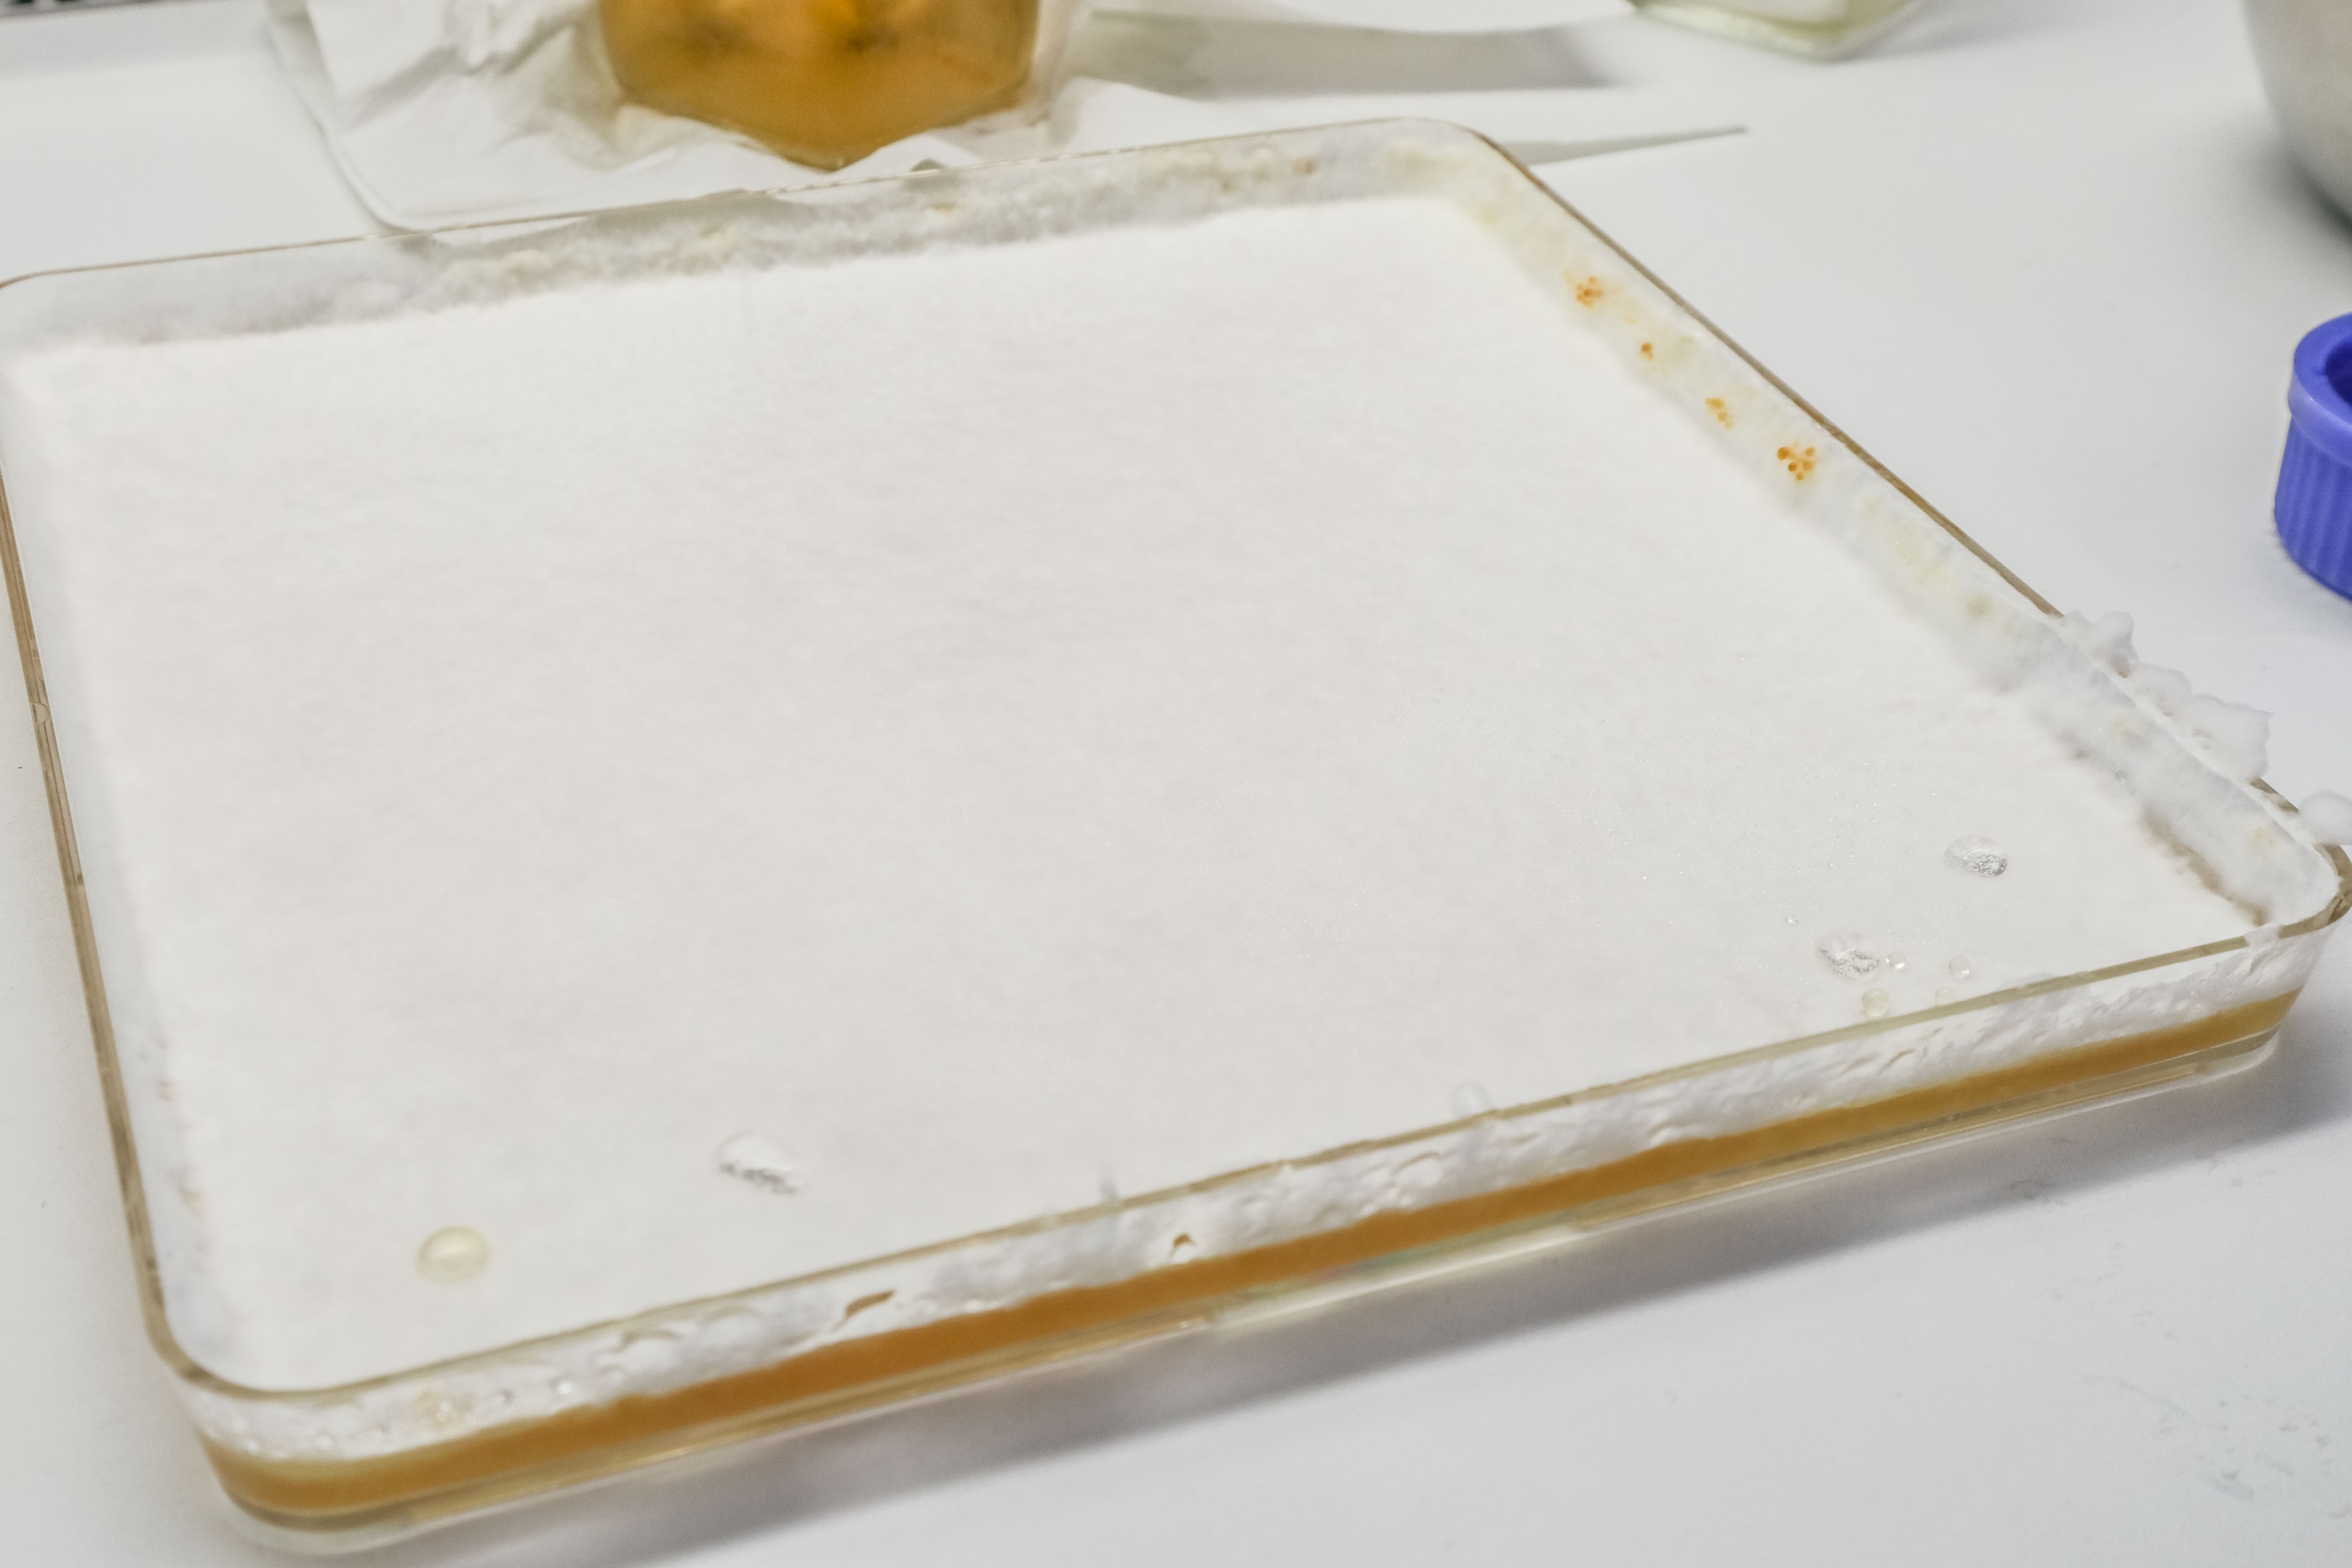
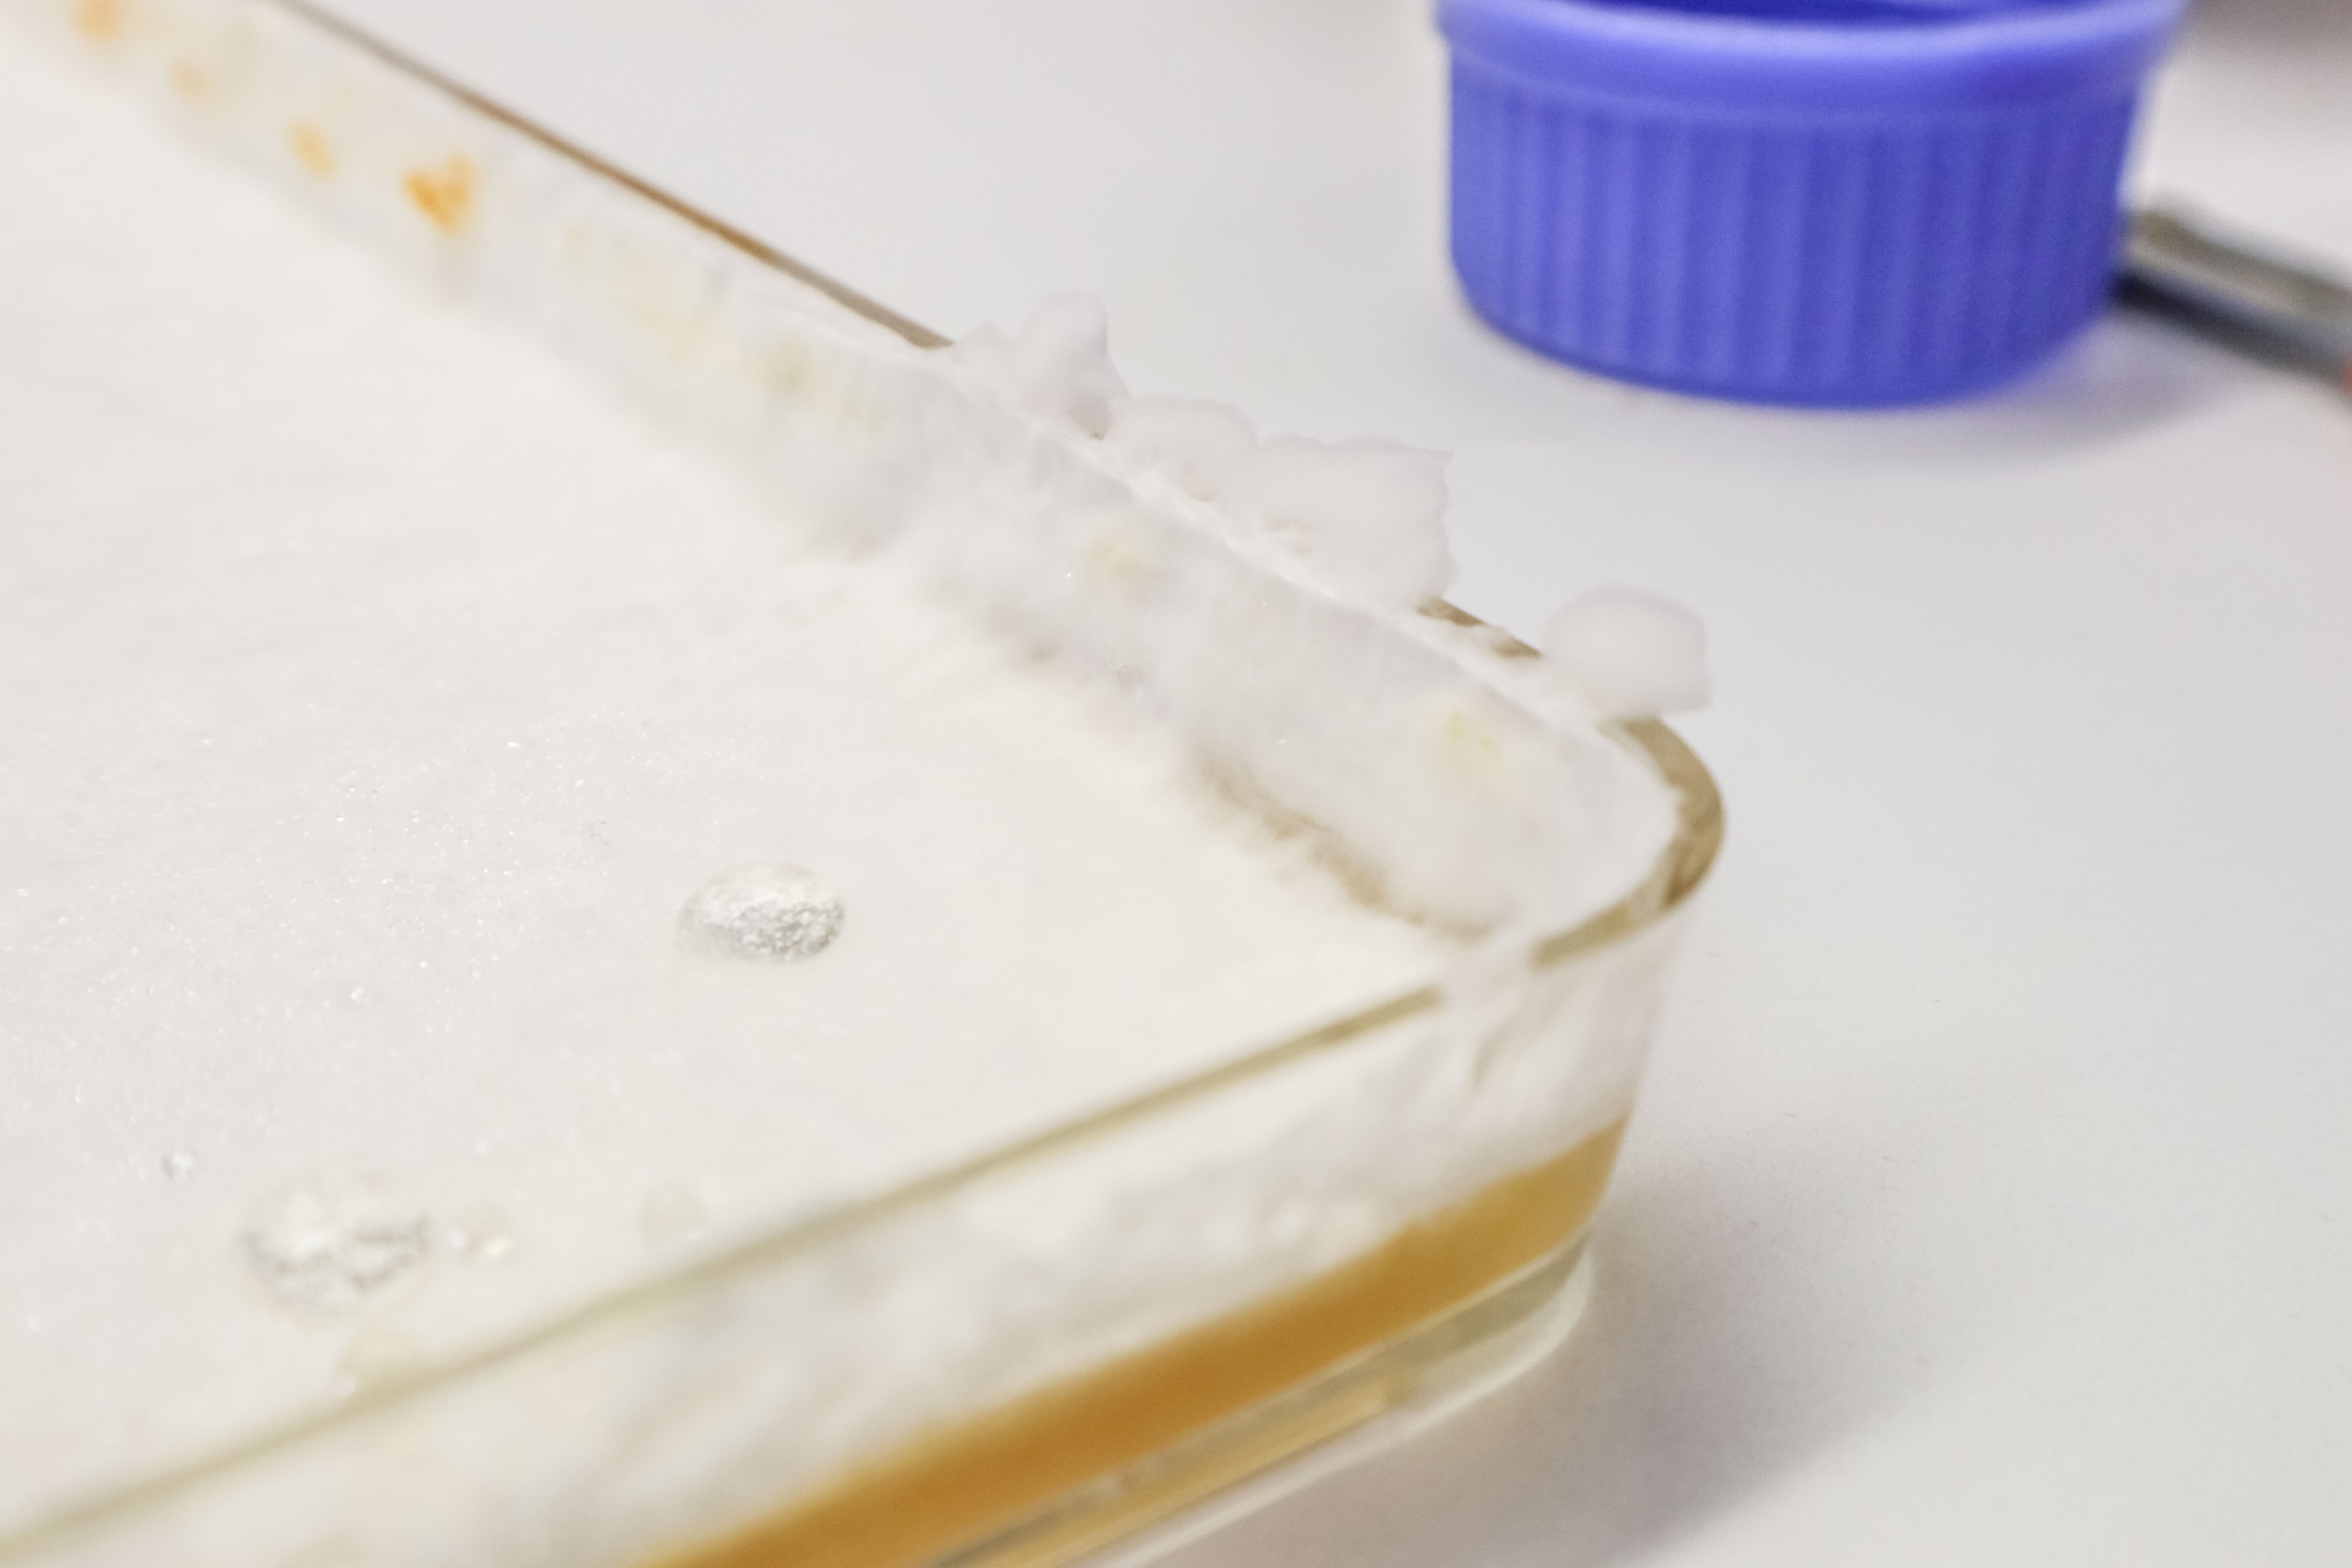
Refreshing Nutrients:
After 14 days of growing on the same nutrients in which they were mixed in the jar, I added fresh malt and yeast nutrient liquids.
To do this you will need:
250ml of MY liquid medium per 25cm x 25cm dish.
A syringe or pipette
A knife or something else long and flat for separating the mycelium sheet from the bottom and sides of the container.
Make sure to sterilise all equipment and work in a flow hood or other clean environment.
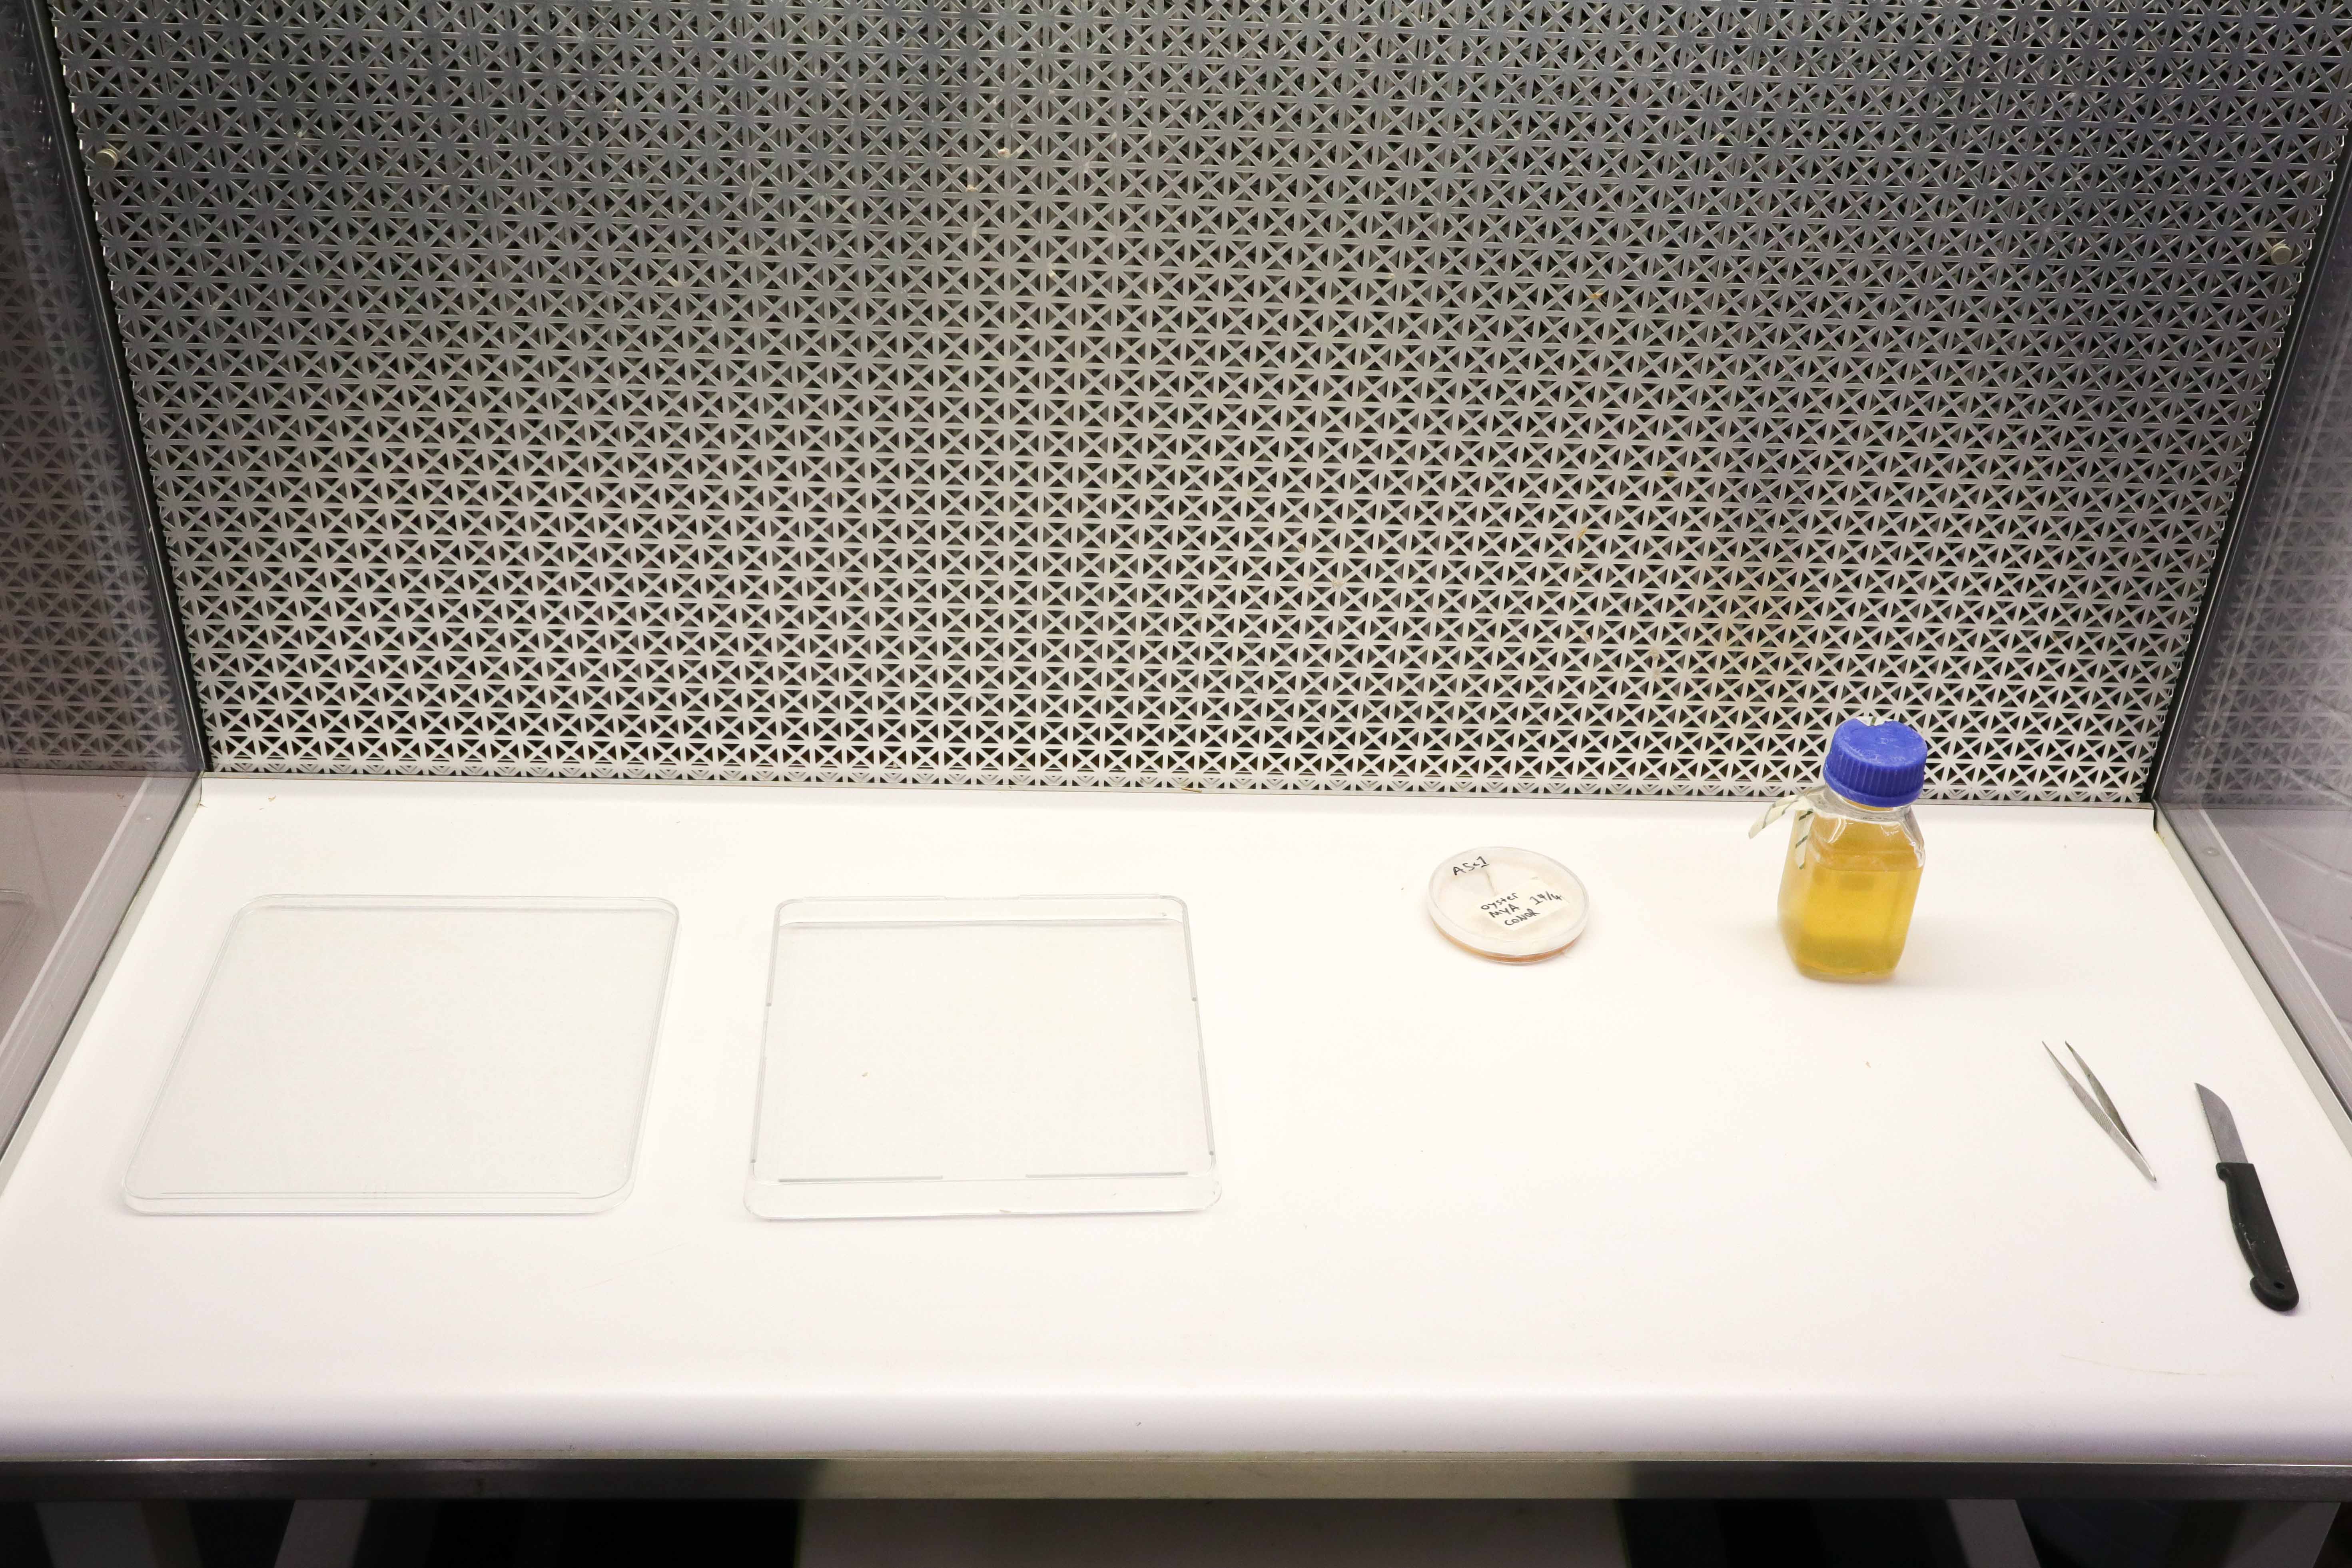
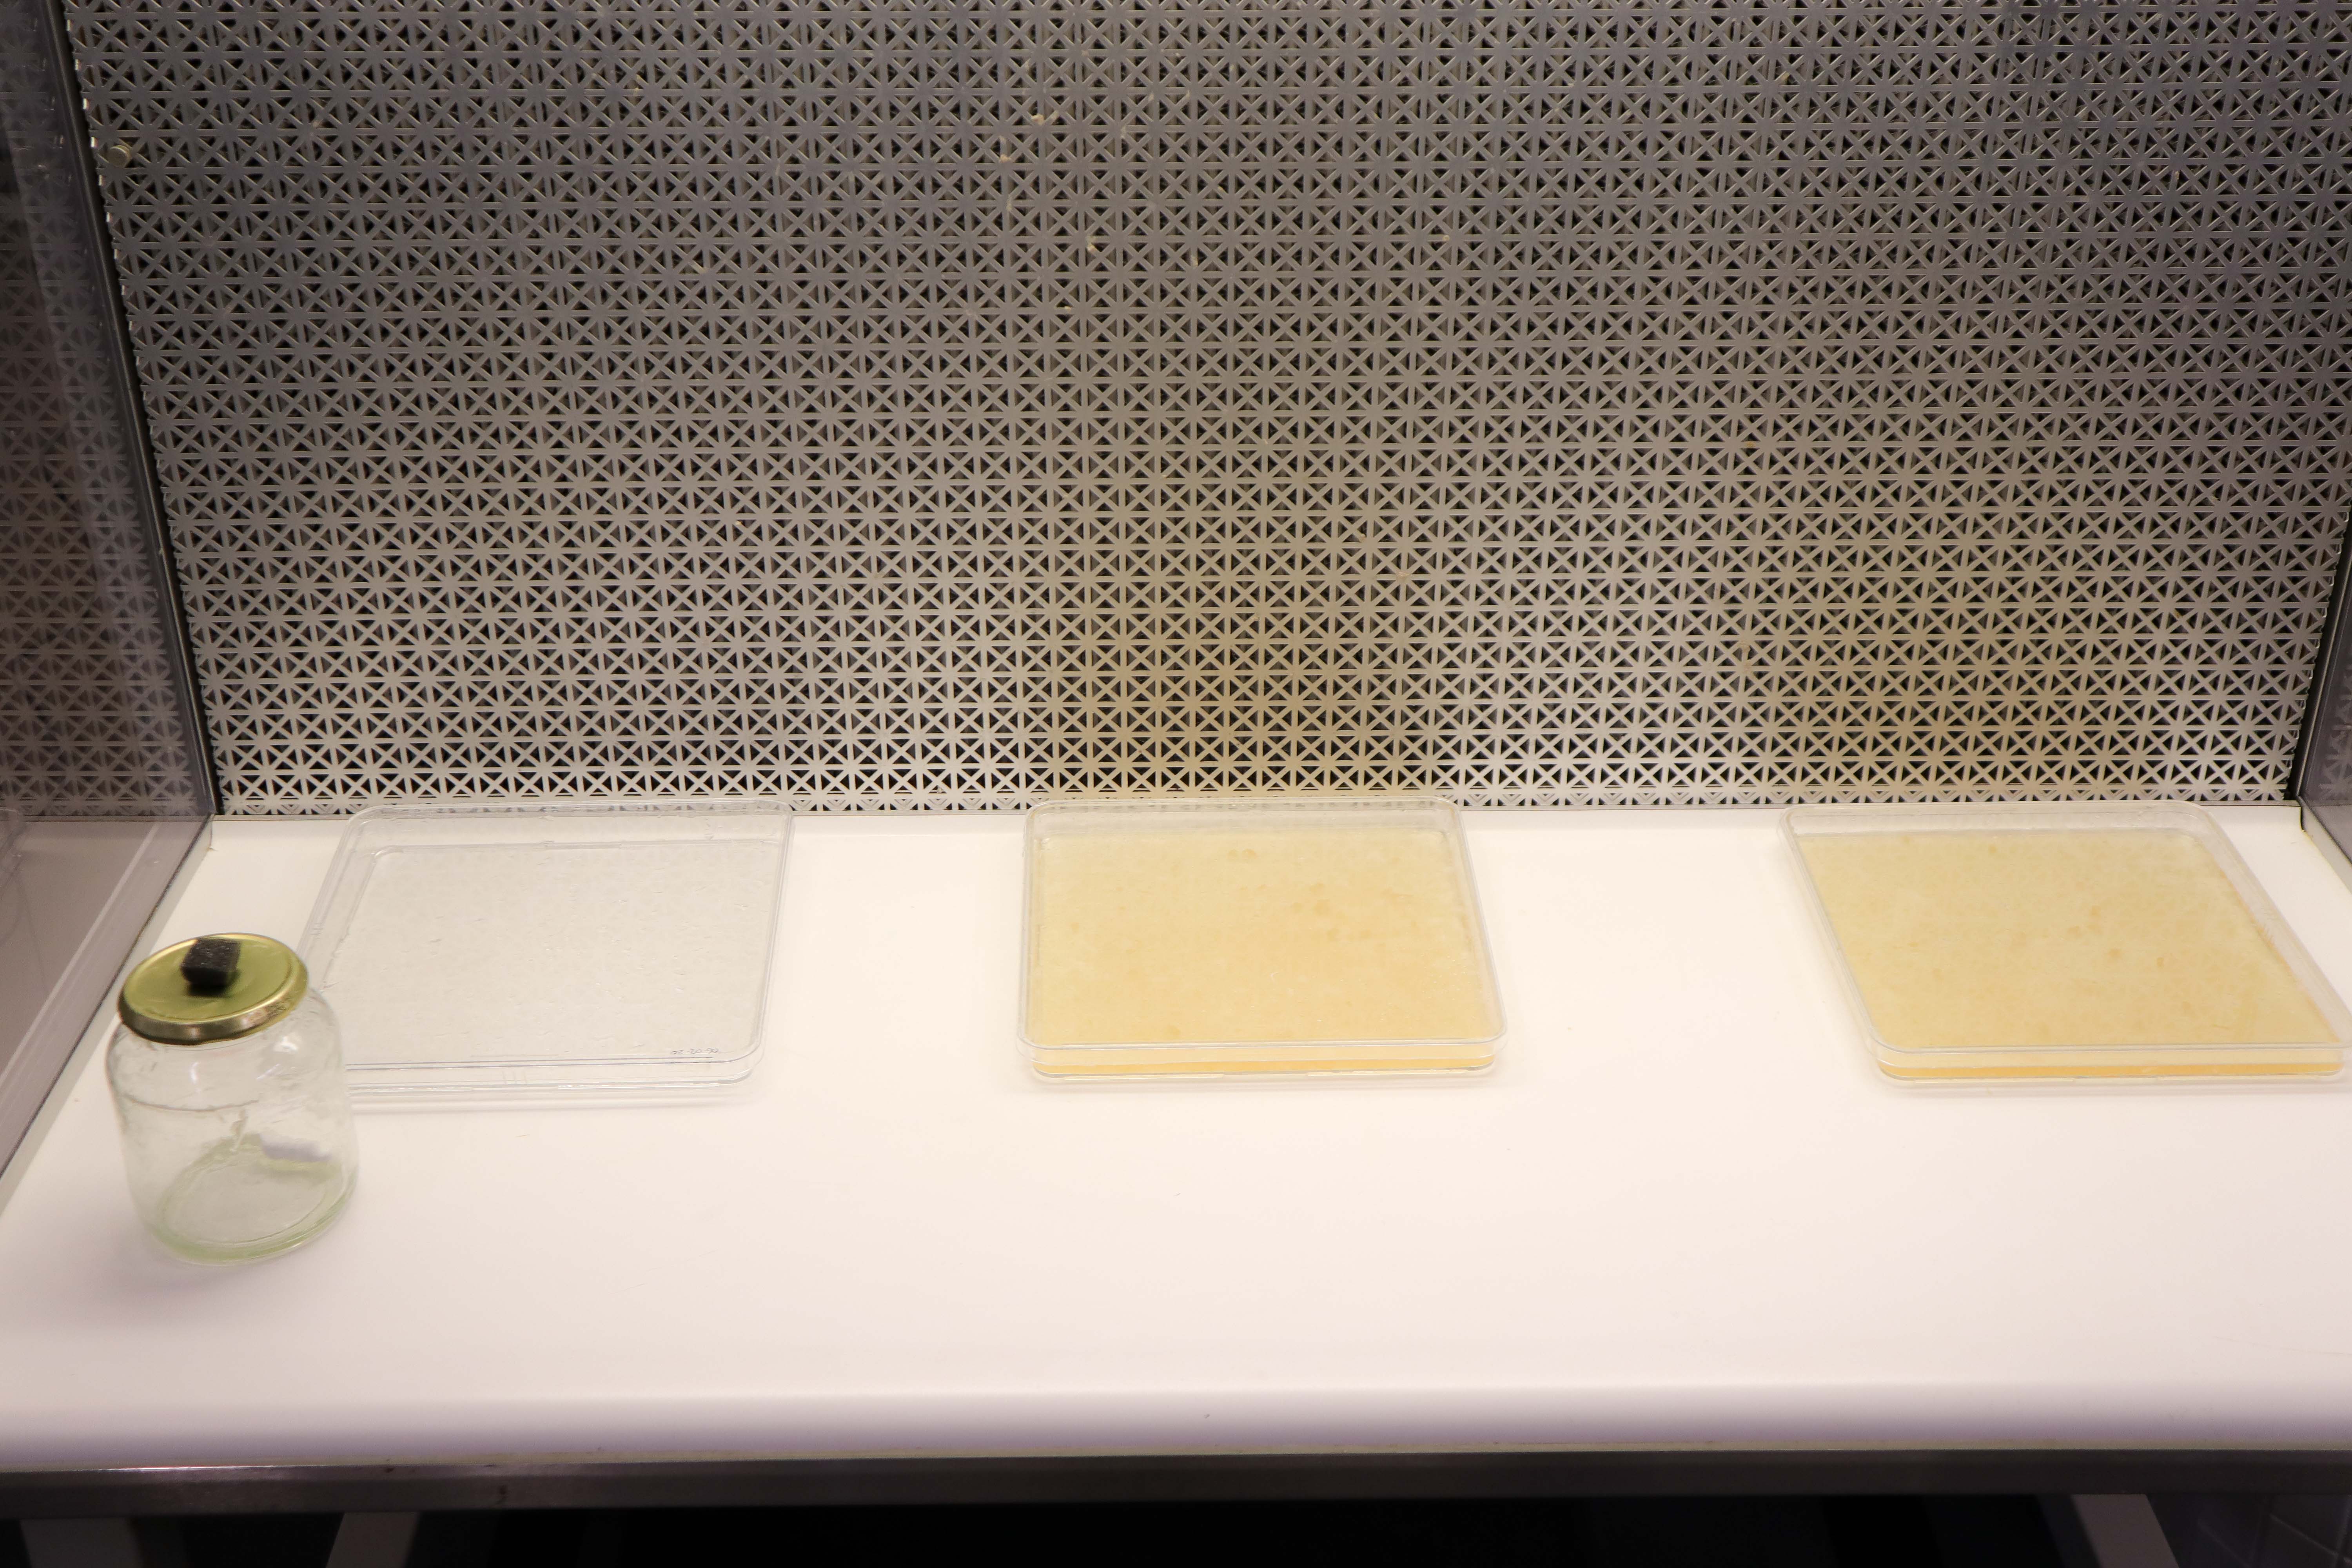
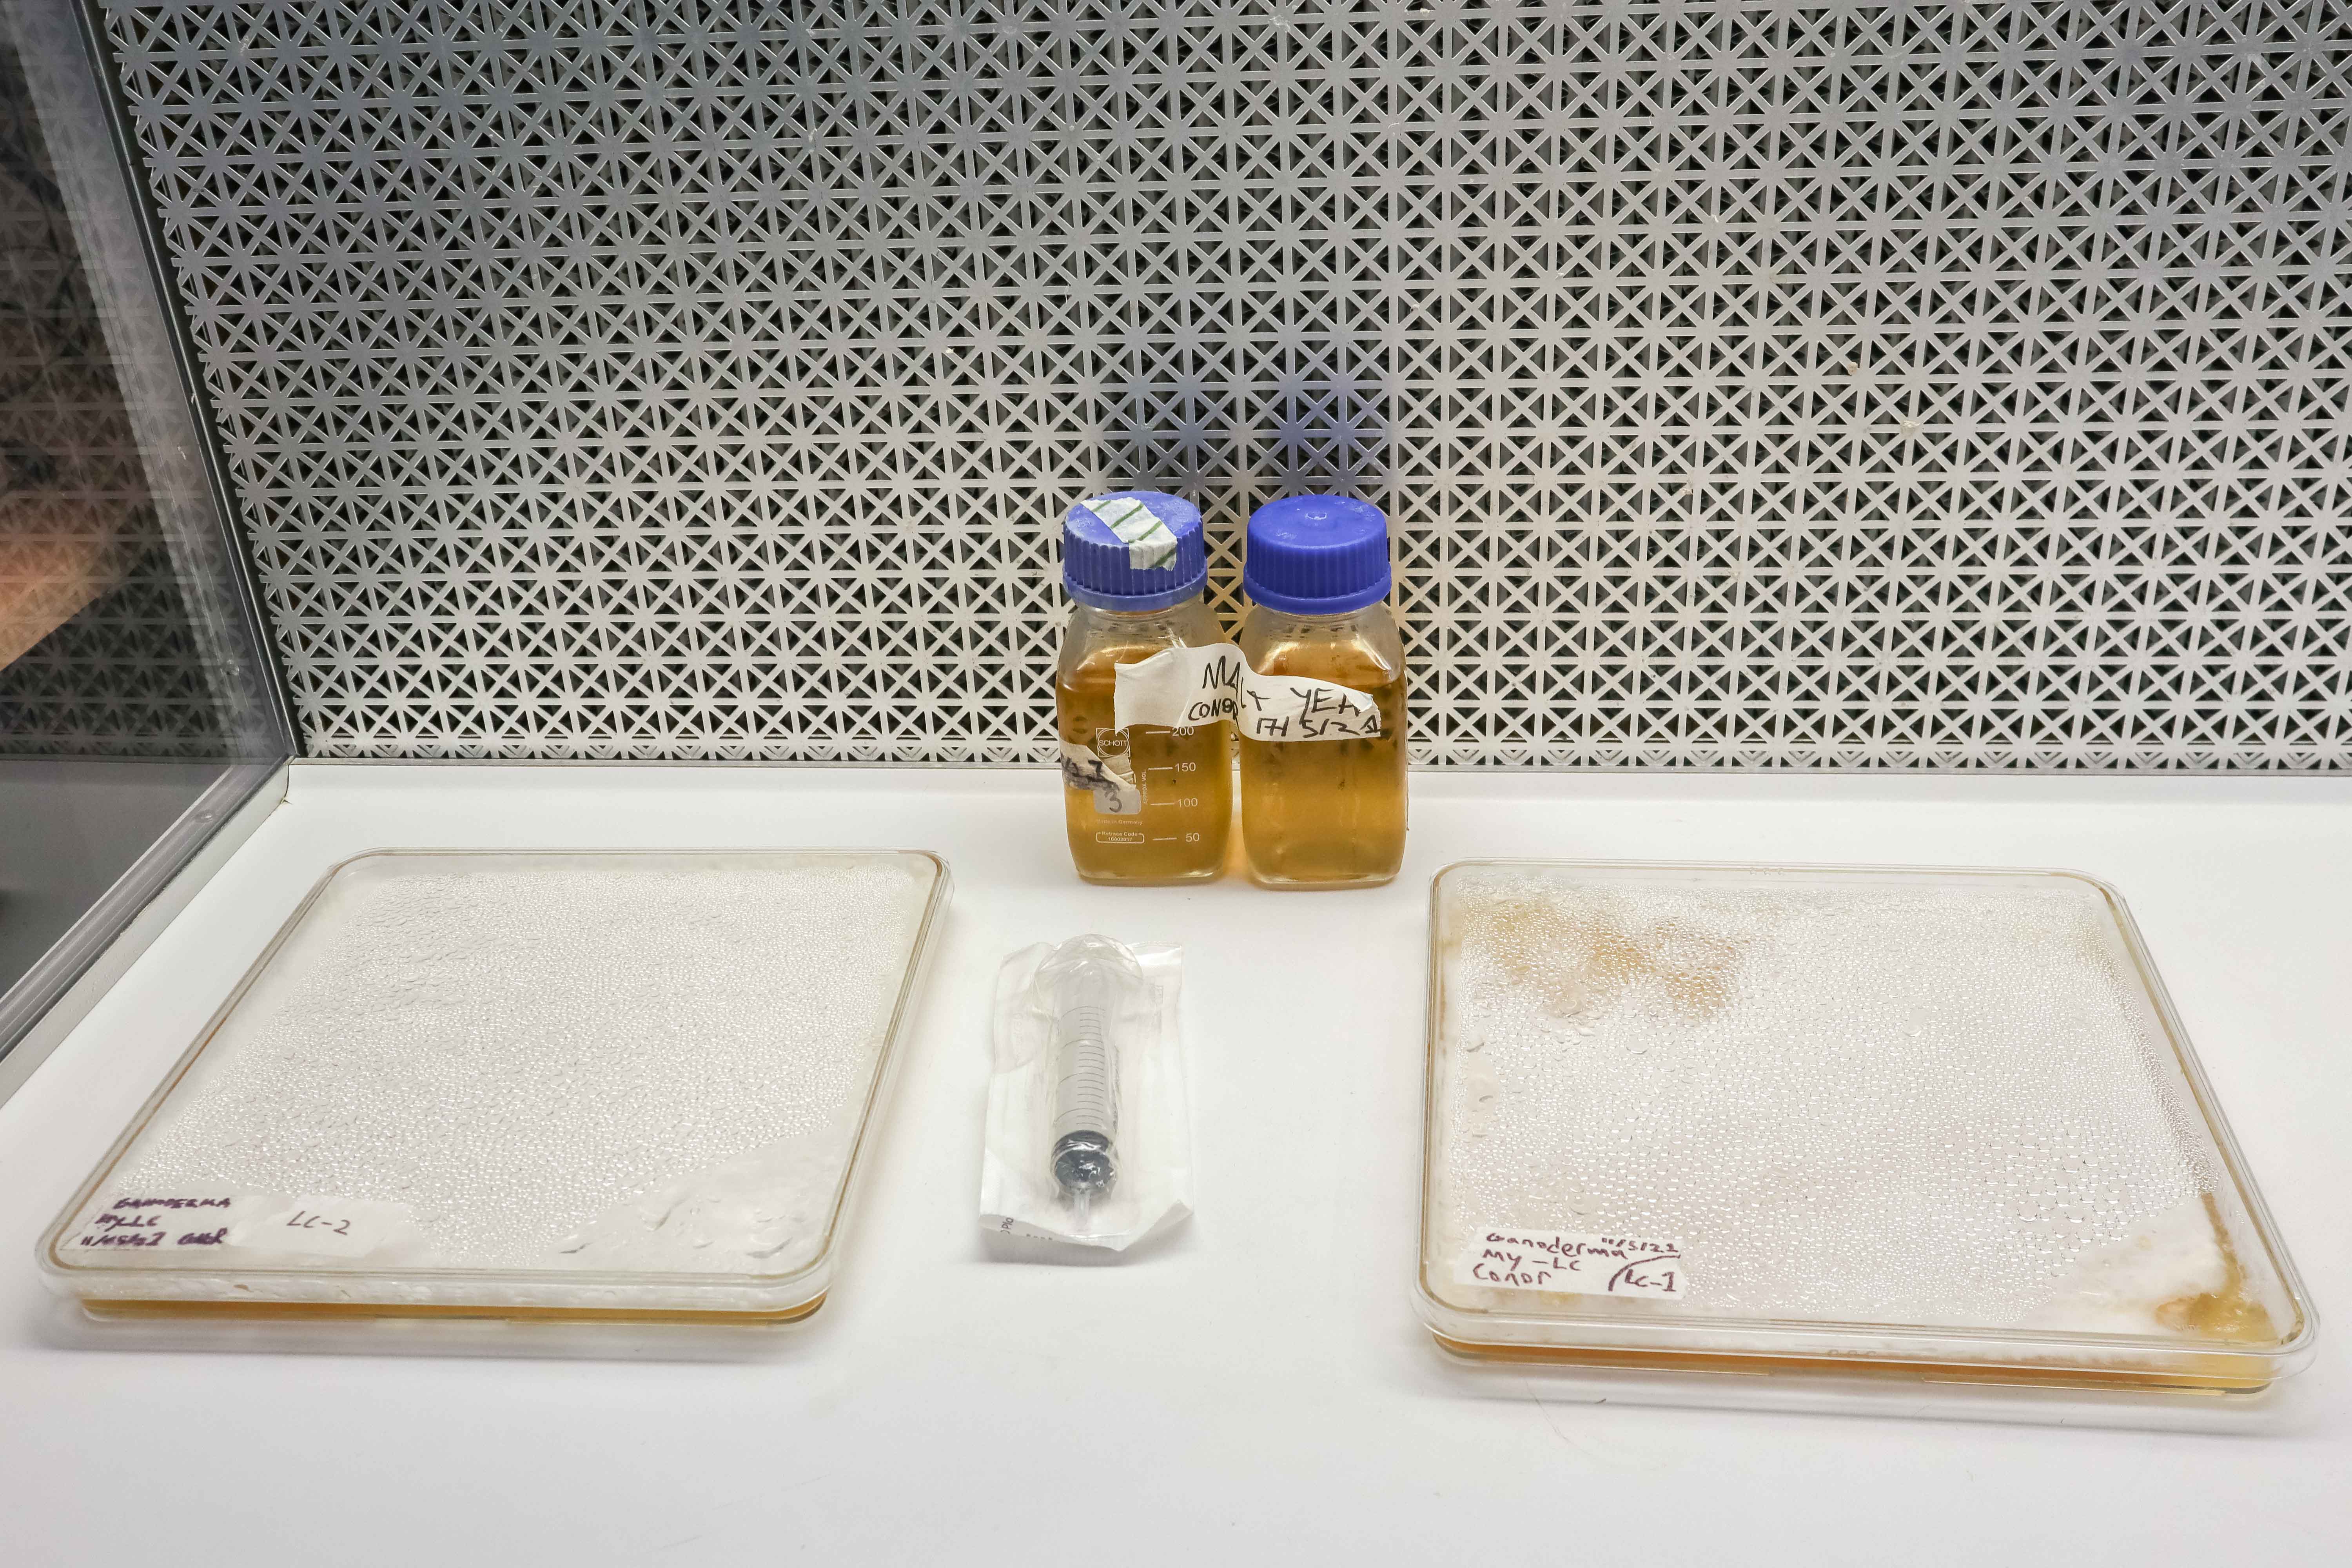 The needed equipment (also need a knife).
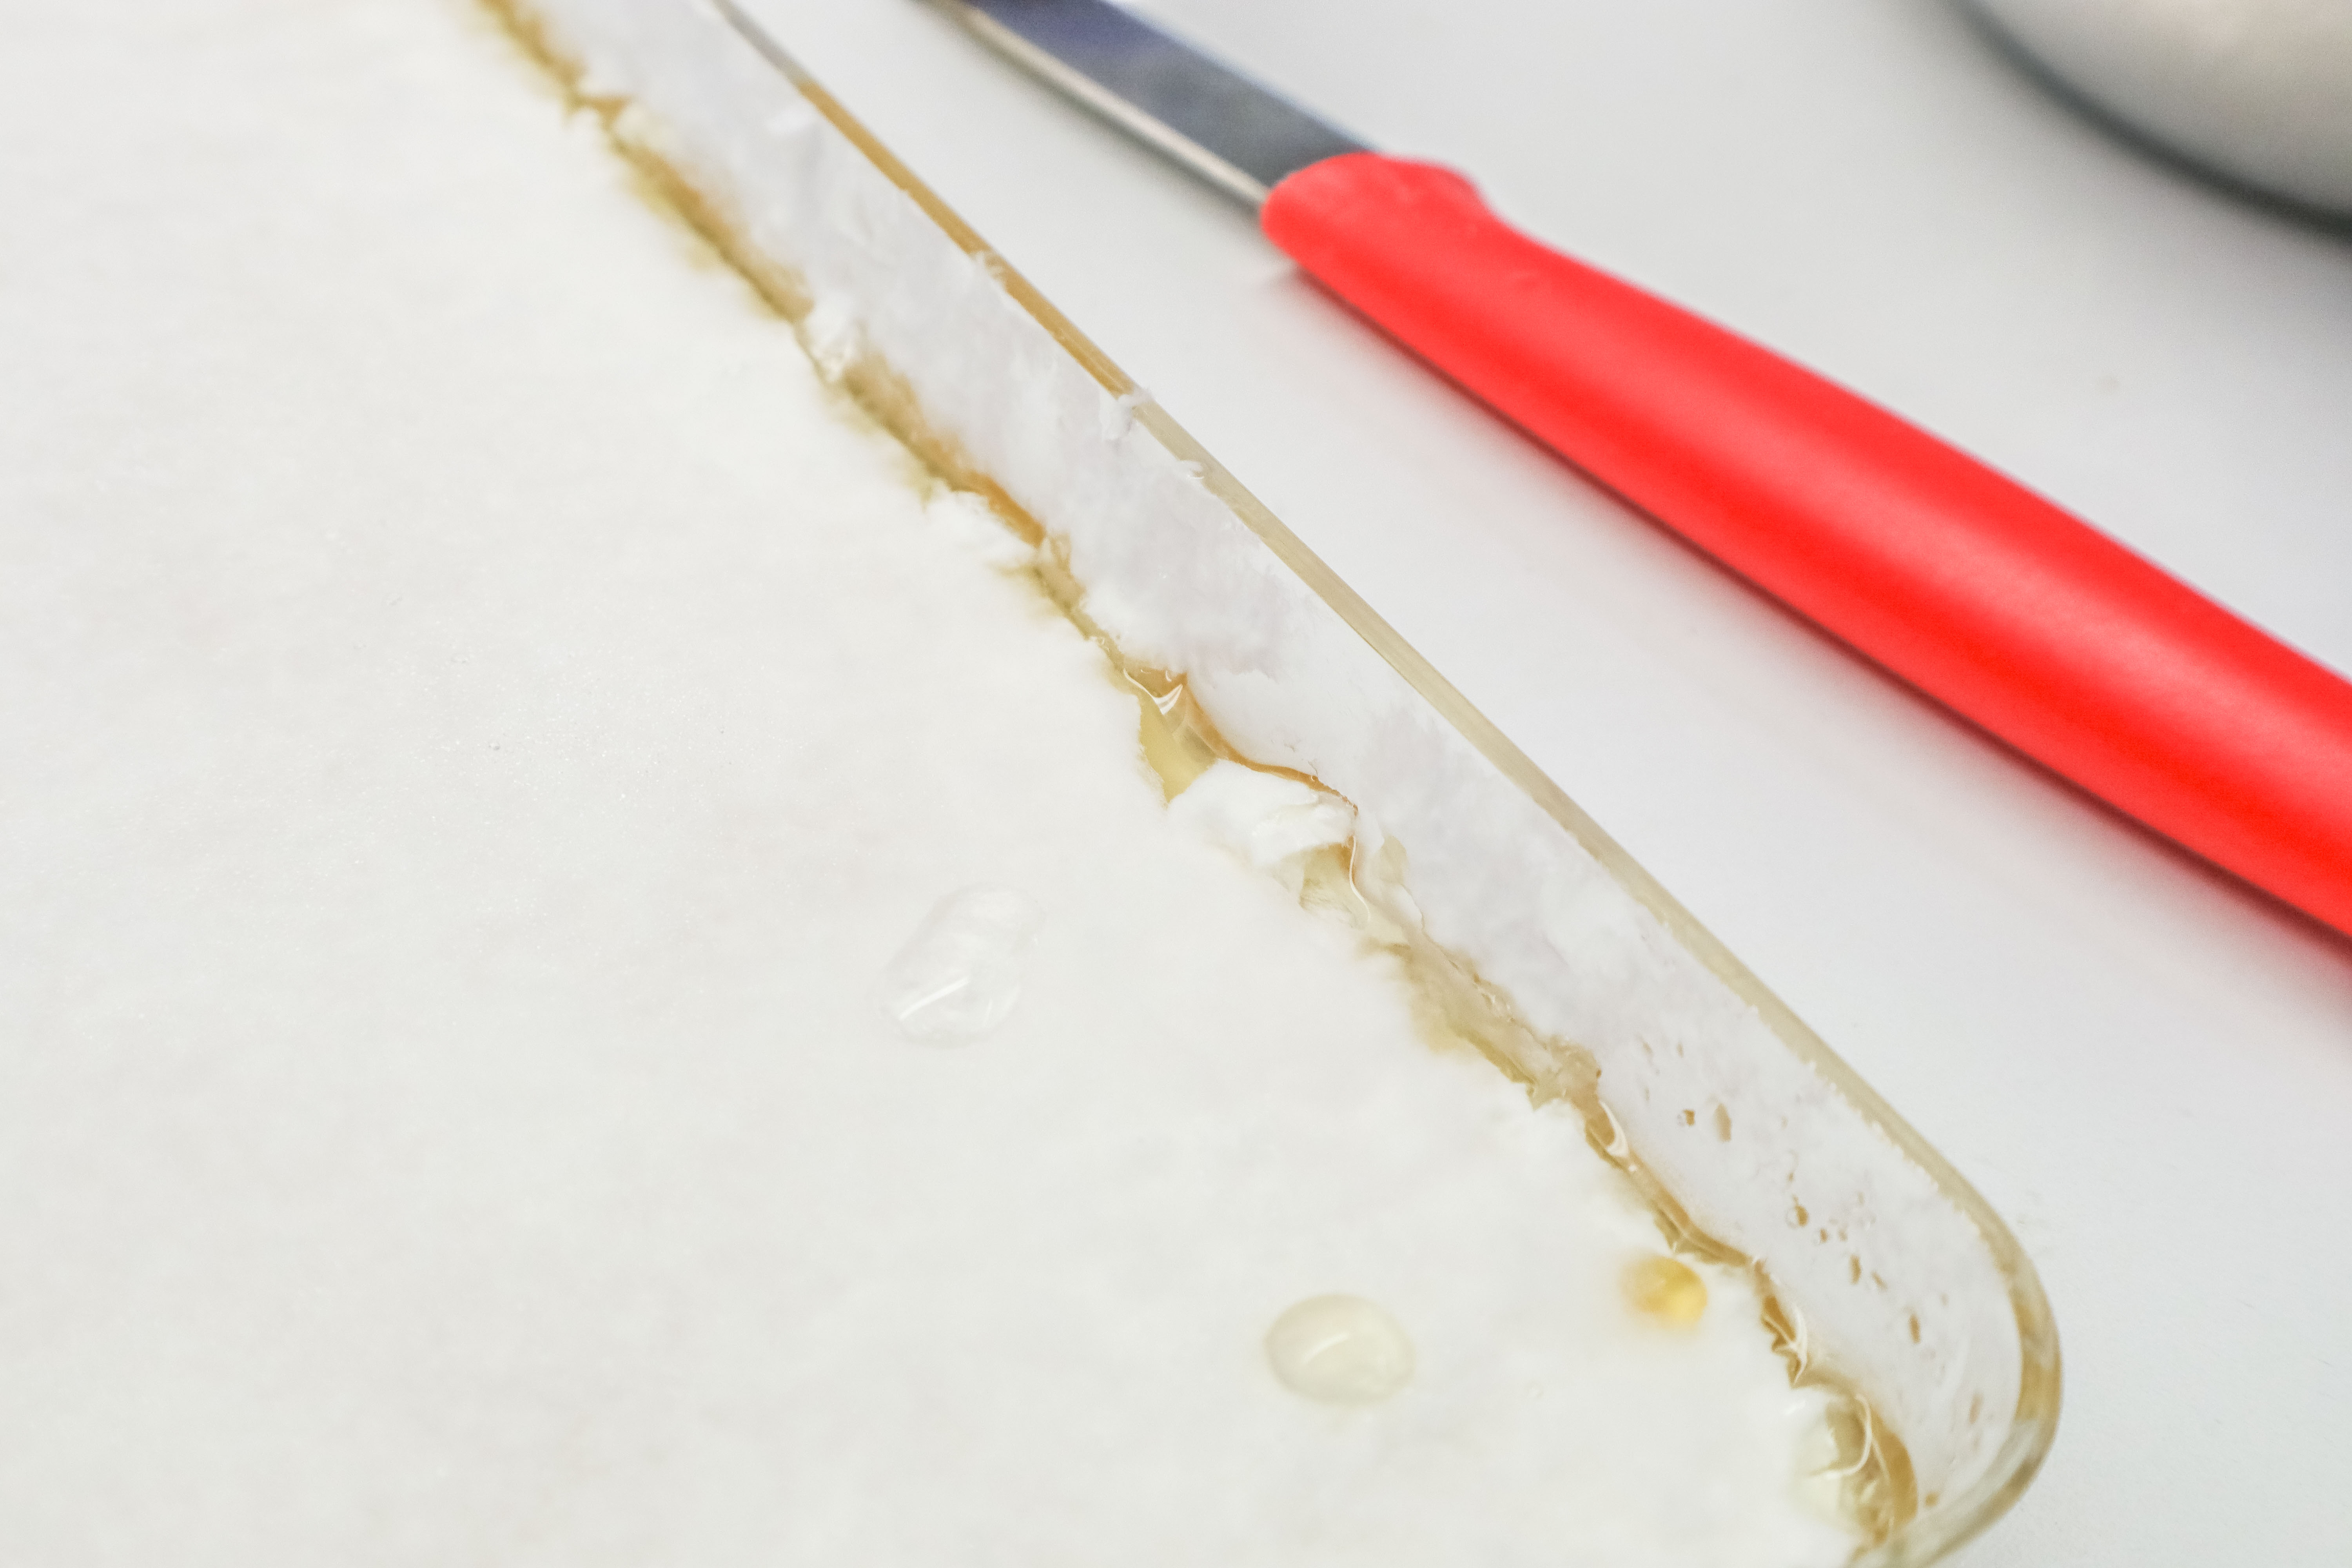
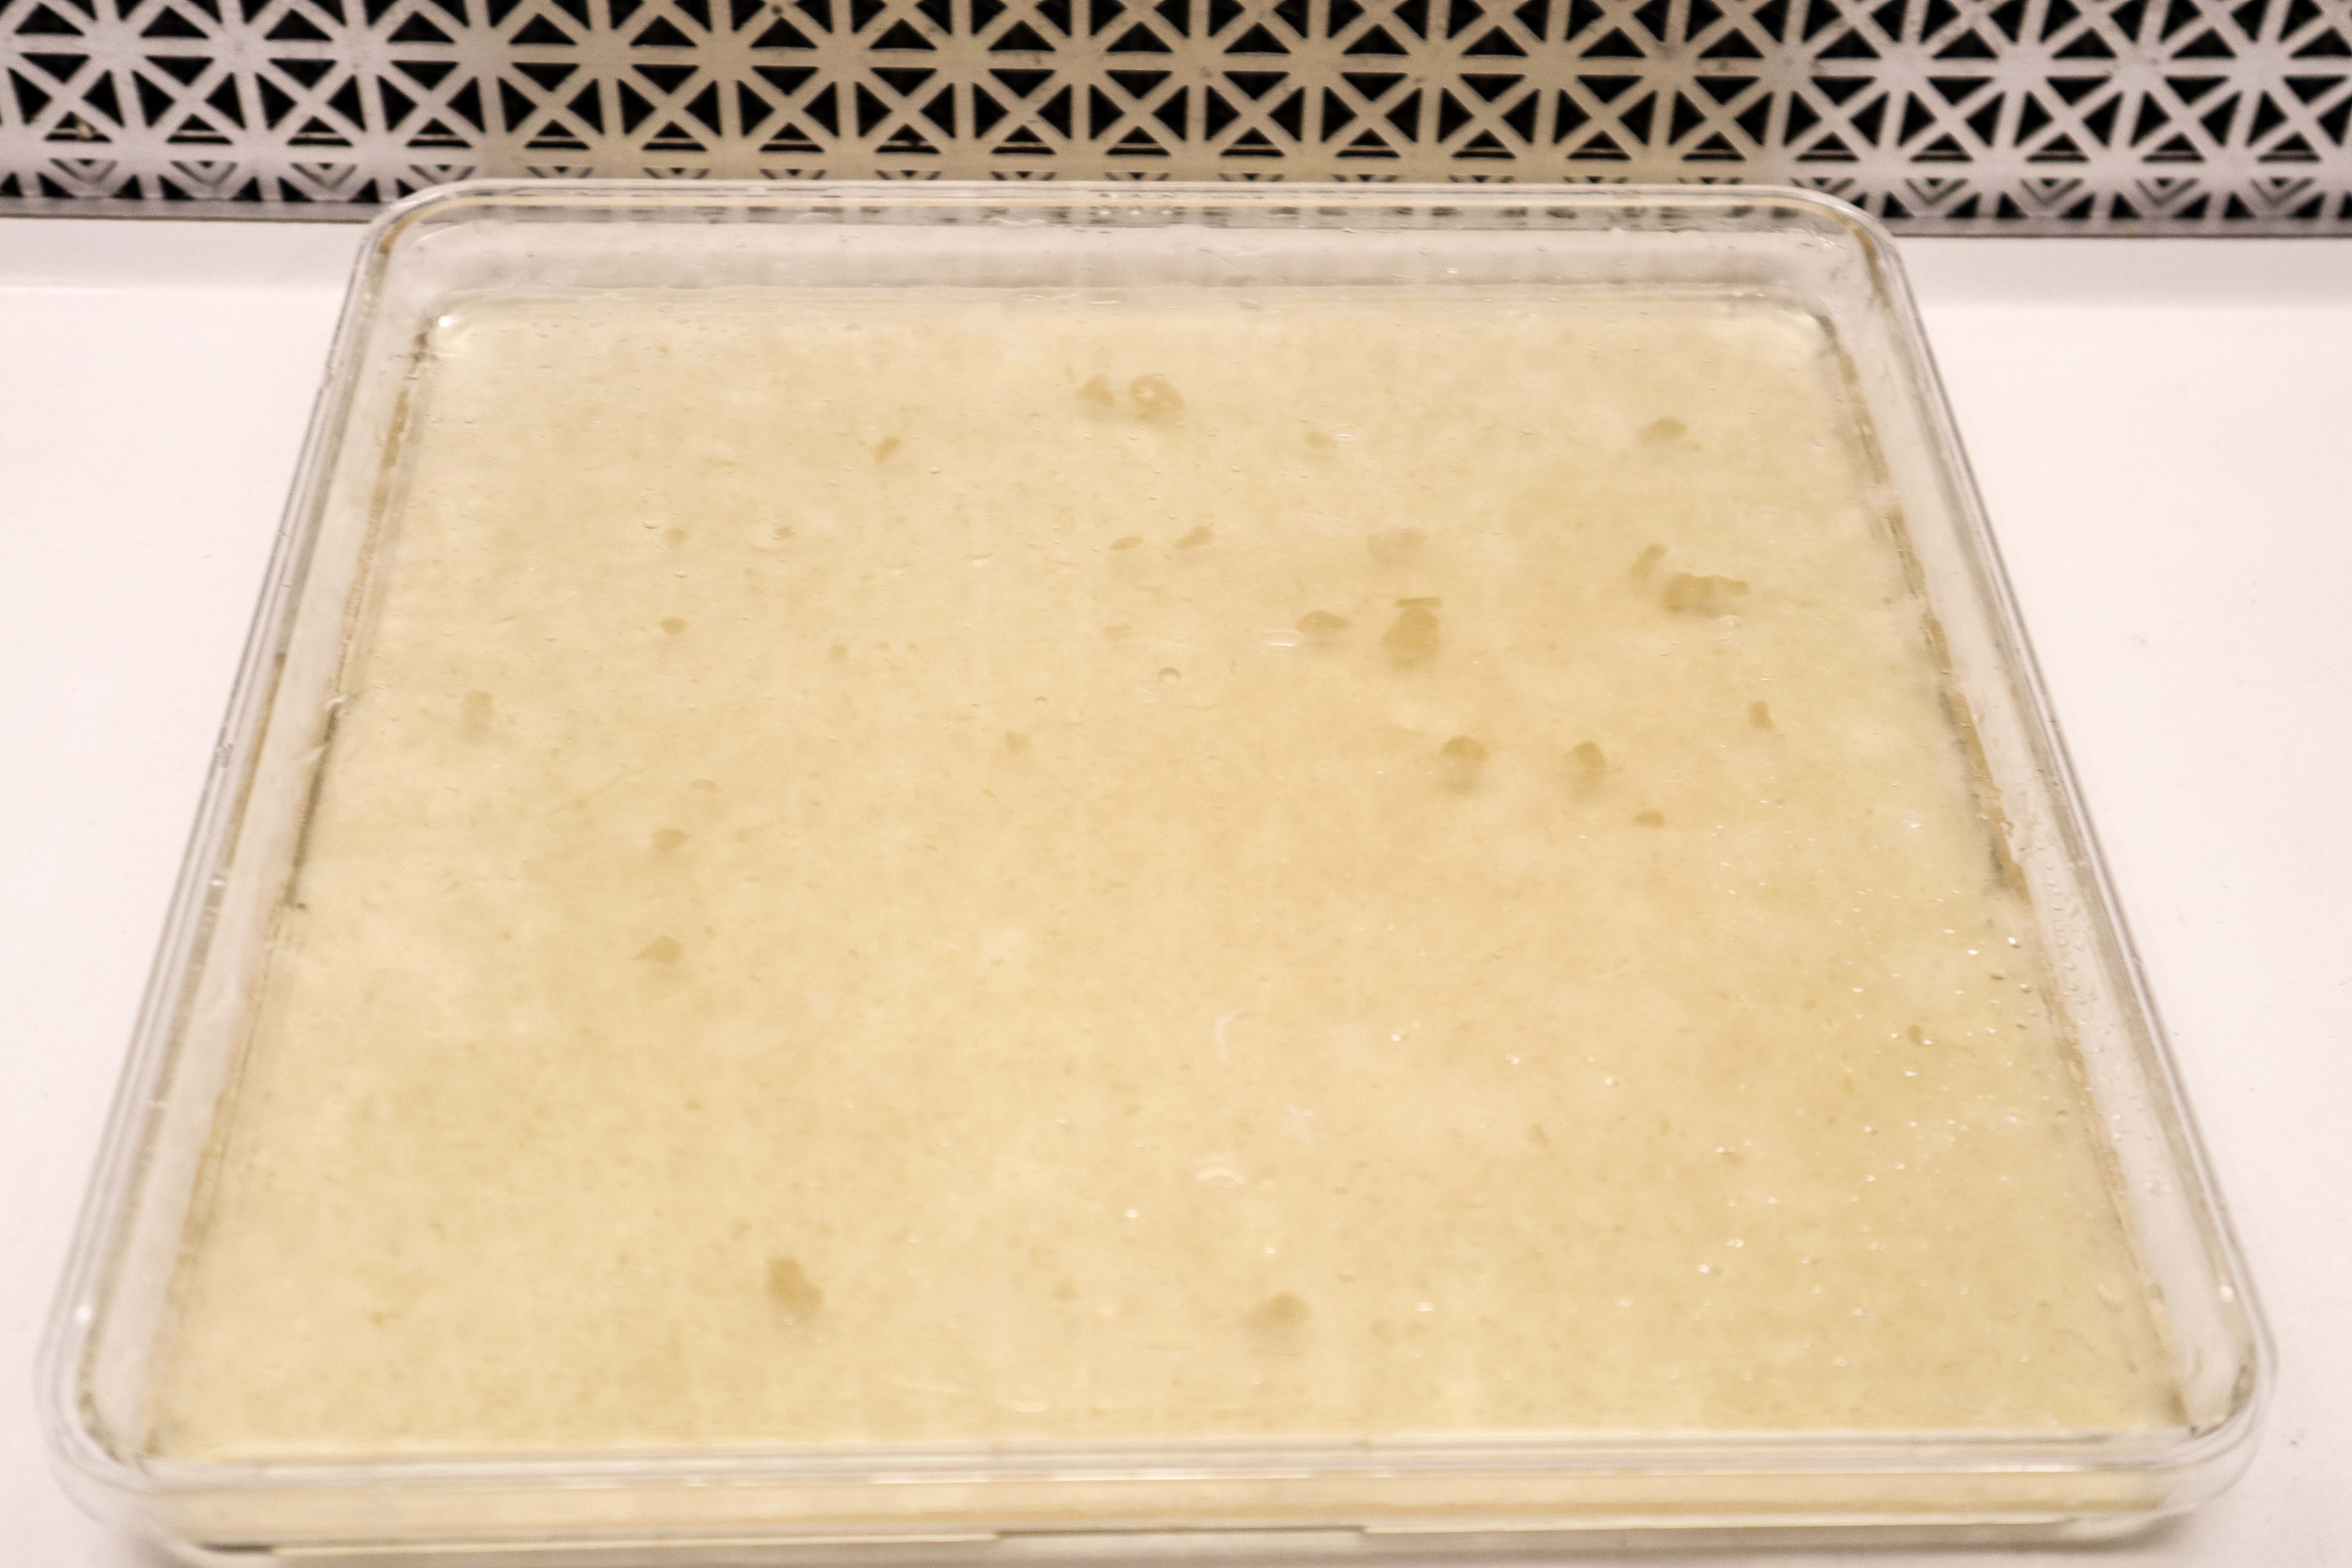
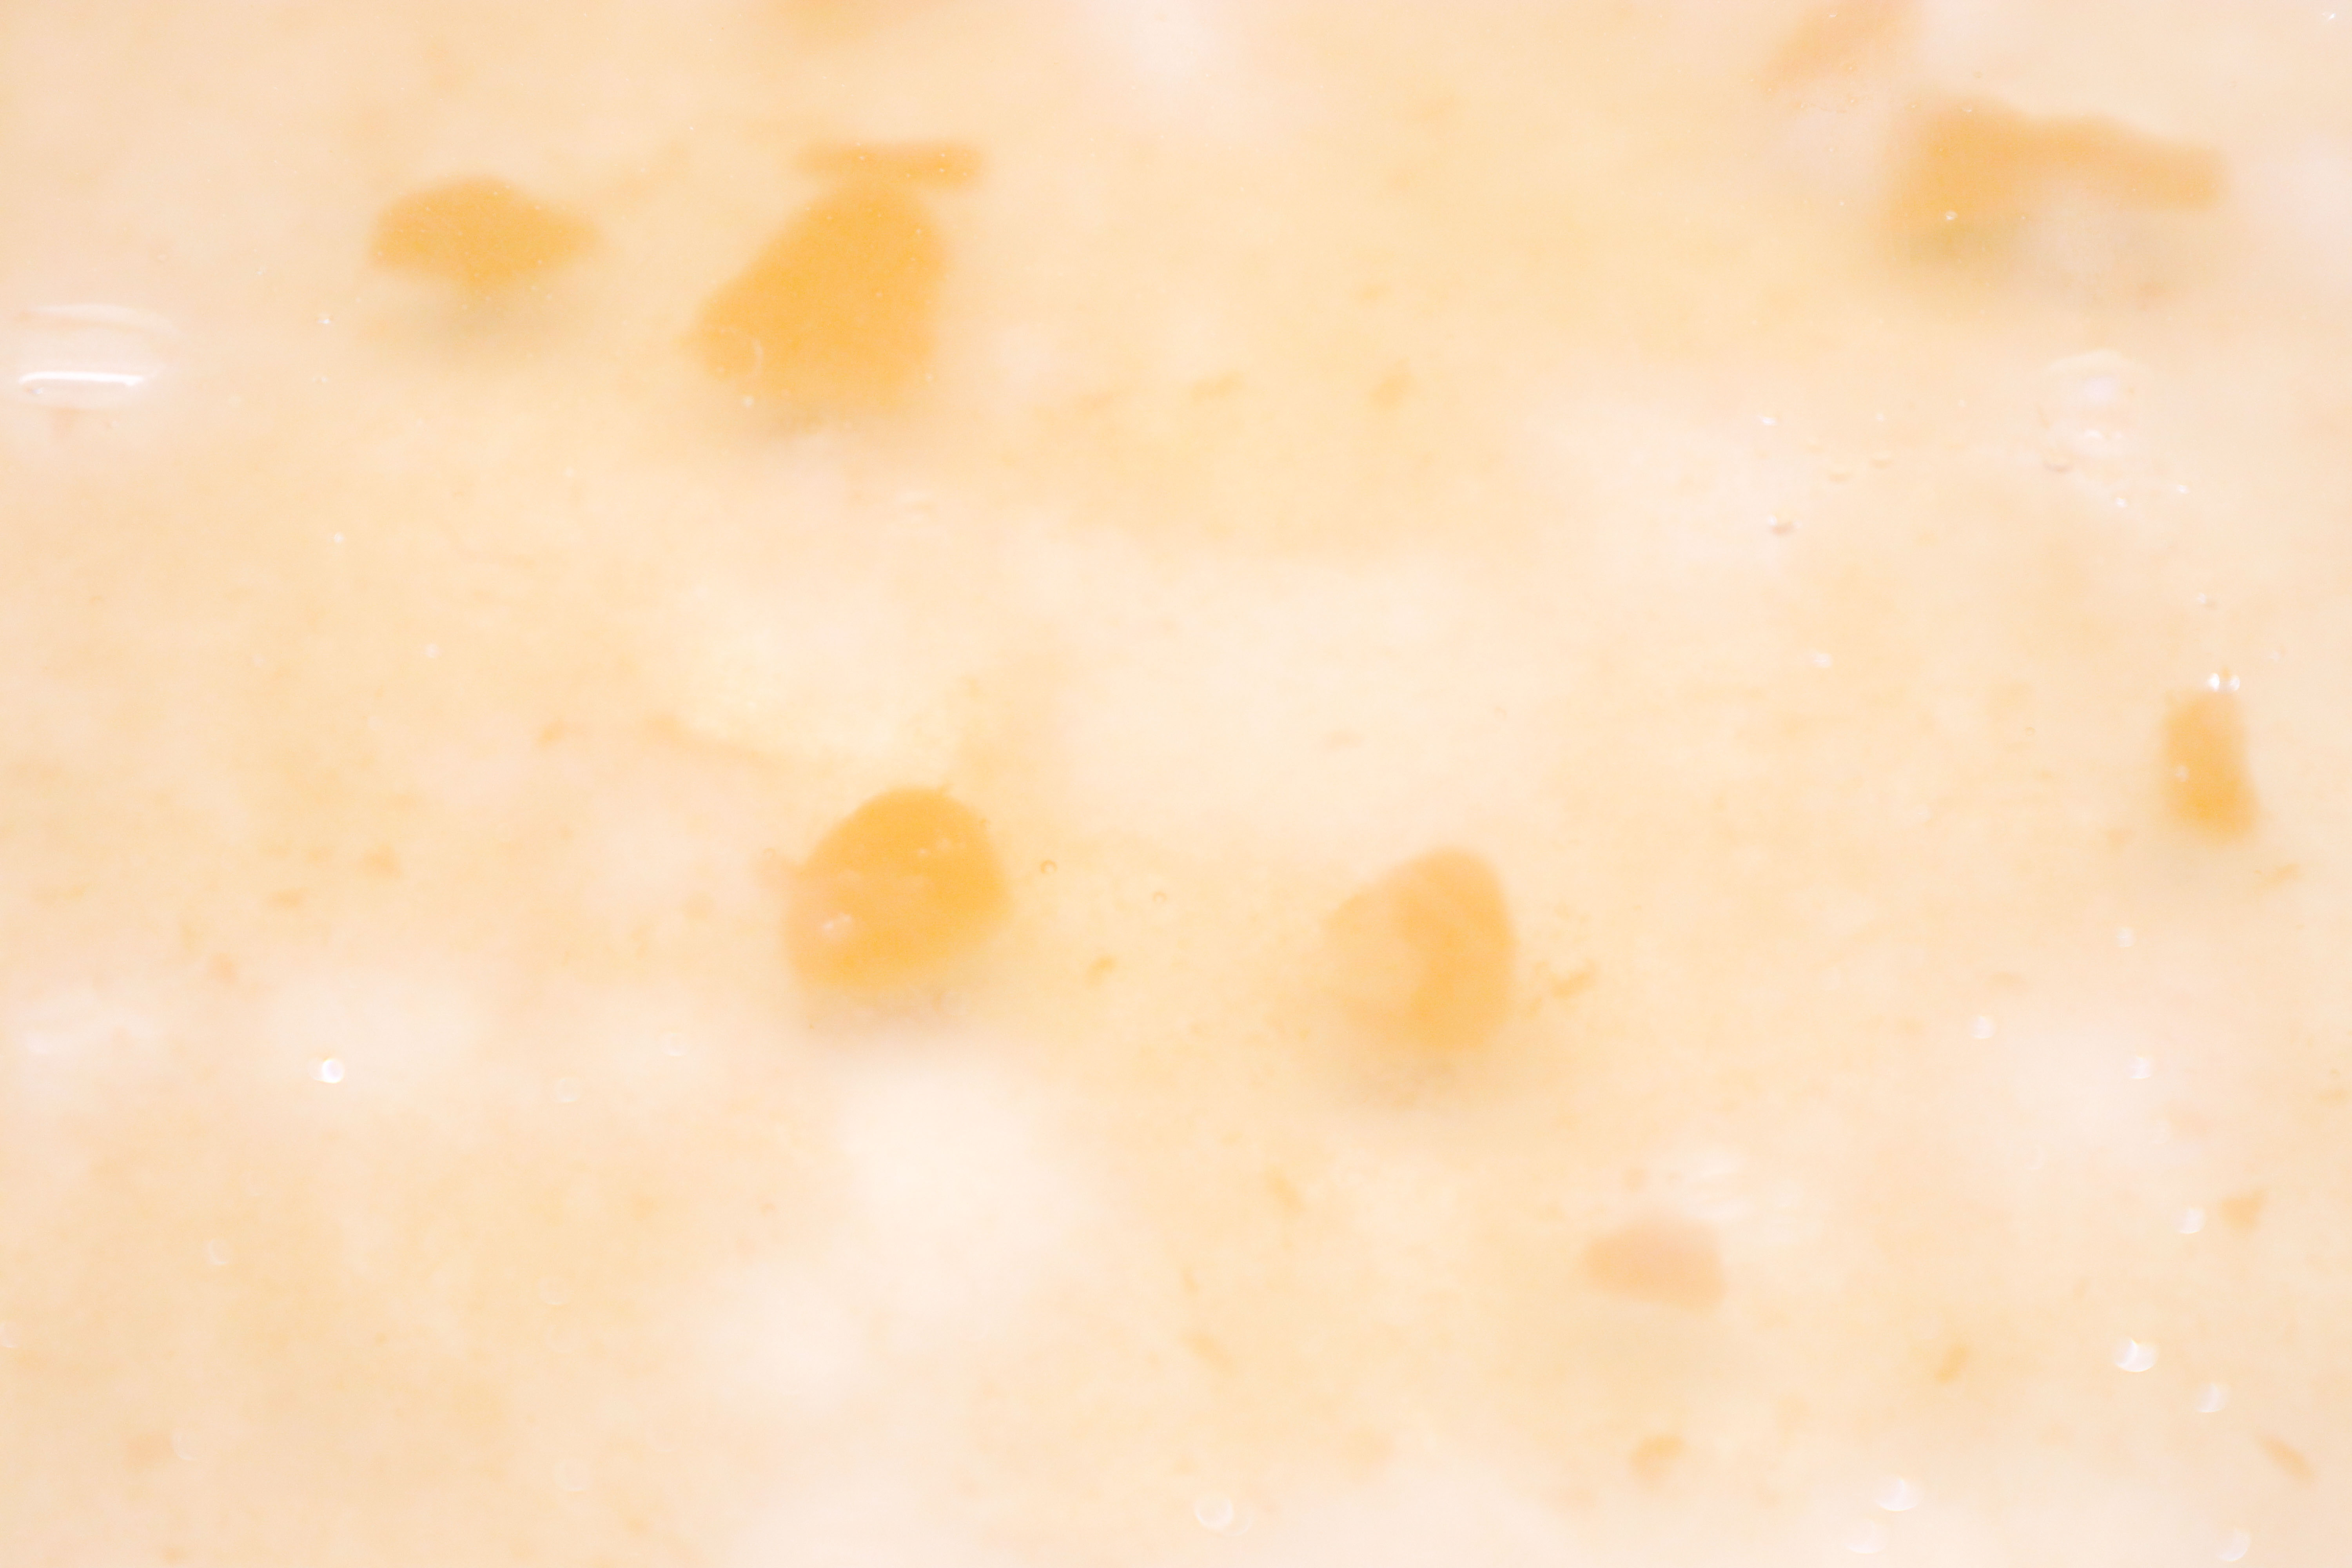
After 14 days, the nutrient liquid had become jelly-like as the mycelium grew down into it.
I cut the sheet around the edge order to get underneath and free it from the bottom of the container so the fresh nutrient liquid could flow underneath. A sharper knife would have been better. (I have since found that lifting up a small section in the corner, injecting the fresh nutrients underneath the sheet and then tilting the container to encourage the liquid to flow underneath the entire sheet is a less intrusive method of doing this)
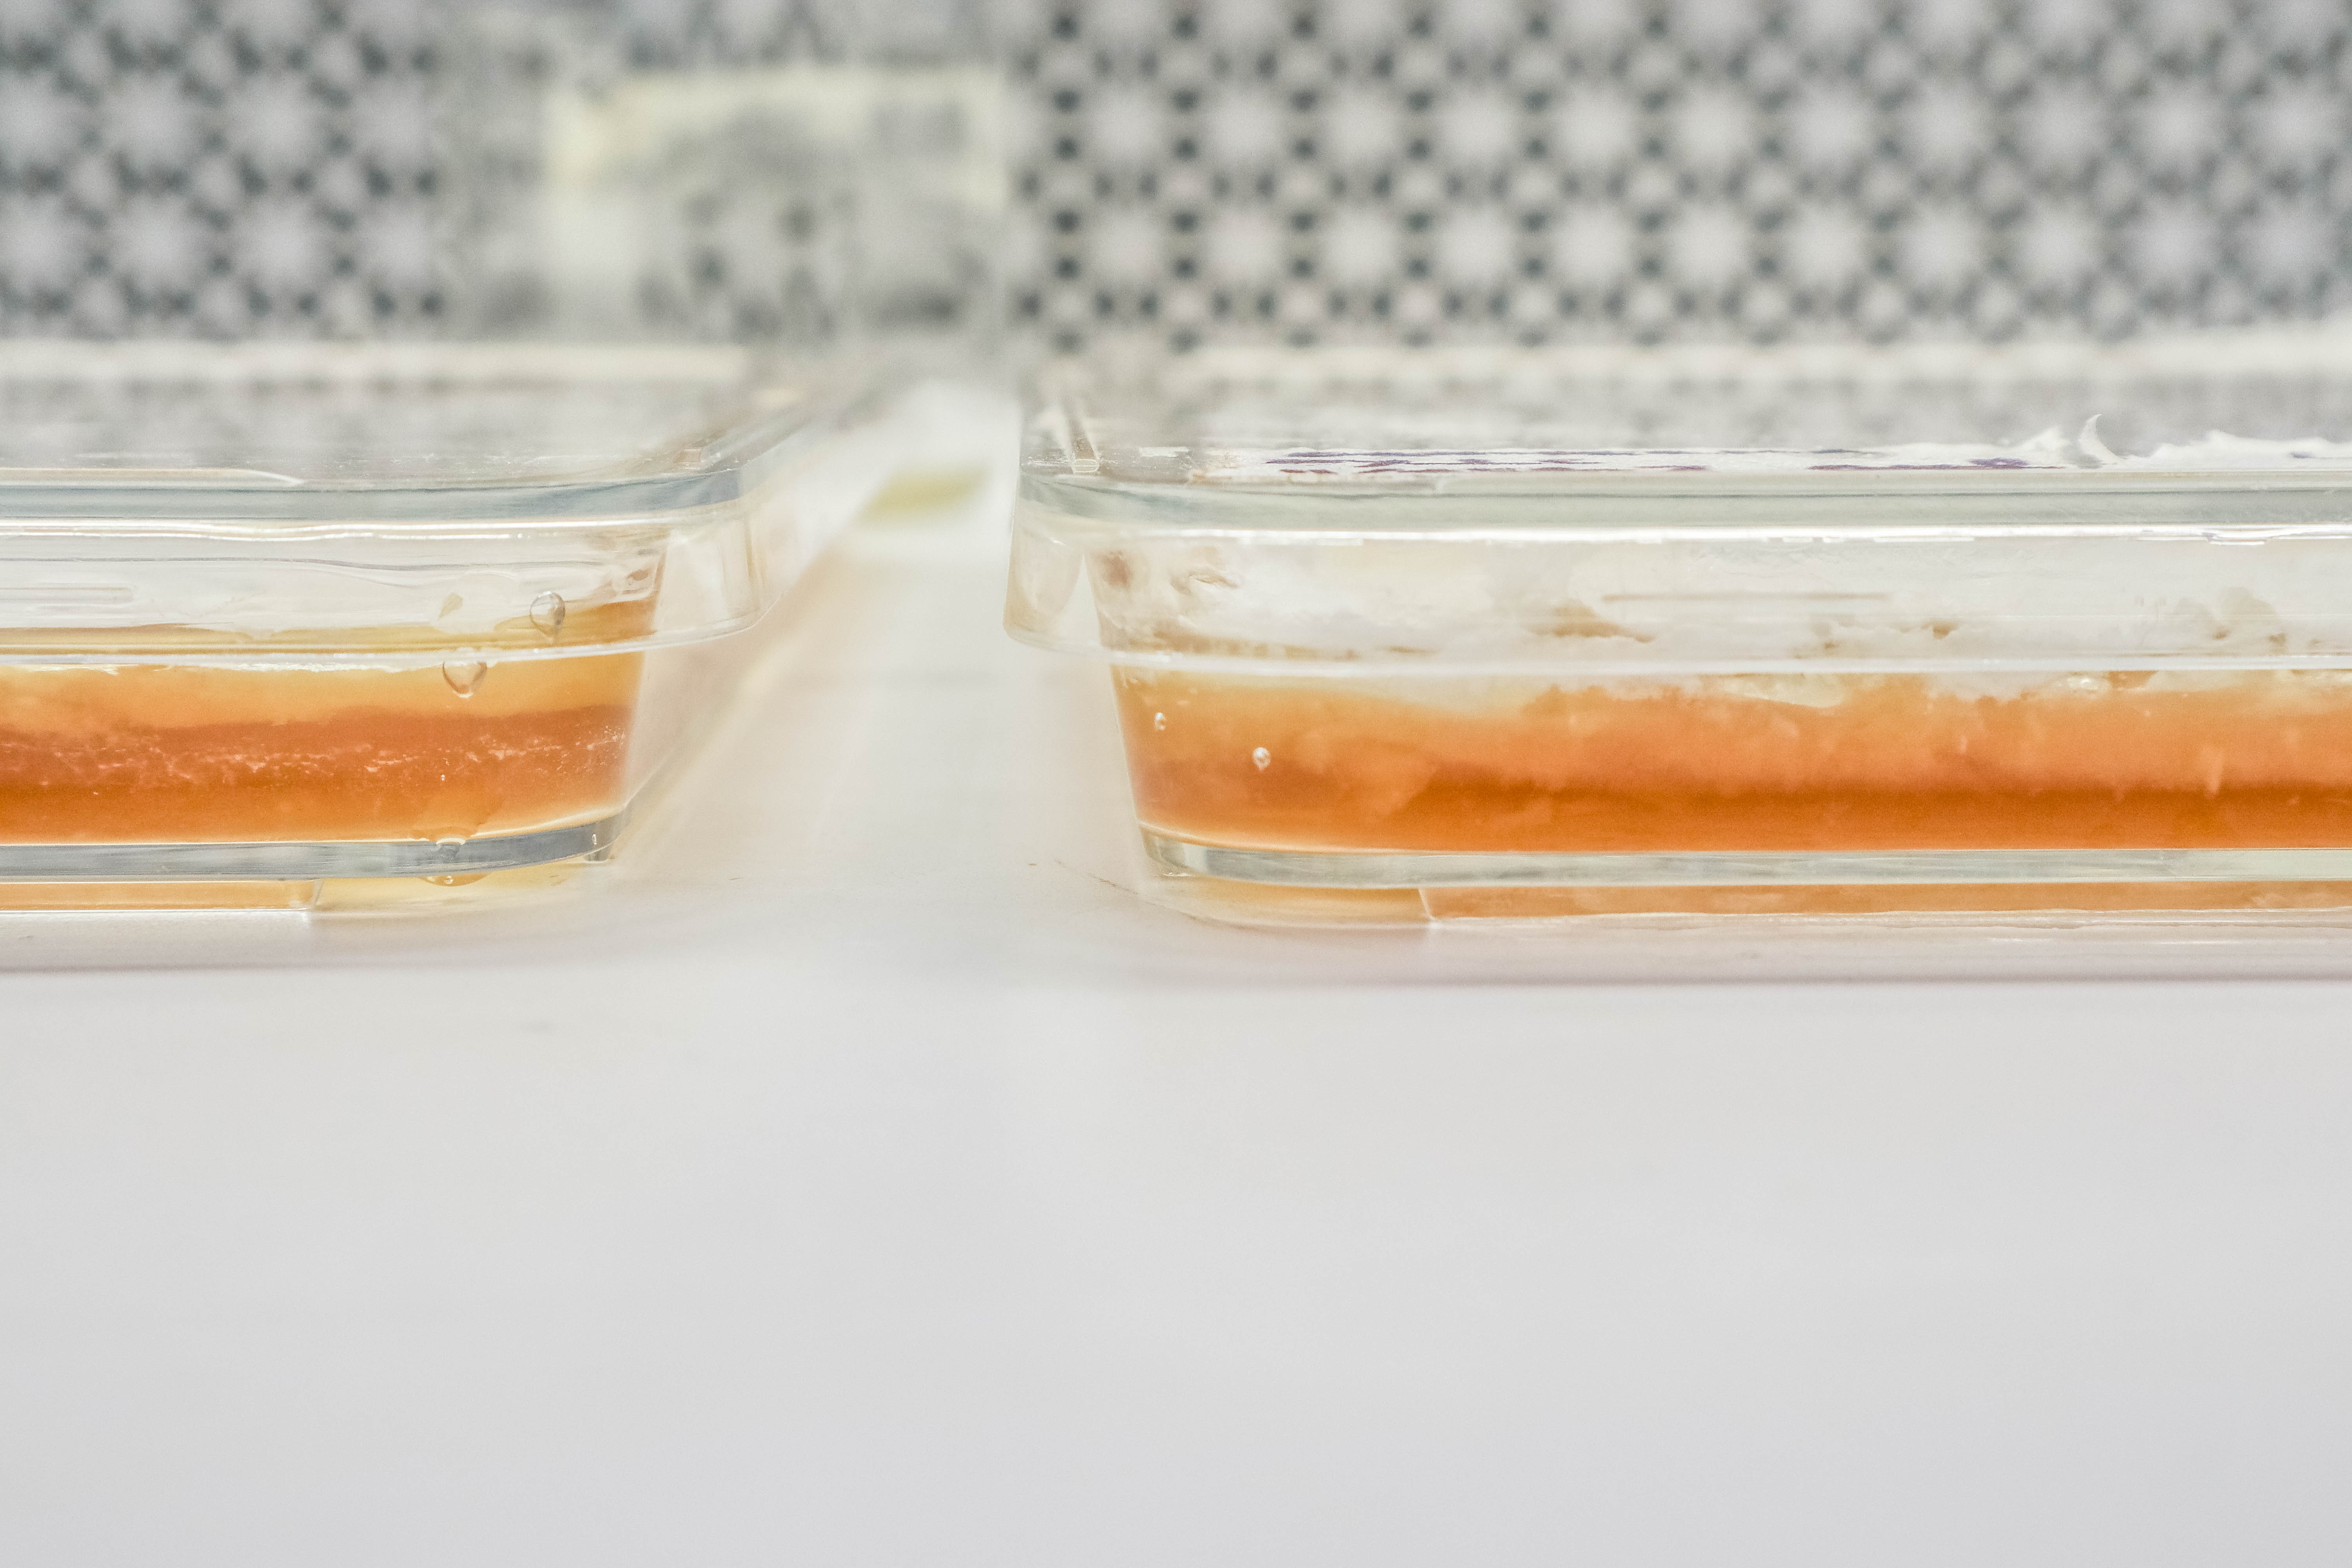 The 2 dishes after the new nutrients have been injected underneath the mycelium sheets using the syringe.
19 Days
One sheet had a renewed growth after adding the fresh nutrients:
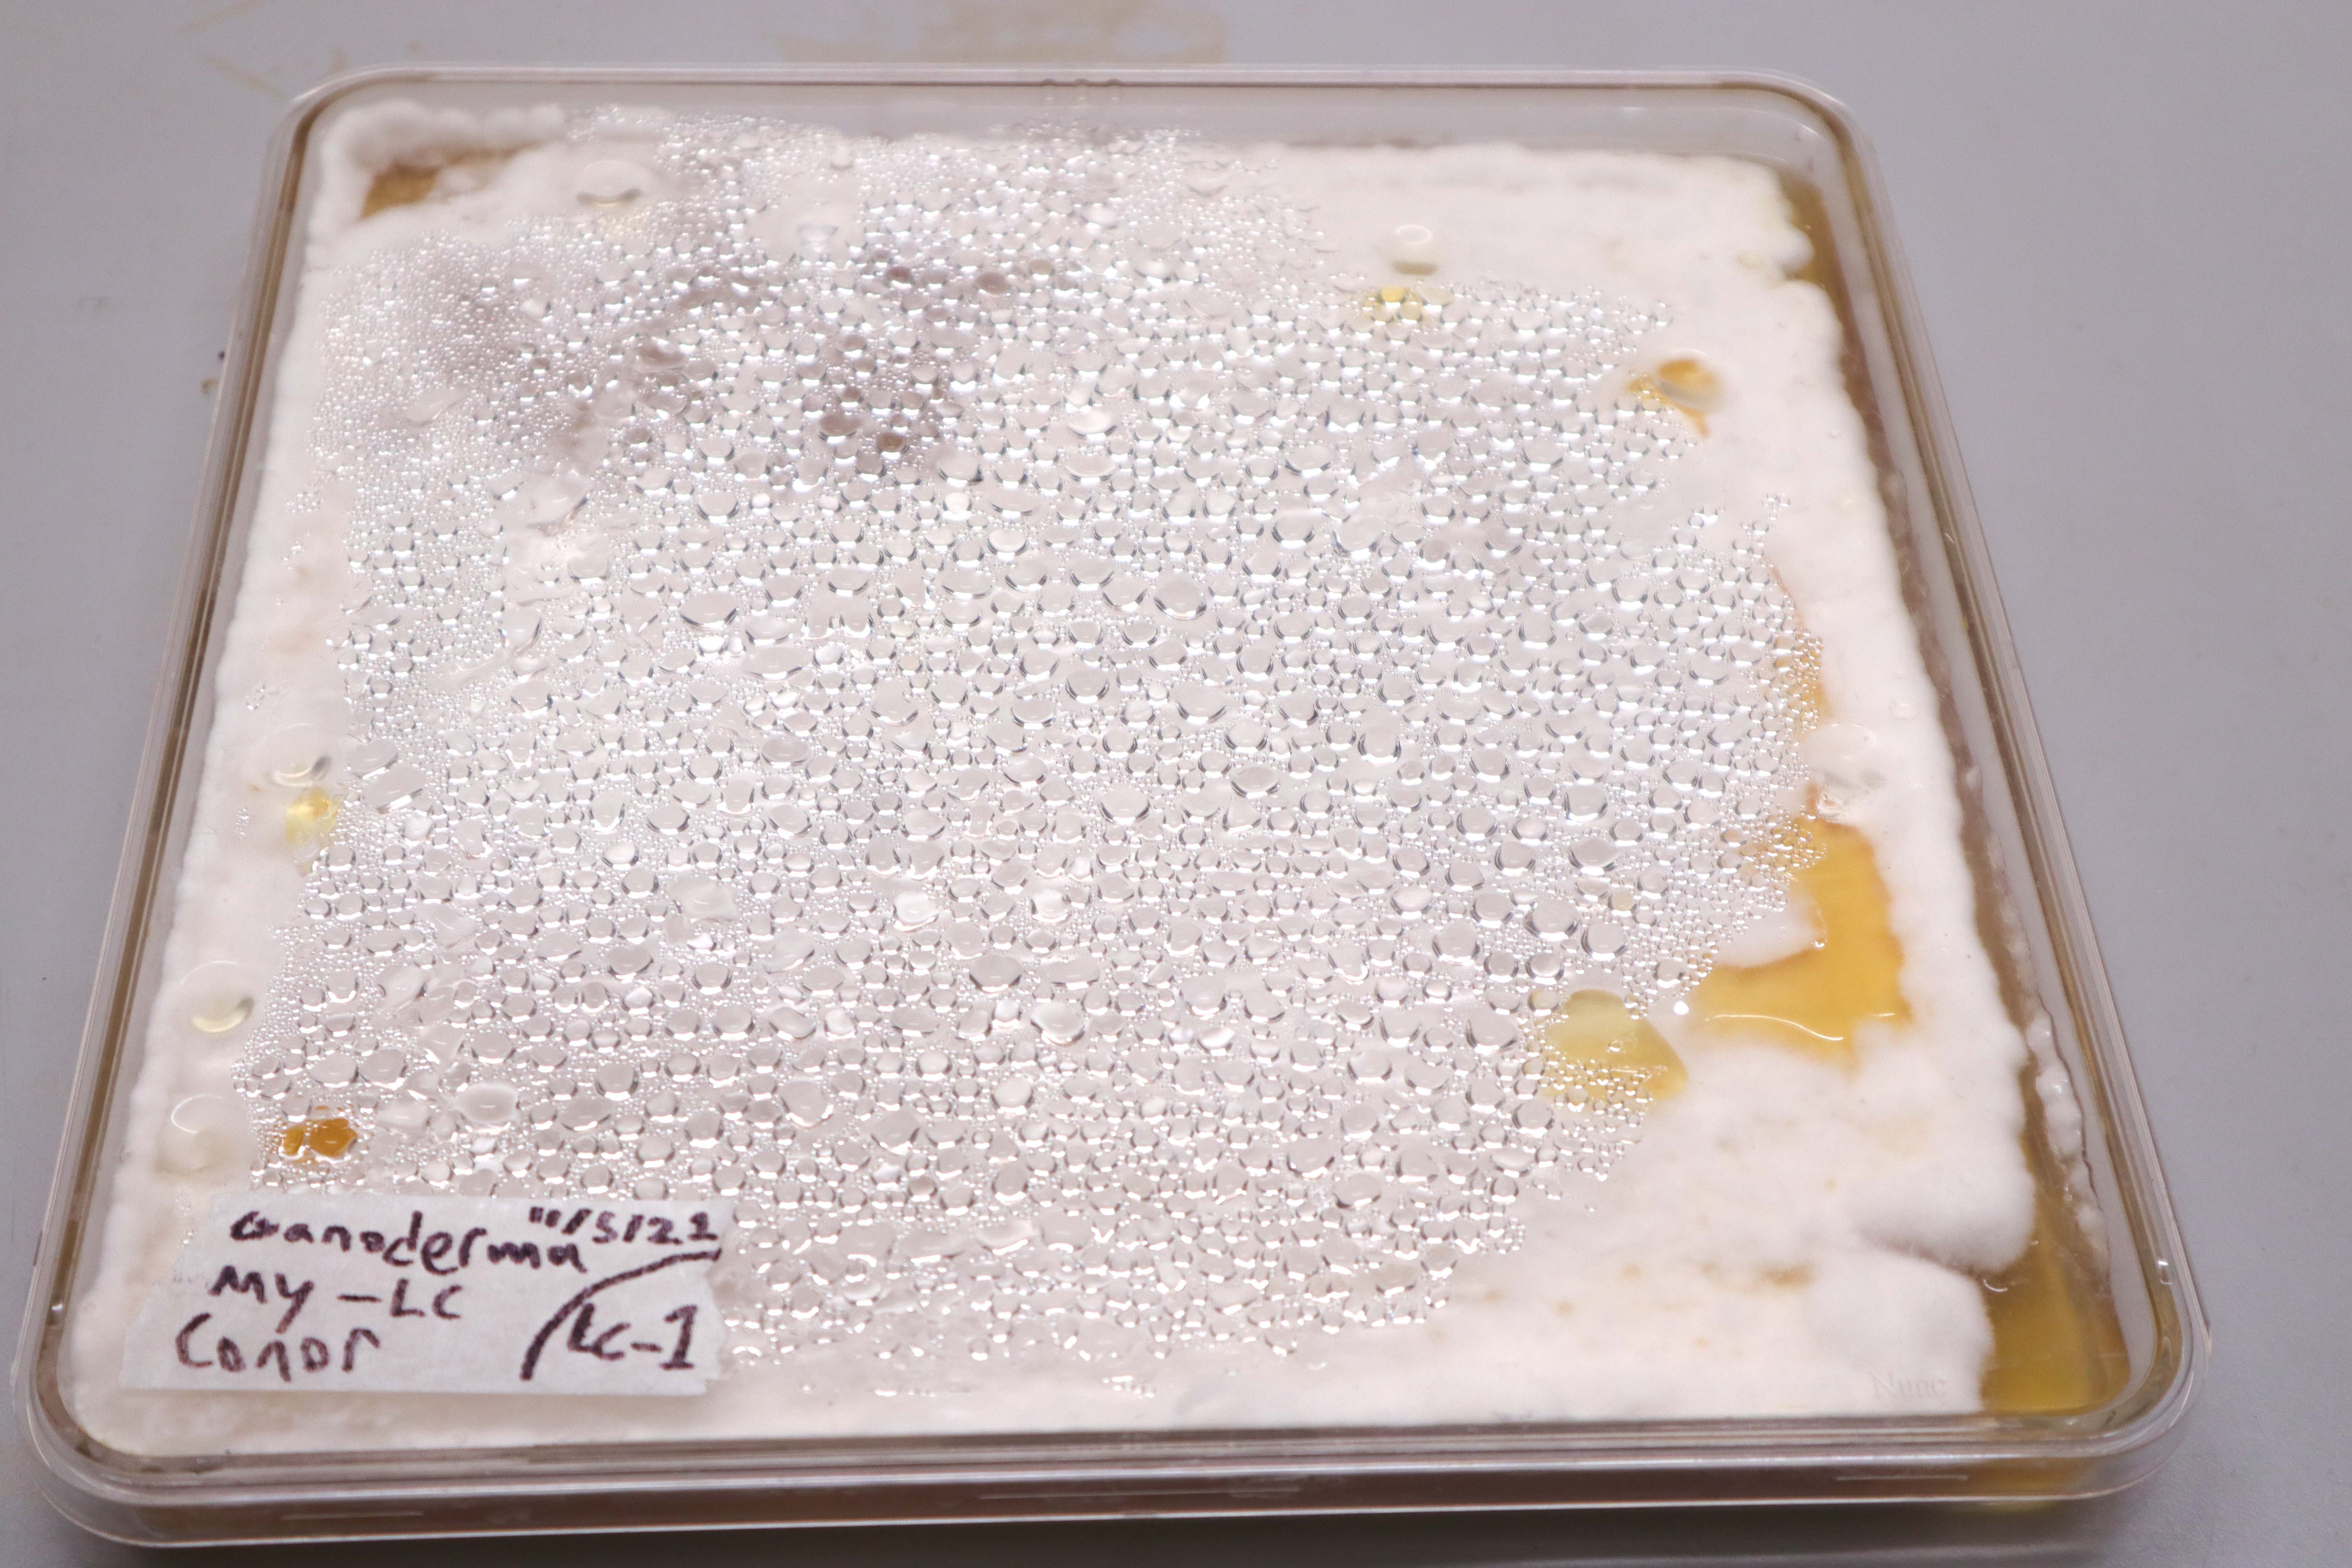

One of the 2 sheets was contaminated during the refreshing of the nutrients. It didn’t grow any further after adding the fresh nutrients:
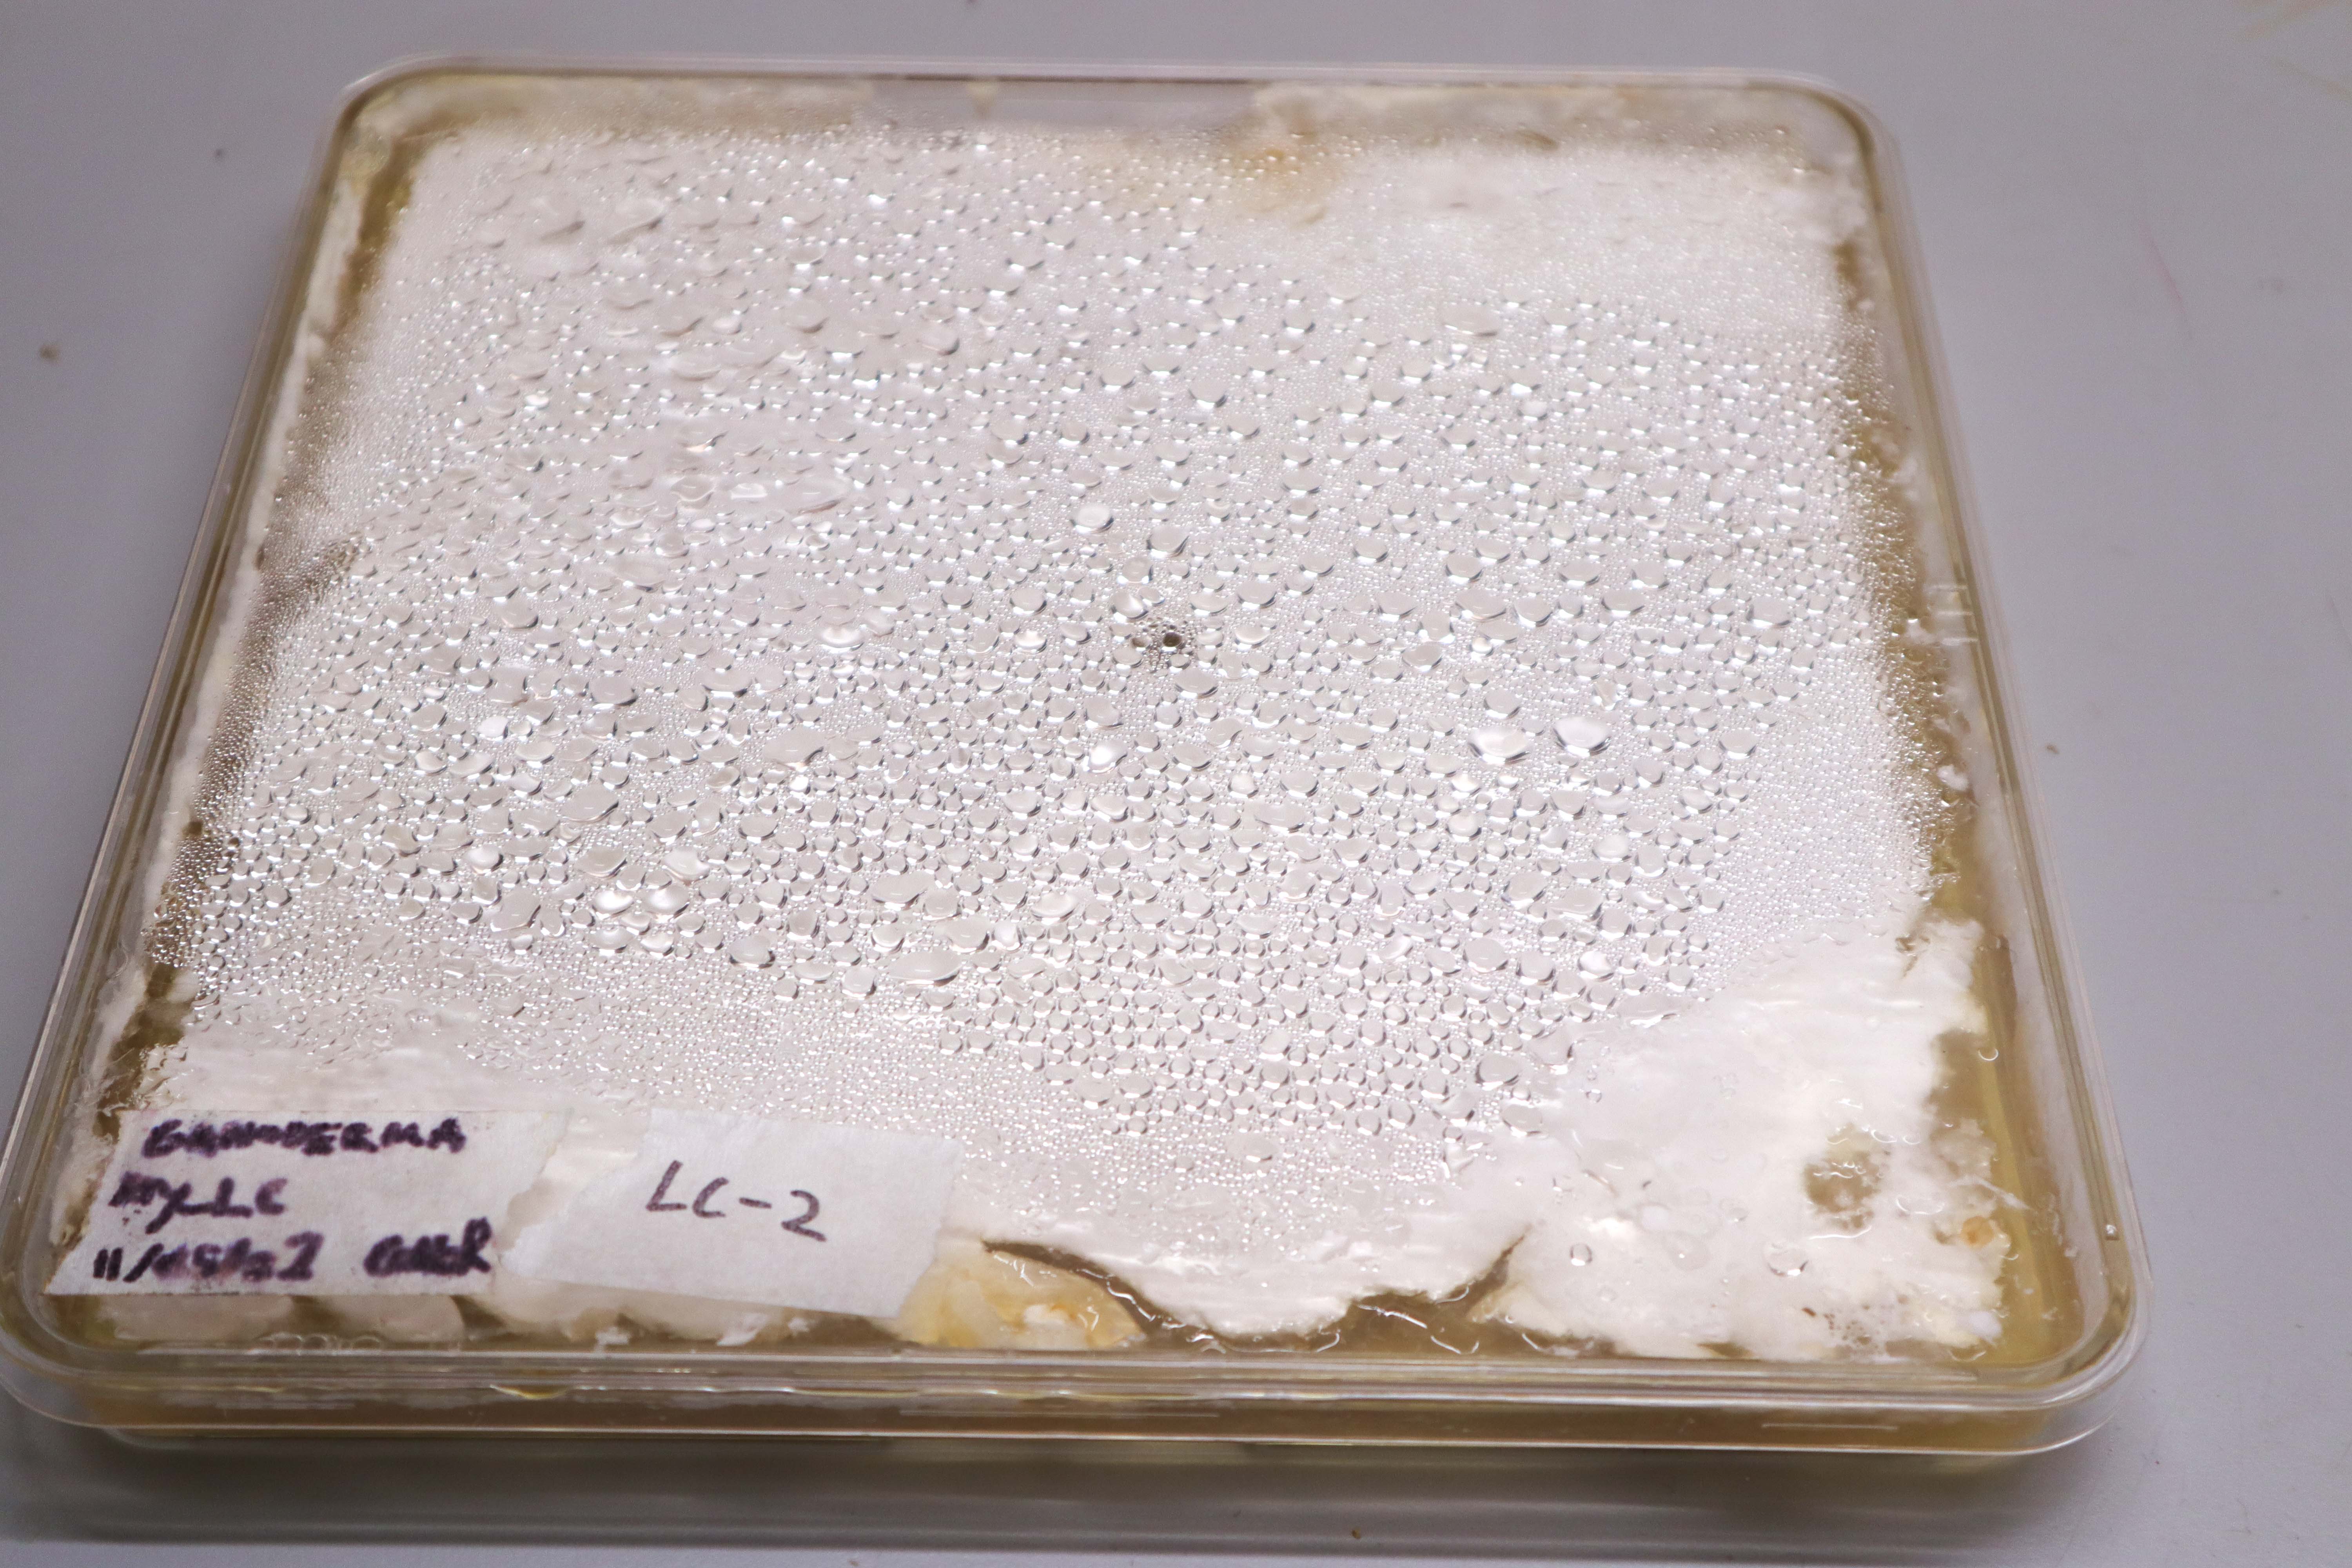
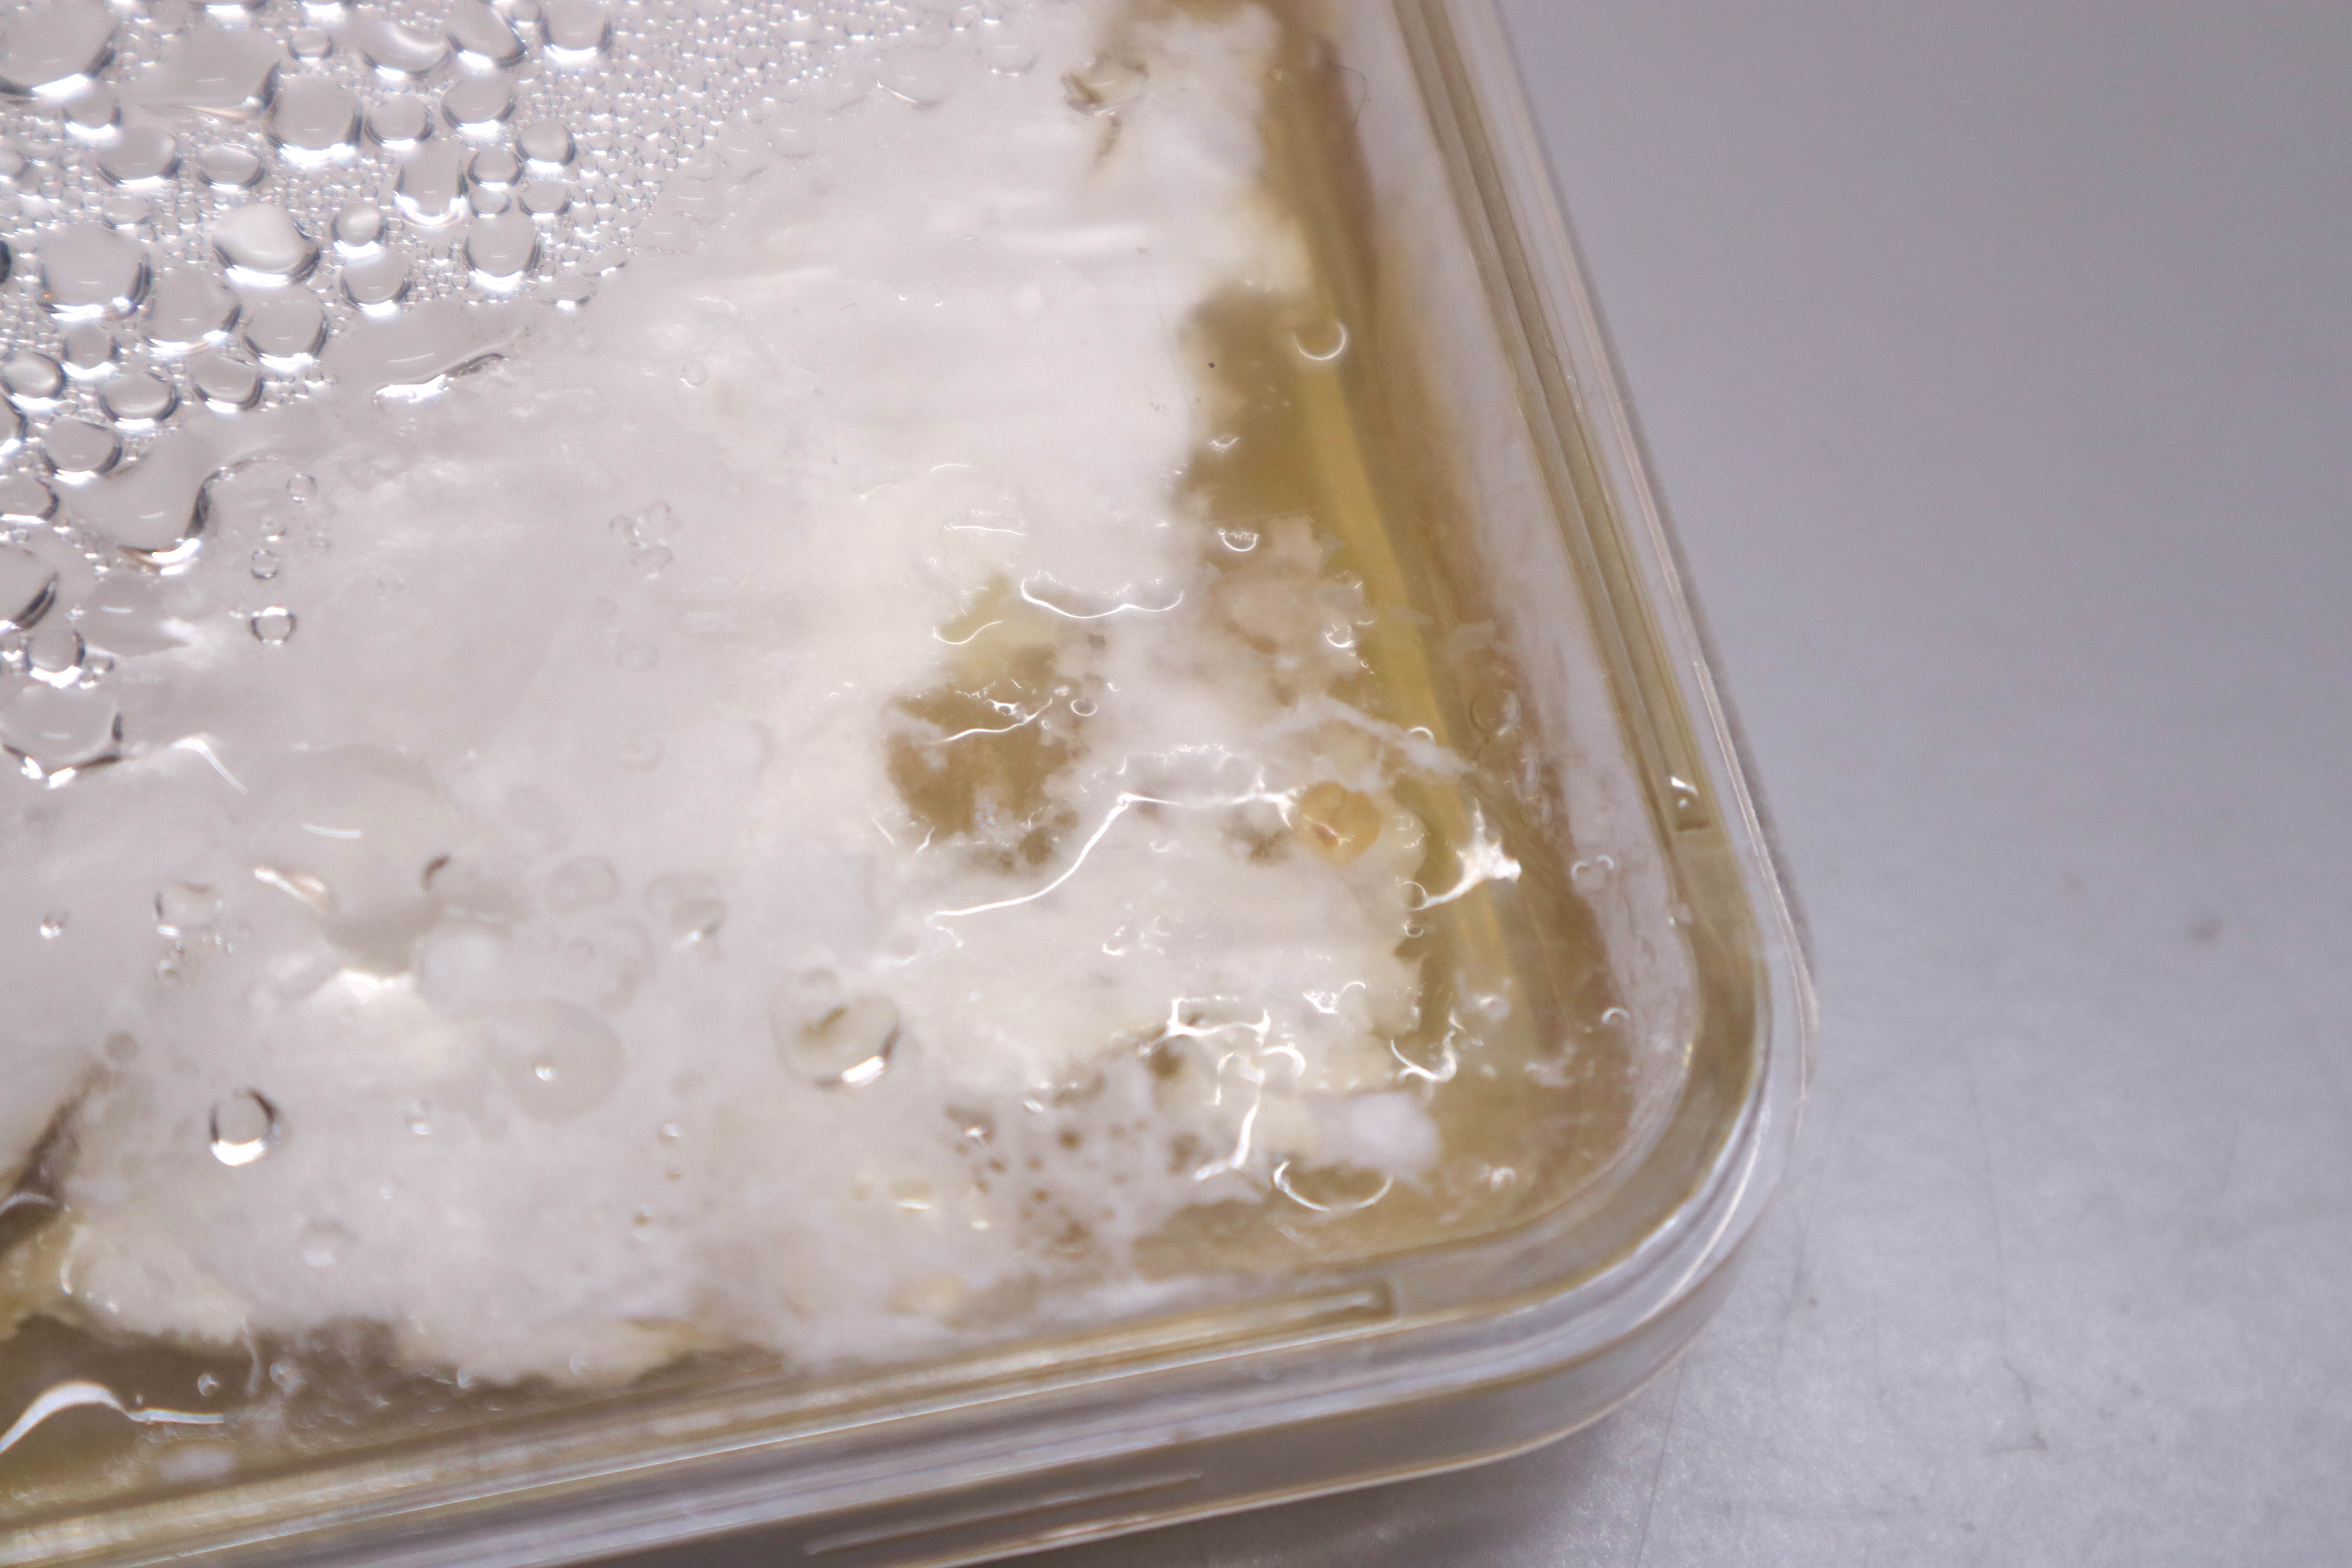
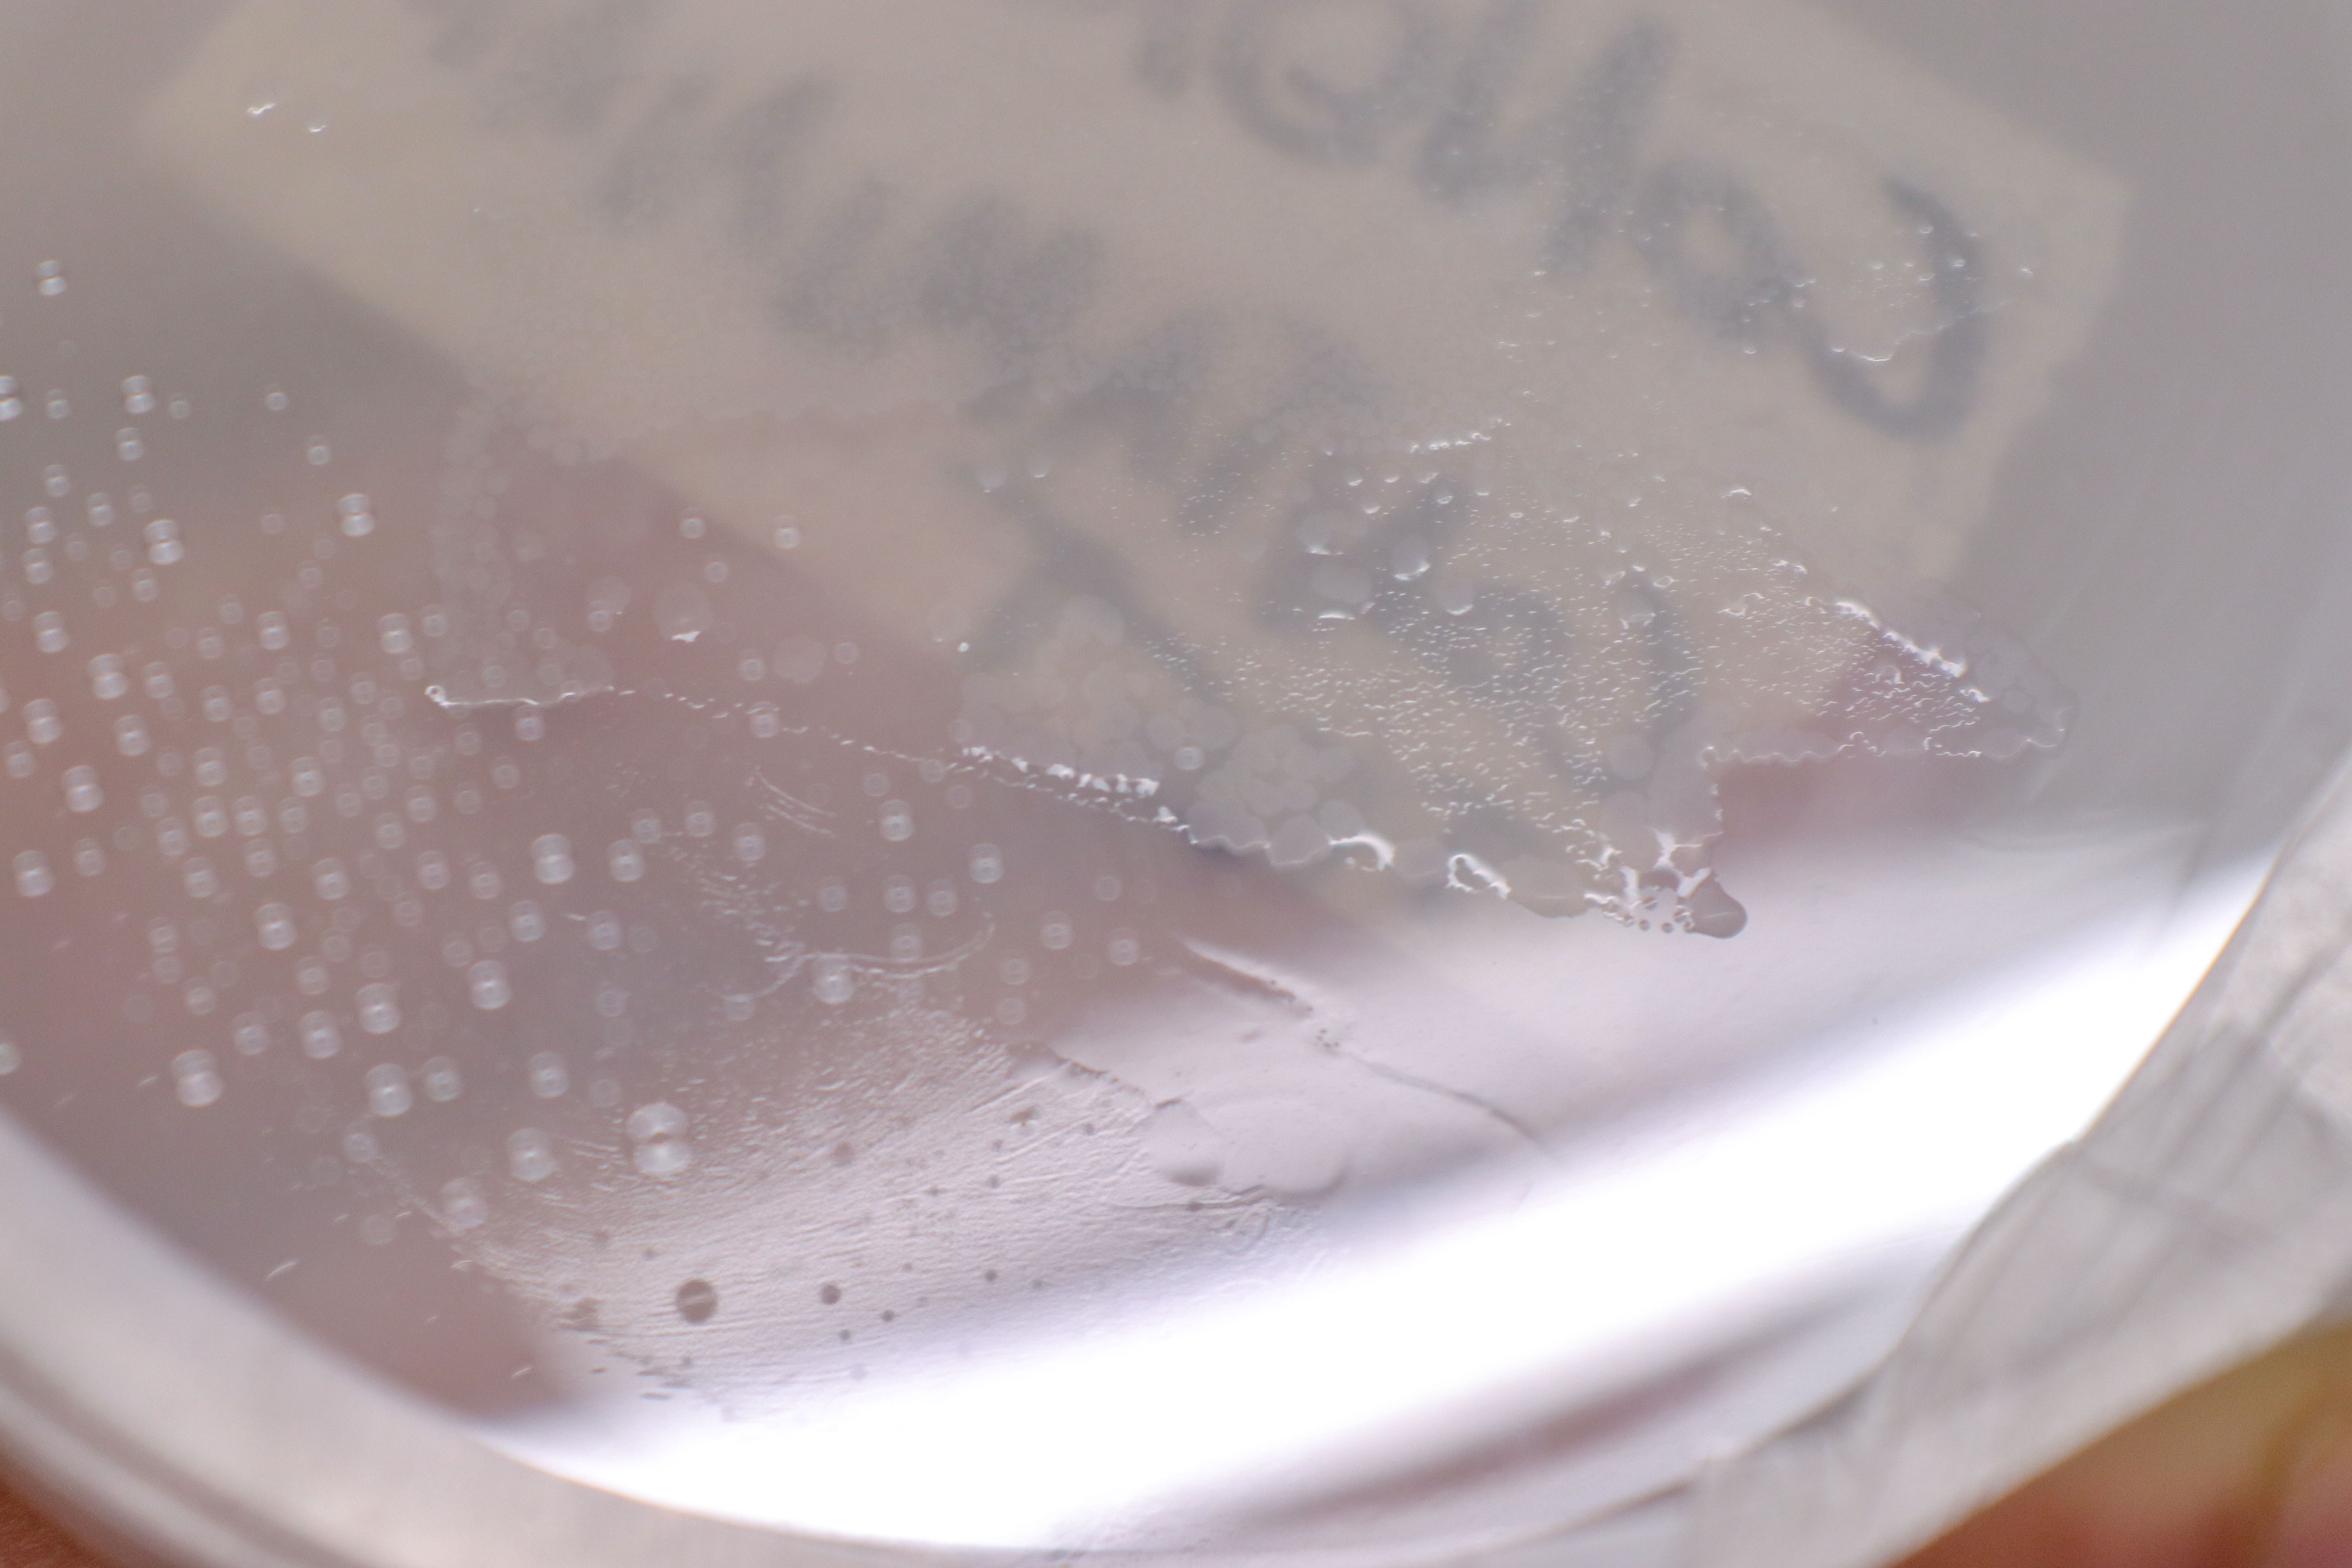
I took a swab from the liquid and spread it on agar. Bacteria can be seen growing after a few days:
28 Days
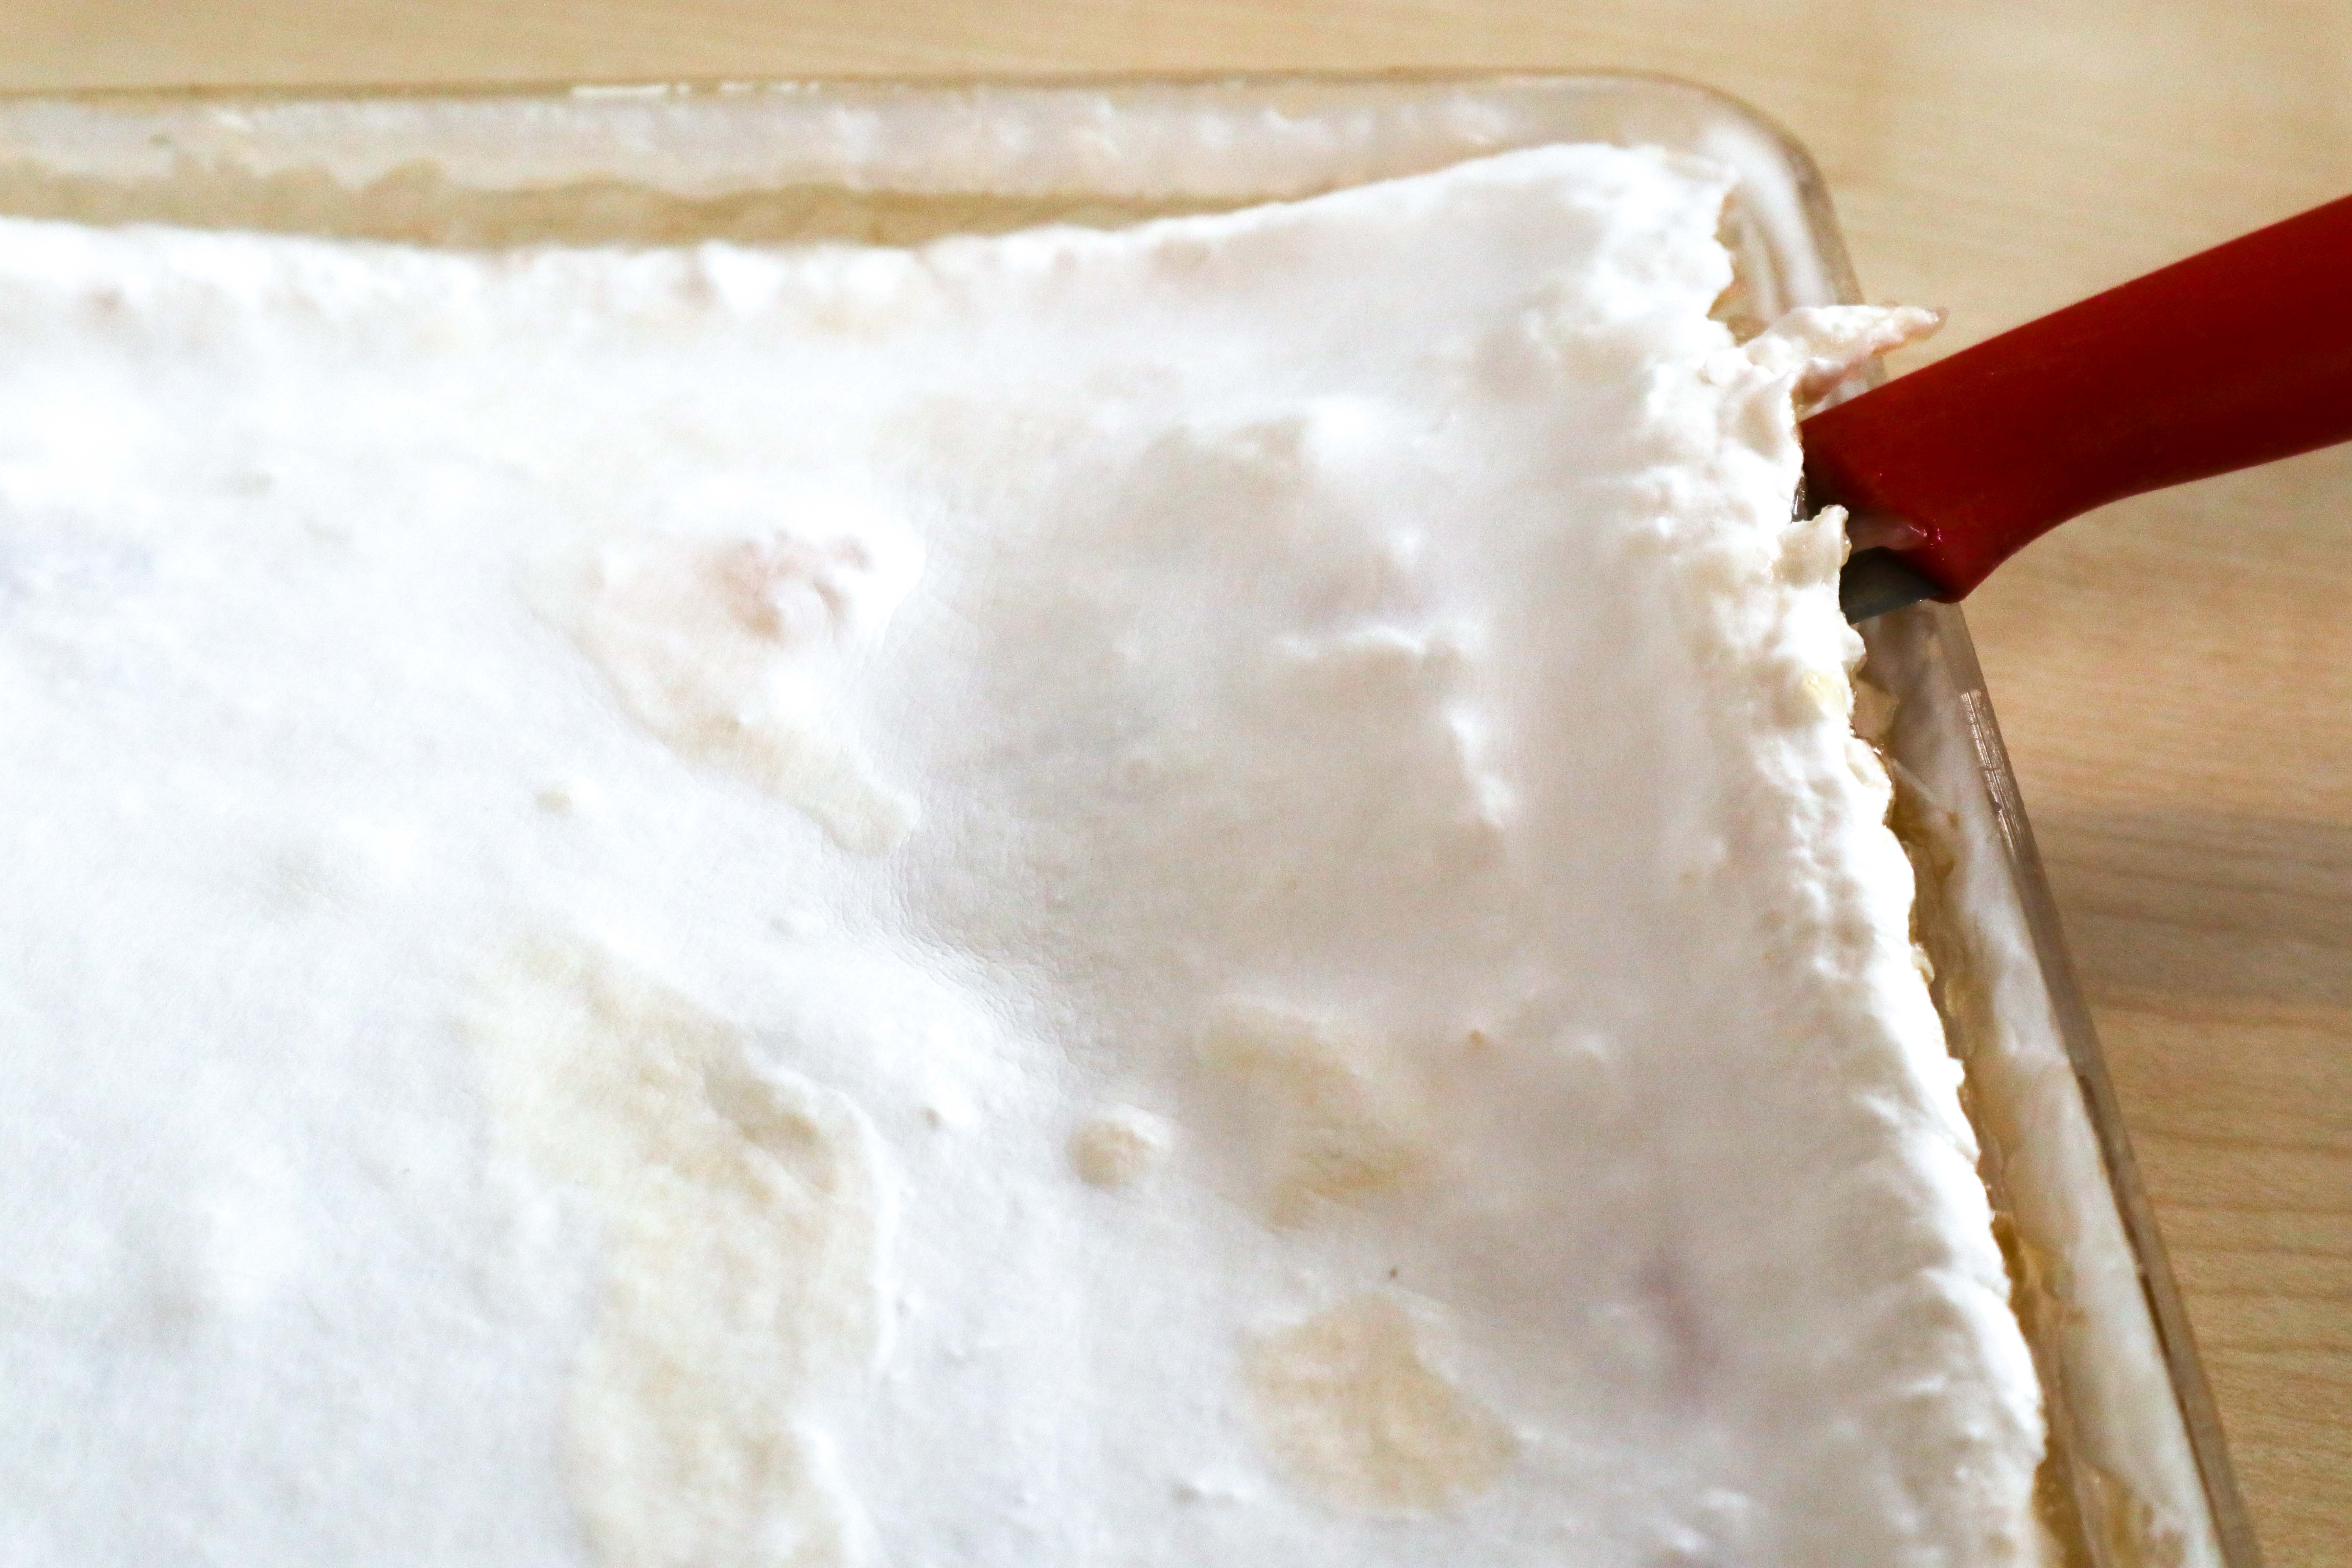
The remaining sheet after 14 more days in the incubator with the fresh nutrients:
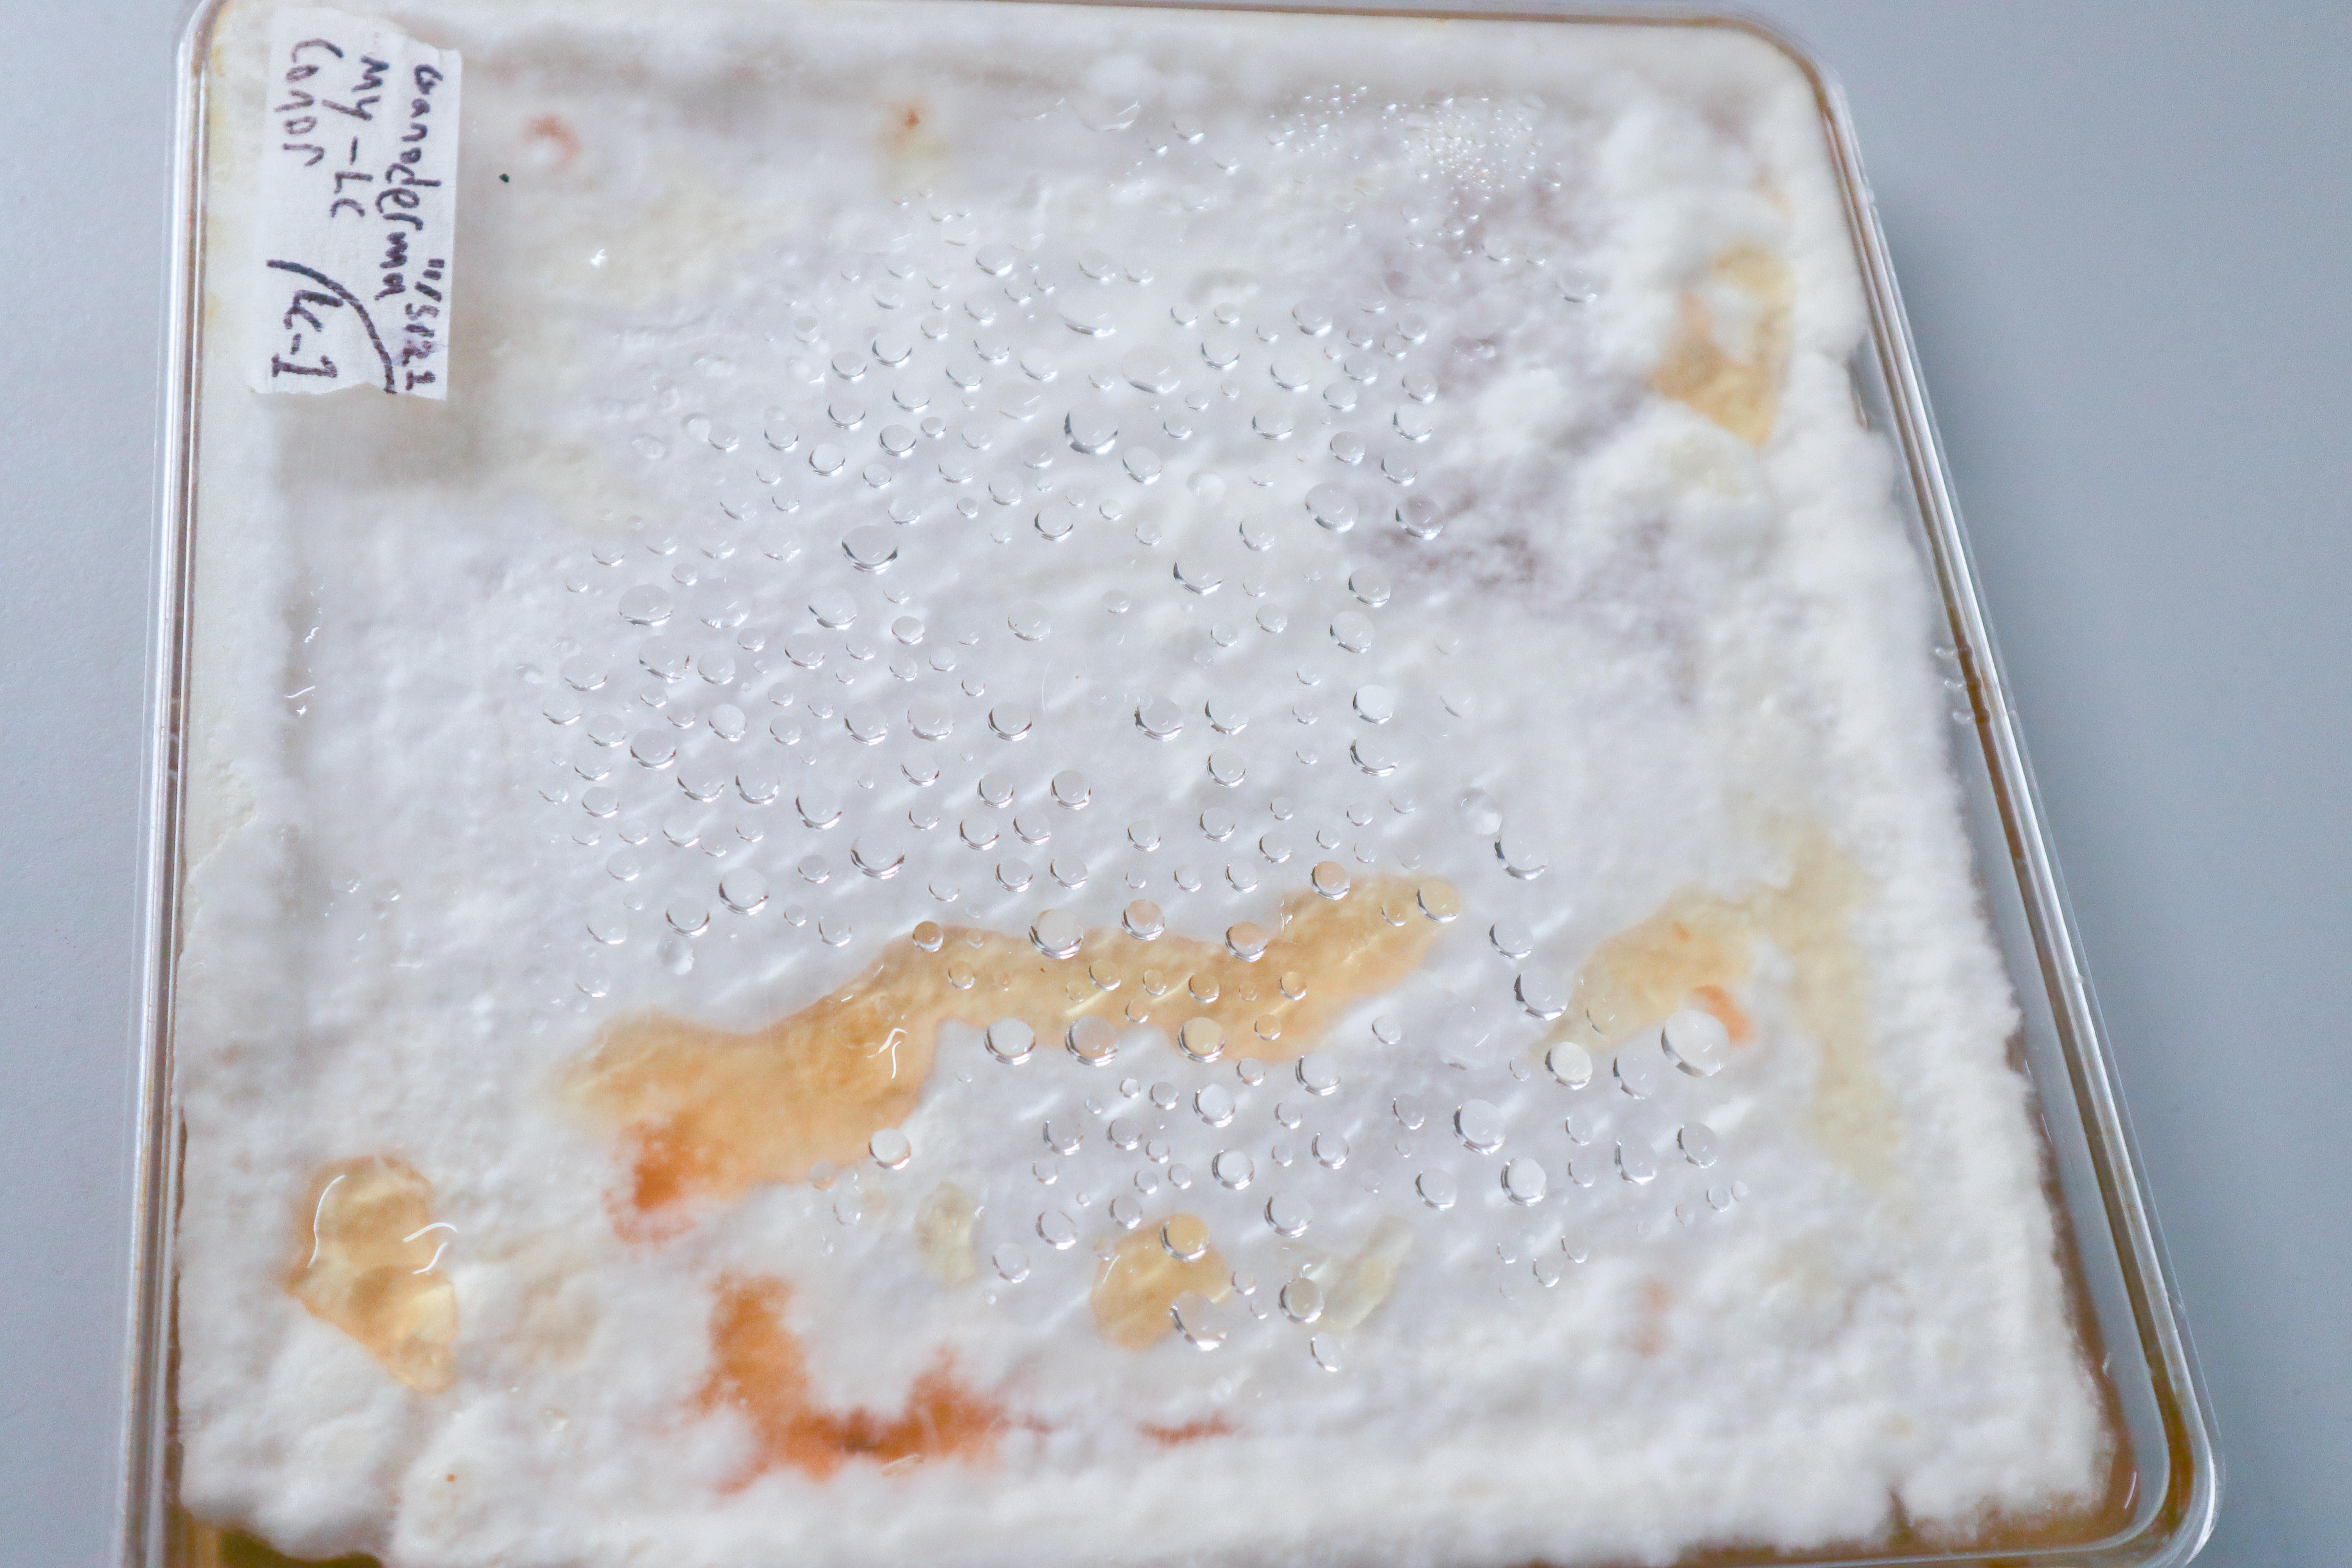
Instead of harvesting the sheet now, I decided to add fresh nutrients and allow the sheet to grow for 14 more days. This was done to give myself the best chance of having at least 1 finished sheet by the end of my time at Bluecity Lab with which I can experiment with processing and maybe use to make a strap for the mycelium timepiece.
42 days
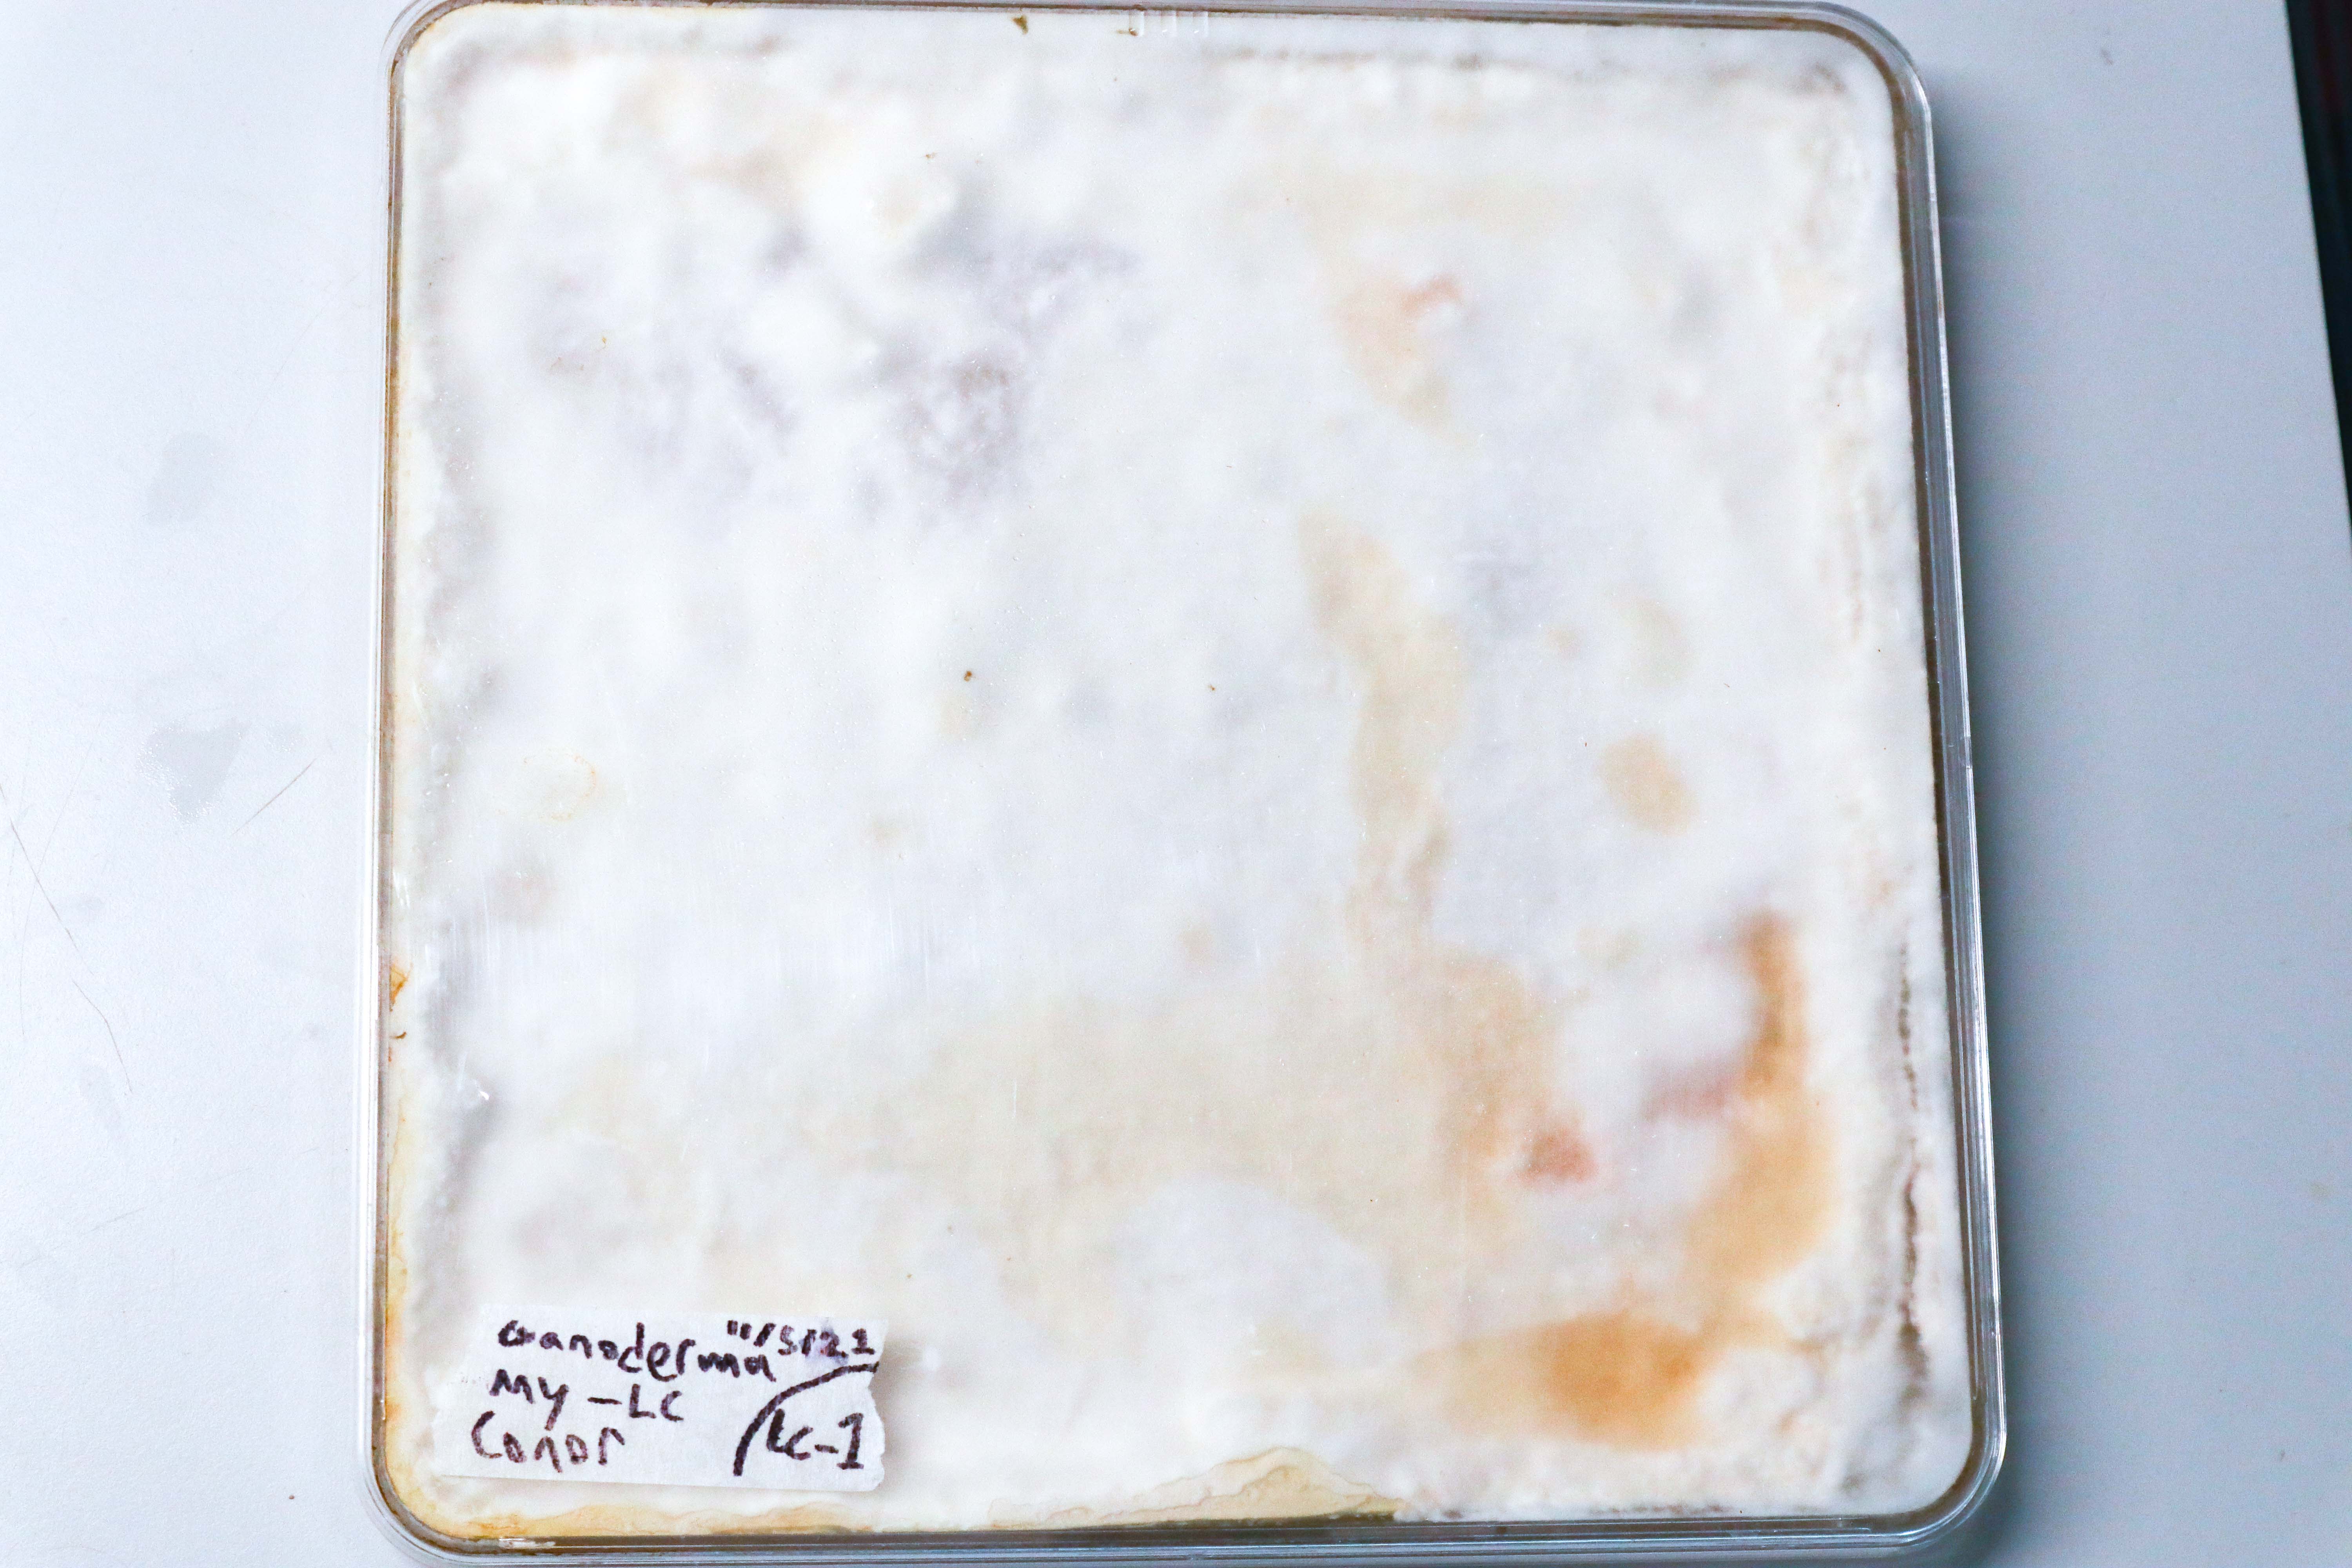
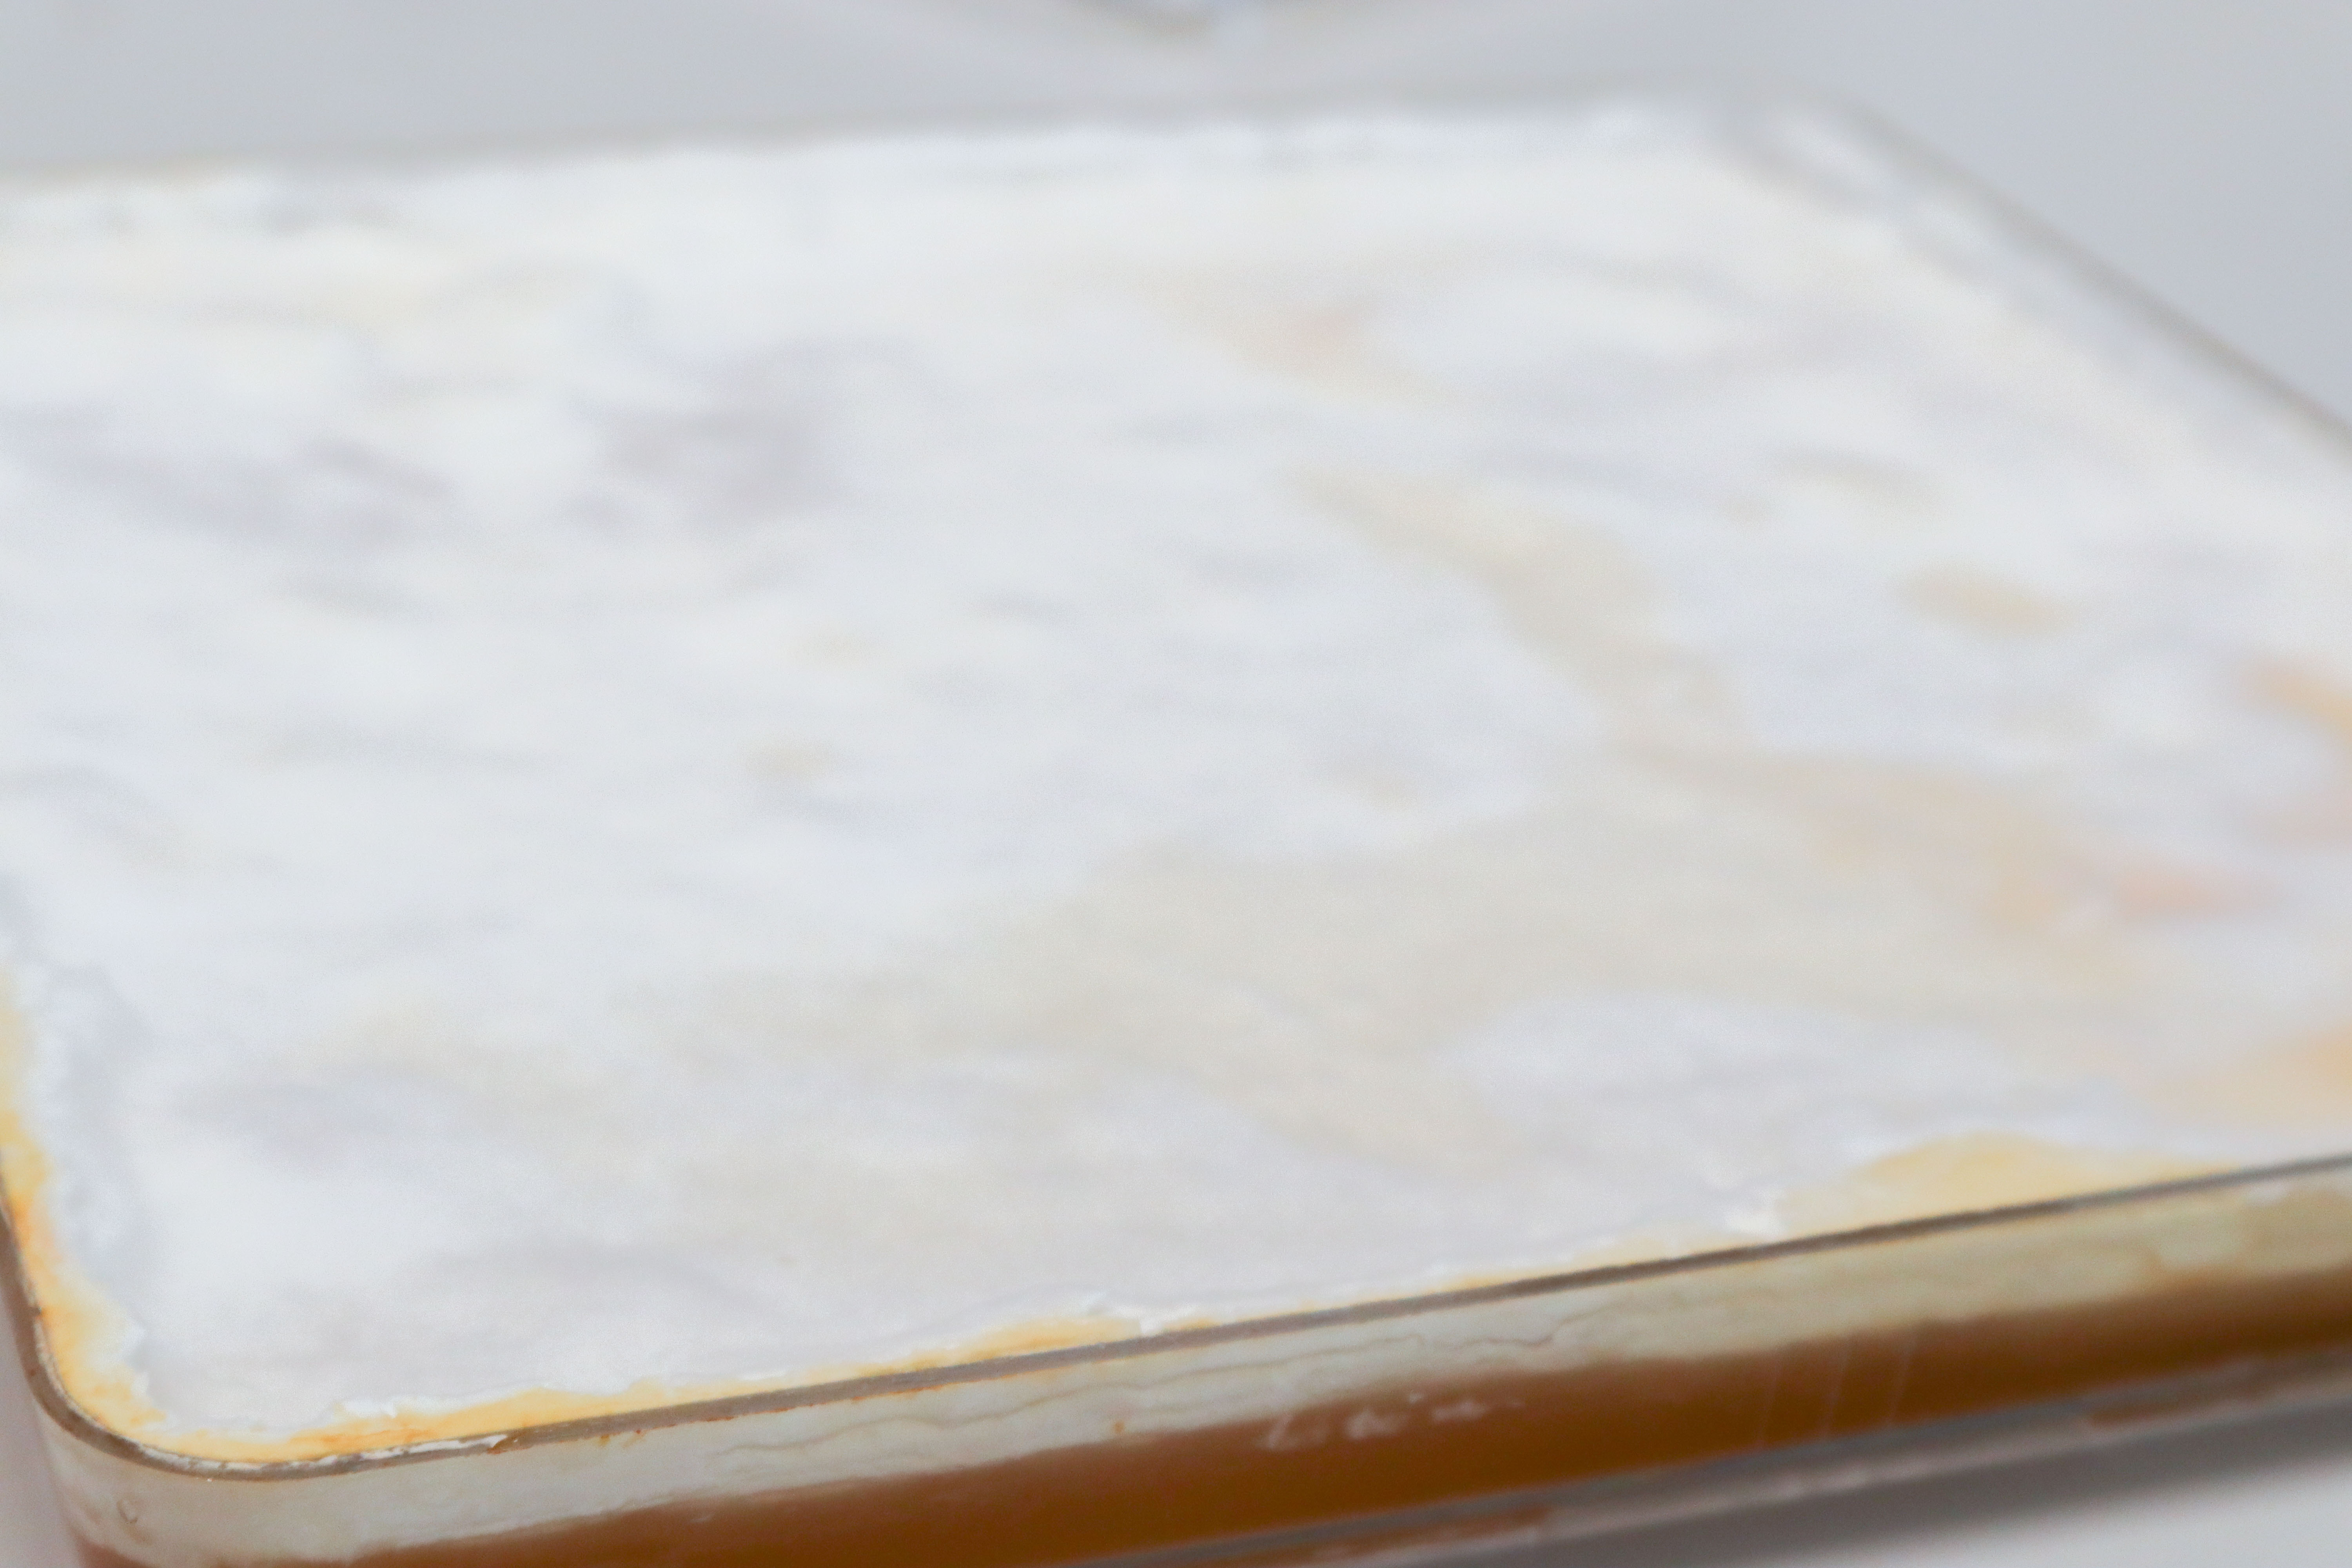
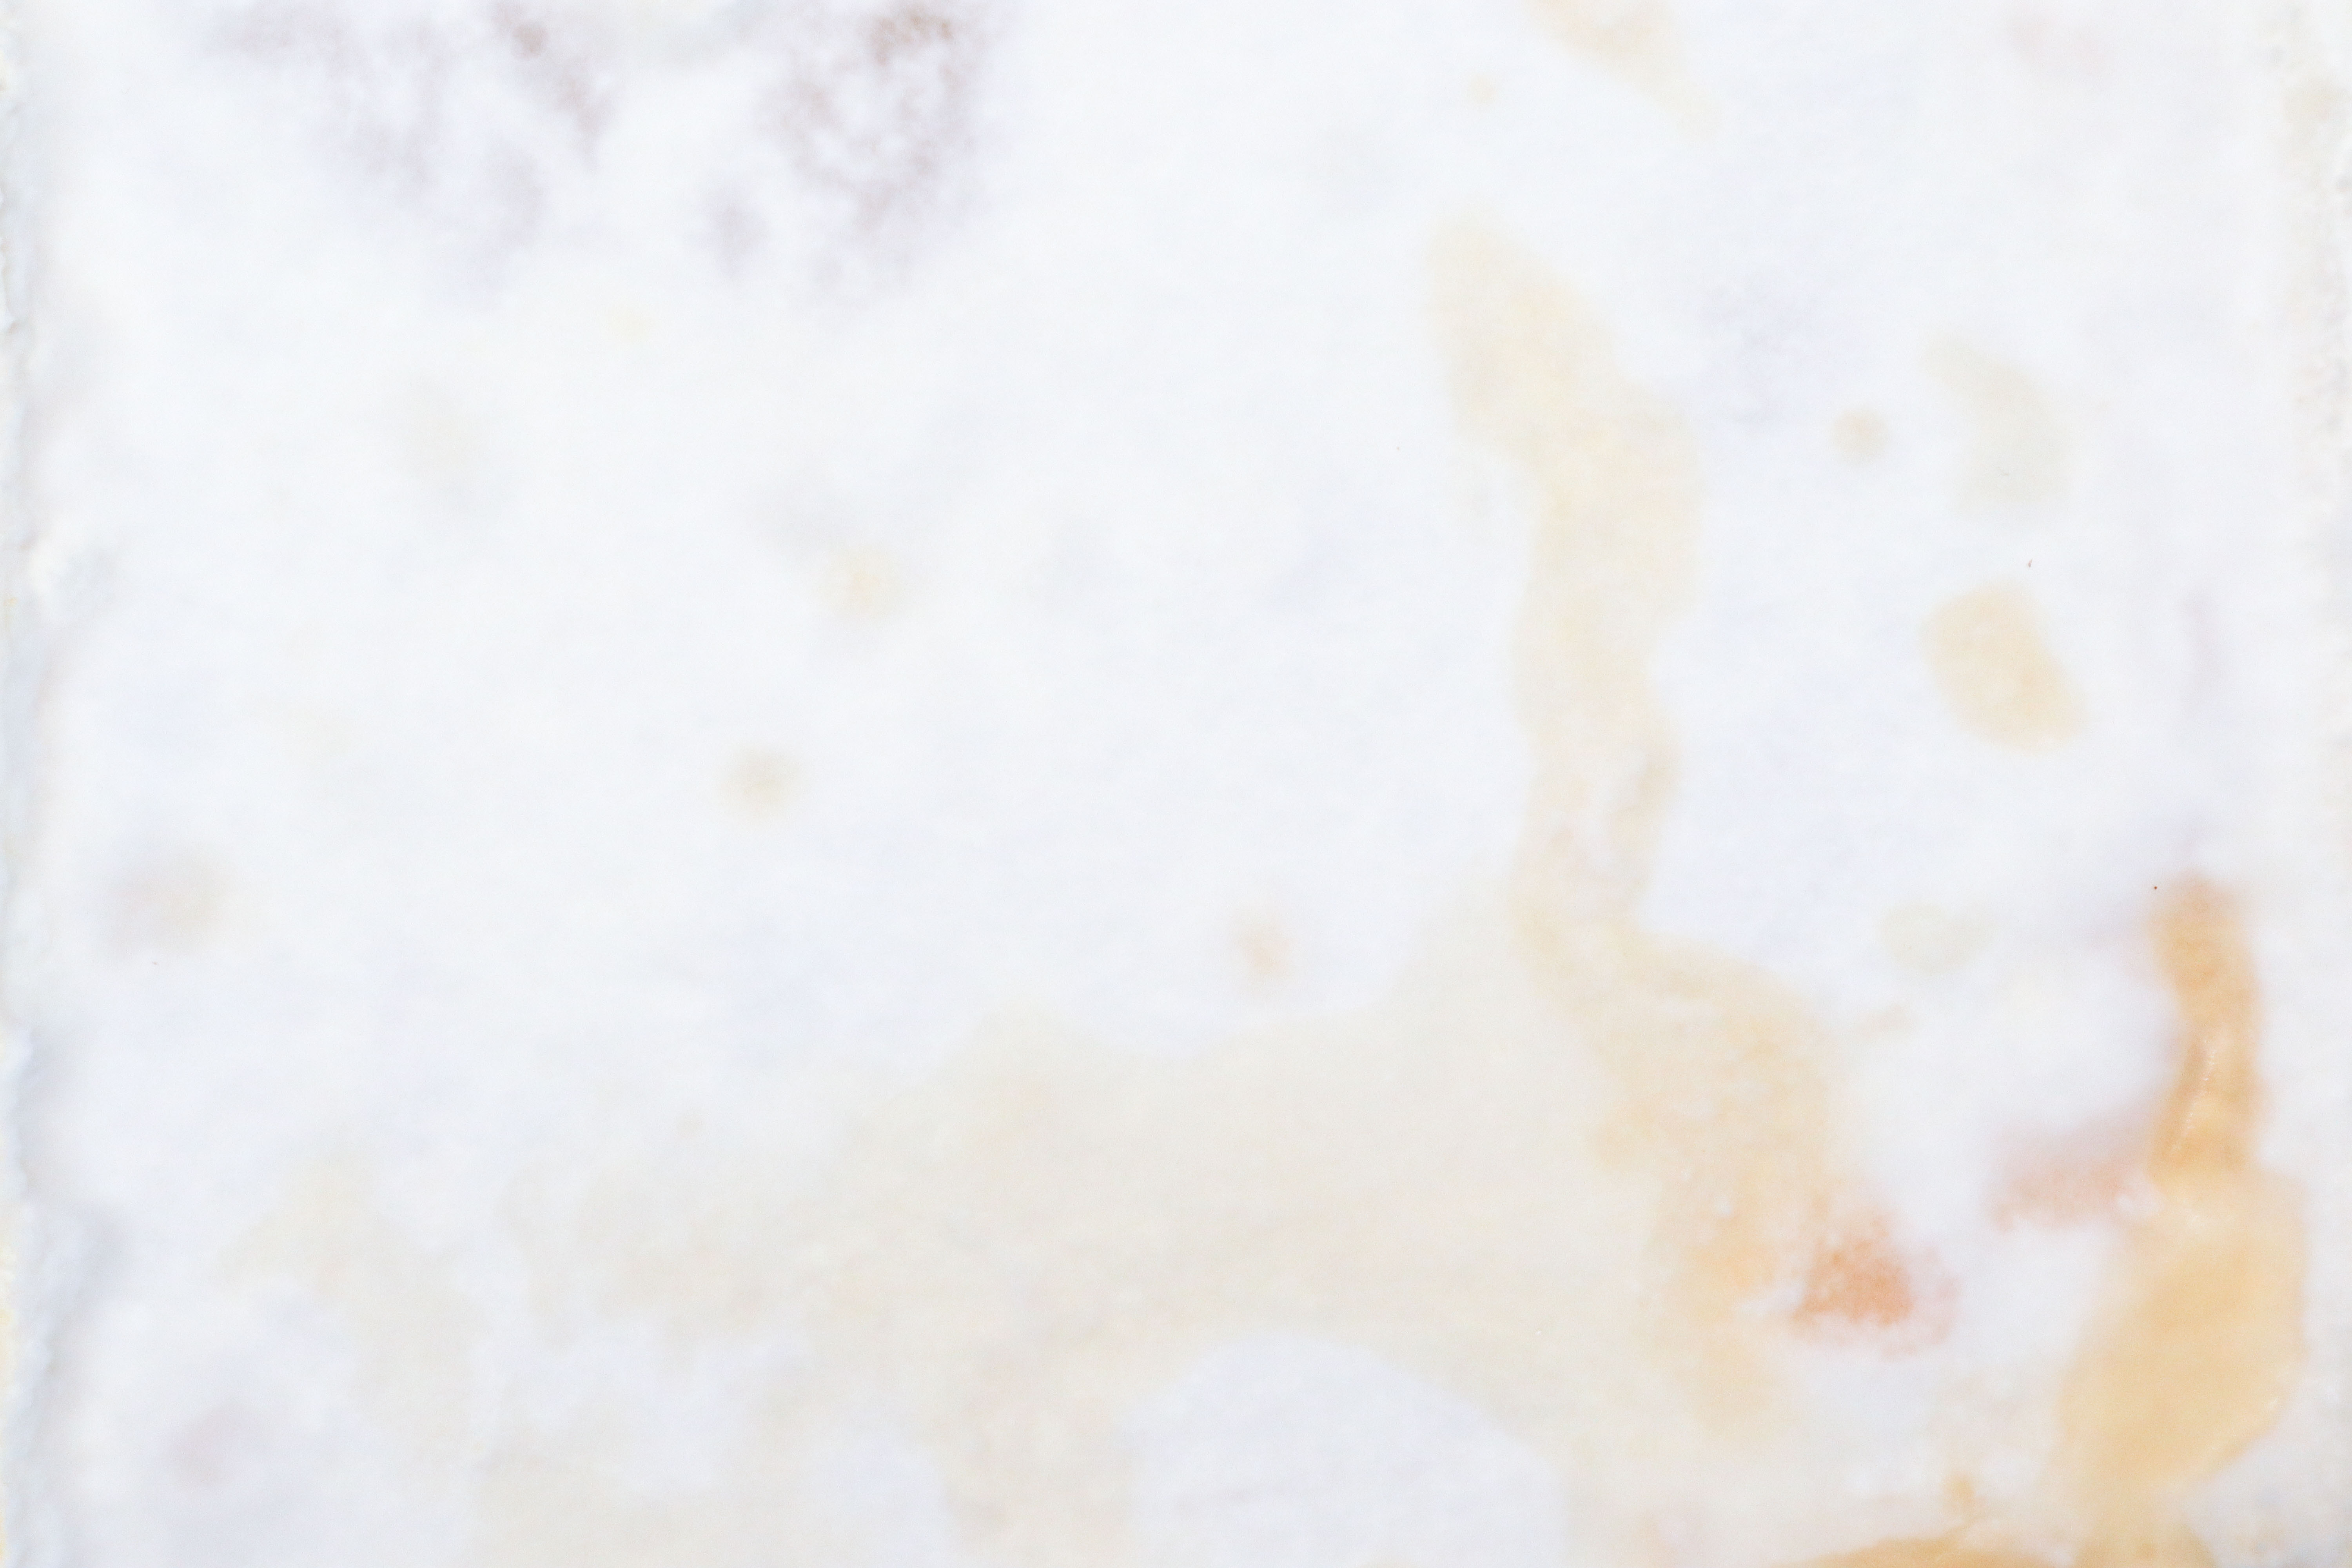
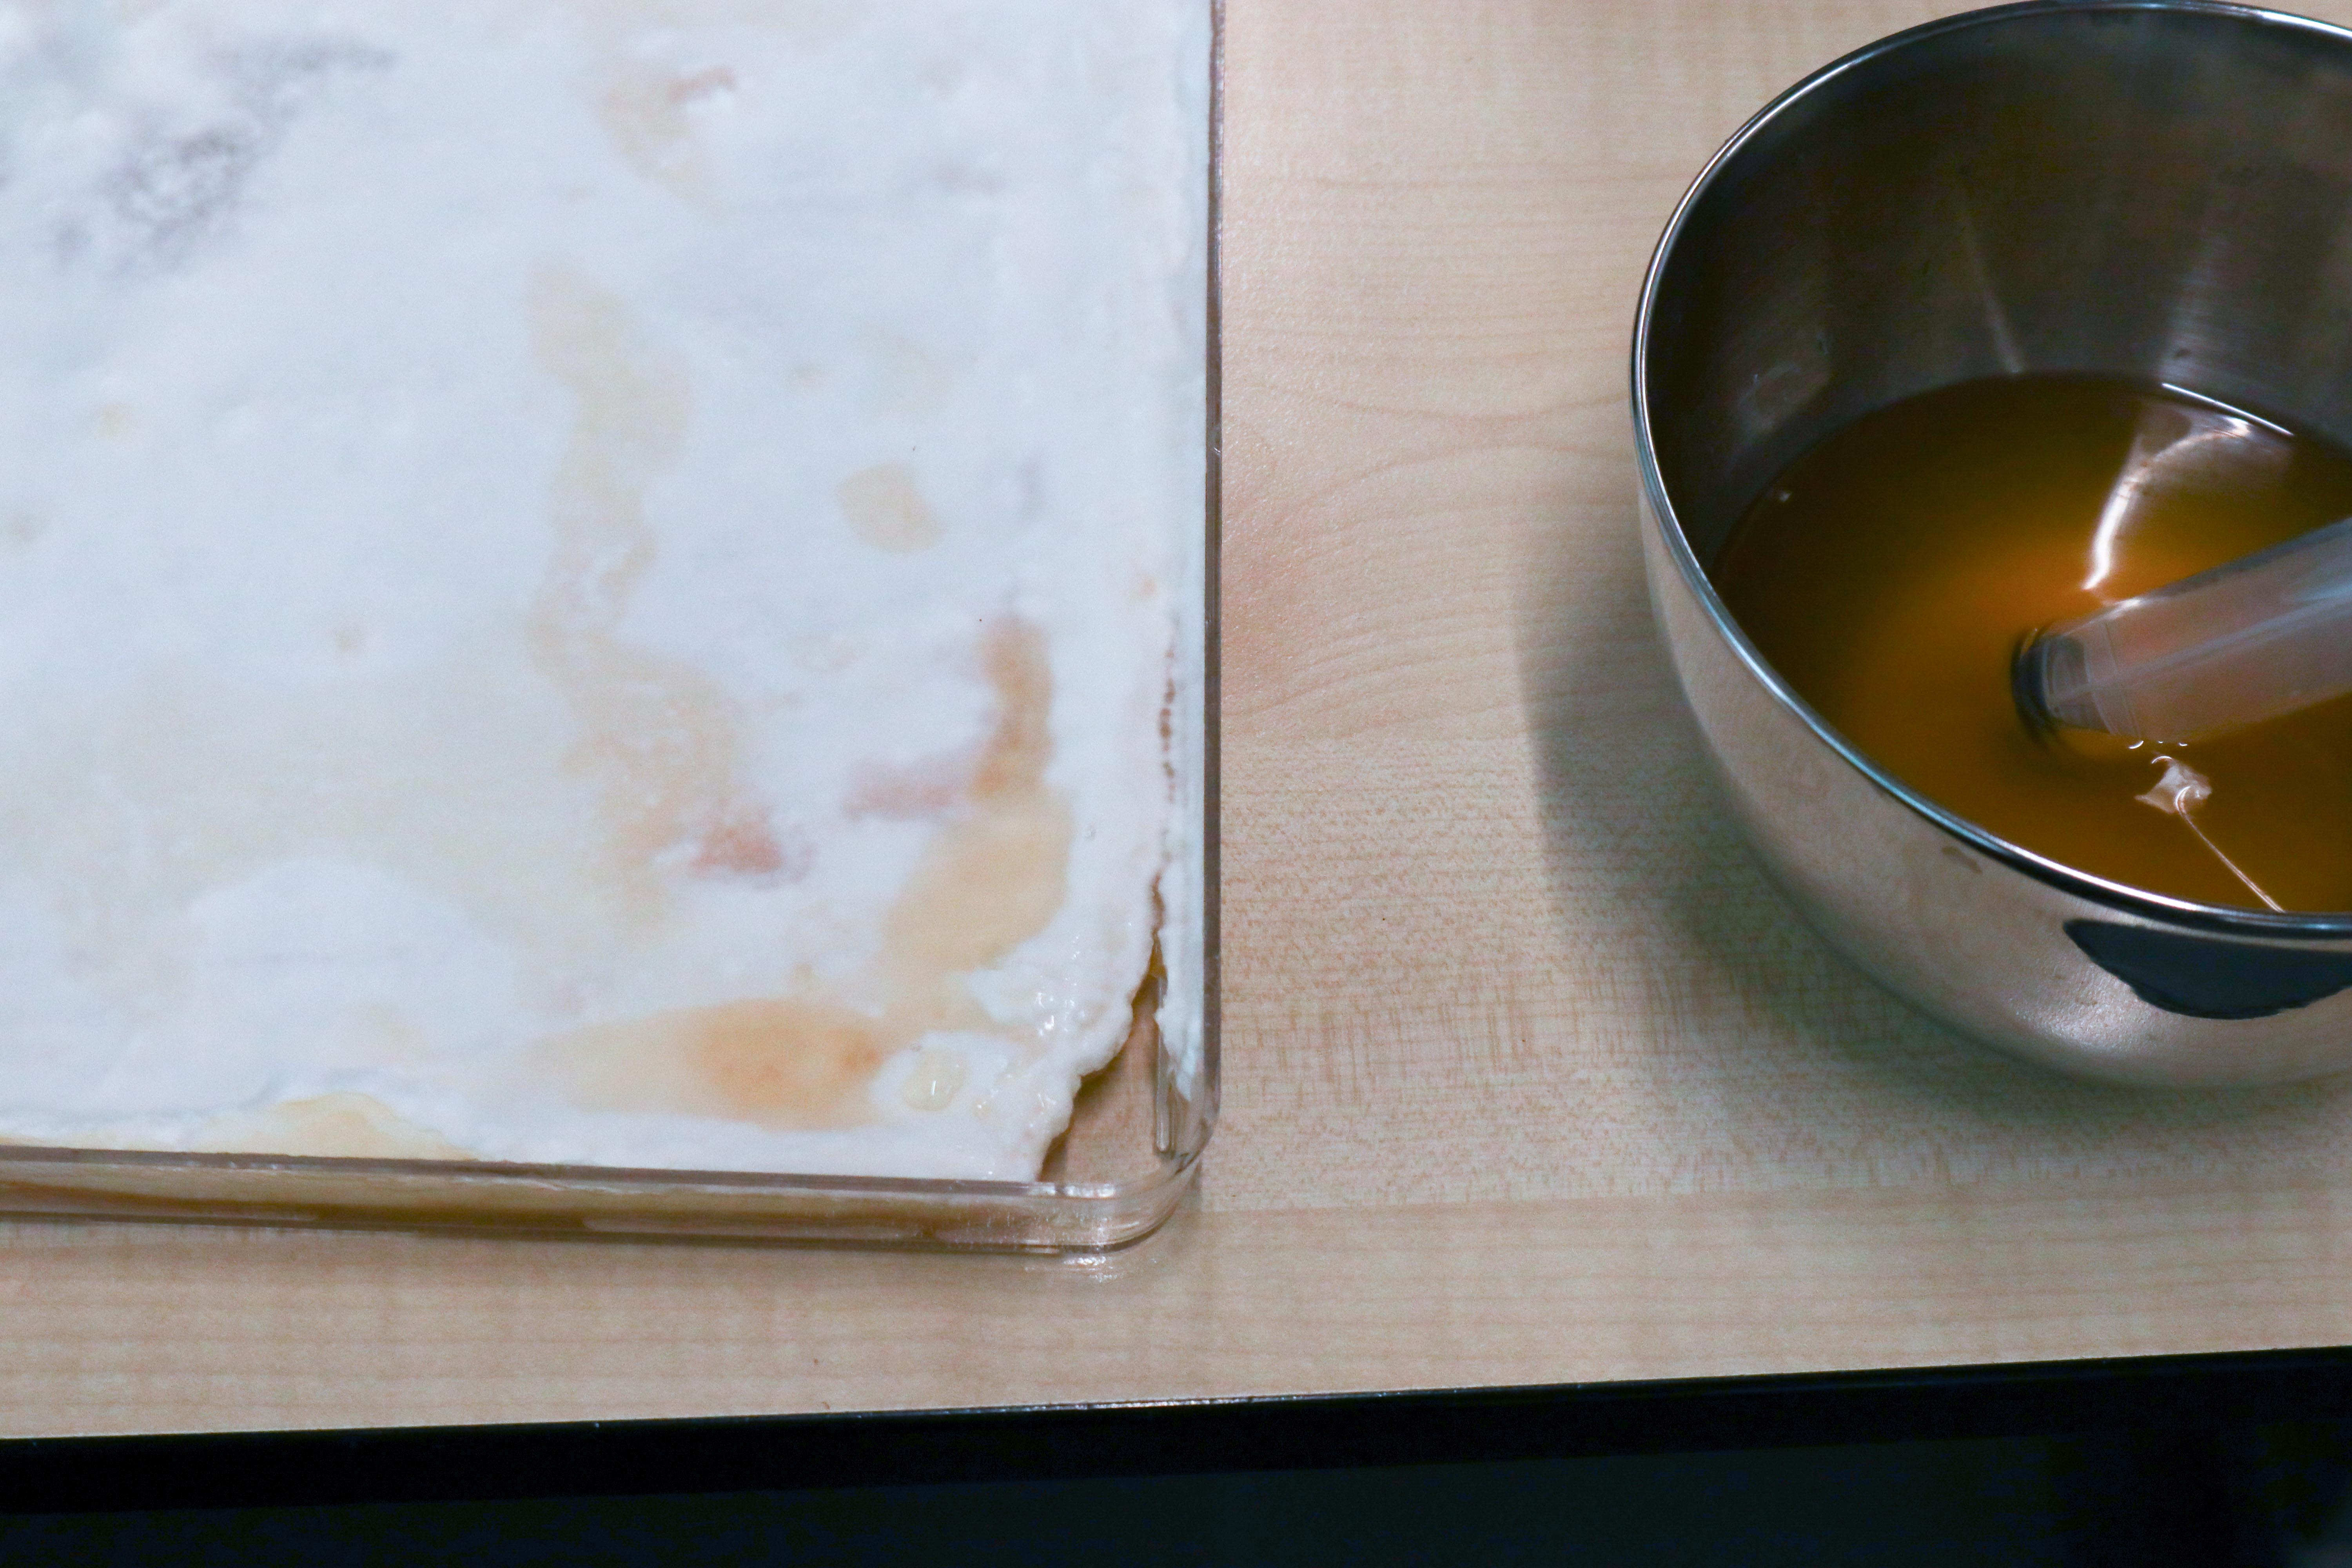
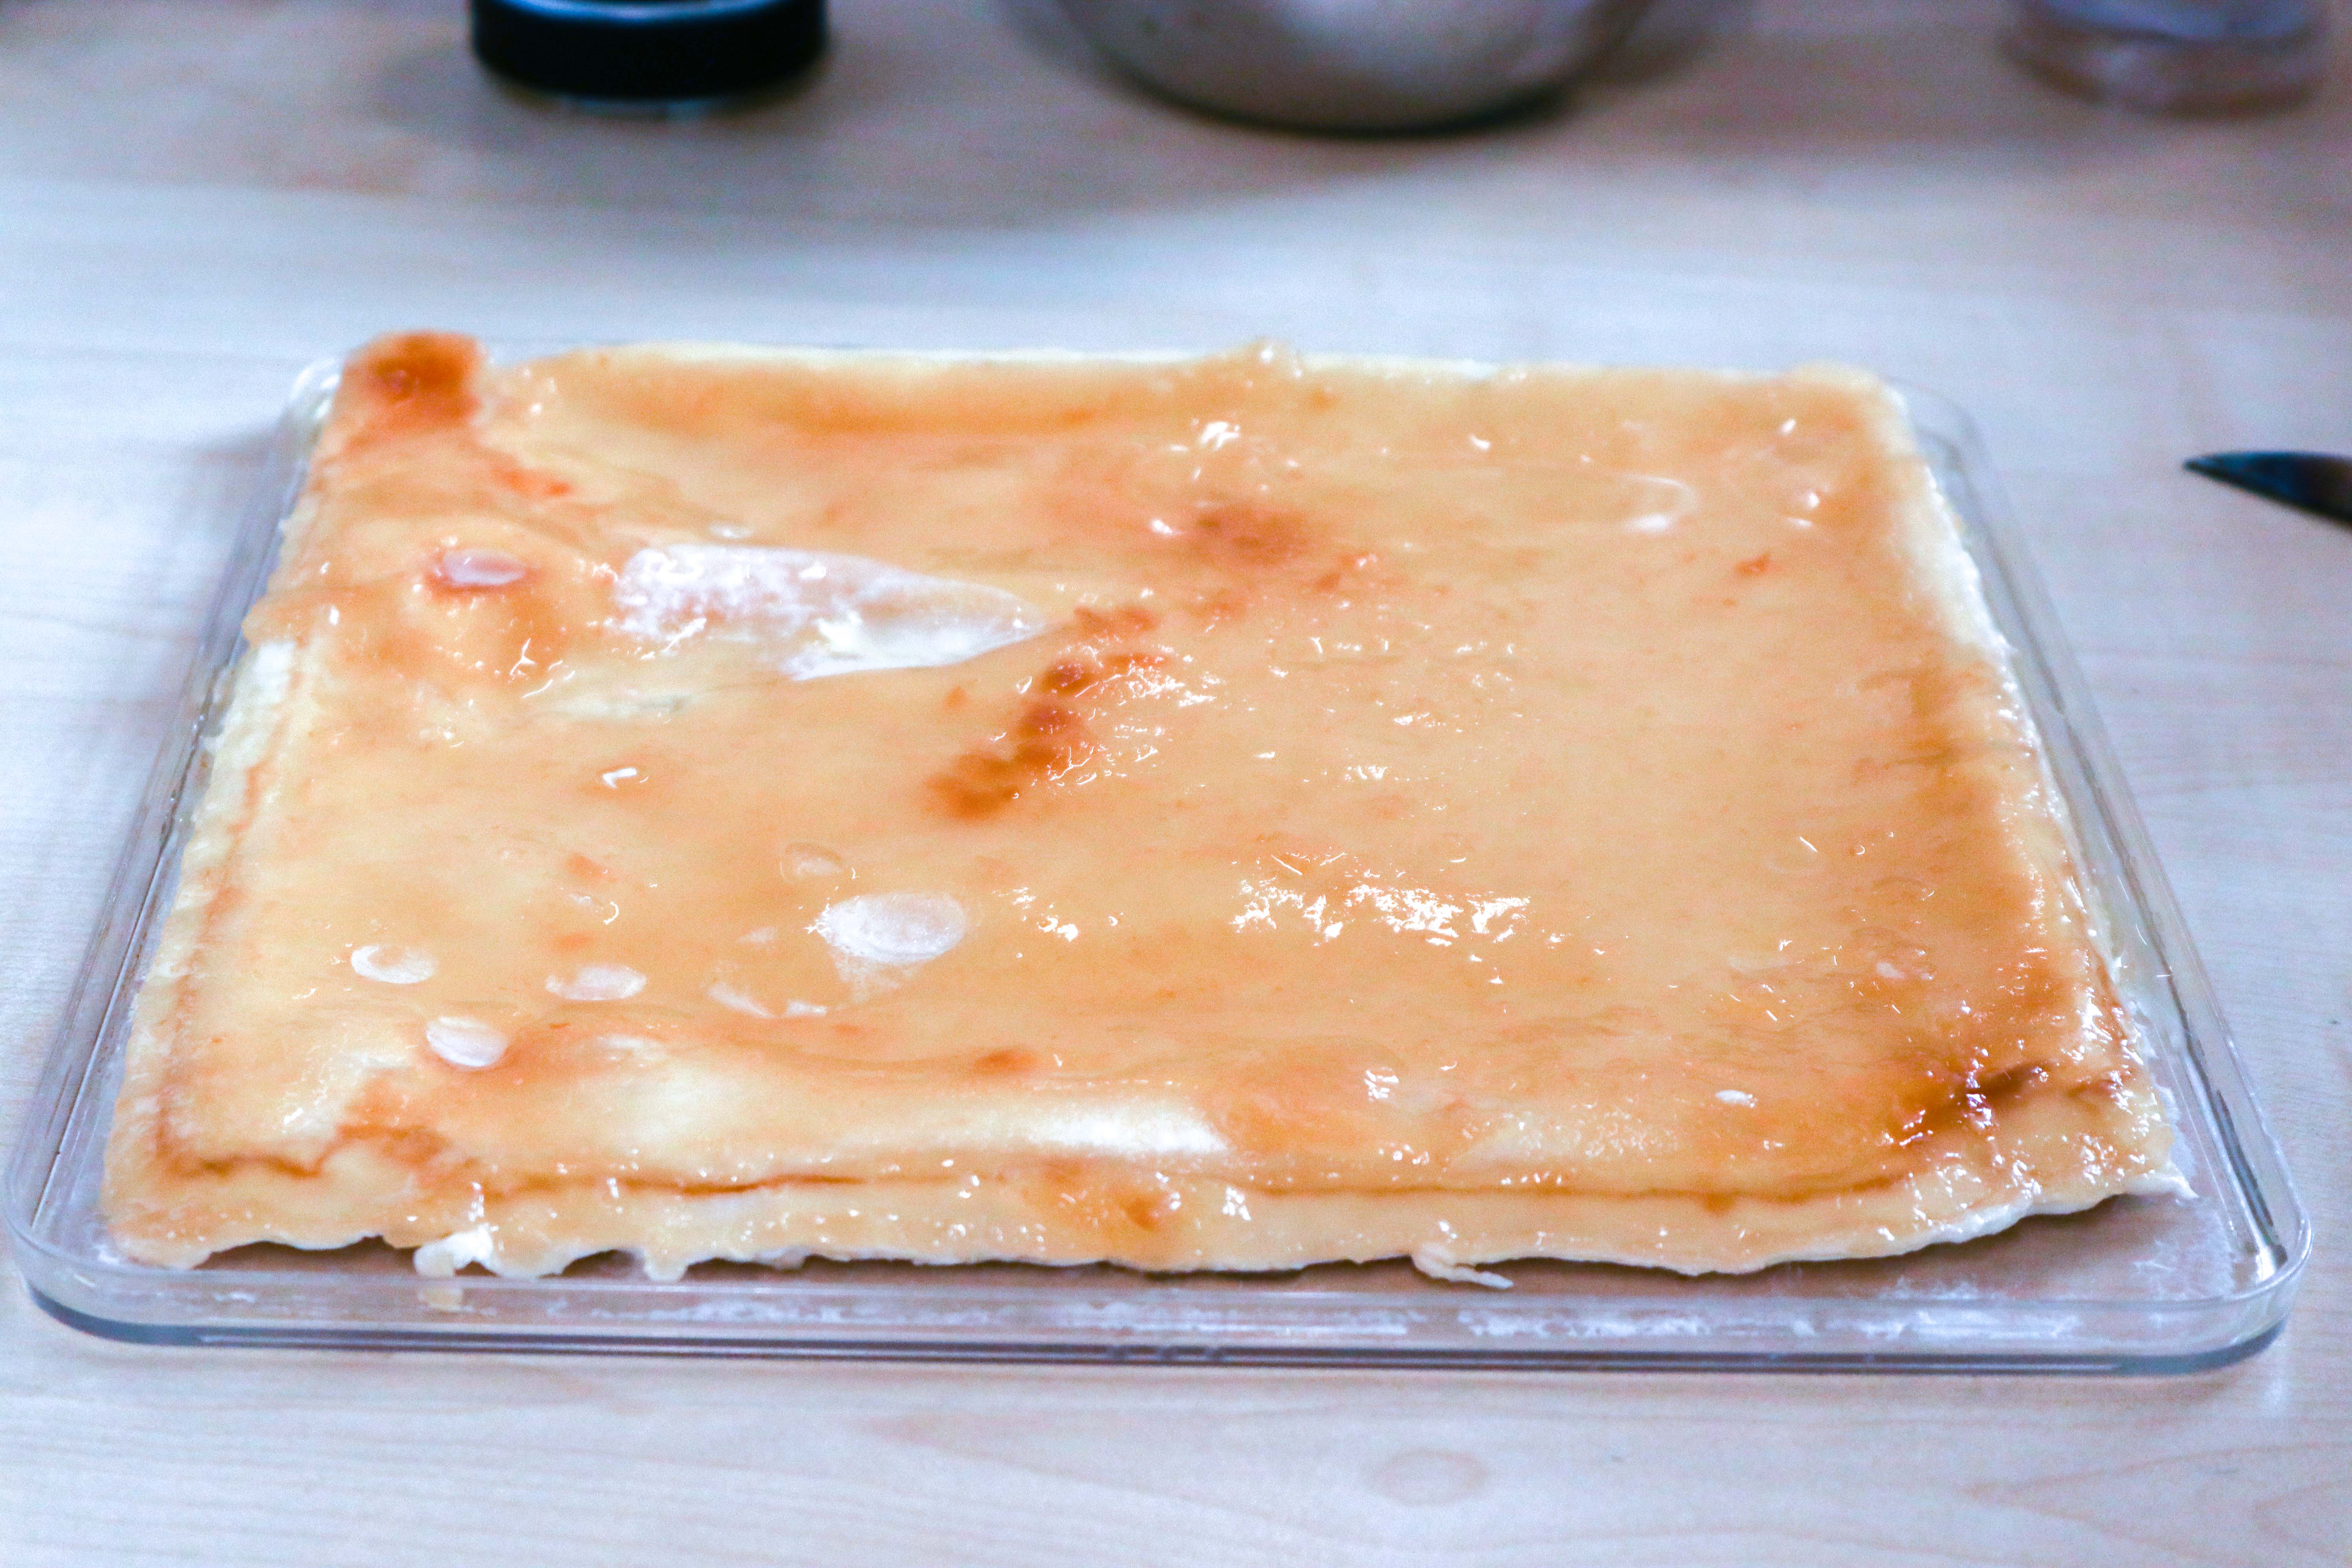
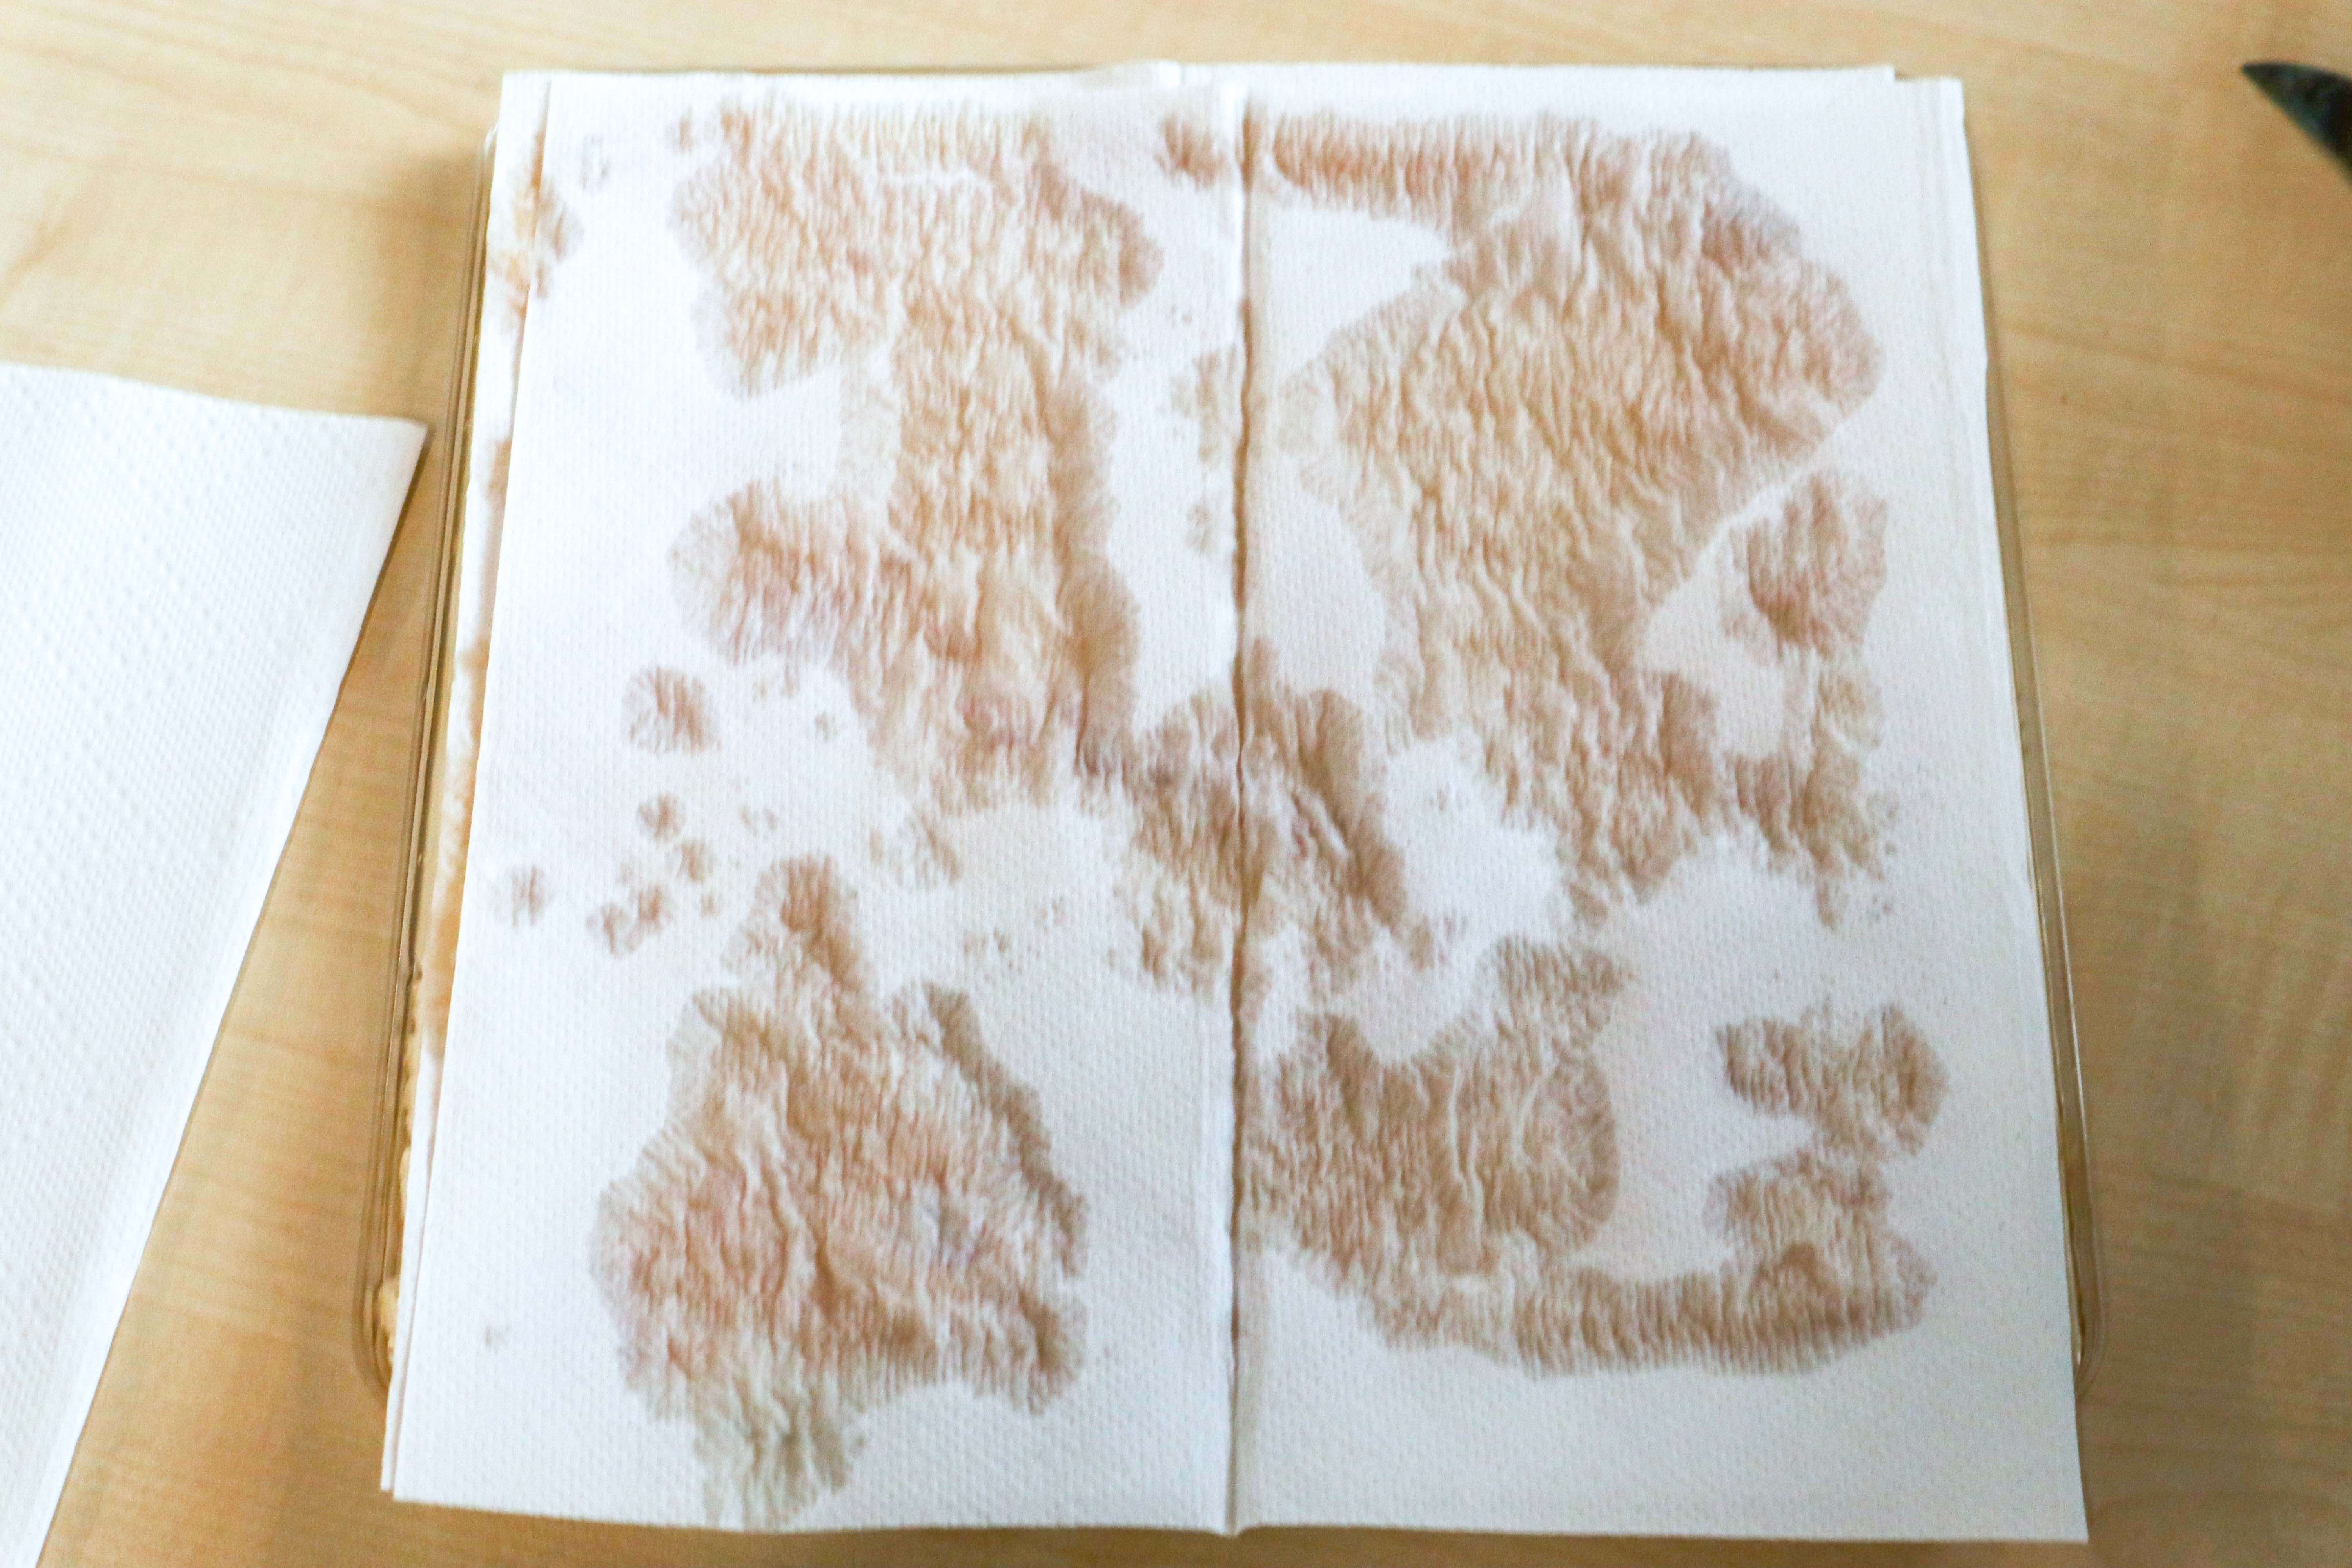
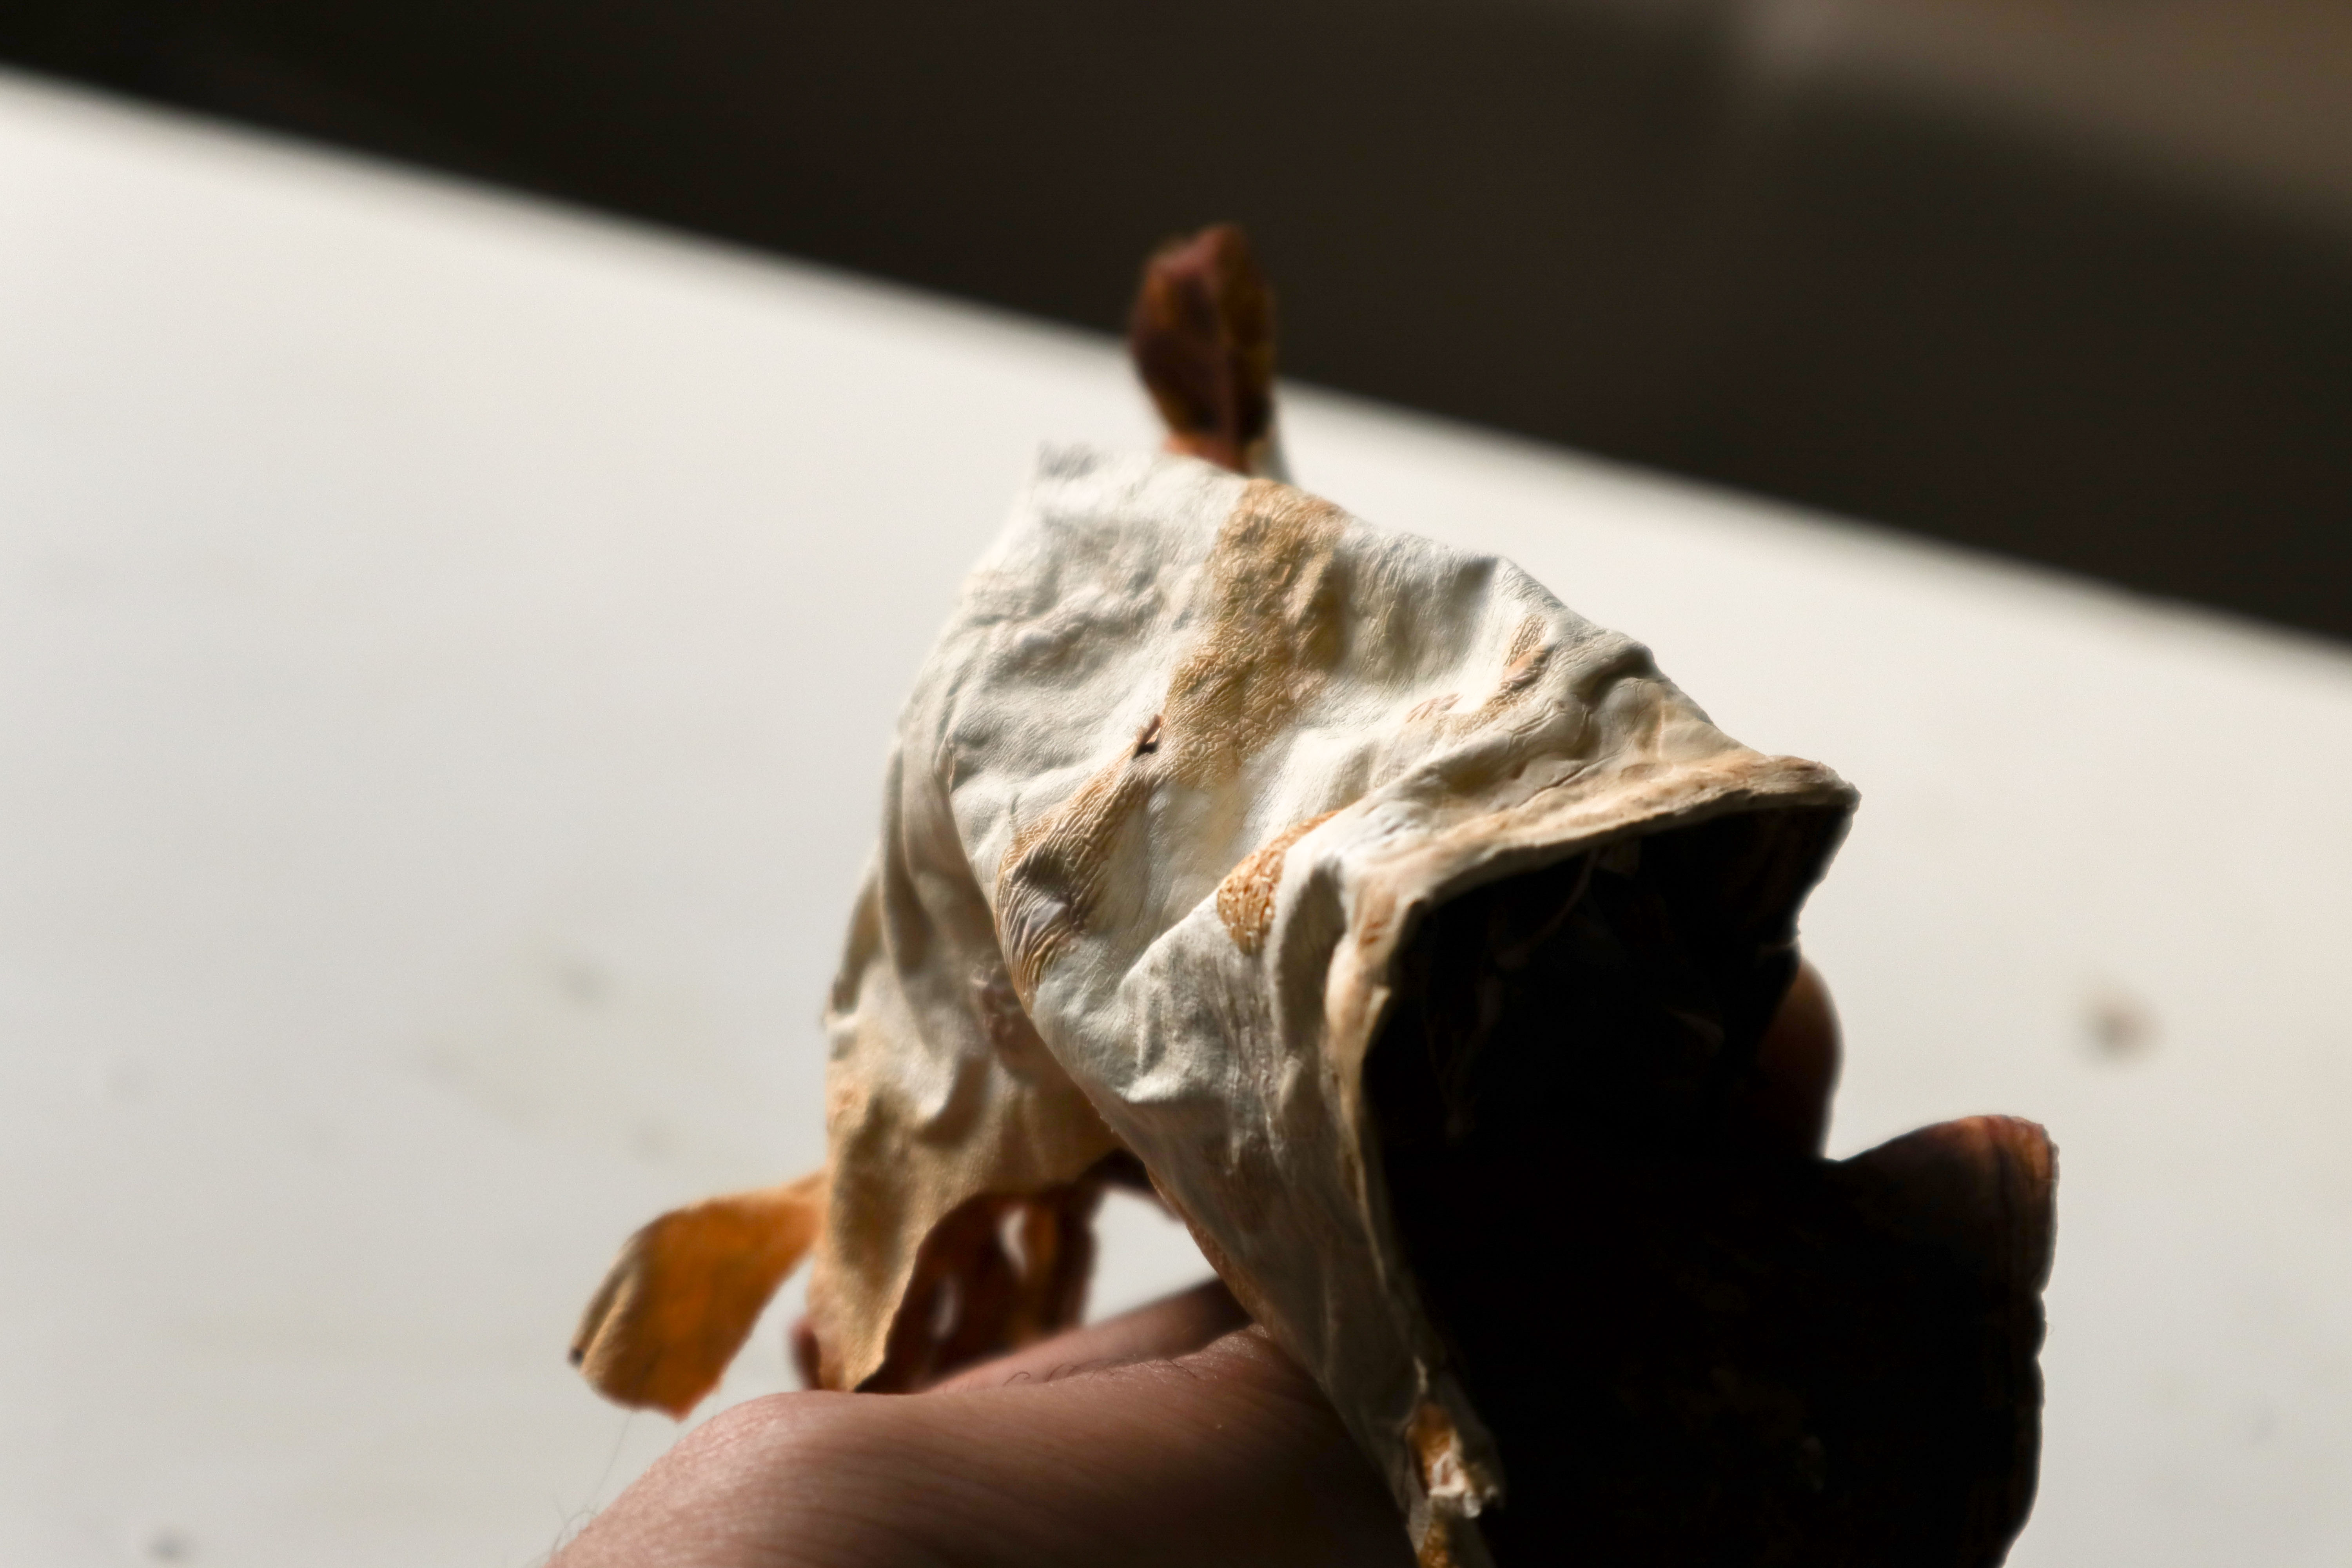
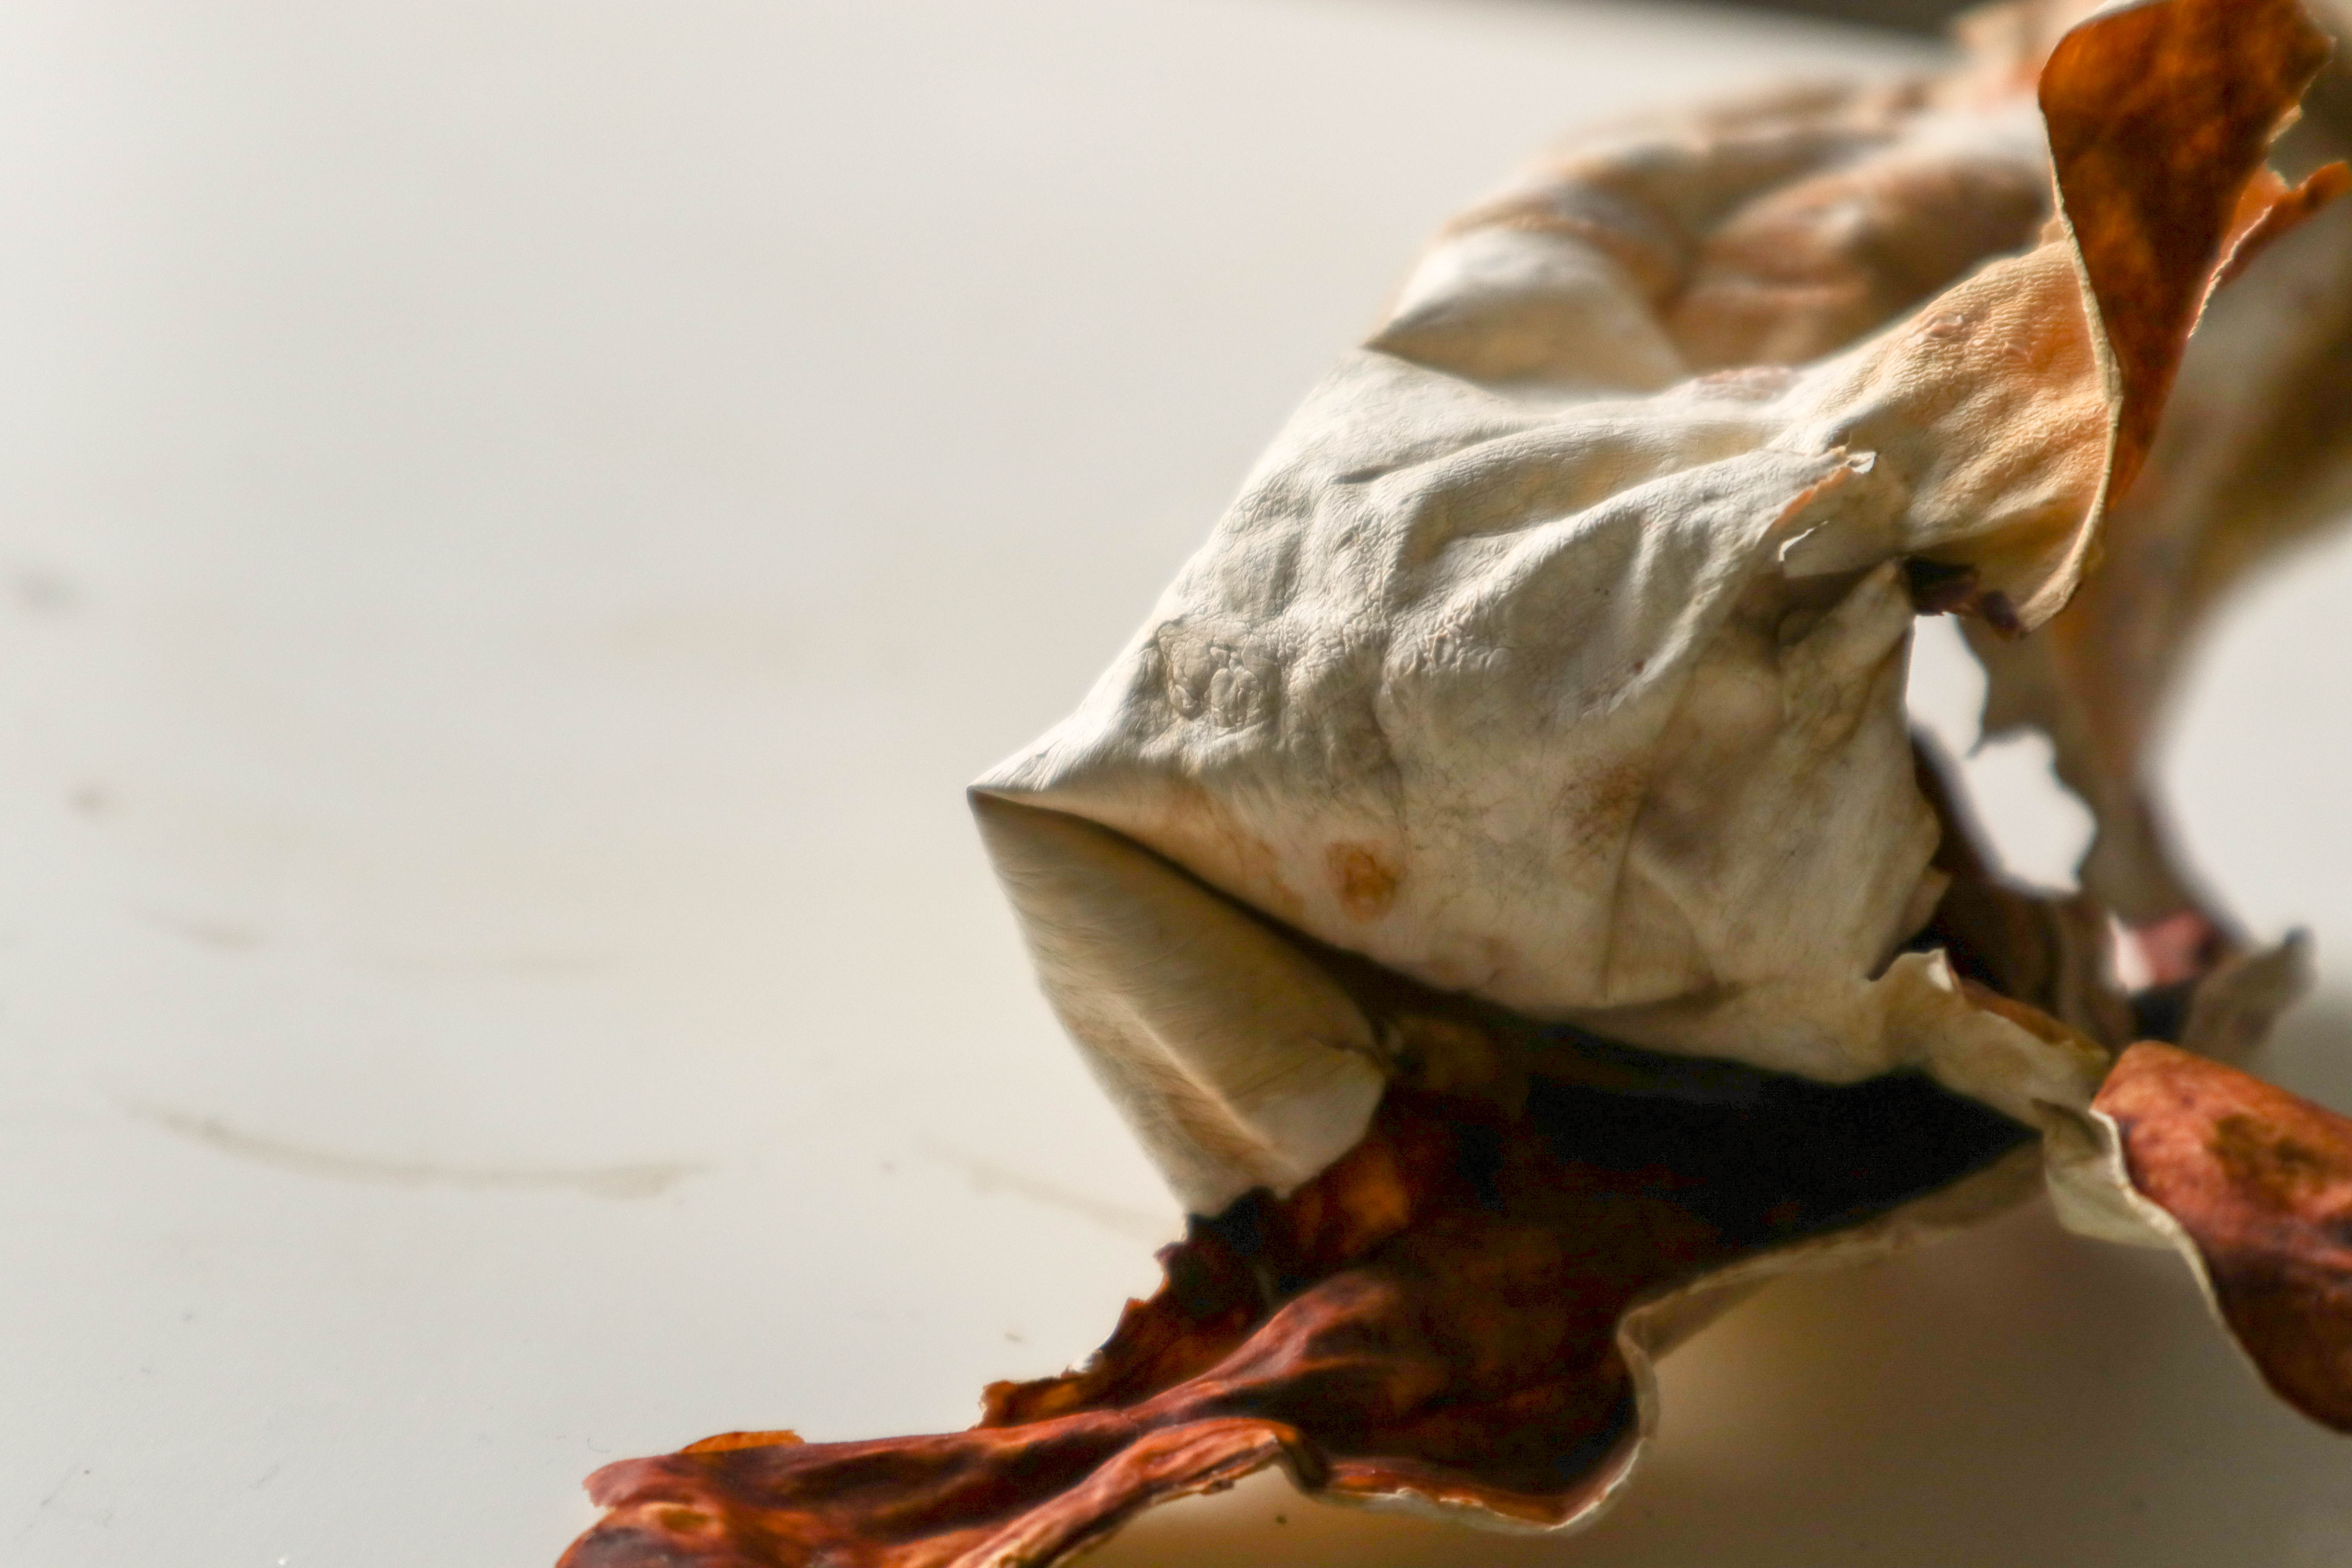
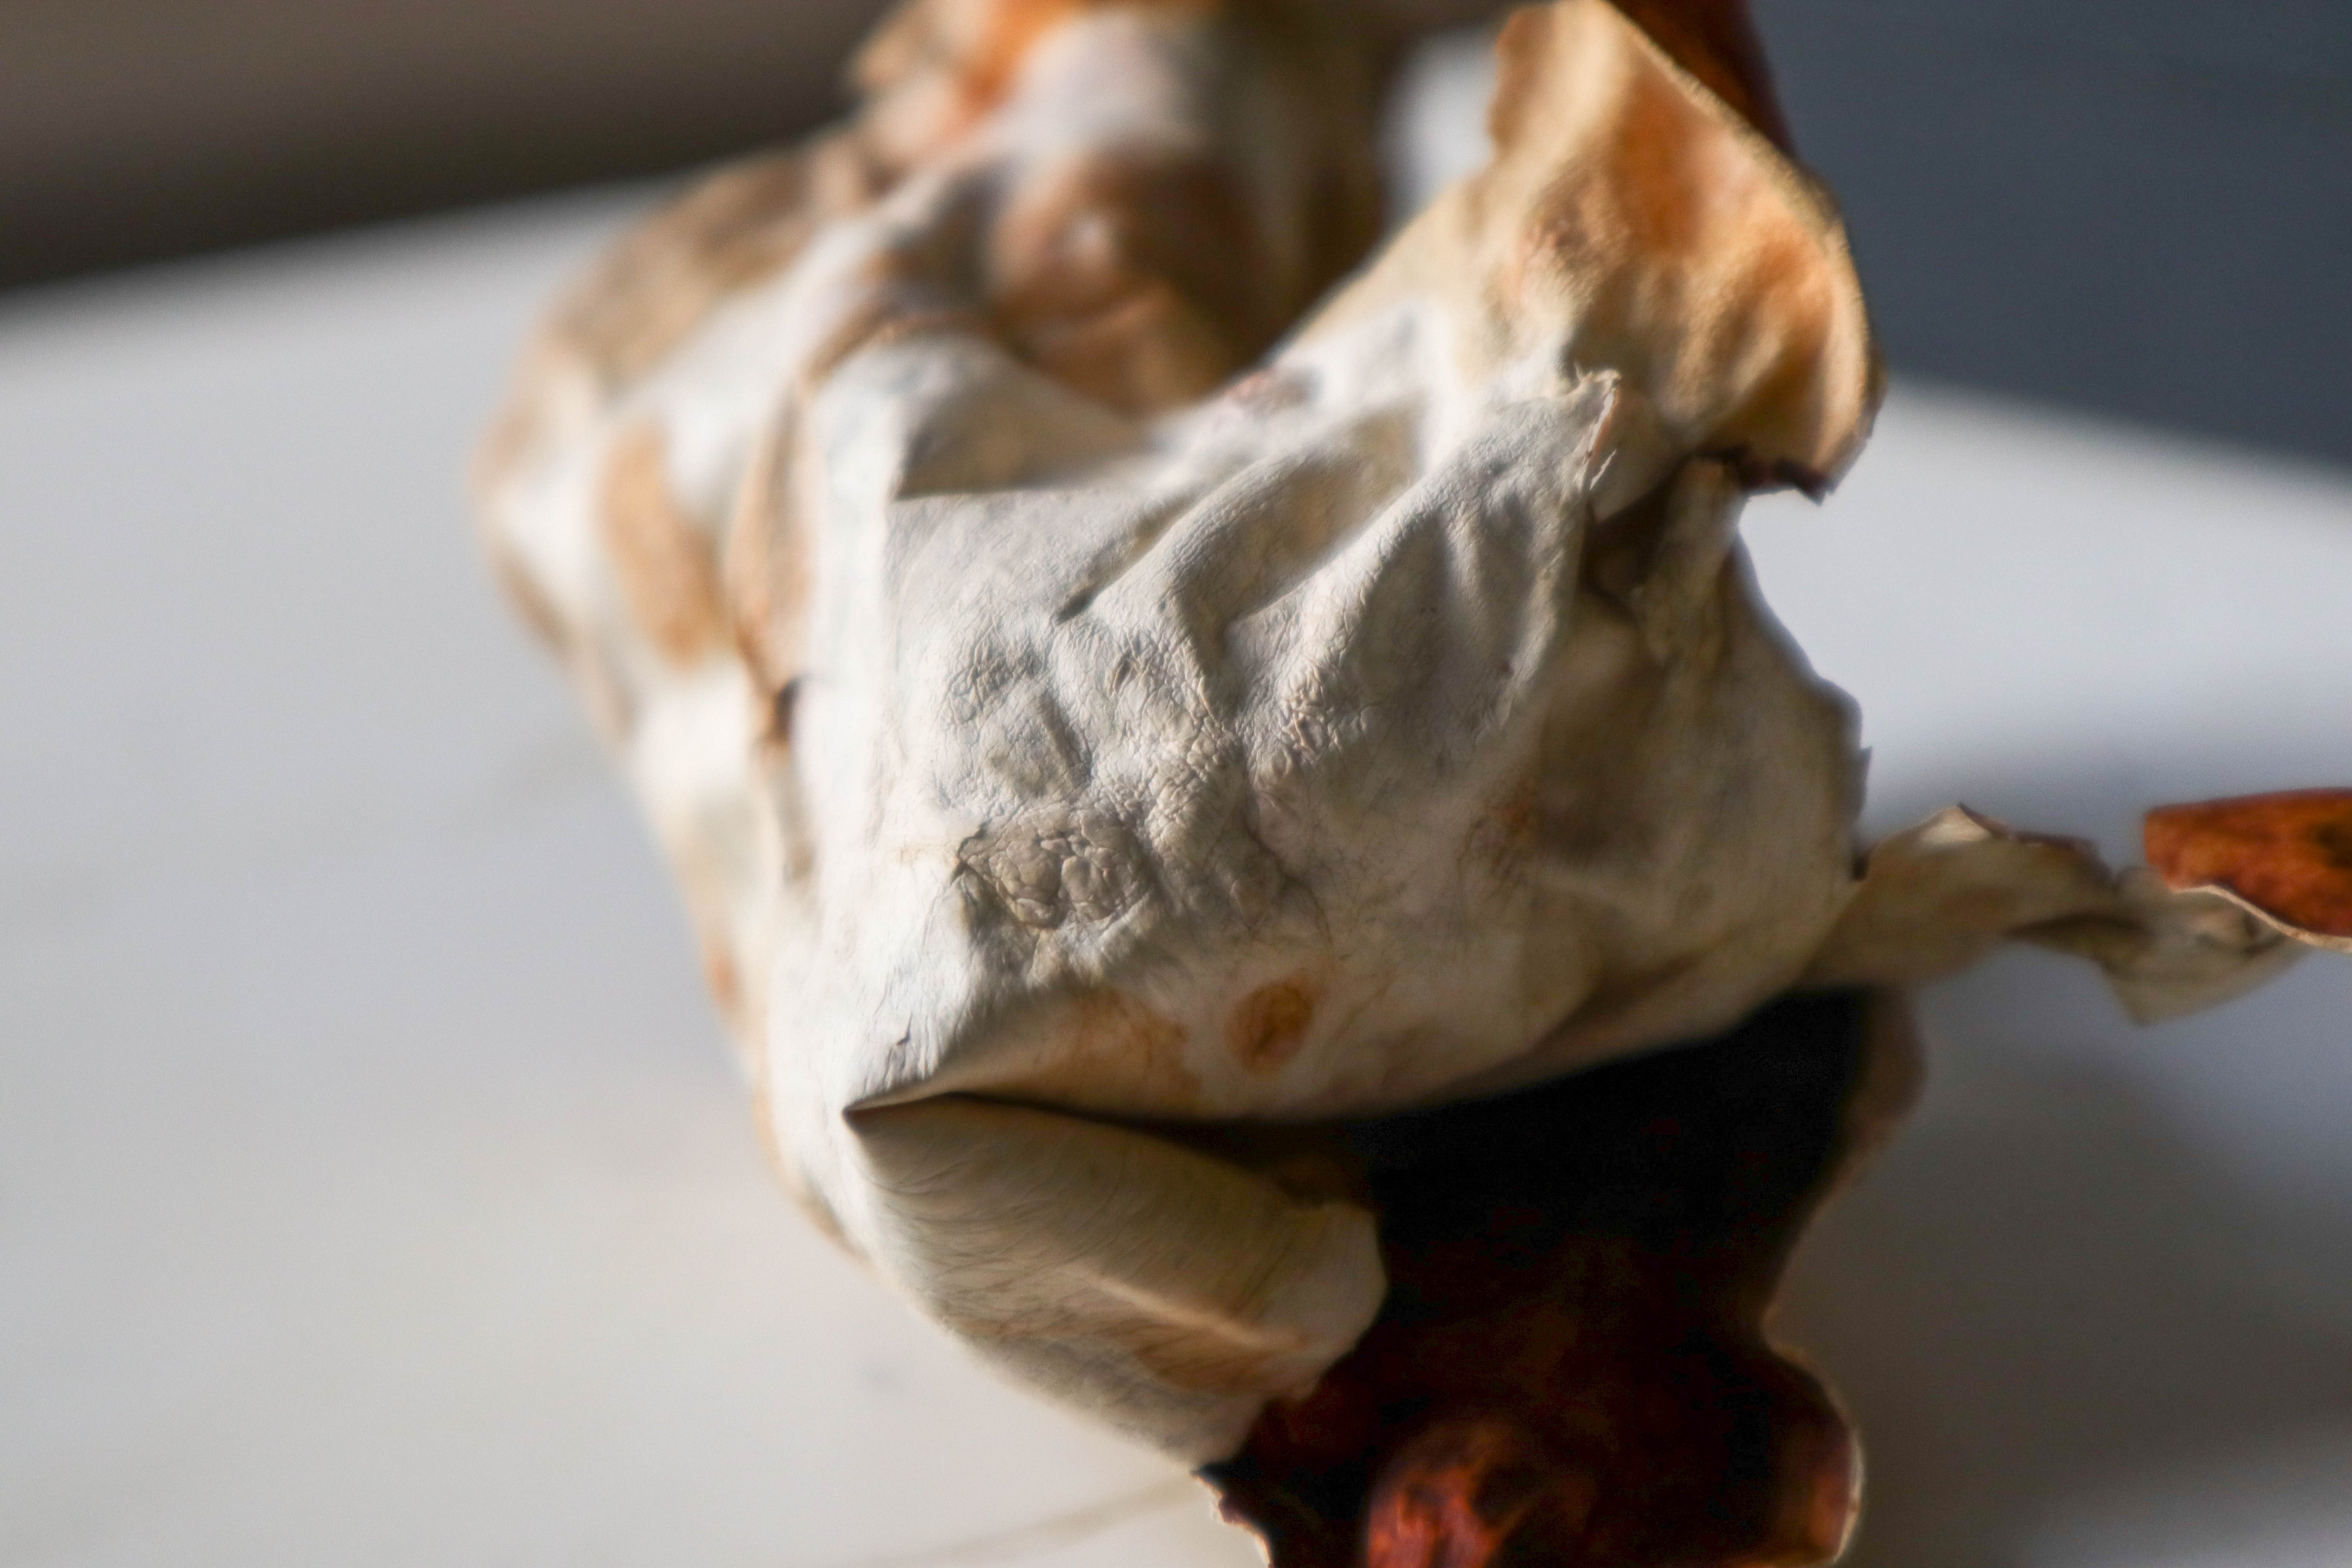
After drying @ 40c for 8 hours:
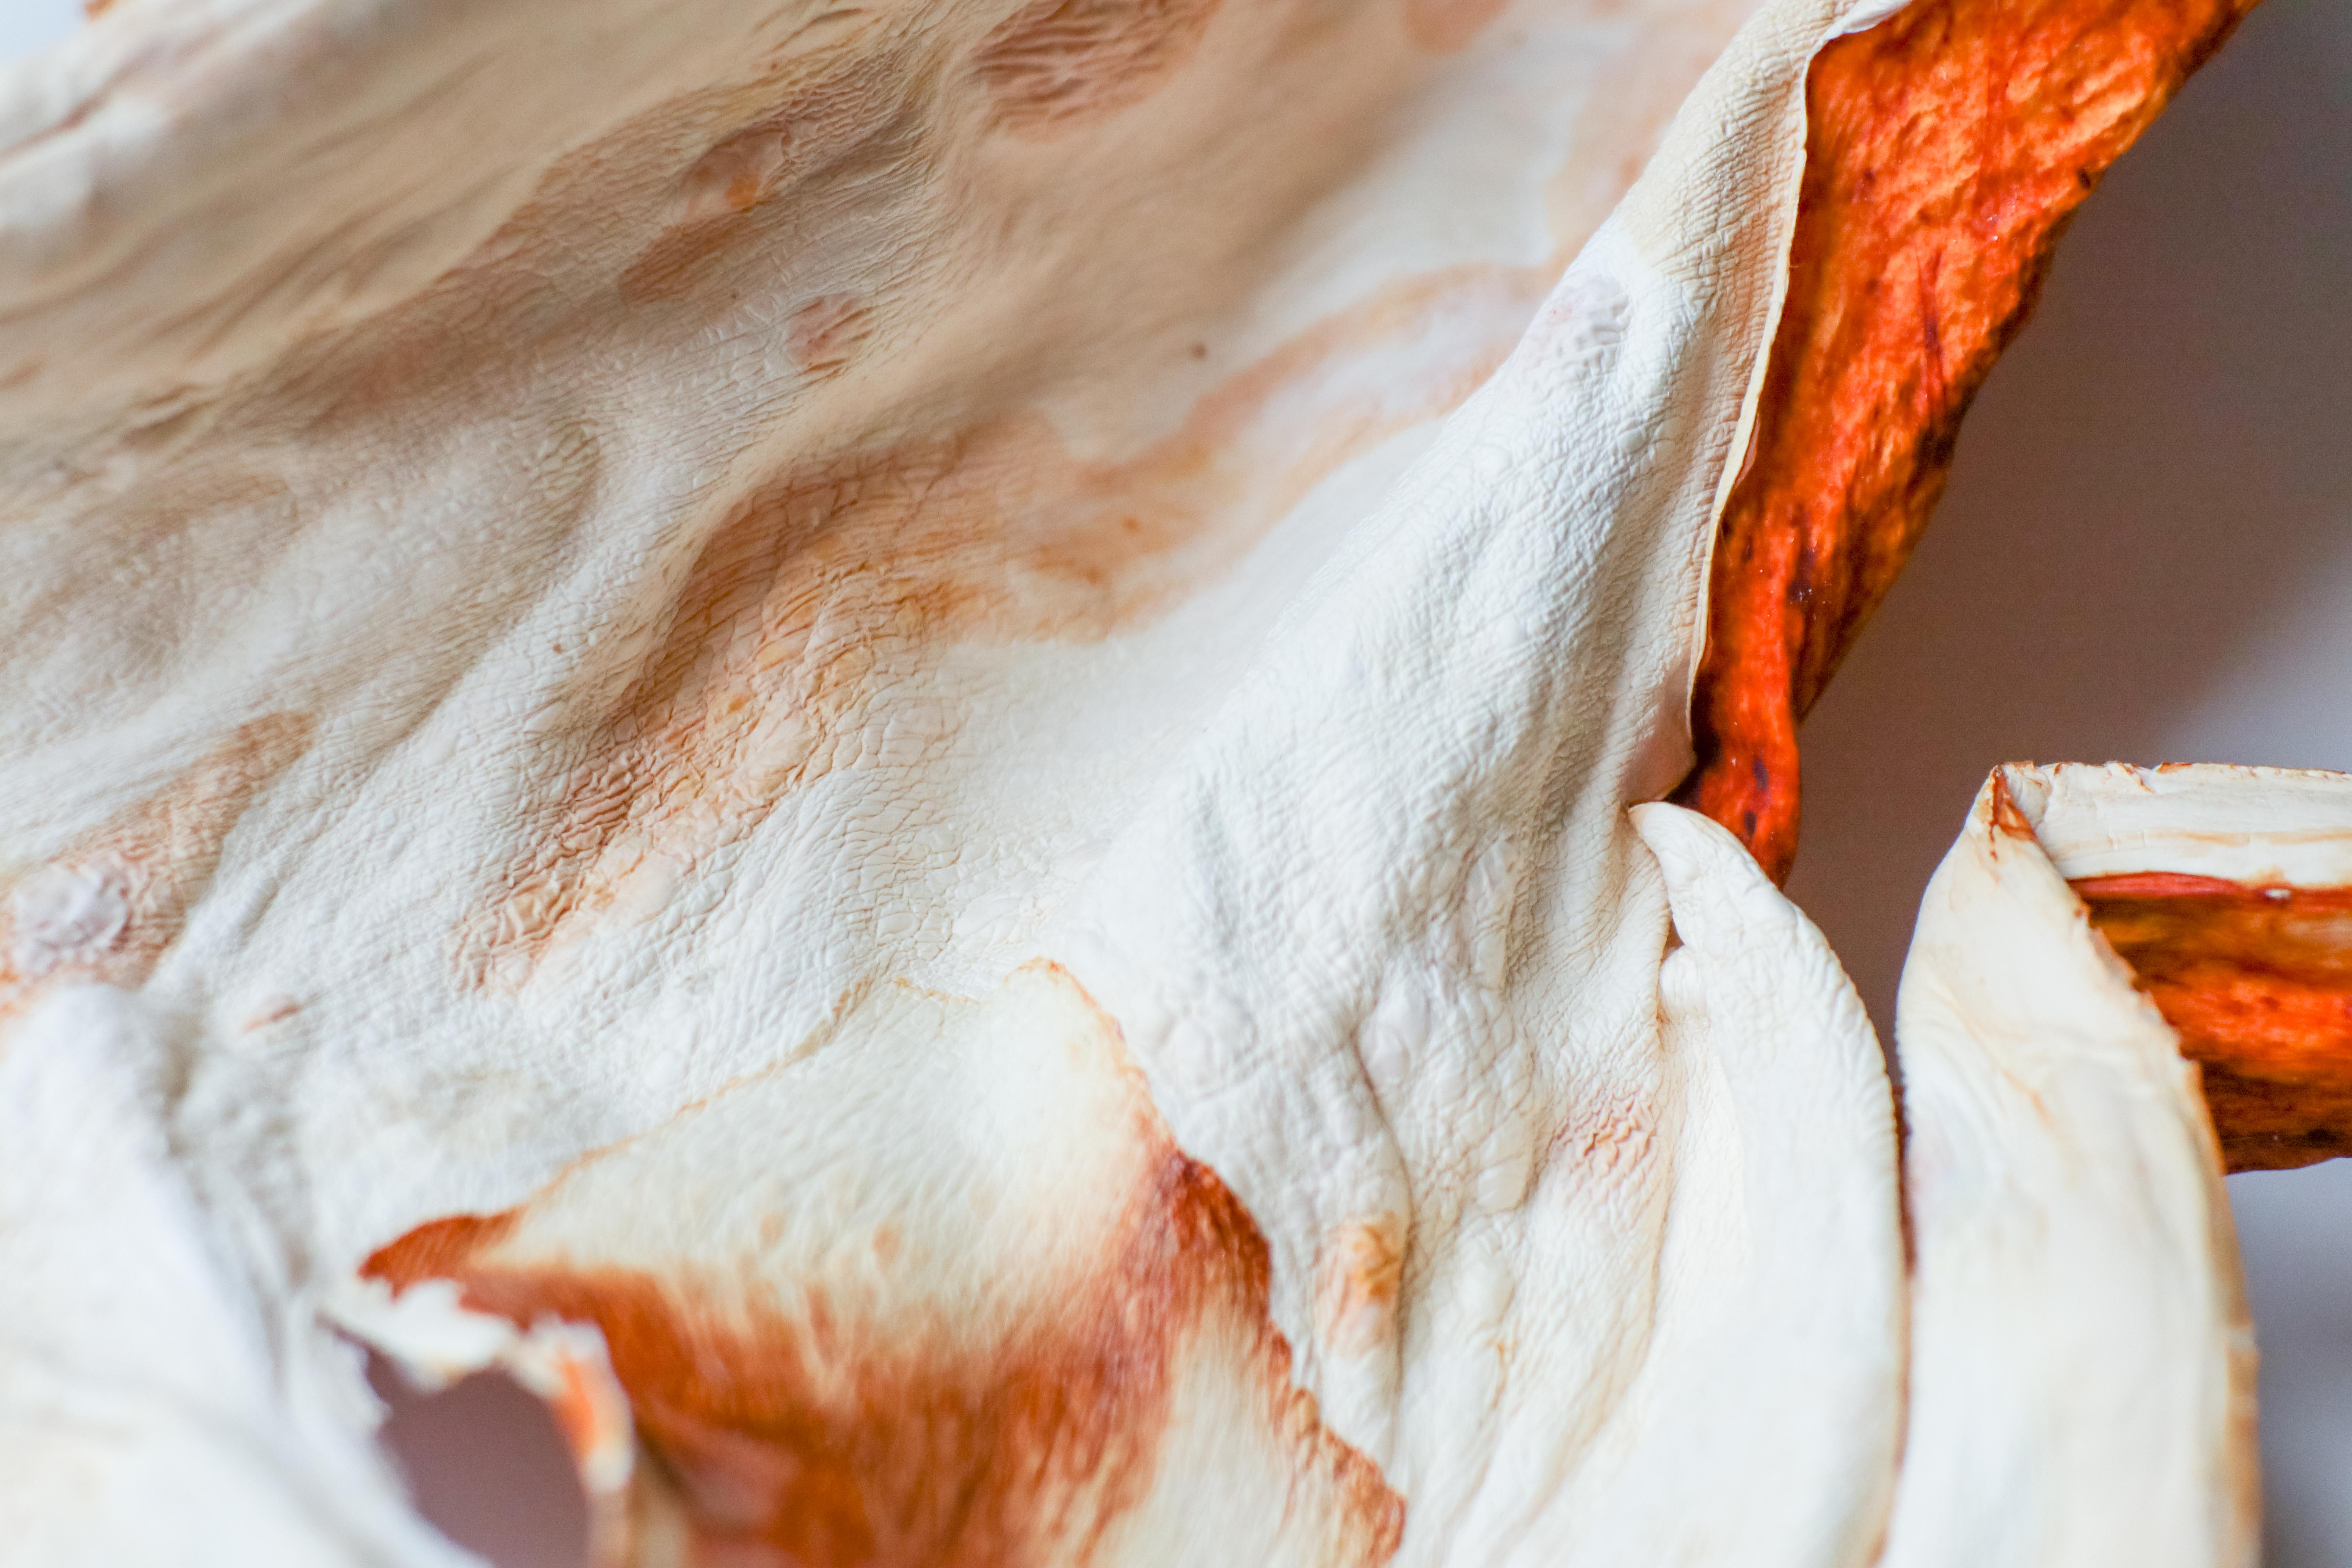
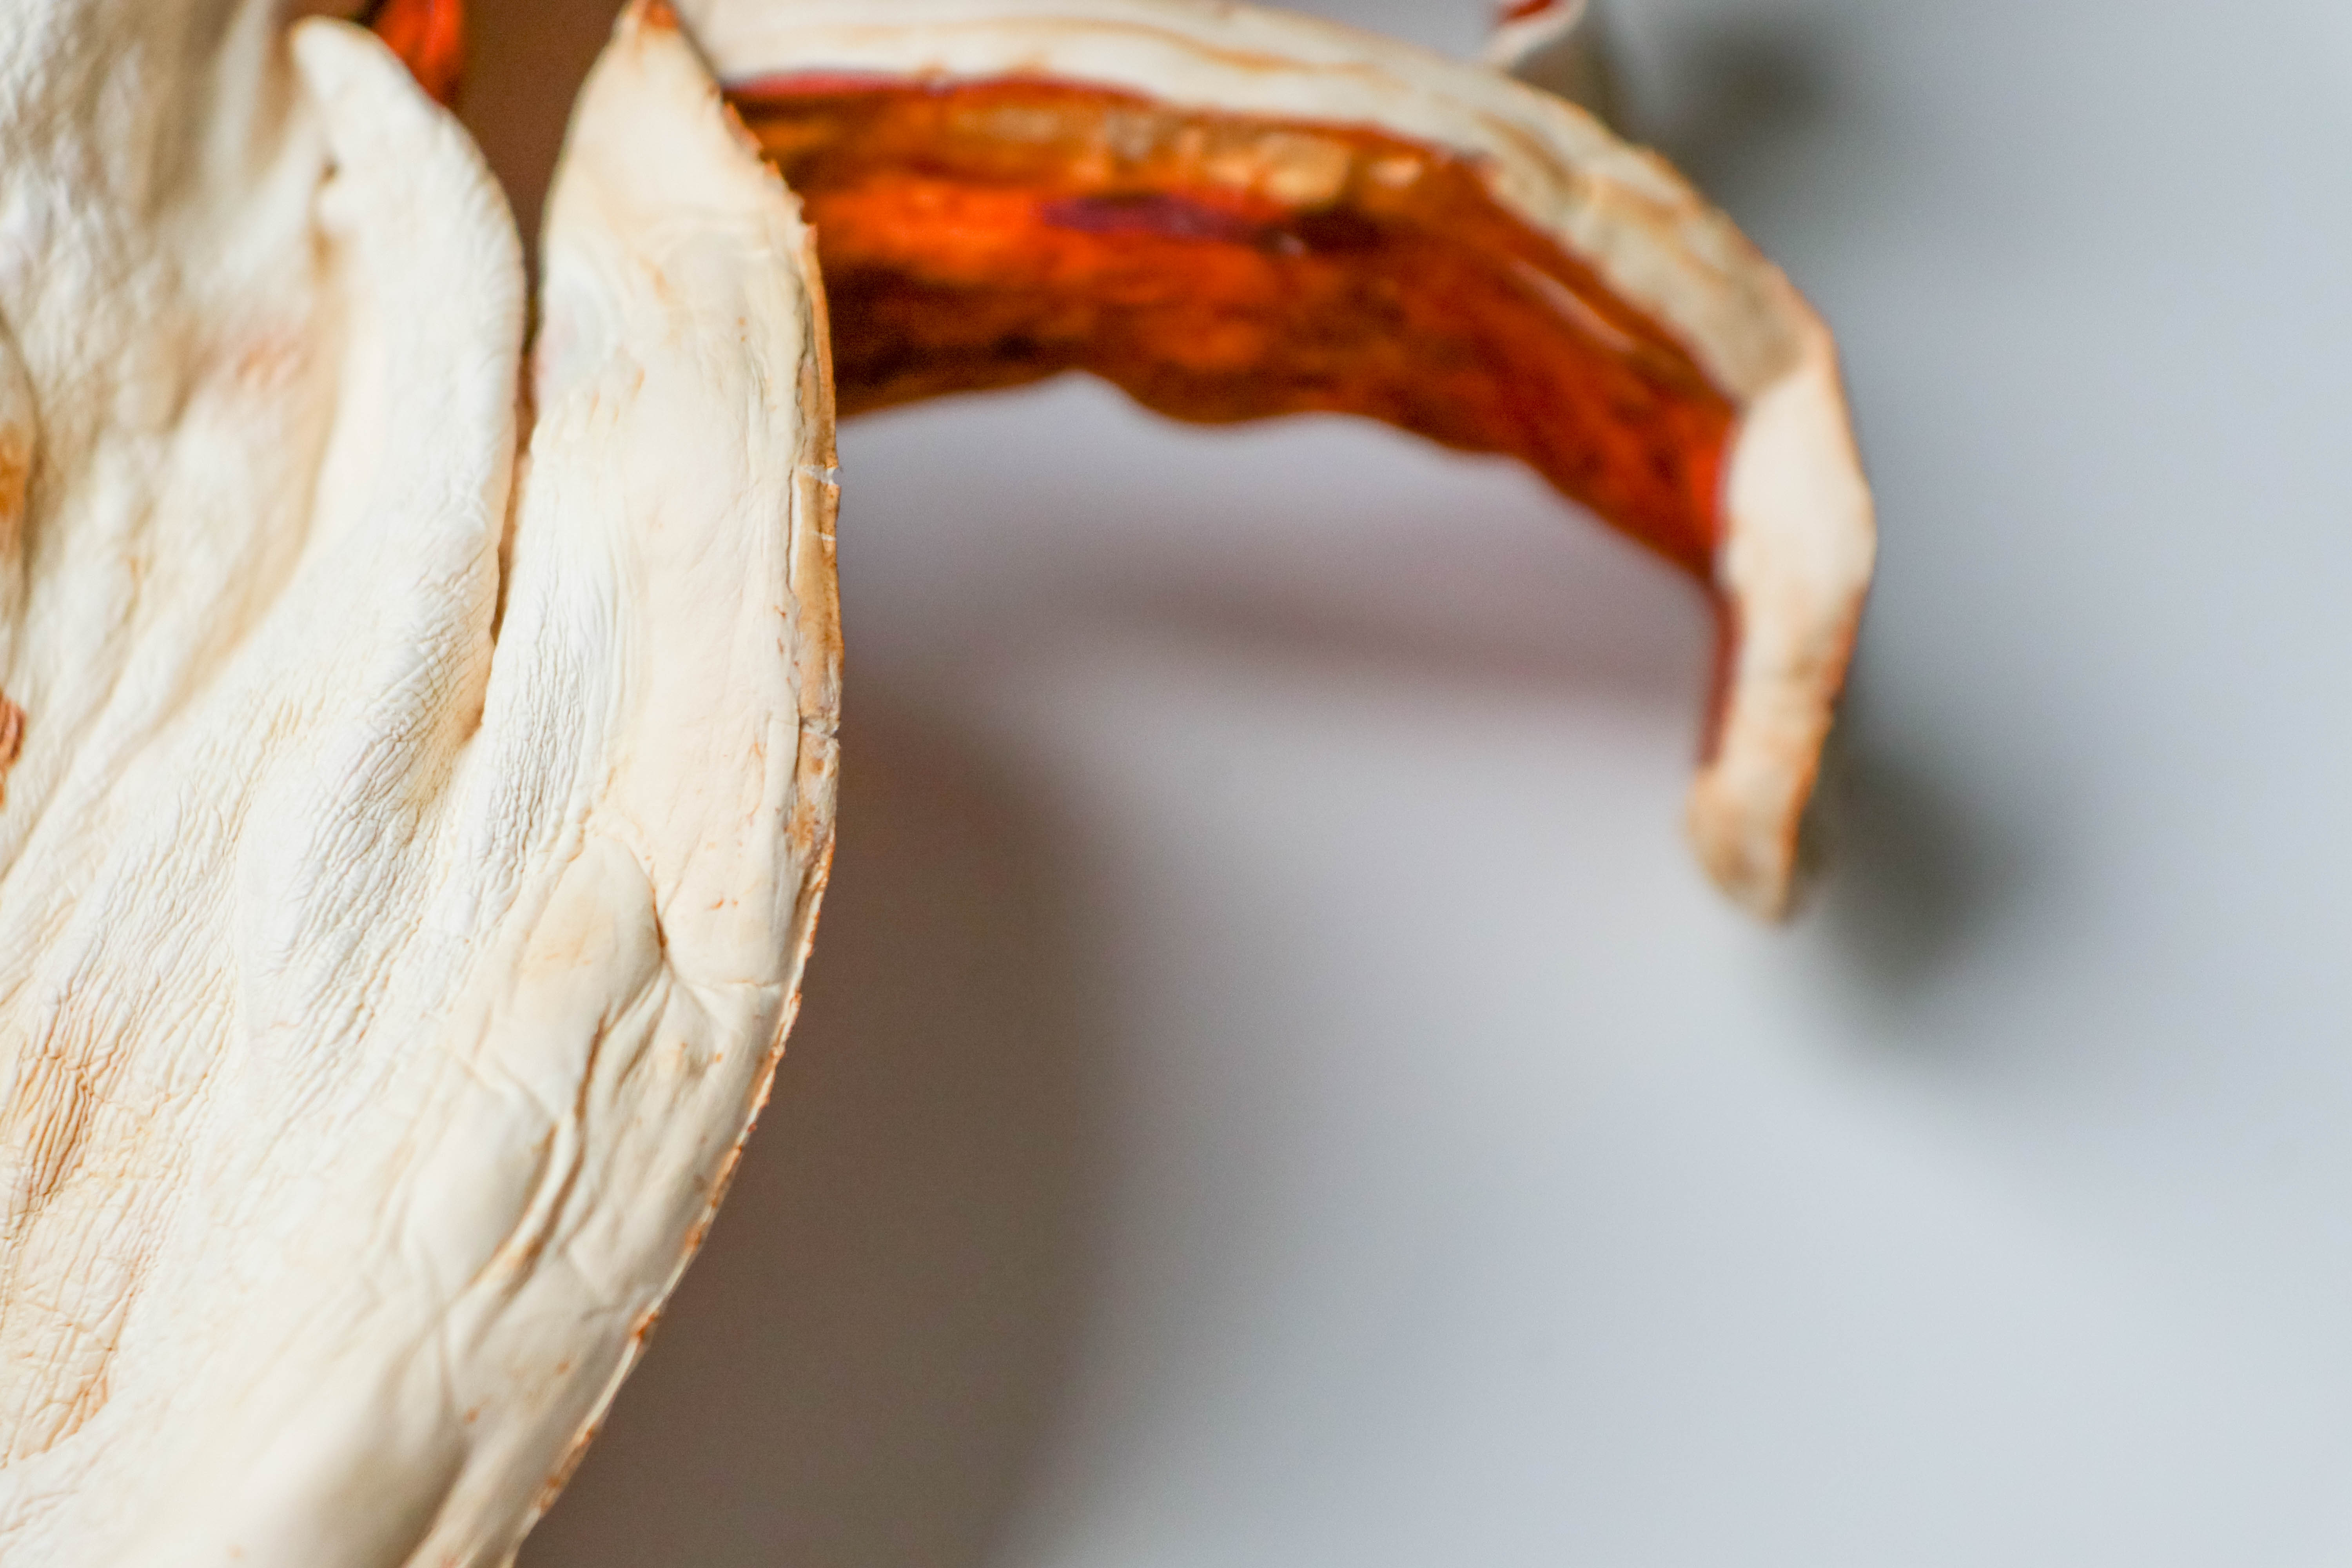
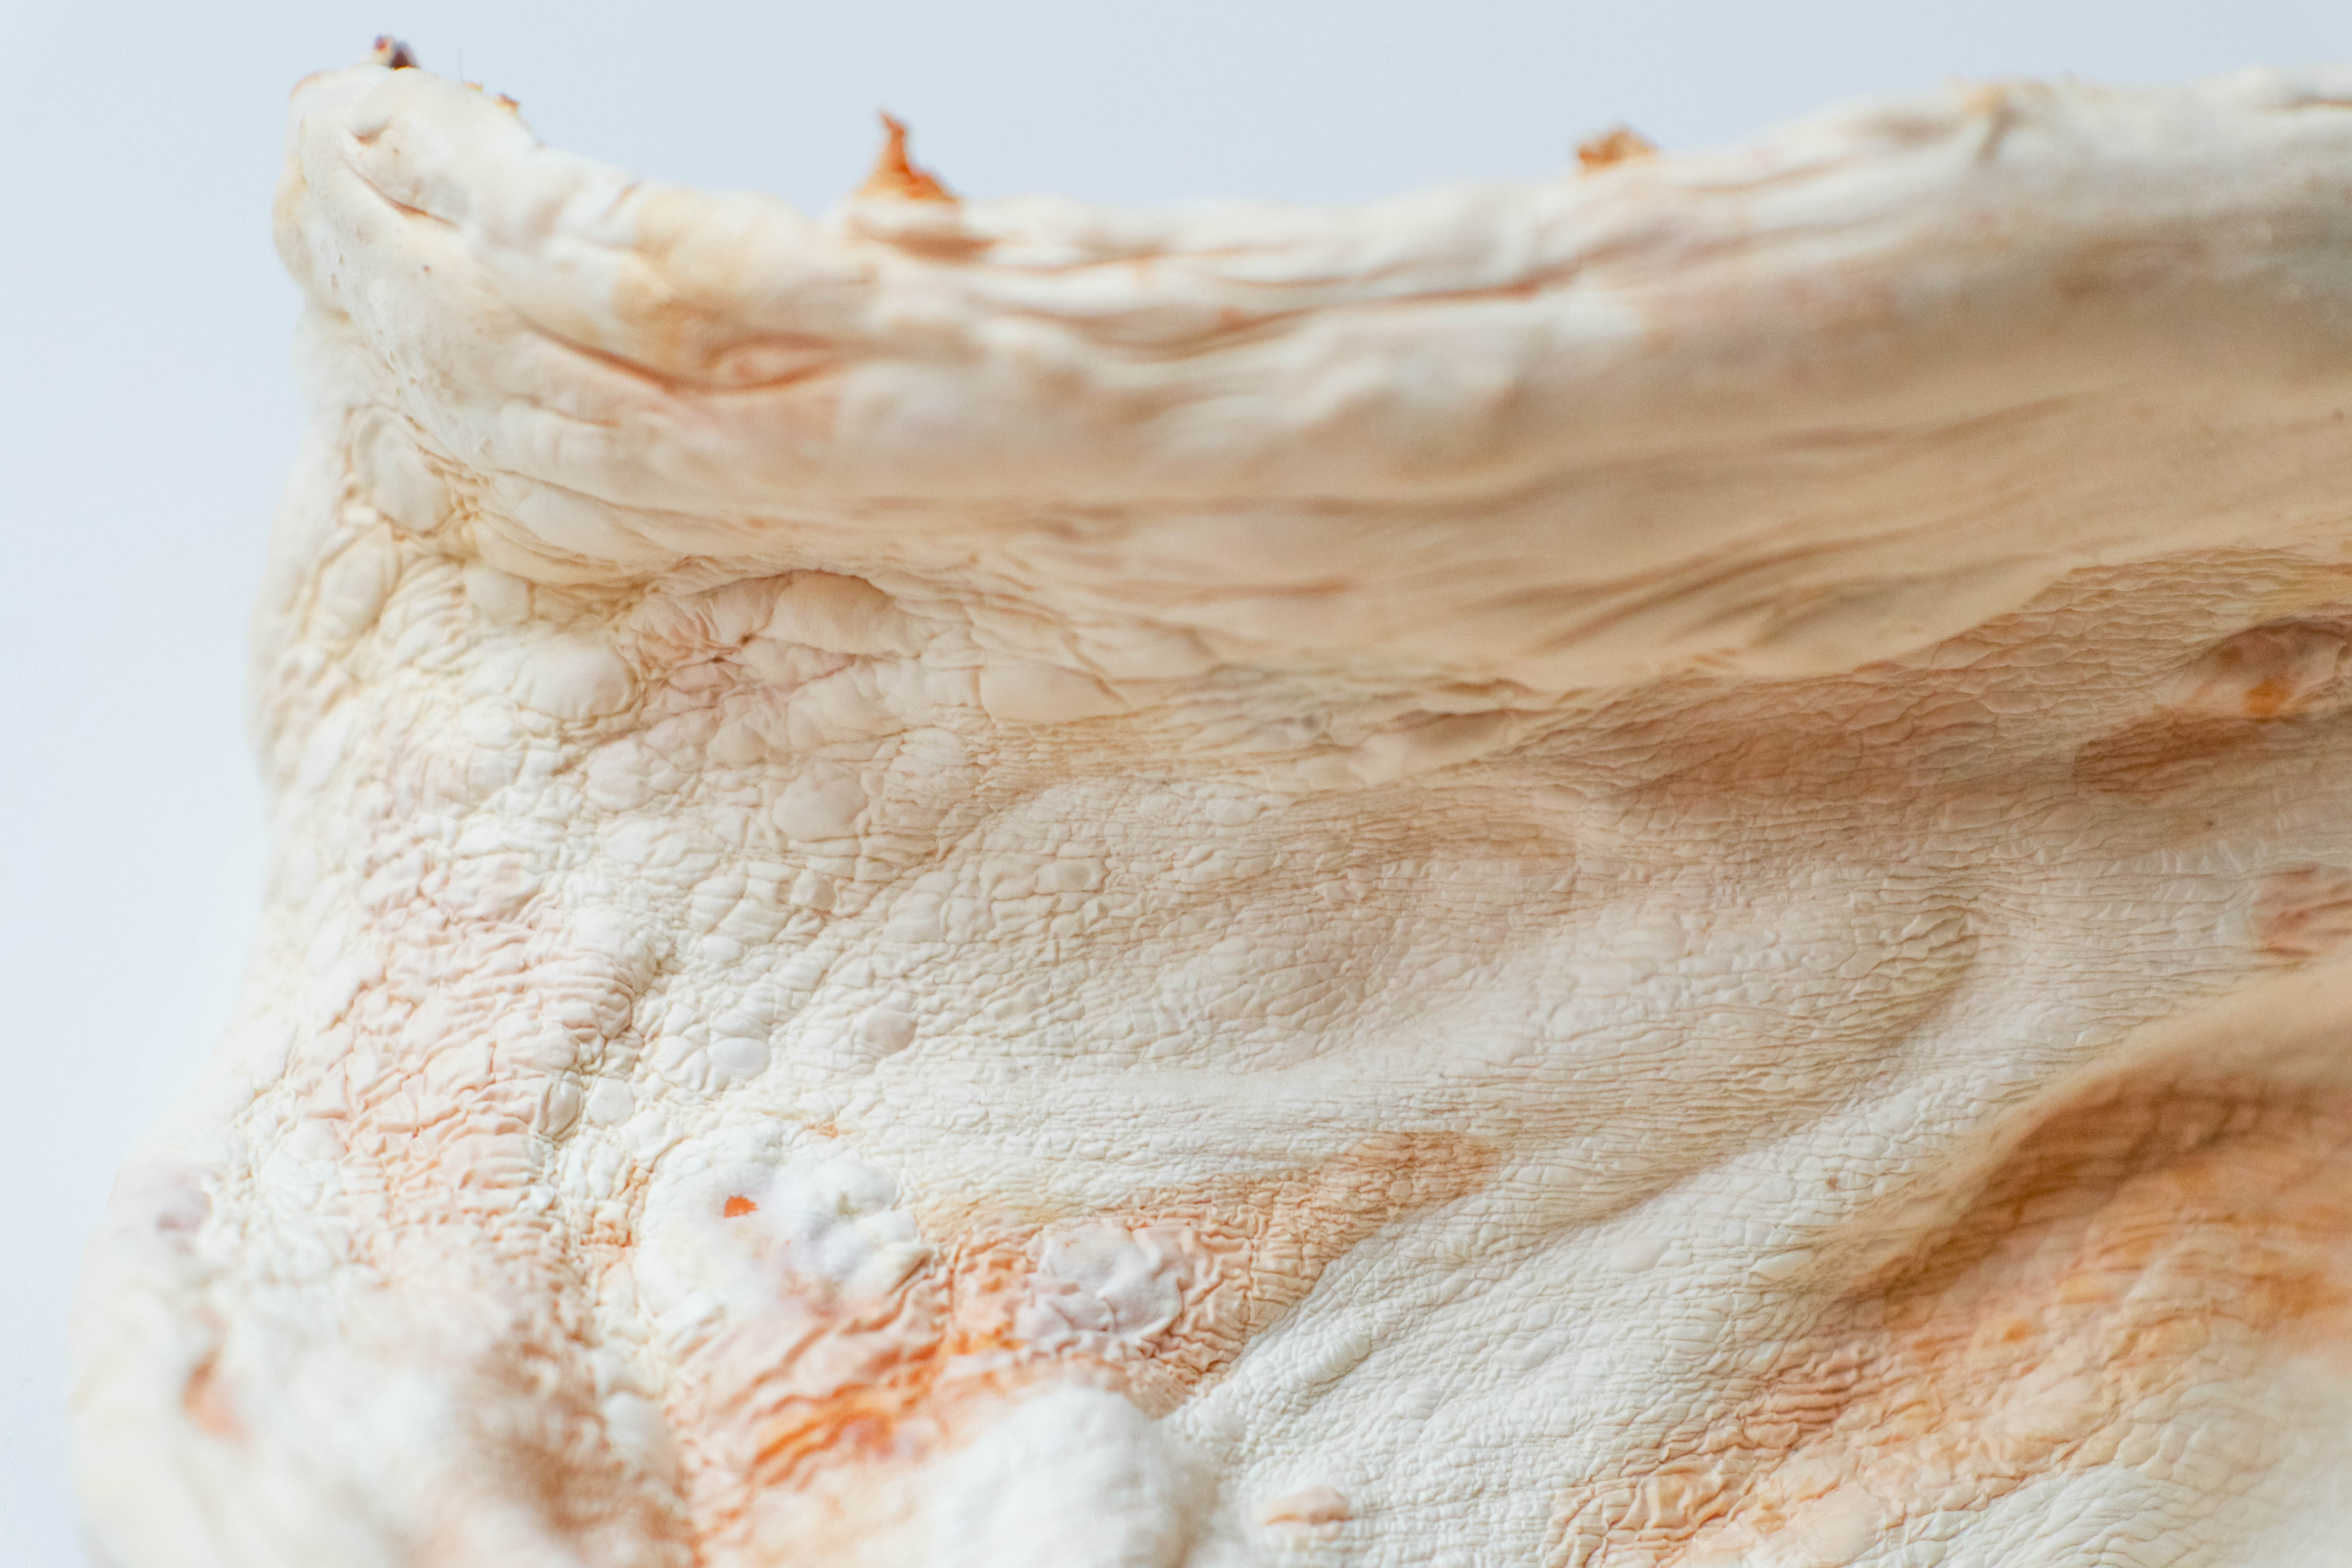
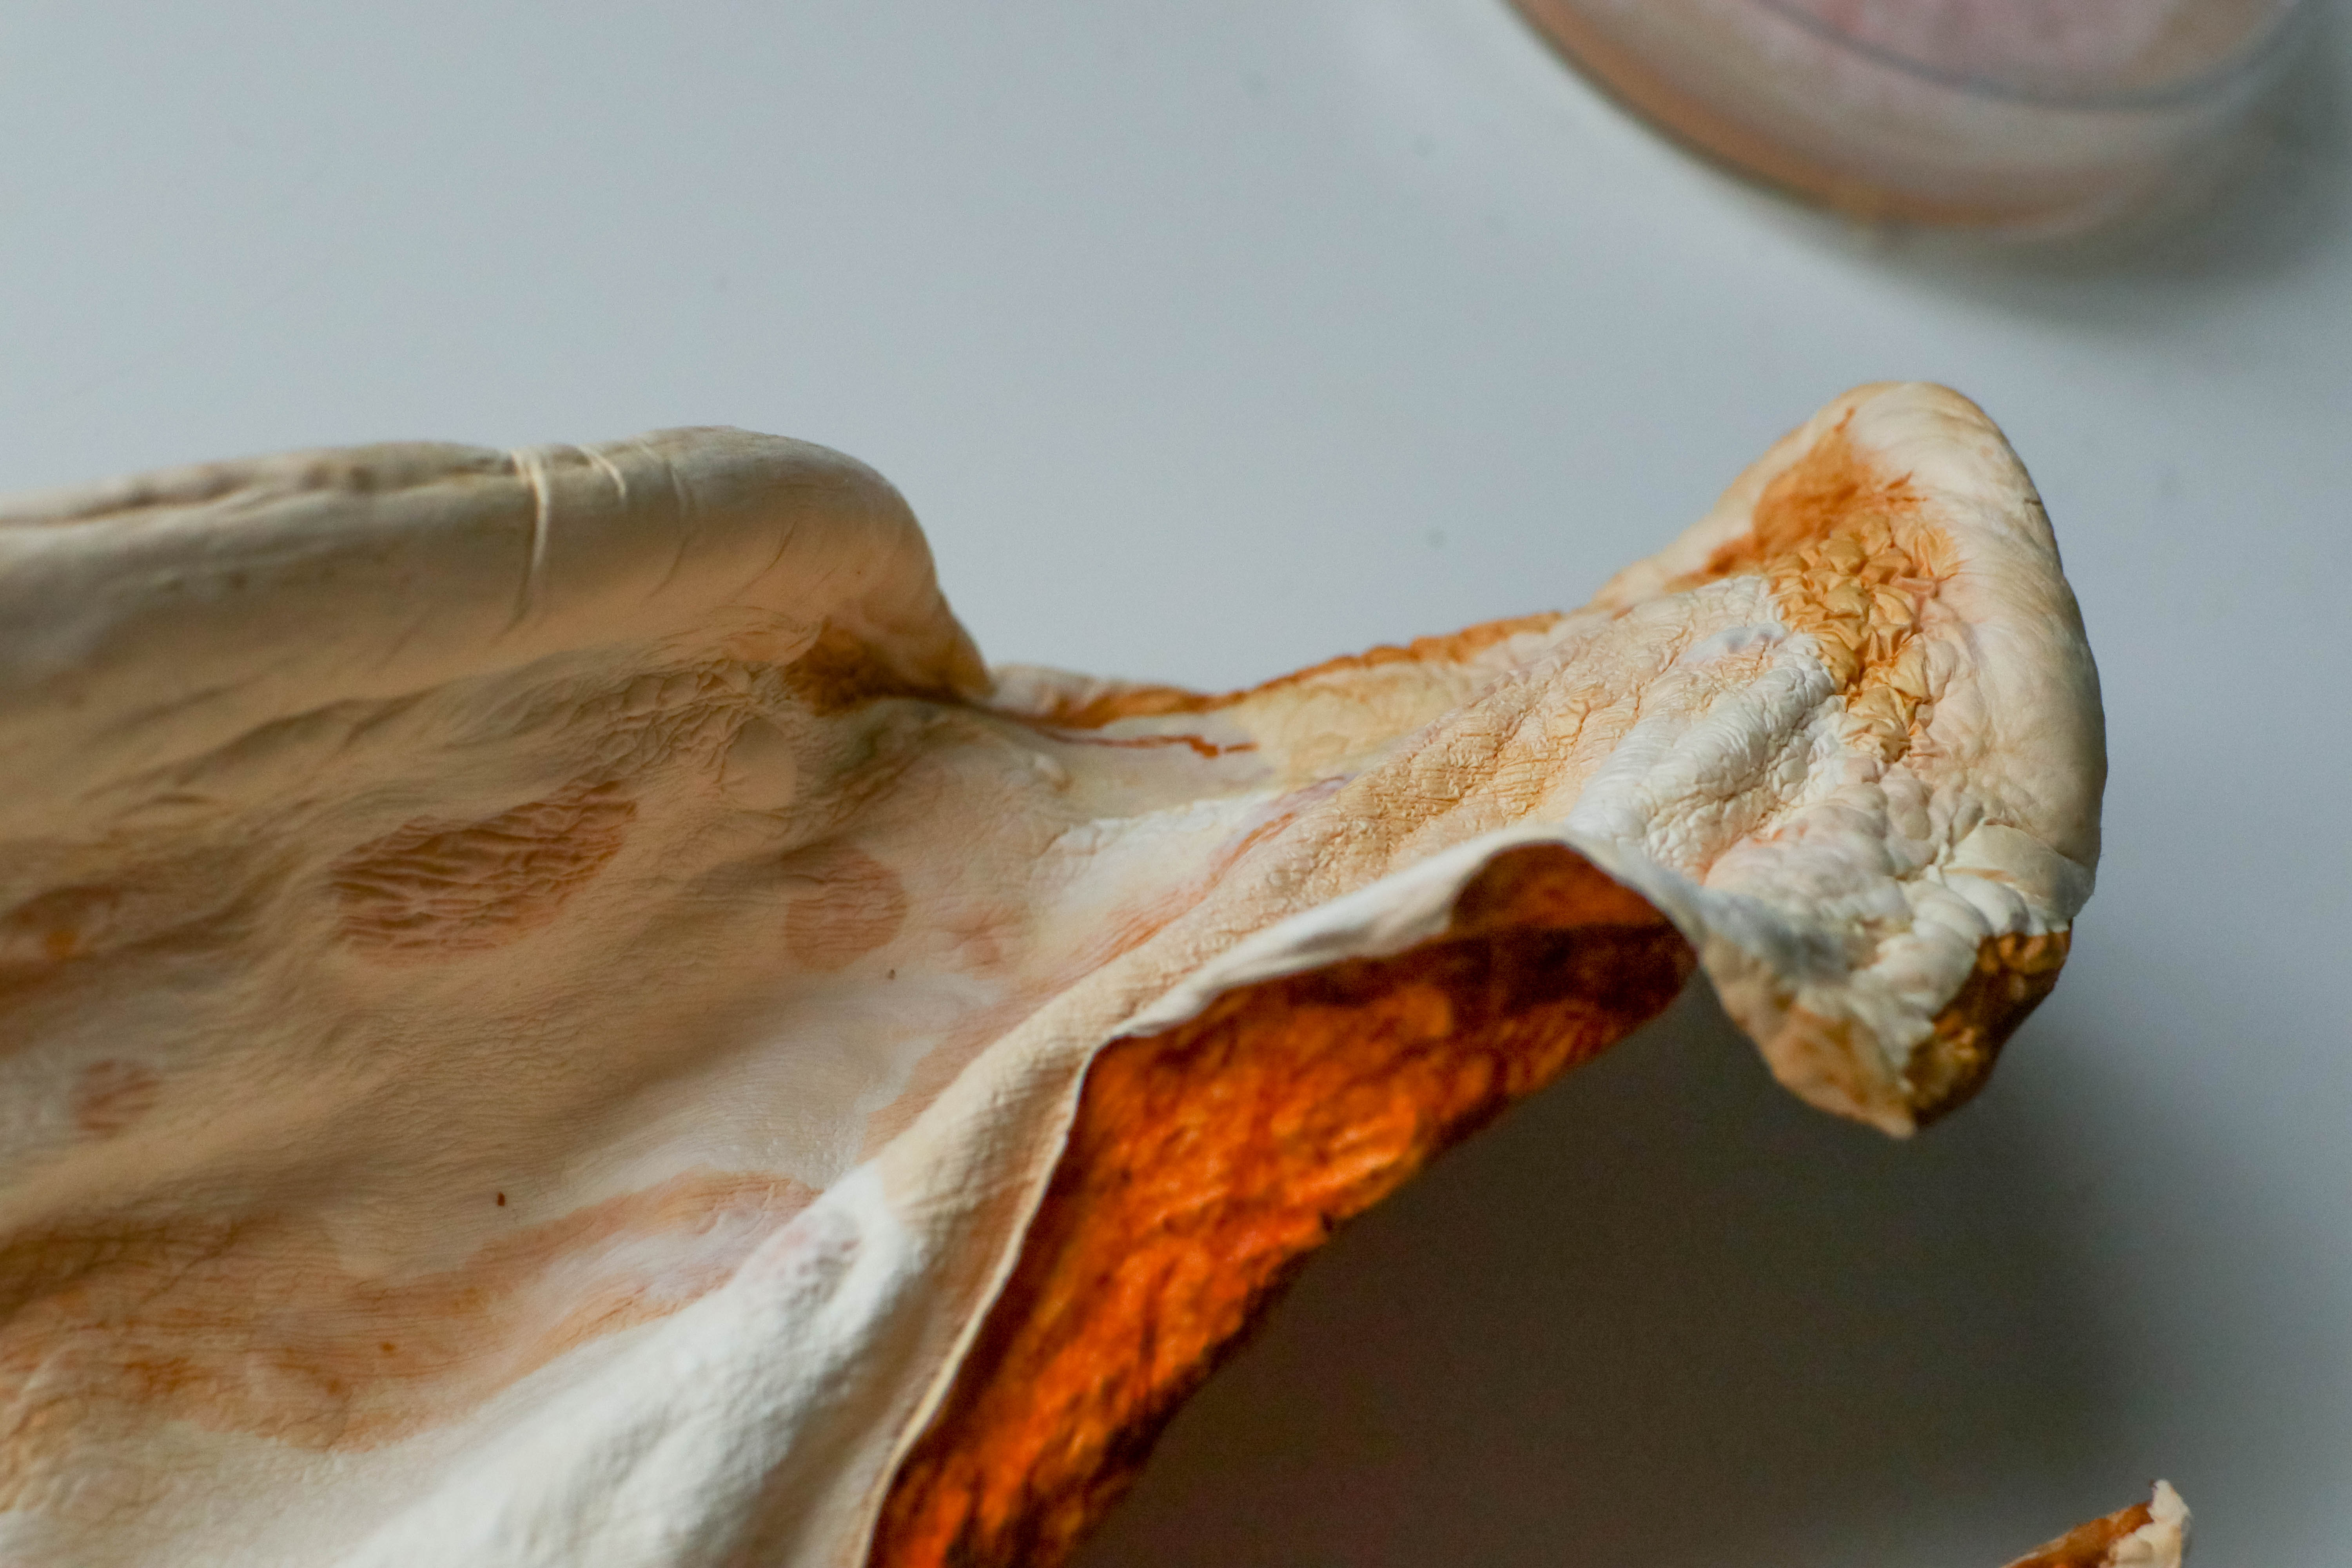
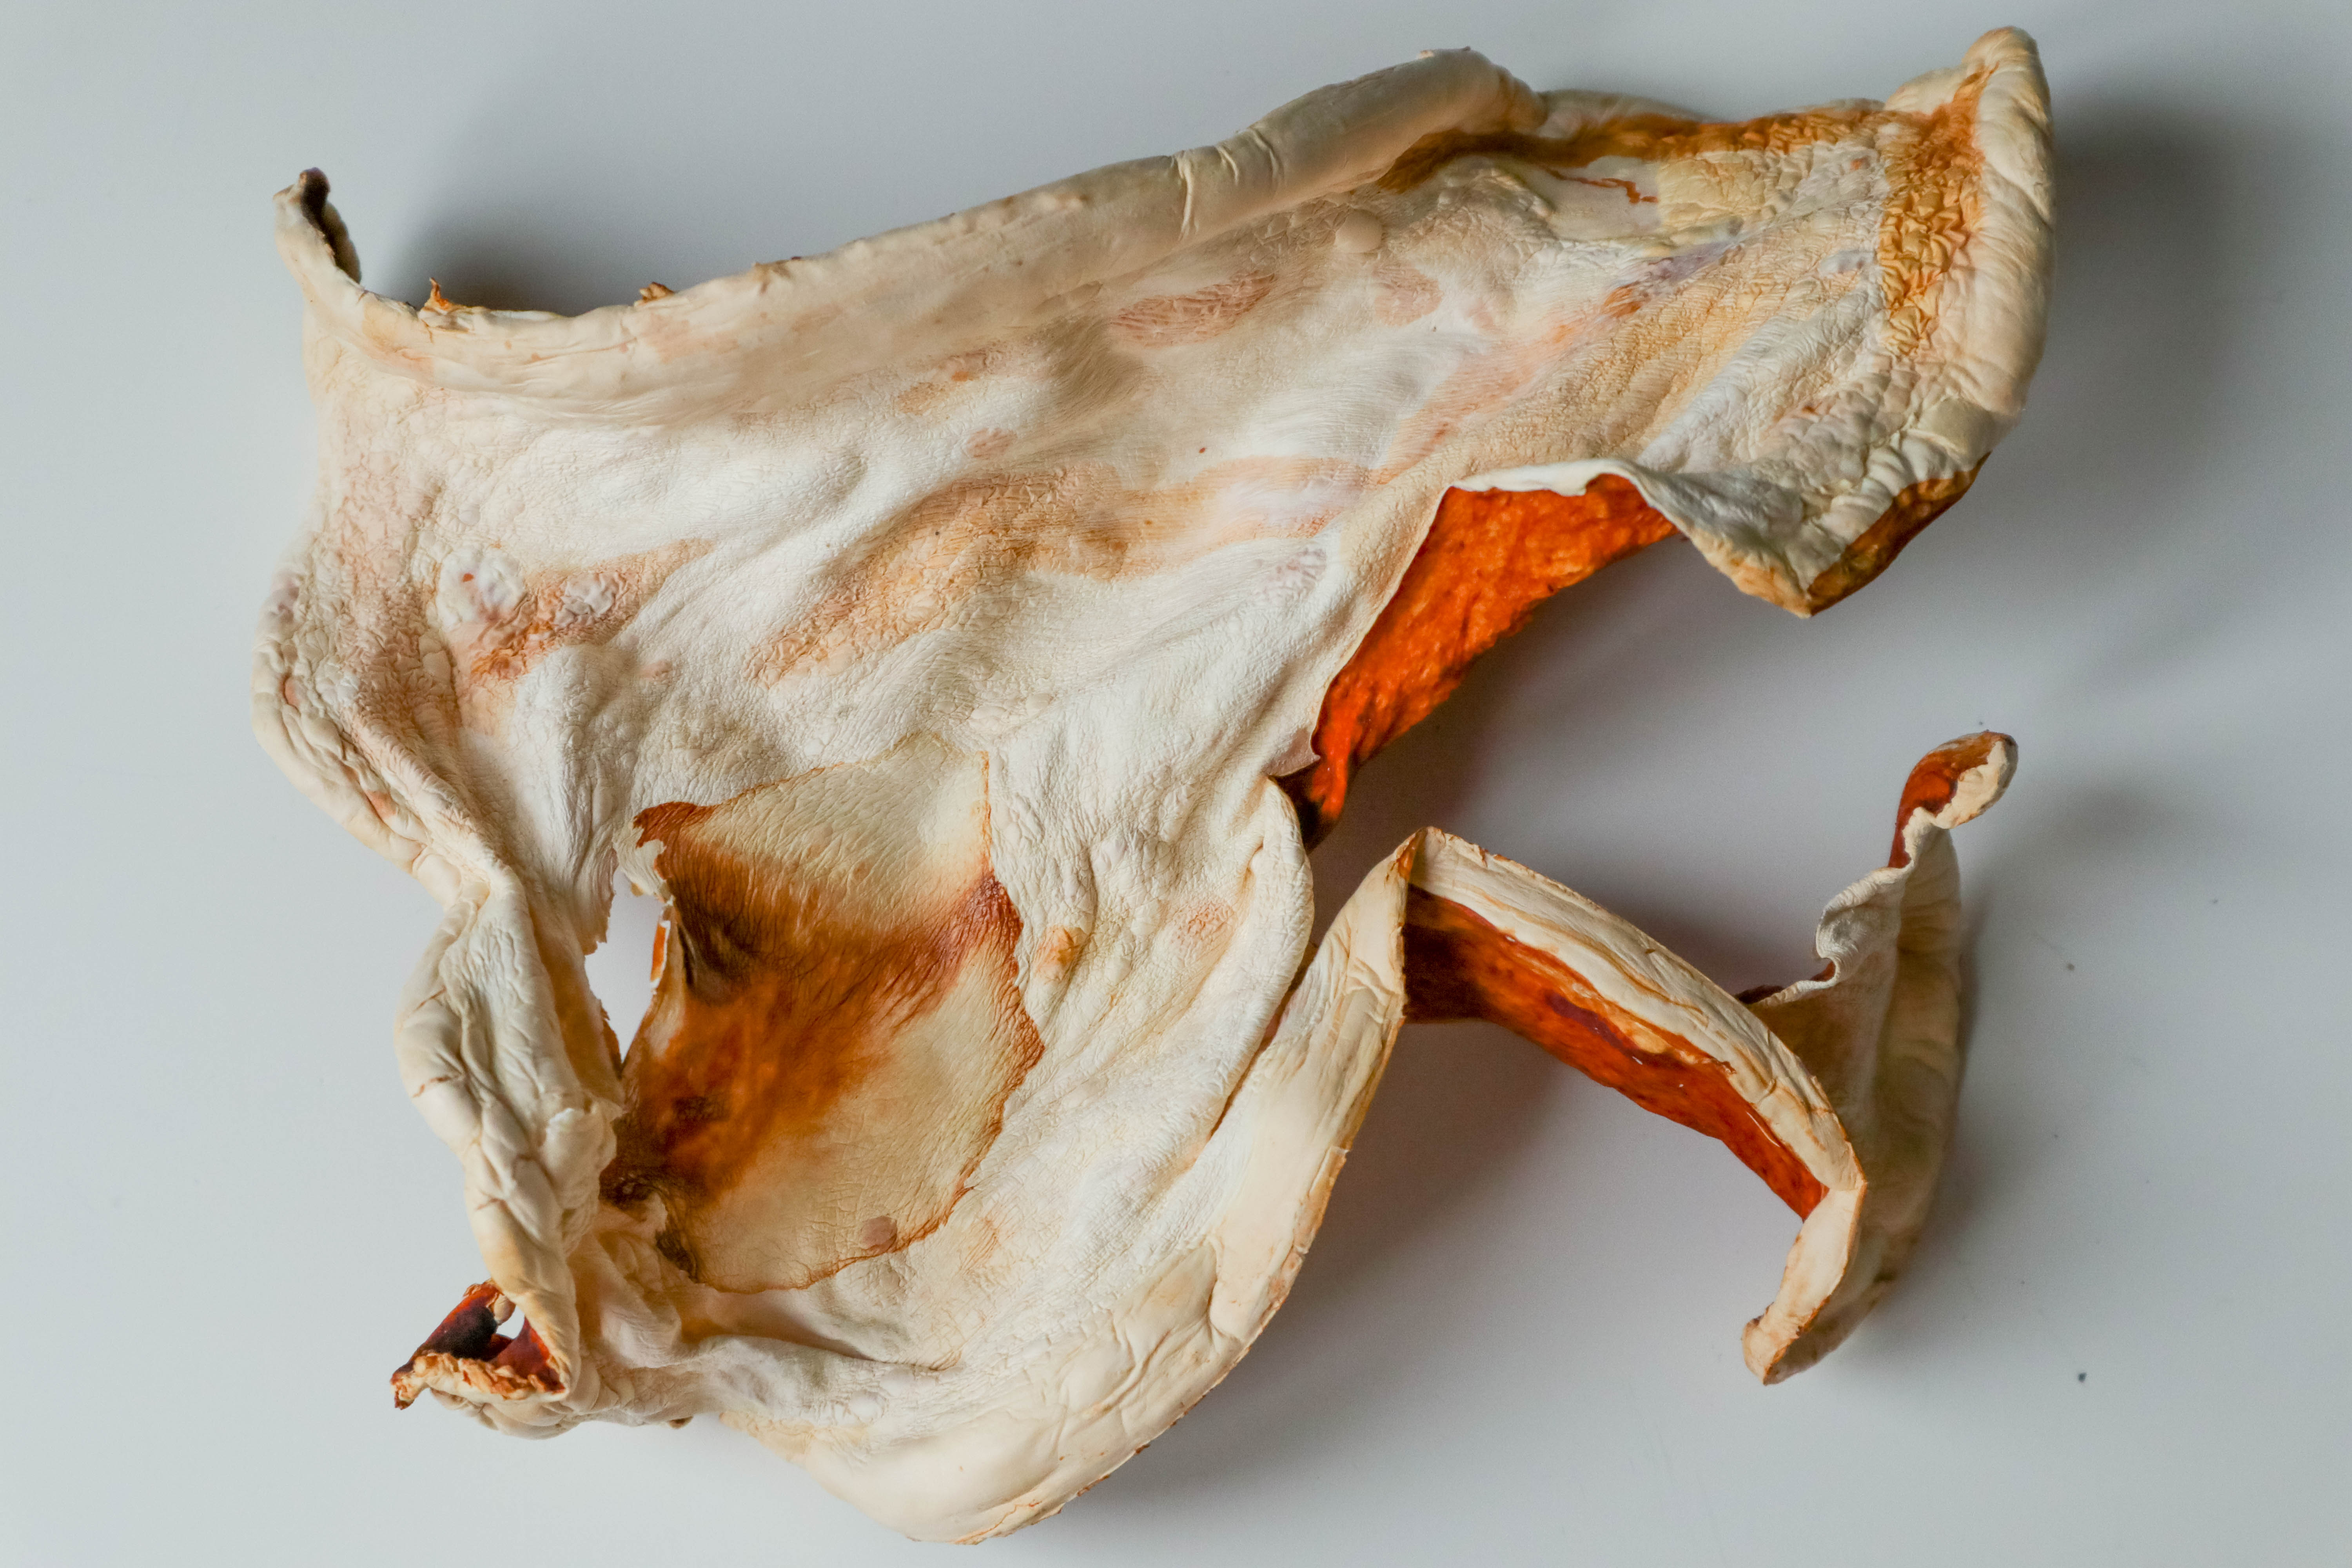
After plasticising with 30% vegetable glycerin in solution with water for 24hrs:
The sheet has become flexible without cracking, it still doesn’t stretch any noticeable amount.
Conclusion
It is clear that this method as I have recreated it here is too slow in its current form to produce materials for even a small scale craft production.
The risk of loosing weeks of work to contamination is also too great for my liking.
The material produced is also still 2-3 times too thin to be useful in a wearable piece, by my estimation.
Of course you can improve your sterile working technique and reduce the time/ steps needed in the replacement of the nutrients, but the liquid culture is always more prone to contamination compared to a solid state medium. In liquid, a small number of contaminants is always spread throughout the liquid via convection currents. This is not a problem with a solid medium.
Perhaps I can adjust variables such as variety of nutrients and their concentration, continuing the agitation of the liquid during the growth period in the containers, increasing c02 levels in the containers etc… in order to increase the speed of production. I will investigate the effectivity of changing these in my next tests with growing on liquid.
I shall still test different treatments and processes on my resulting samples to see if their material properties can be improved and upload the results to a separate page.
Best,
Conor