Today we stated growing samples of Ganoderma mycelium on agar.
As a staring point I am following this shroomery.org forum post, “Stro’s Cleaning and Isolating On Agar” (https://www.shroomery.org/forums/showflat.php/Number/18430998/fpart/1/vc/1/nt/3)
Task:
To make agar plates with the mycelium at the lab. Firstly In order to see if it is still alive and if so to attempt to isolate a appropriately fast growing and rhizomorphic culture for use in the watch face of the mycelium watch and potentially in other mycelium living jewellery pieces (self manufacturing ((growing)) bracelet, earrings, pendants).
Rationale:
The goal is to grow the samples on the different types of agar + different concentrations to see what produces the fastest growth/ most interesting pattern. I will take notes & photos during growth for making a library of samples.
I read some people who say not enough nutrients is what triggers the rhizomorphic growth which is the fastest and most visually interesting and some people say the opposite. With this experiment I want to find out for myself how to encourage rhizomorphic growth.
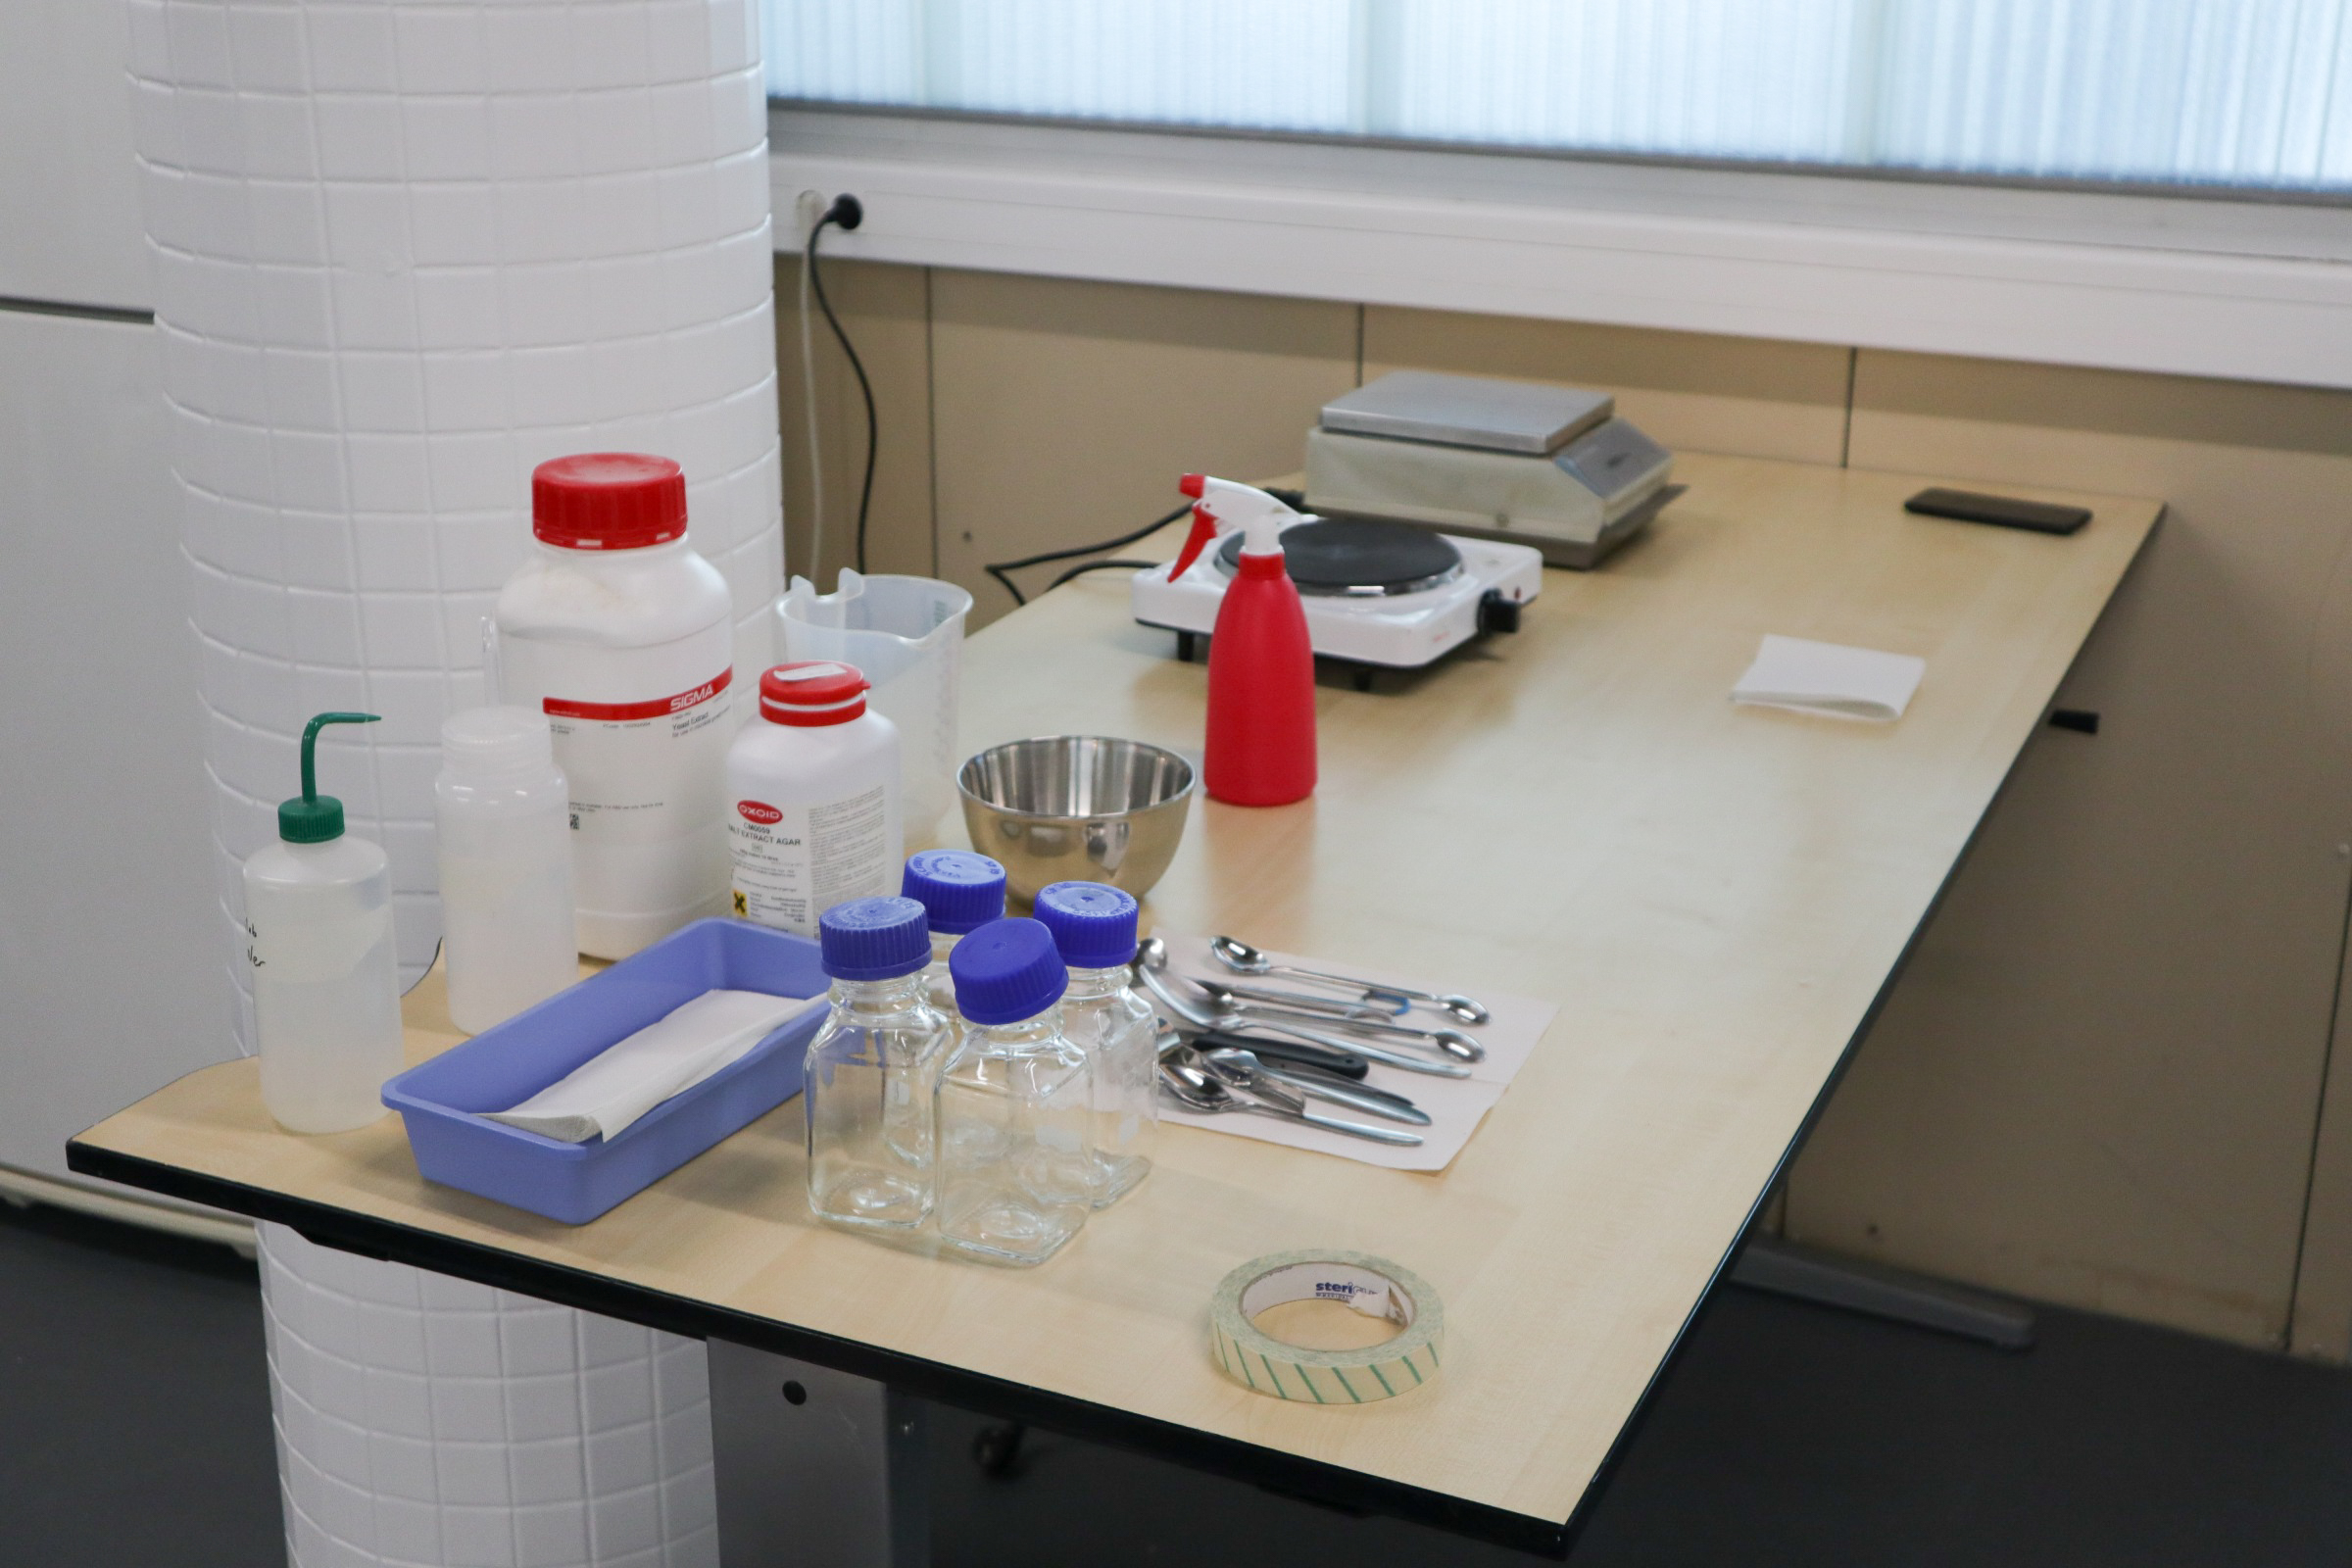
Step one - The first agar plates
First we began with a mix of agar that I know works because I have used it before in my first attempts making a mycelium “watch” at my internship at Waag.
The recipe:
500 ml MYA (malt + yeast agar) Recipe…
10 grams Agar
7.5 grams Malt Extract
.25 grams powdered Nutritional Yeast
A living culture of Ganoderma mycelium to inoculate with
(Modified recipe for 750ml: 13.3 Agar 10 Malt .3125 Yeast 750ml demi-water)
Process:
10 mycelium samples were placed on malt, yeast agar petri dishes
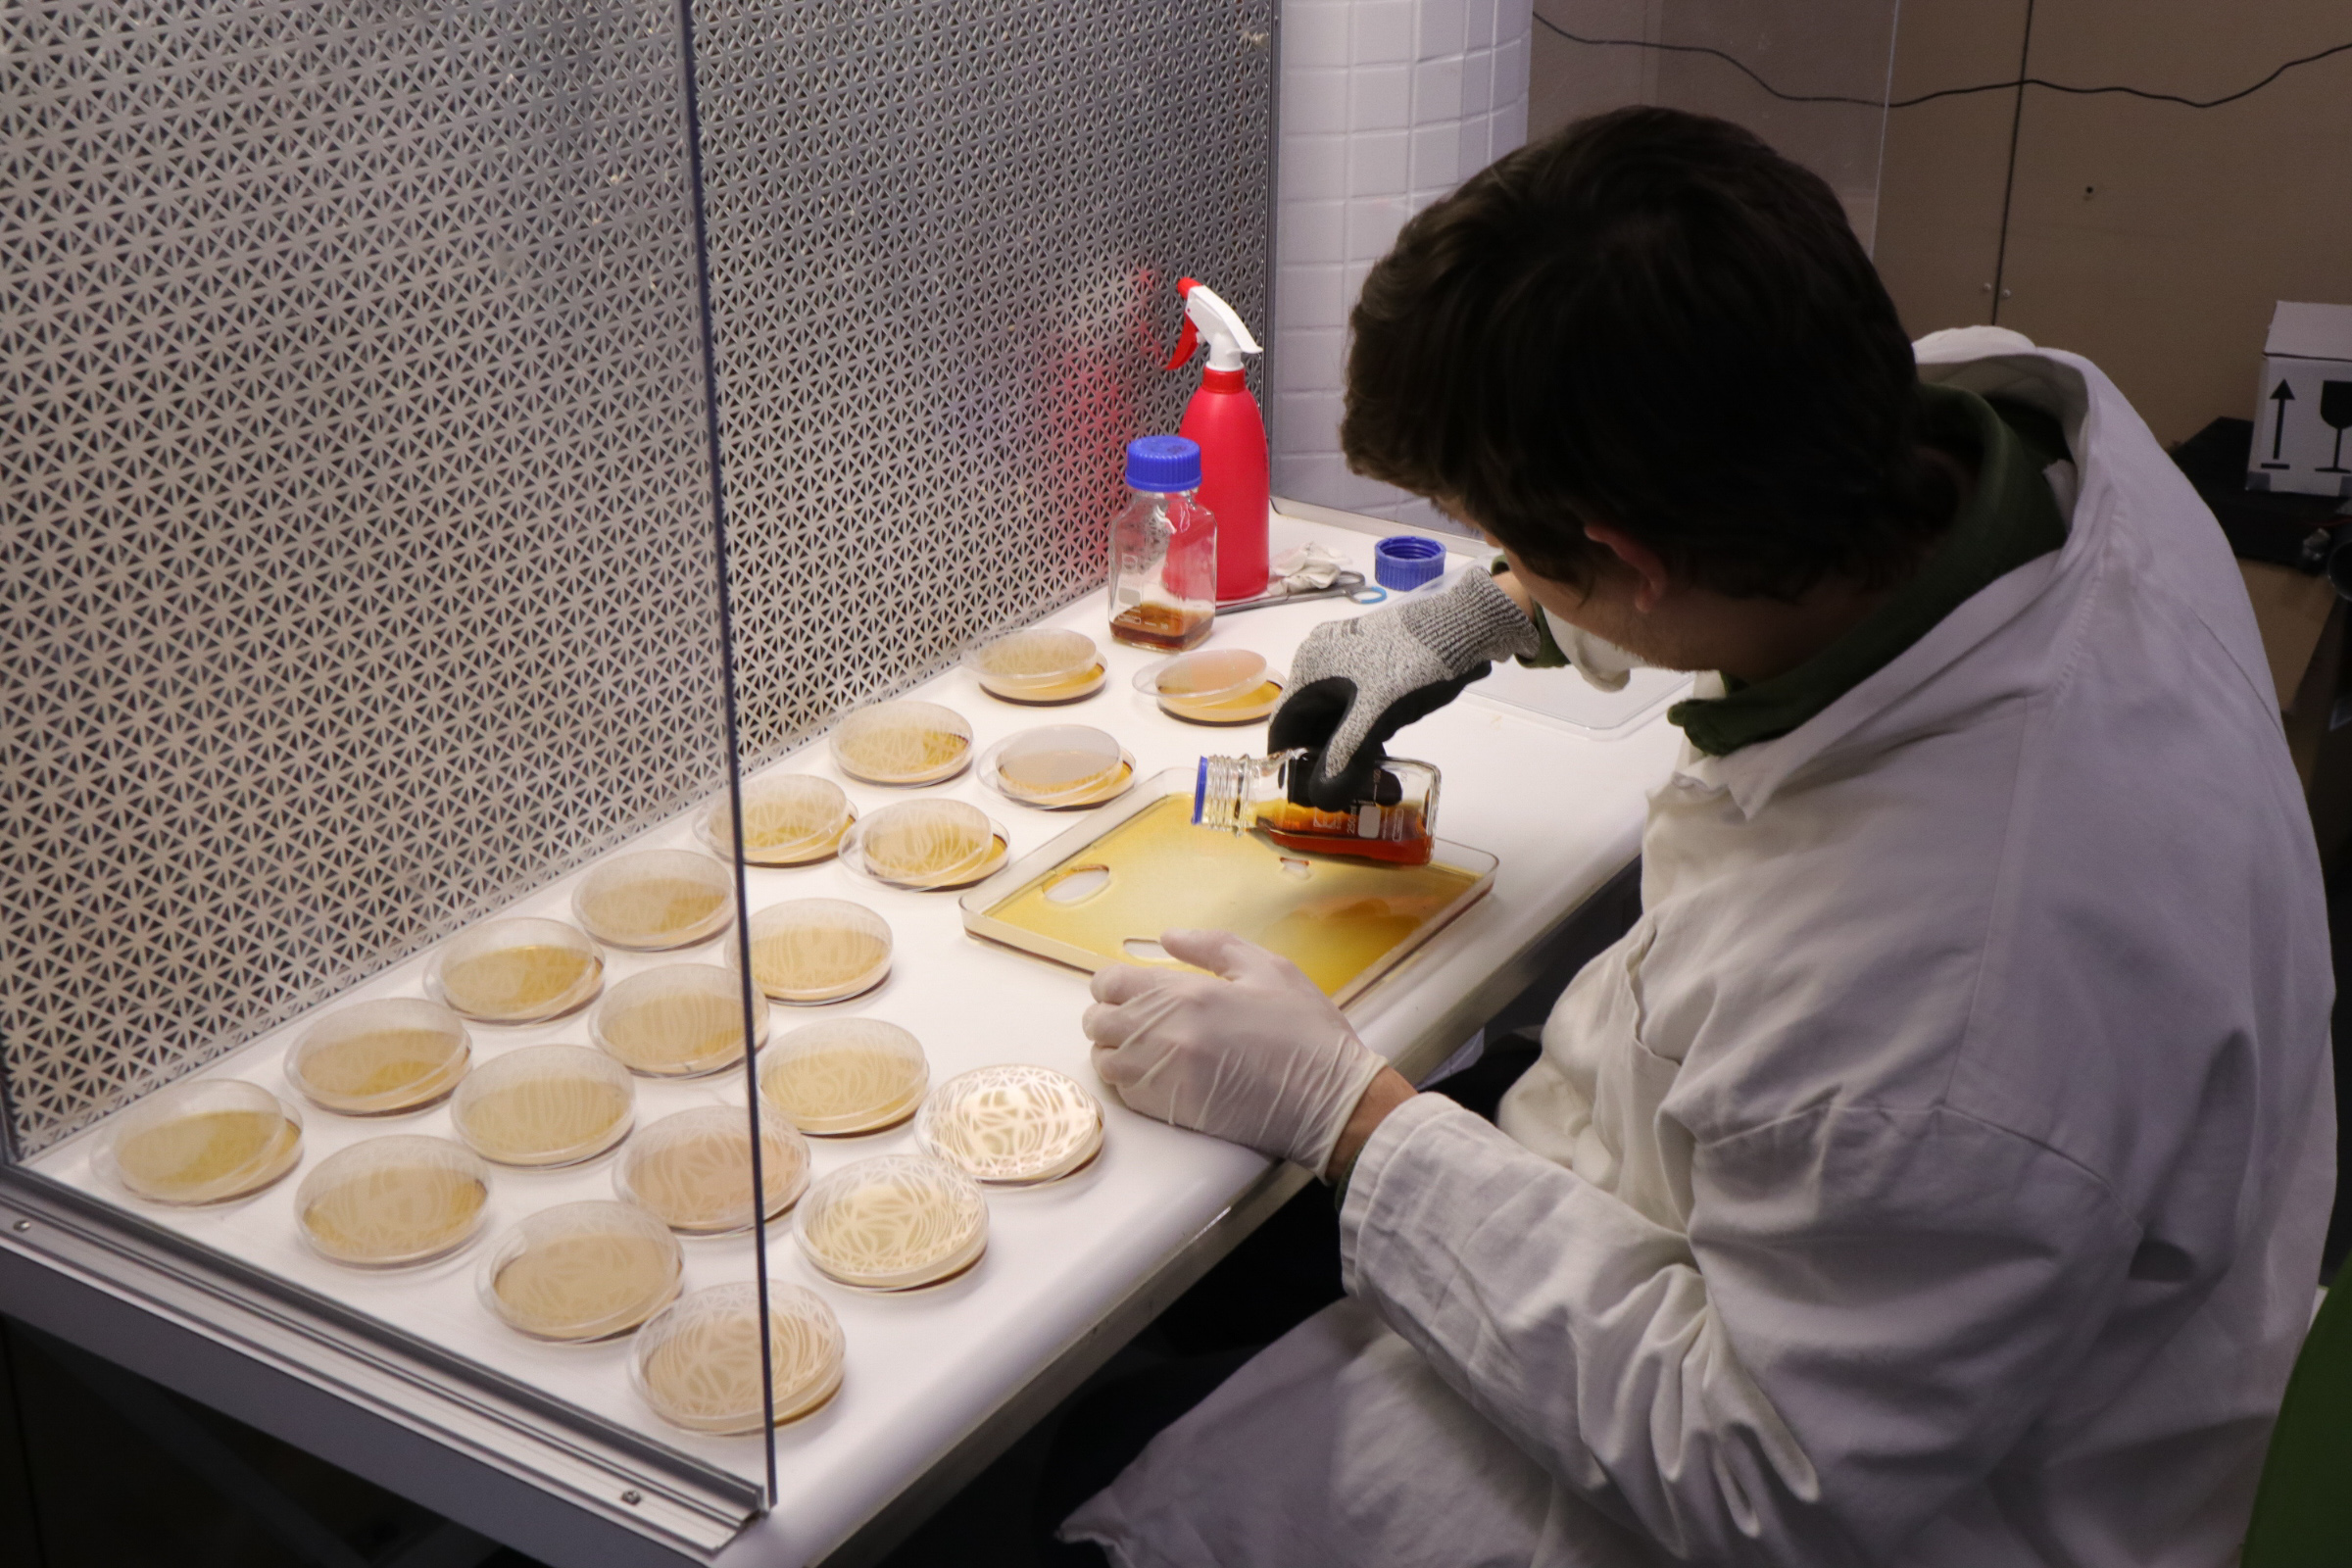
The mycelium samples were harvested from a block of birdseed with Ganoderma mycelium grown through it. This block was already in the fridge at Bluecity Lab. We weren’t sure how old this mycelium was and if it was still alive.

The A samples were harvested from the centre of the mycelium block.
The B samples were harvested from the outer, more “fluffy” part of the block.
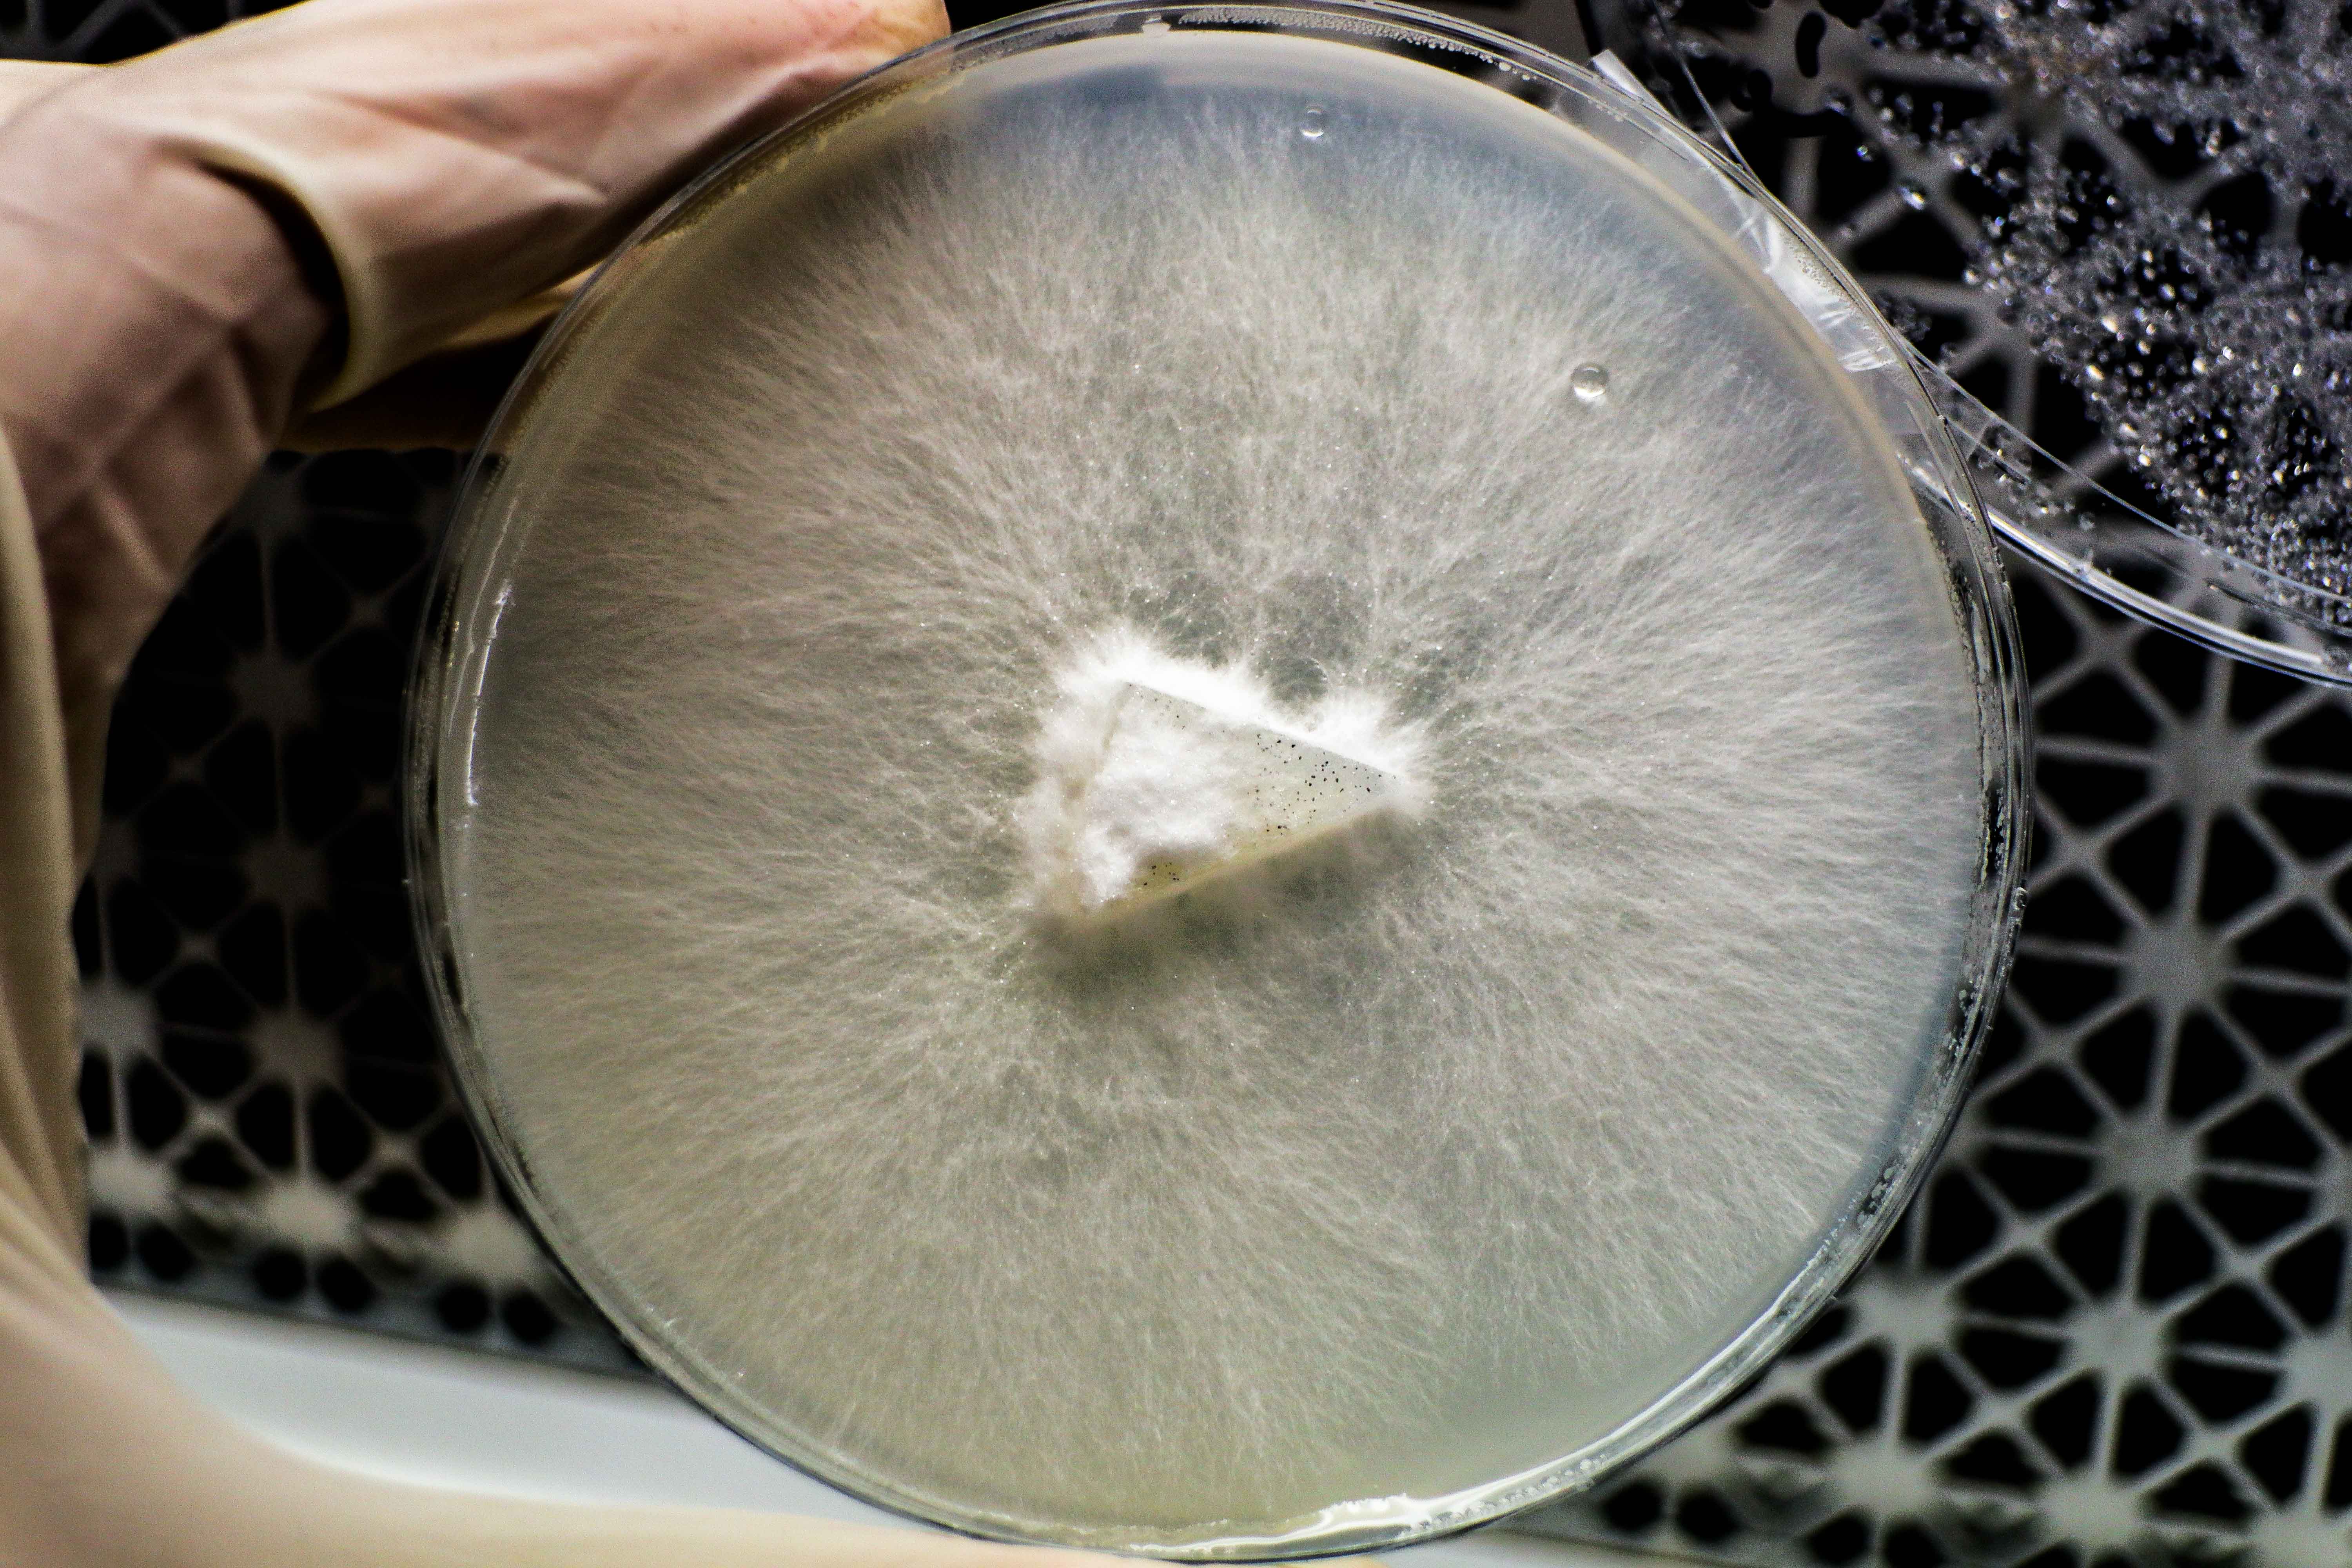
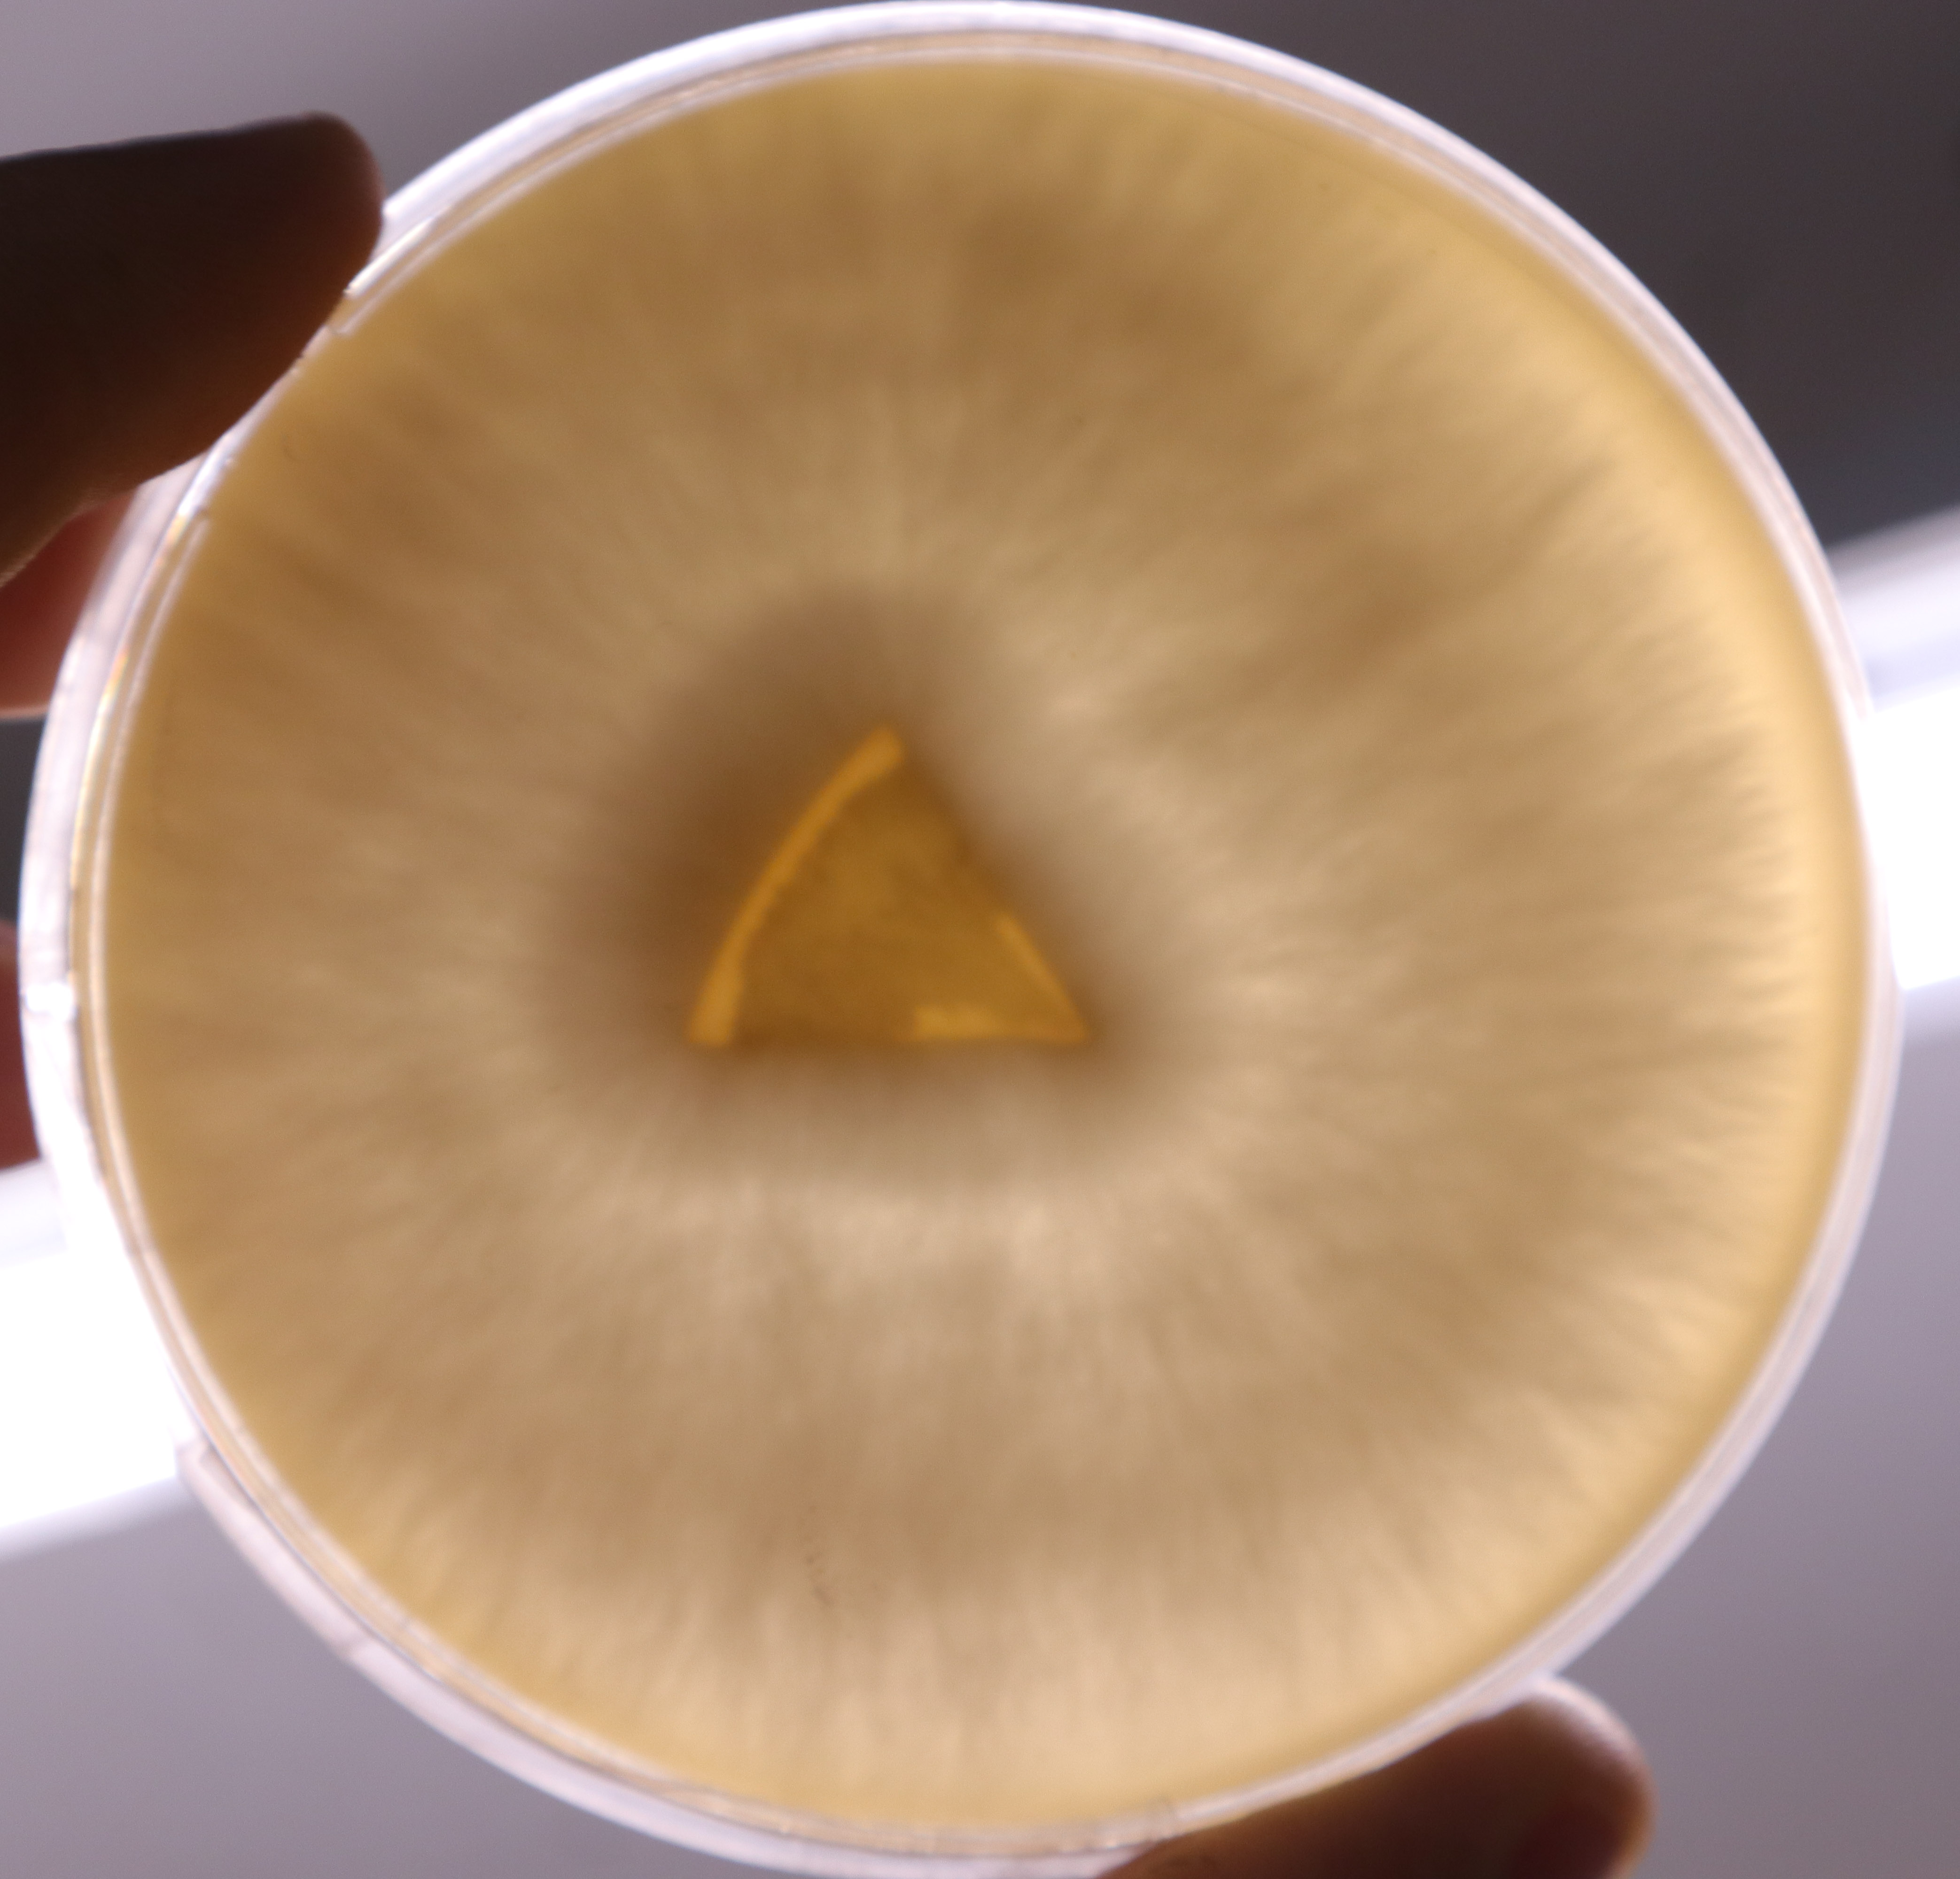
Some dishes have one piece of the birdseed/mycelium placed in the centre of the dishes
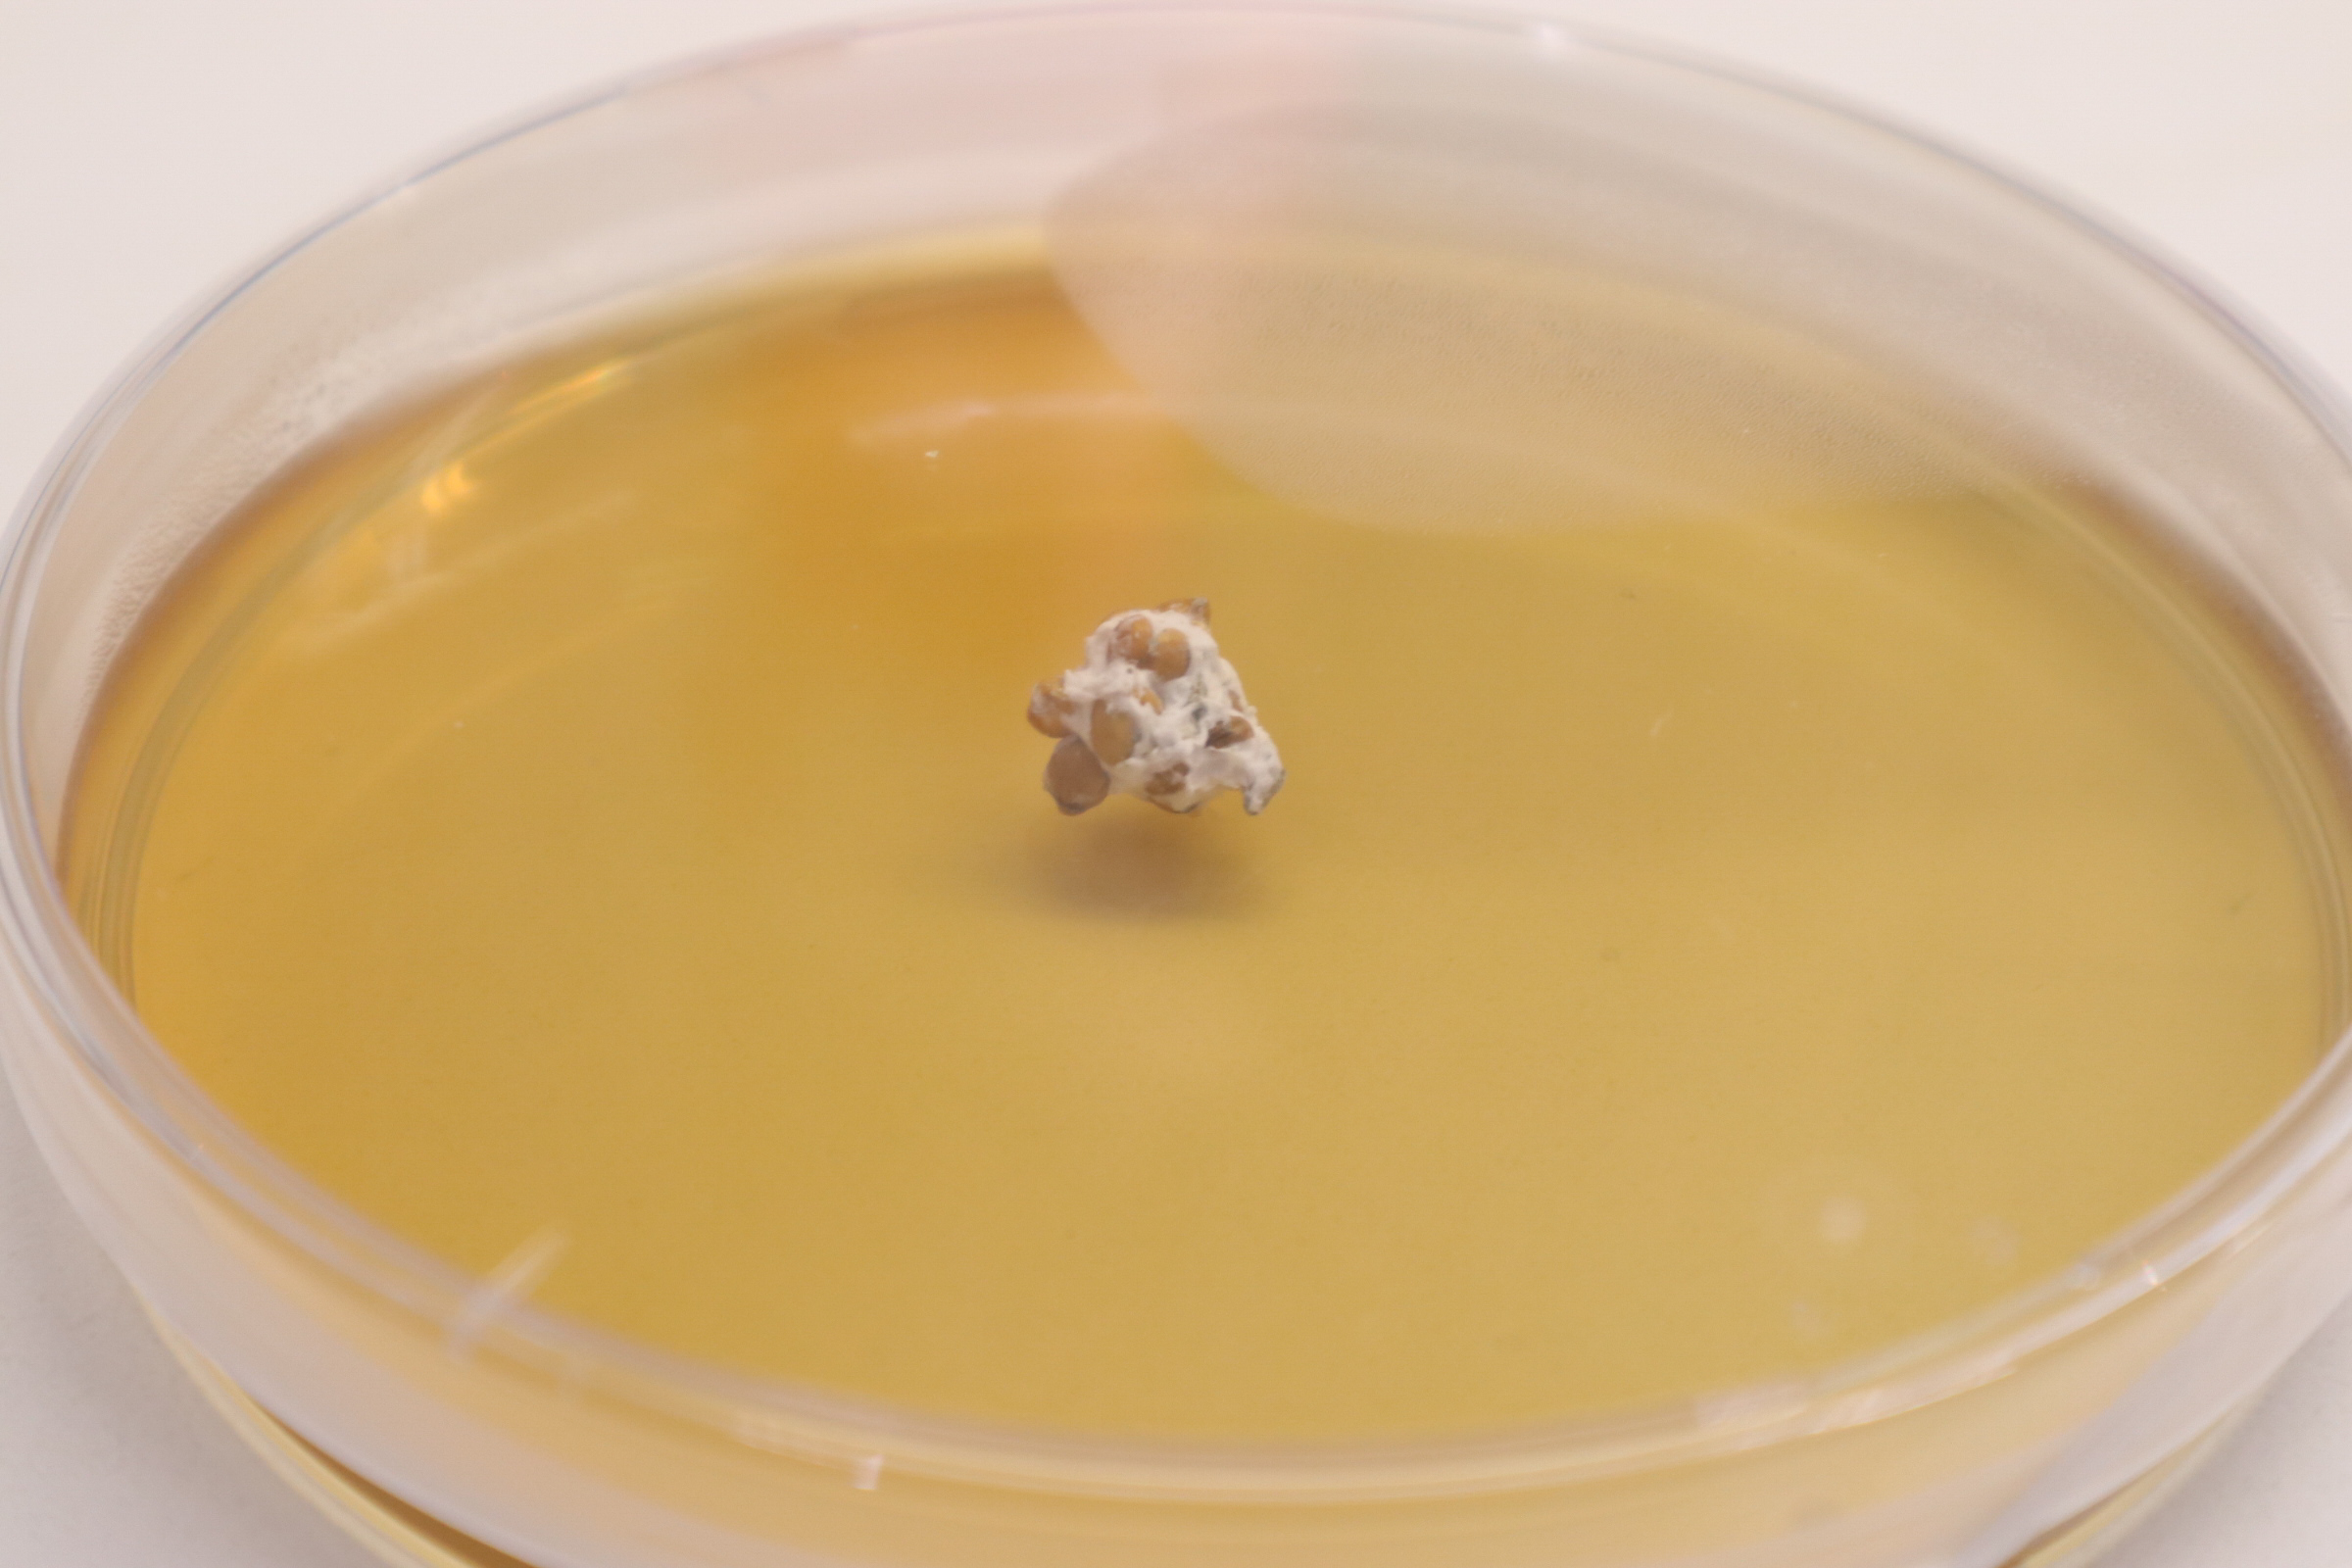
Some of the dishes have 3 pieces which are placed in the shape of a triangle. This is done to give different samples a chance to grow at once. This way even if only one of them grows at all or if one grows much stronger than the other 2, then that one colony can be harvested by itself for further use. This also allows me to see how separate mycelium colonies on an agar layer interact with each other during growth.

The inoculated plates were placed in an incubator at 25 Celsius.
Progress:
Day 2:

Day 5:

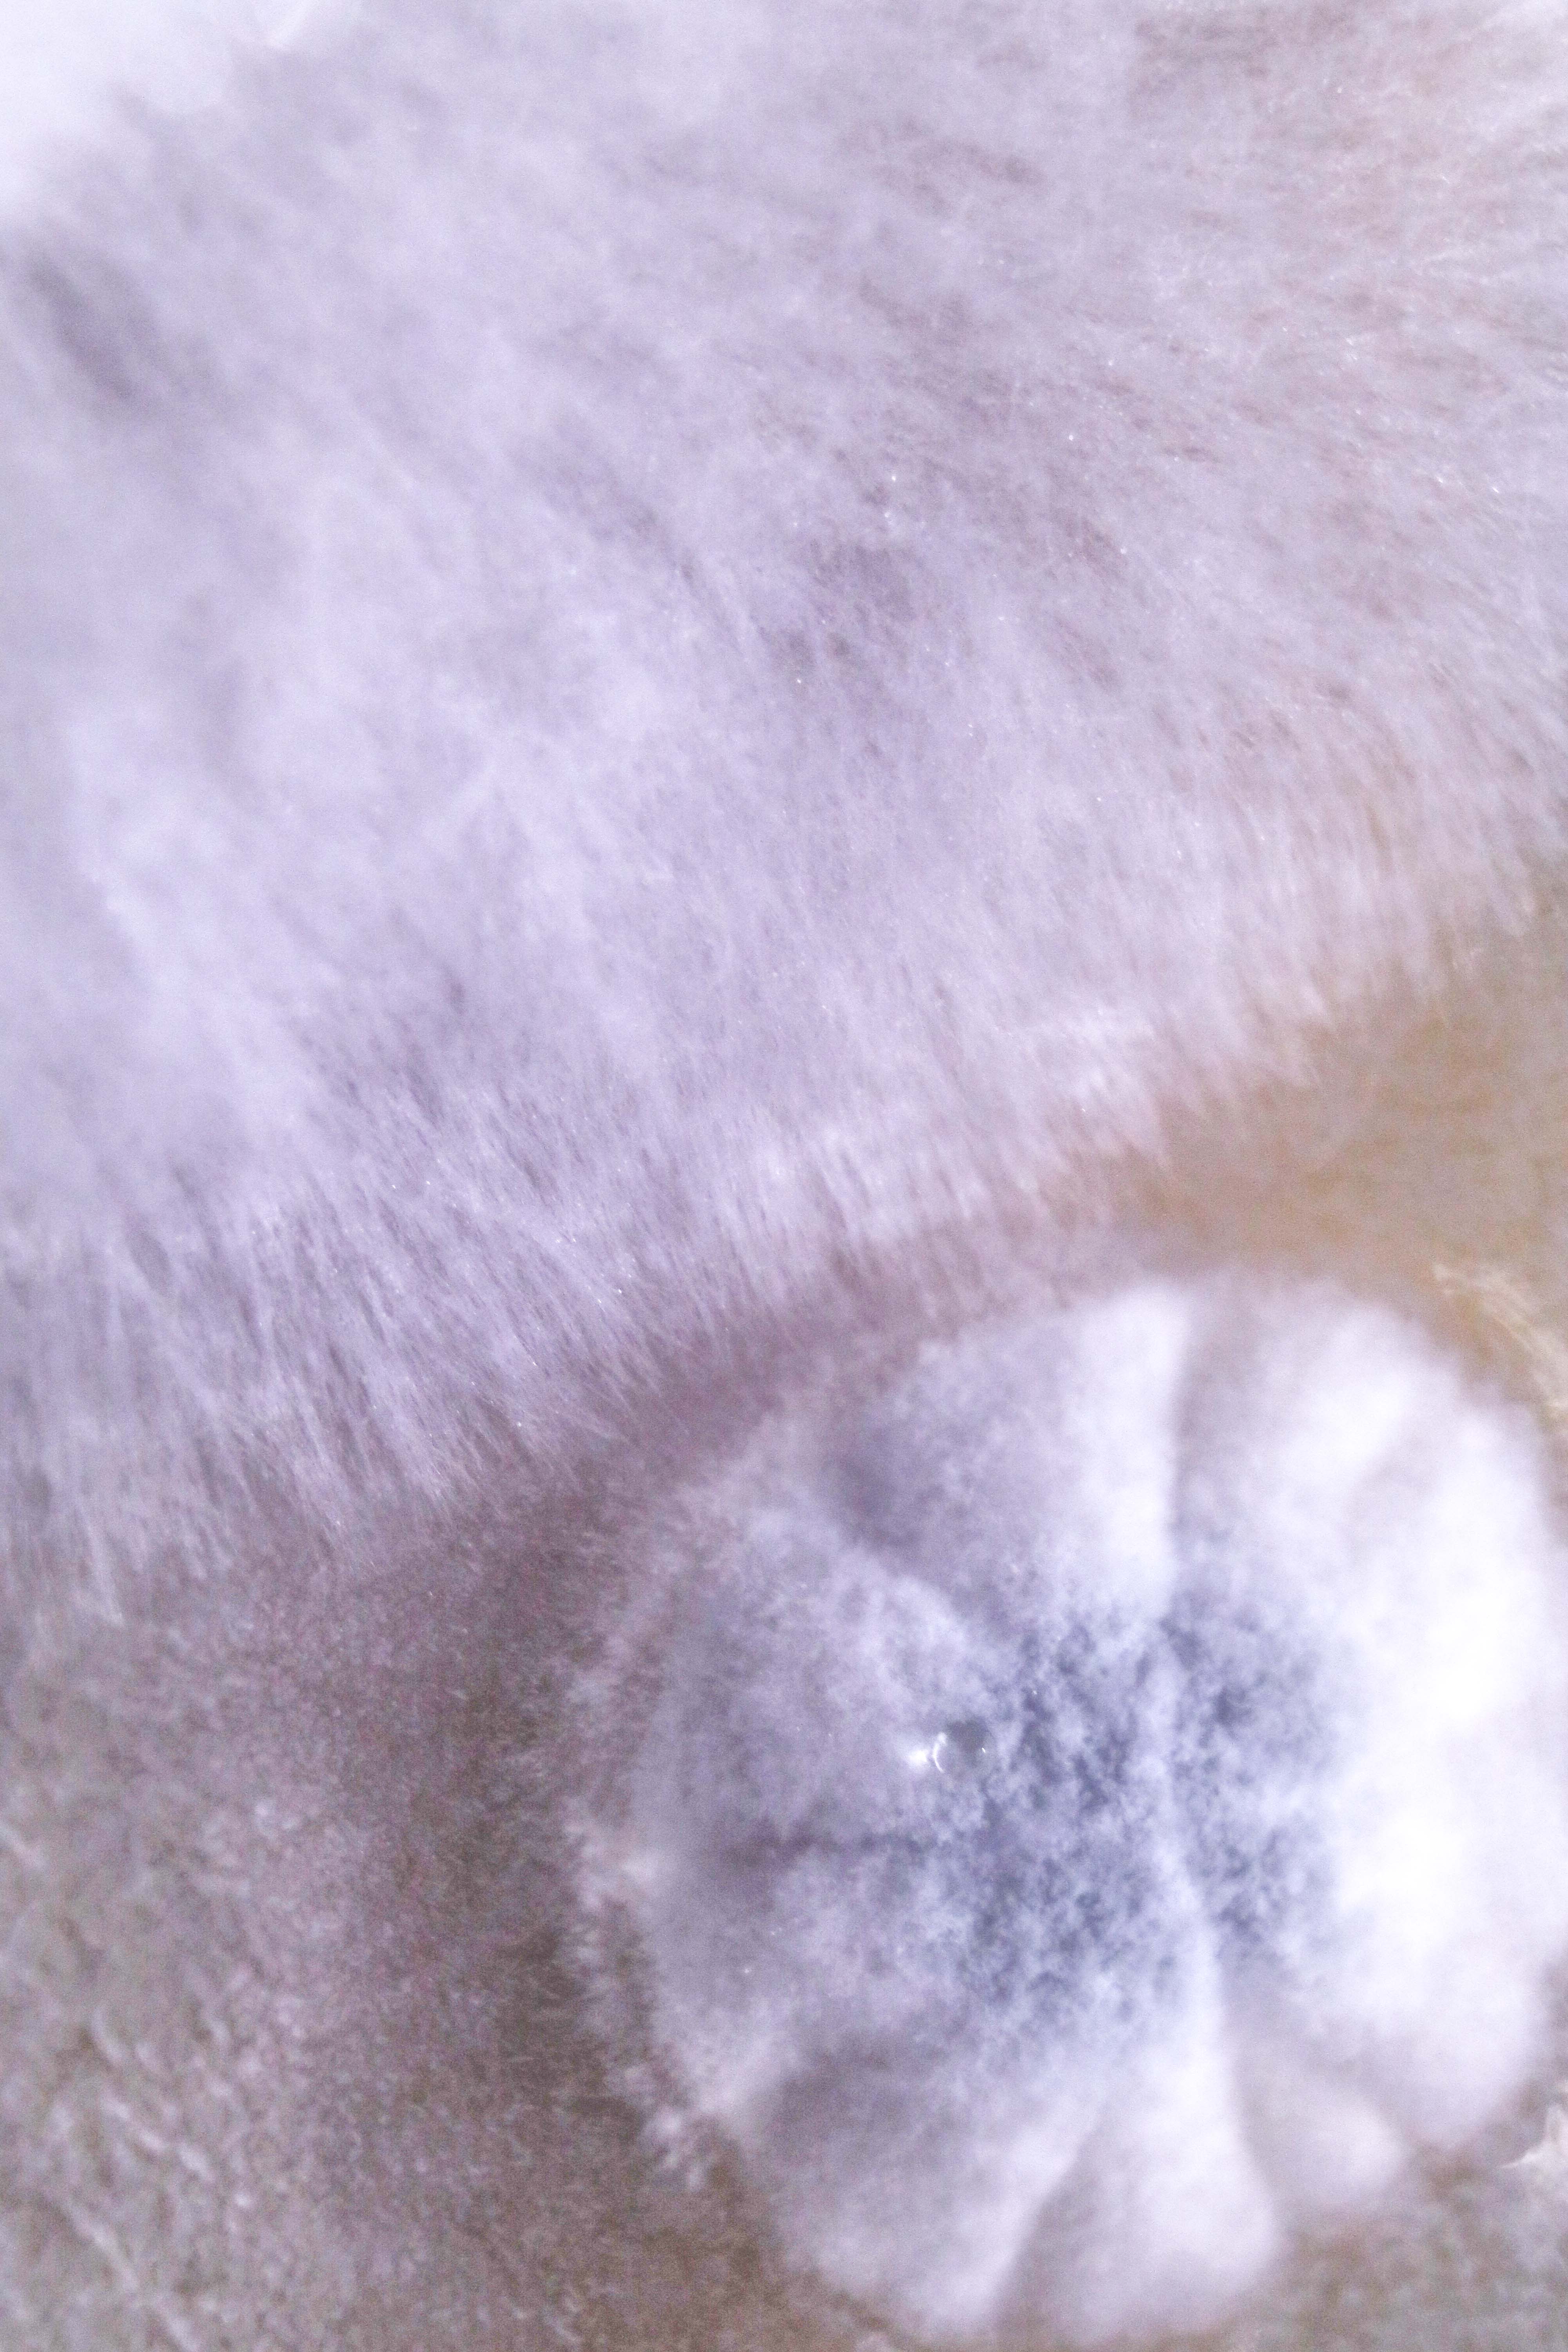
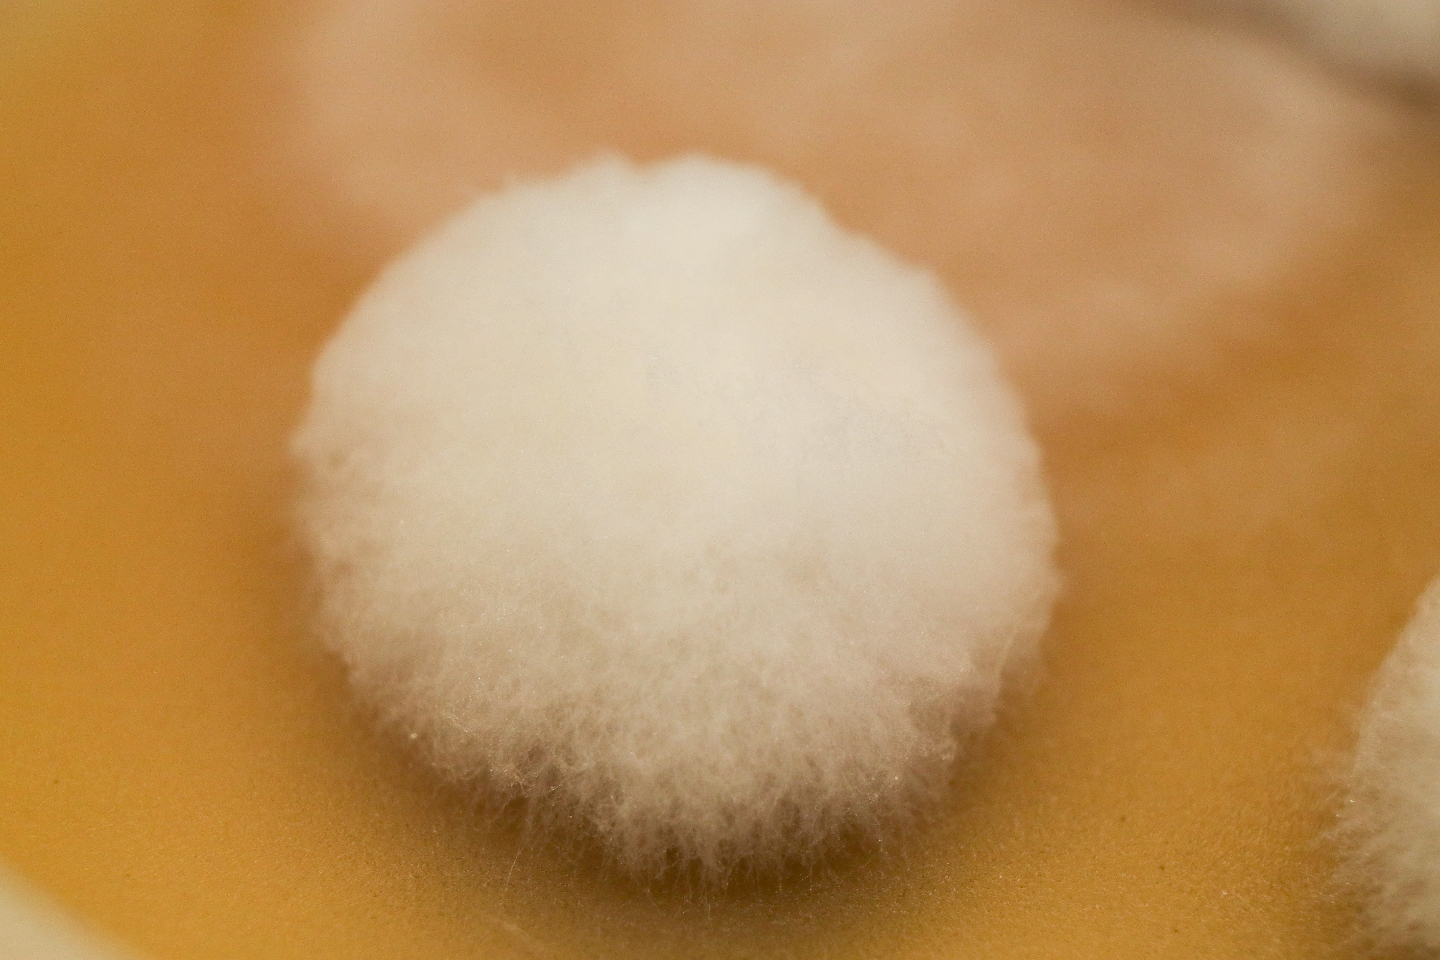
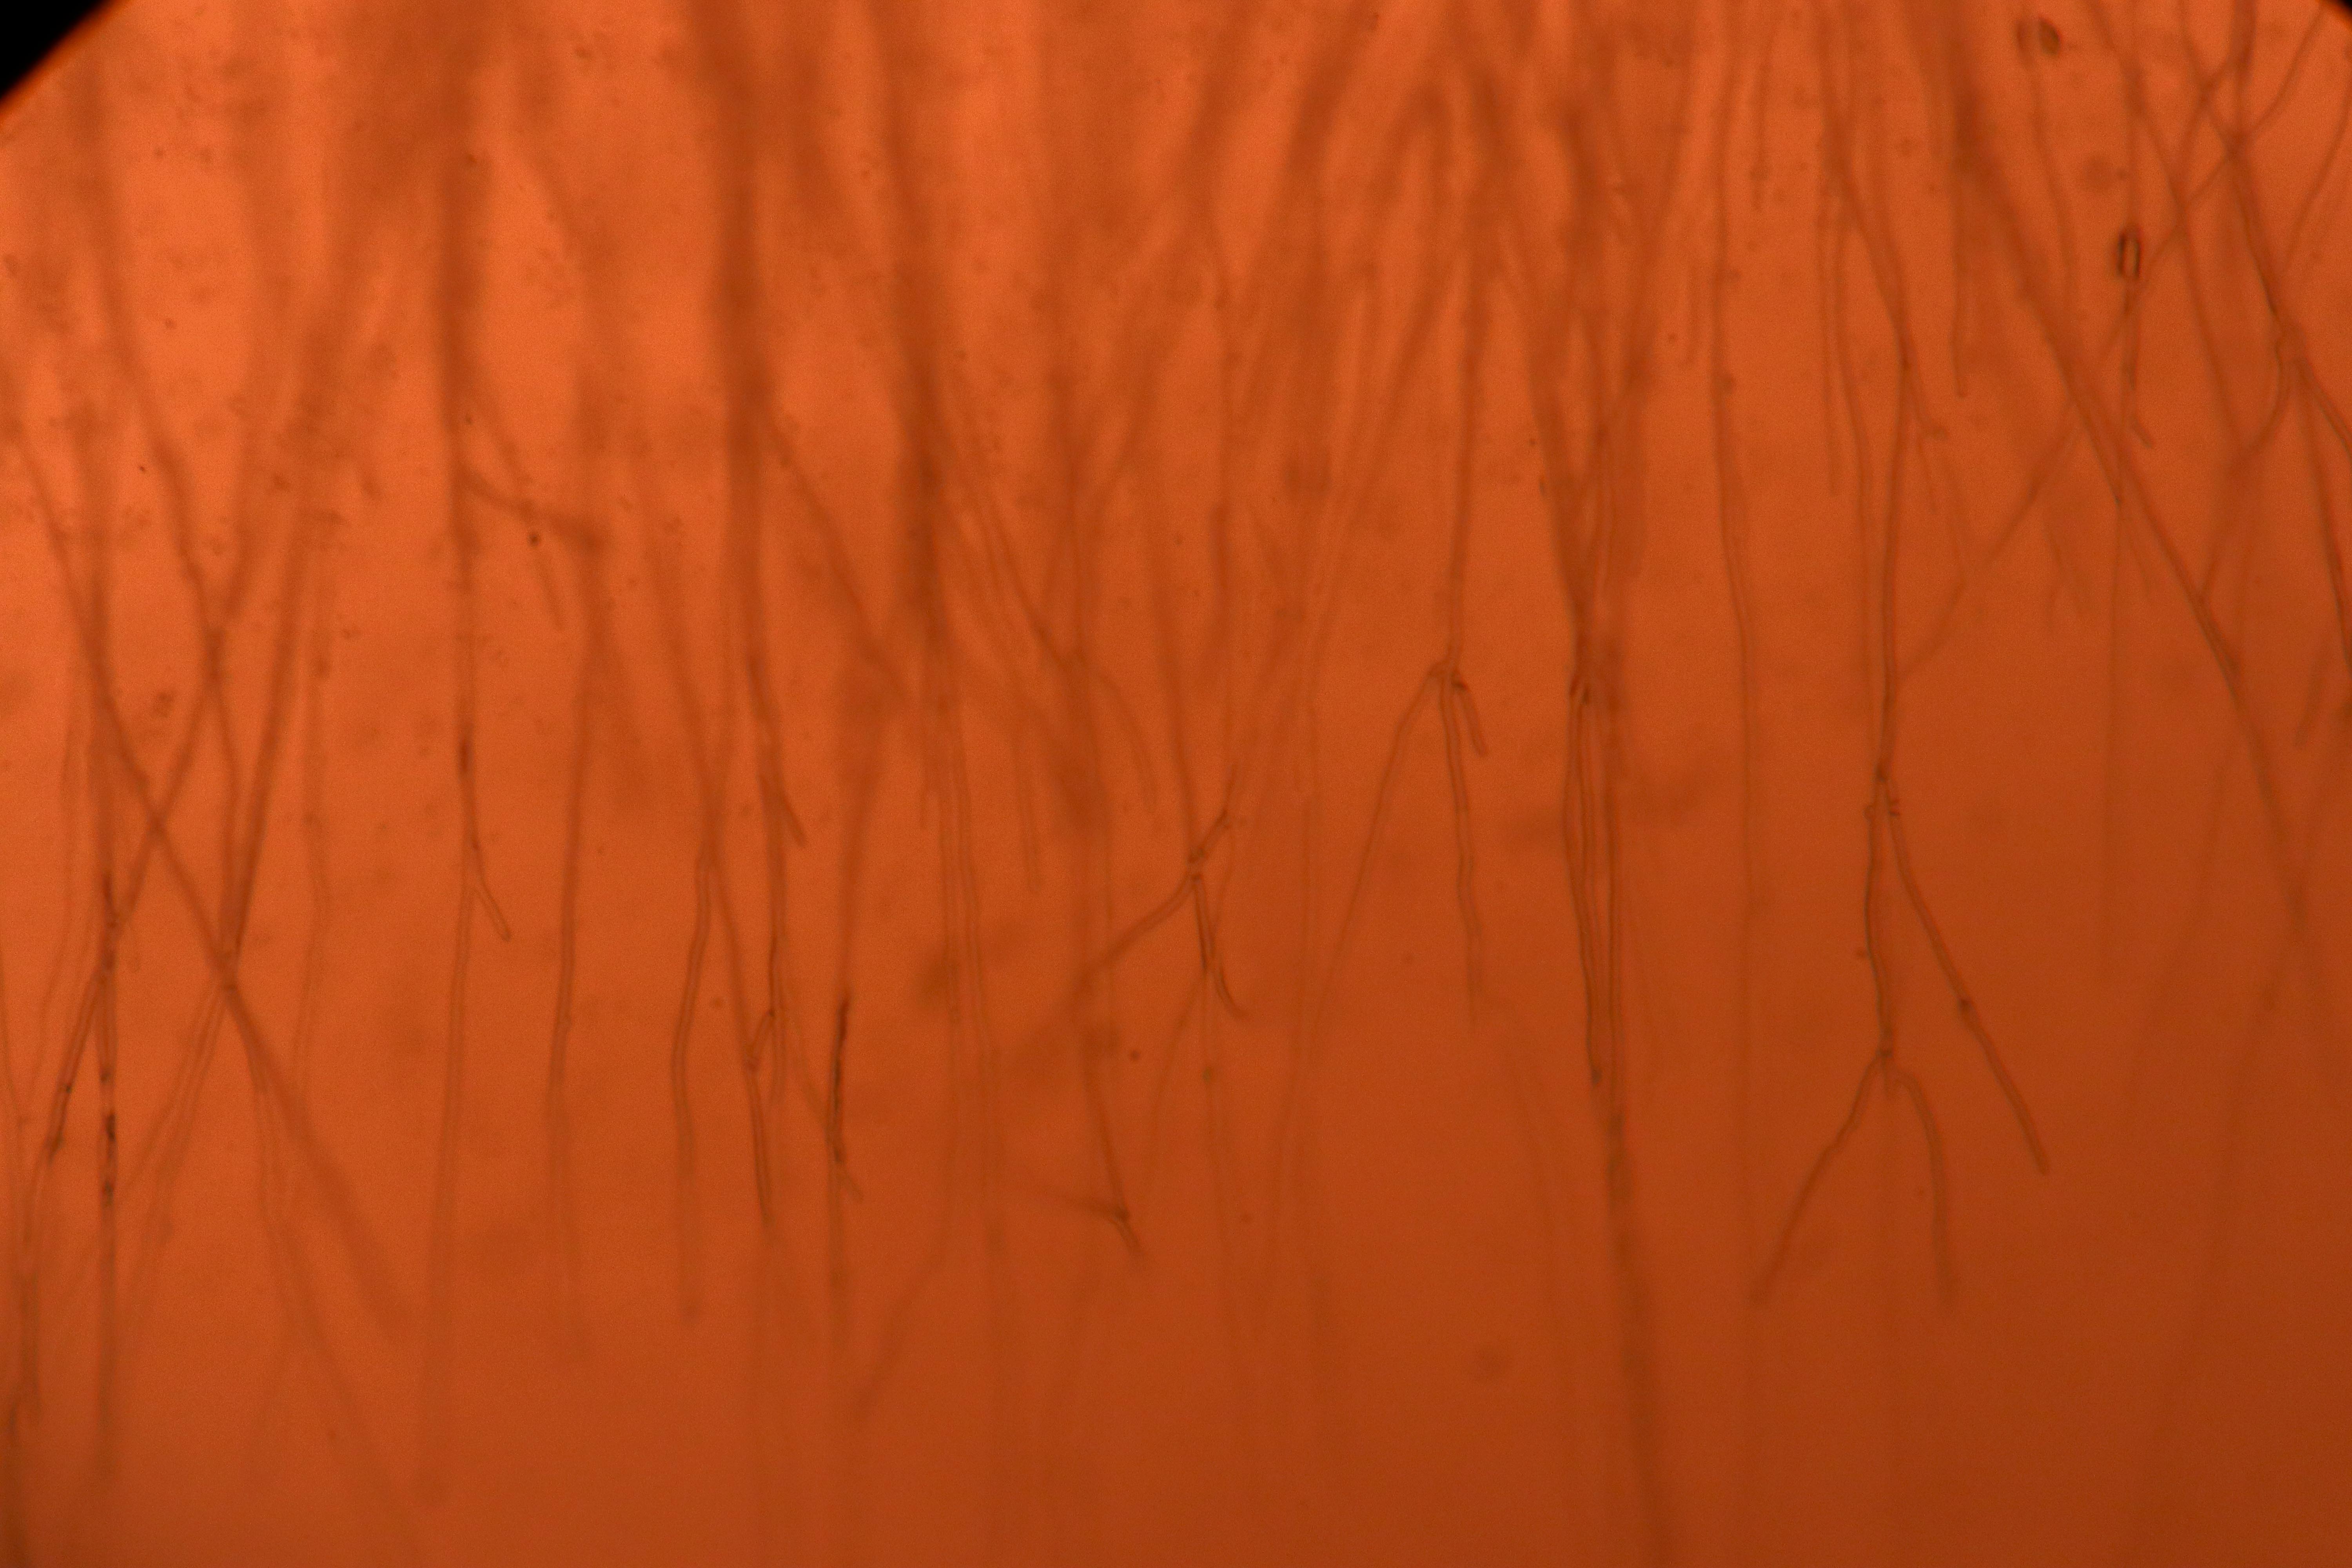
Close ups:


 War!
War!


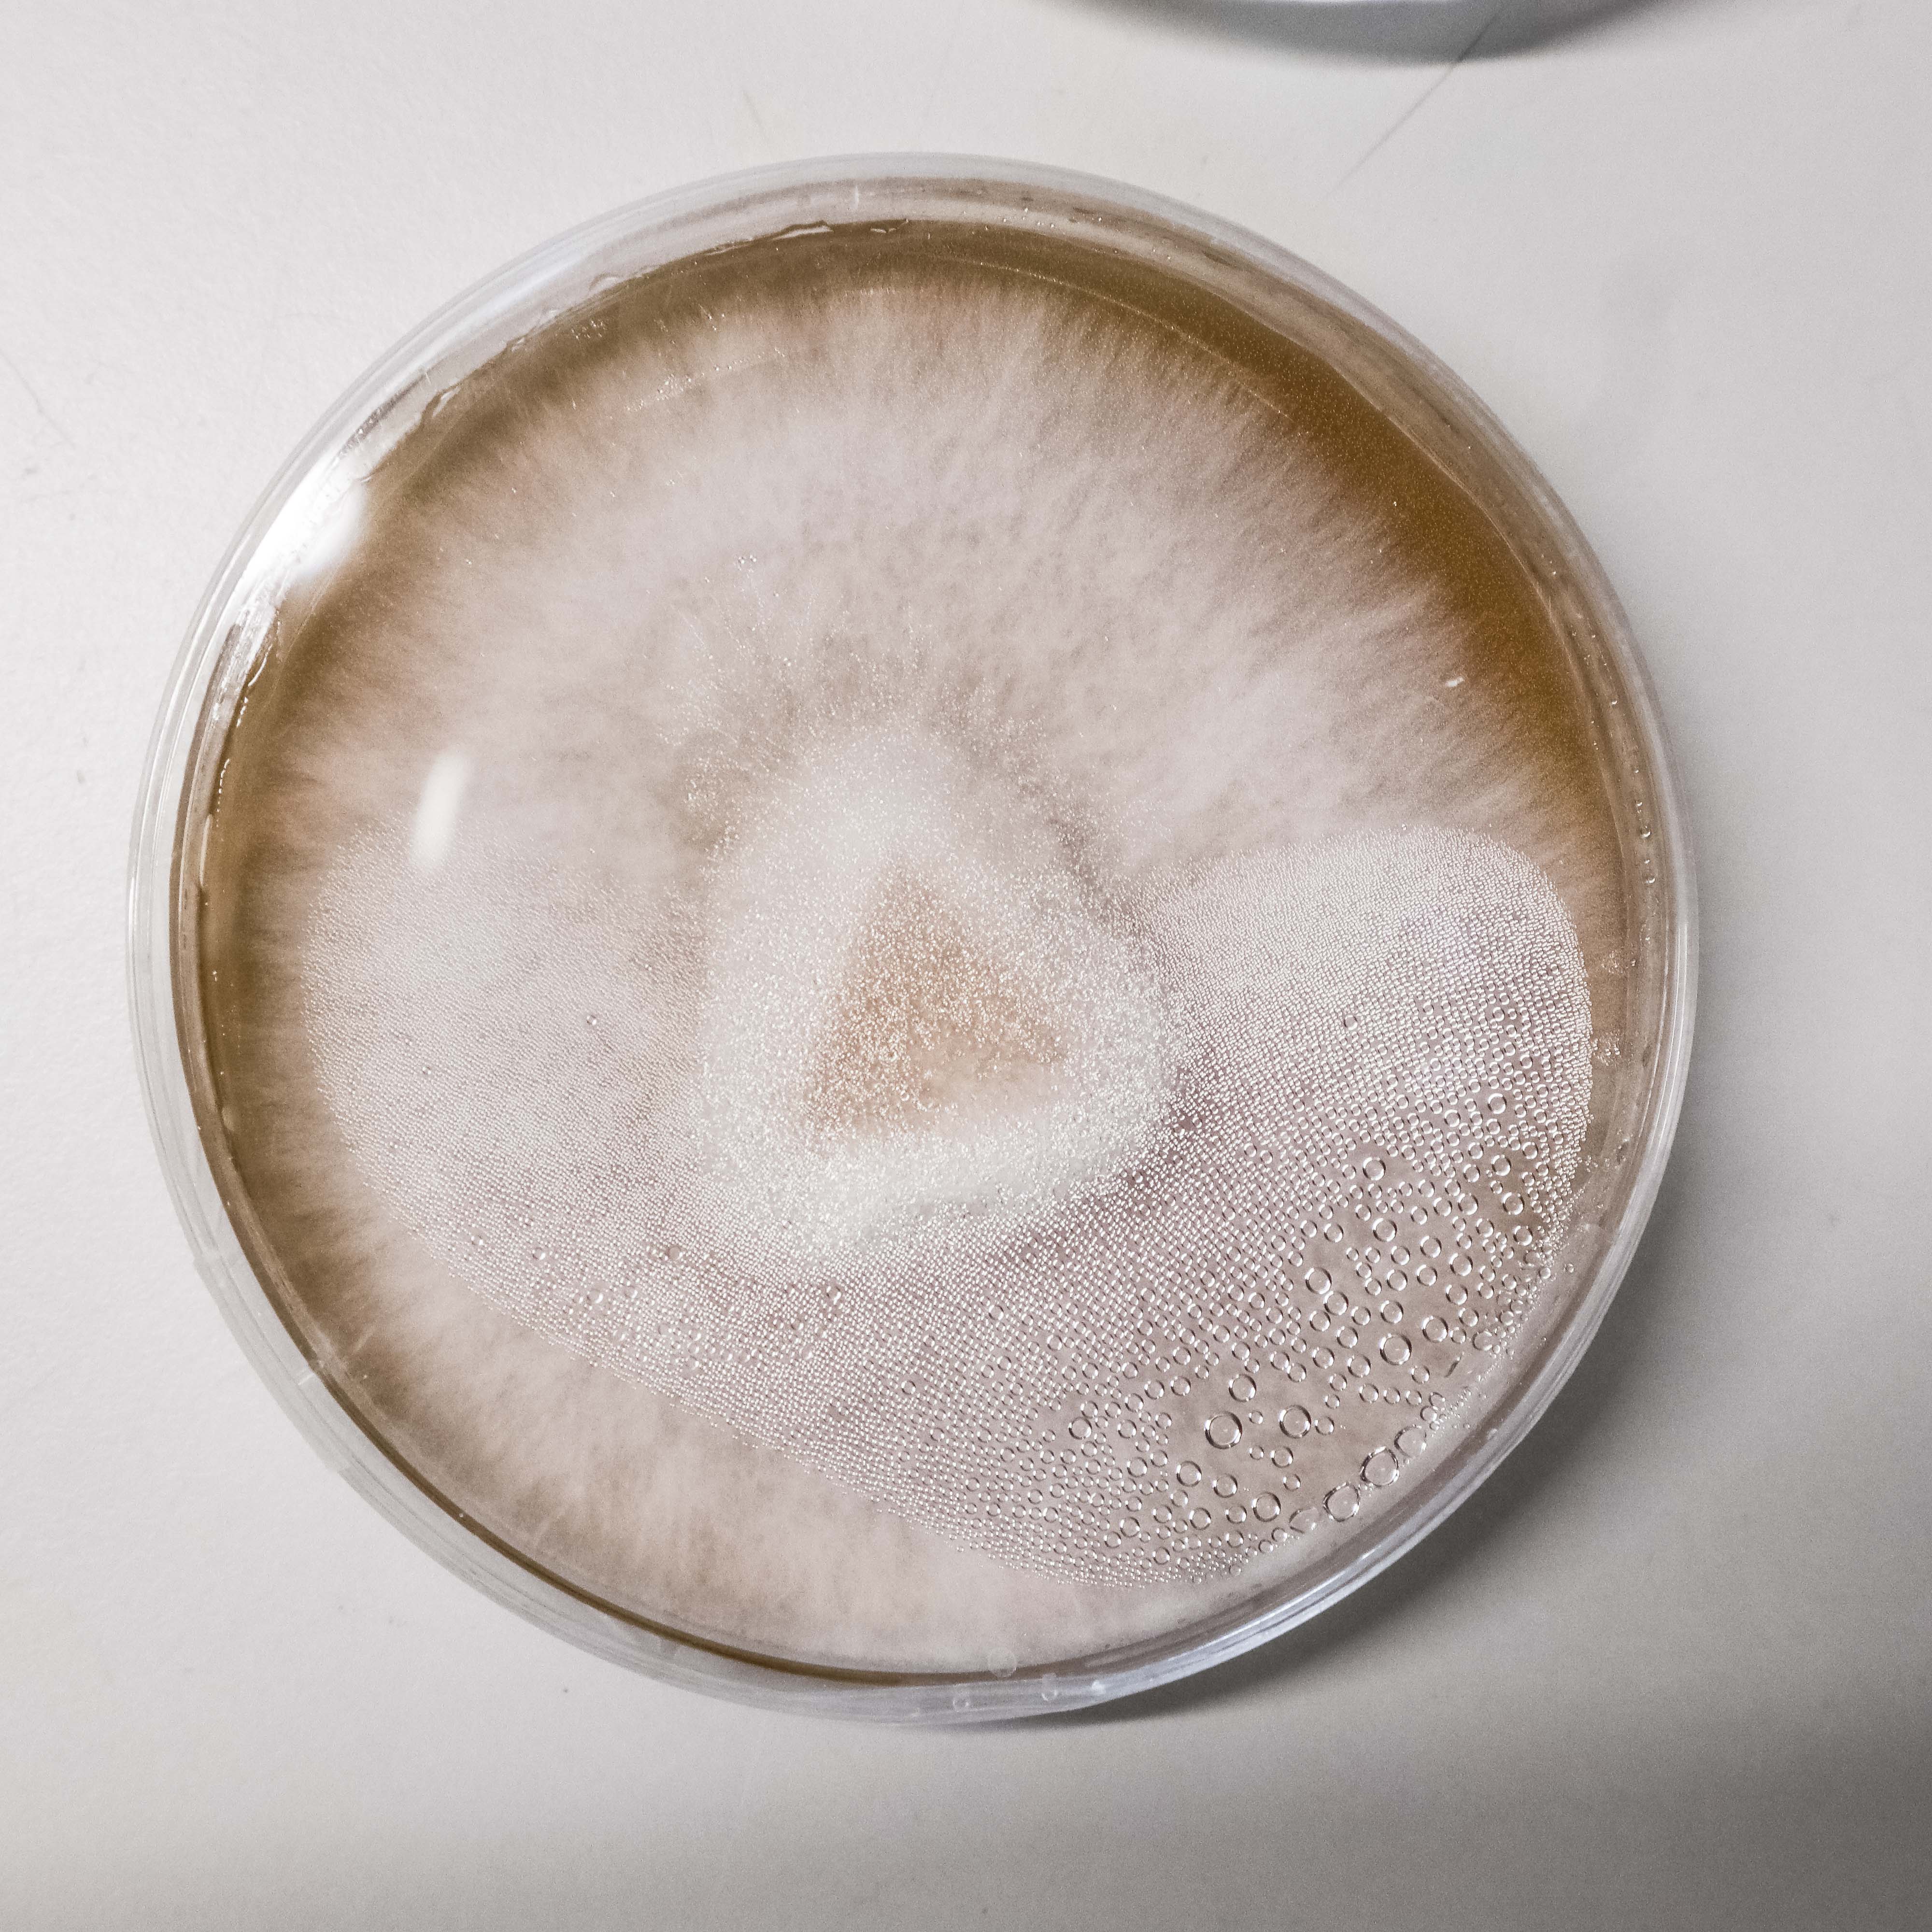
End of 7 days:
The “B” group were all contaminated with bread mould by this point. By far the most successful sample from the “A” group was A5 which had grown to cover the entire dish in a tough layer of mycelium, with fluffy areas on the surface.
I assume from my reading that one of the colonies of mycelium has become dominant over the other two placed on the agar in A5 but the interaction between the different colonies wasn’t visible with a daily check-up. It would be interesting to film/ timelapse the entire week long process.


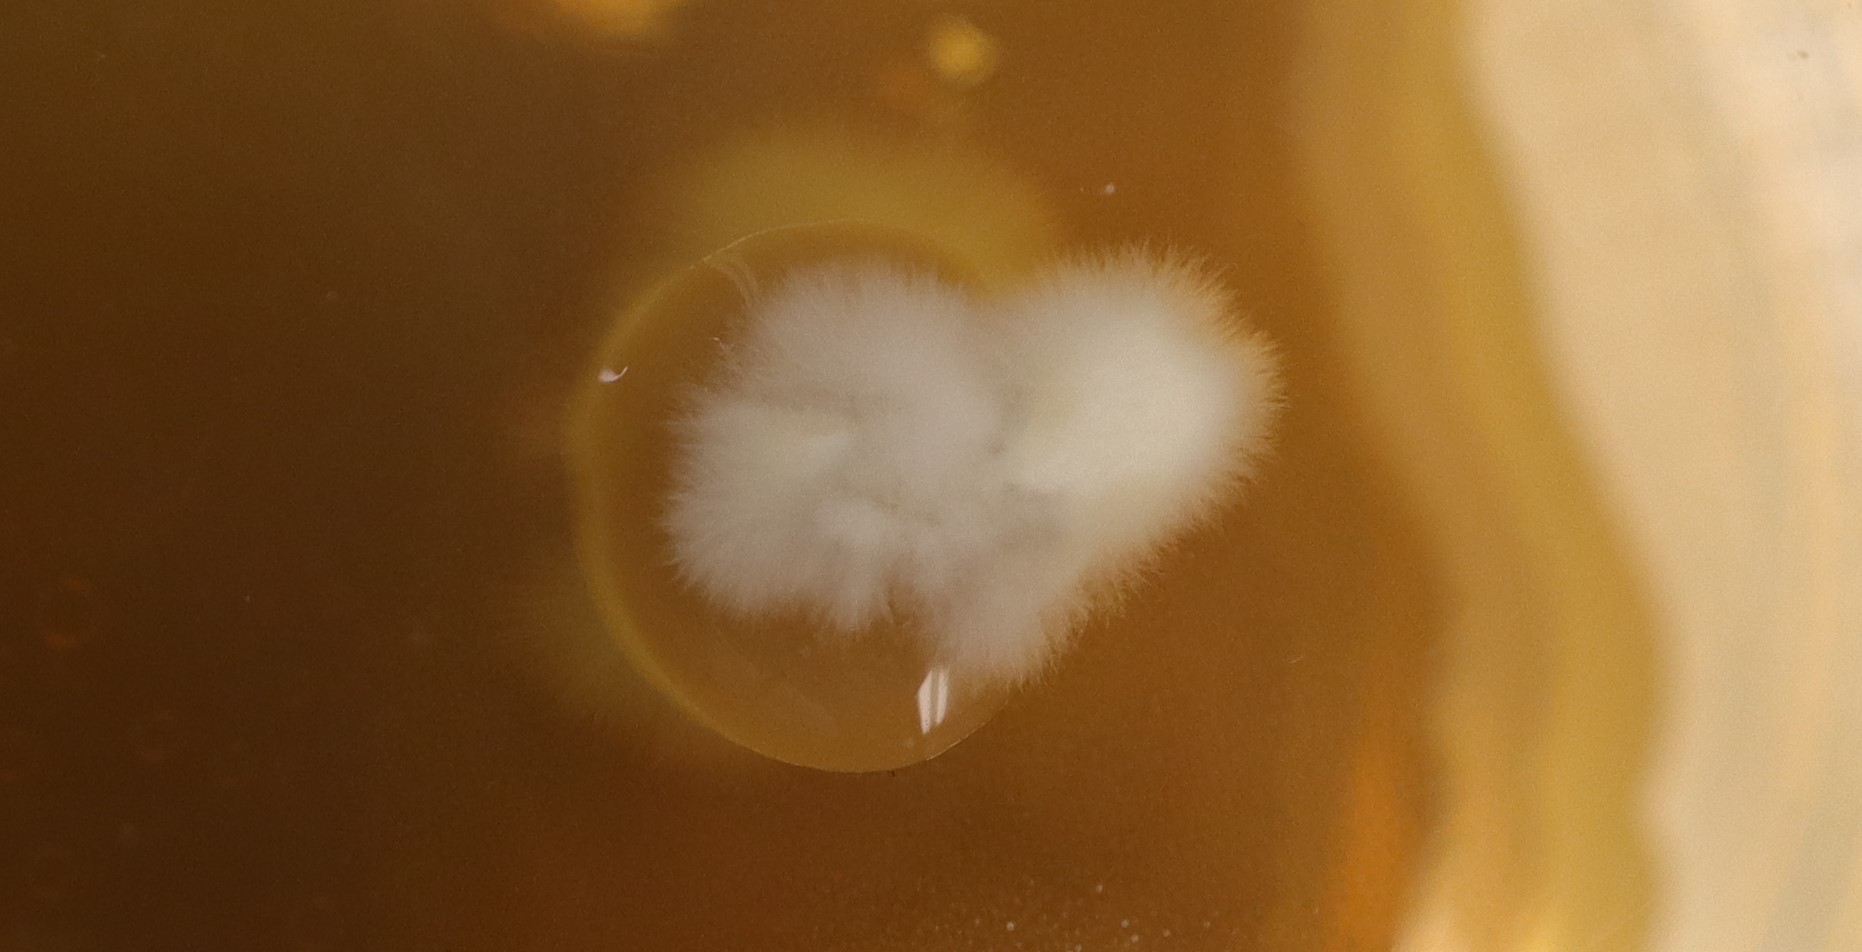
The second winner, A3, seems to have stopped growing in the last couple of days. It didnt spread out to cover the entire plate but stayed in 3 individual colonies. From the photo below you can see that the mycelium didn’t spread downwards into the agar much either. I wonder what caused this stoppage of growth?
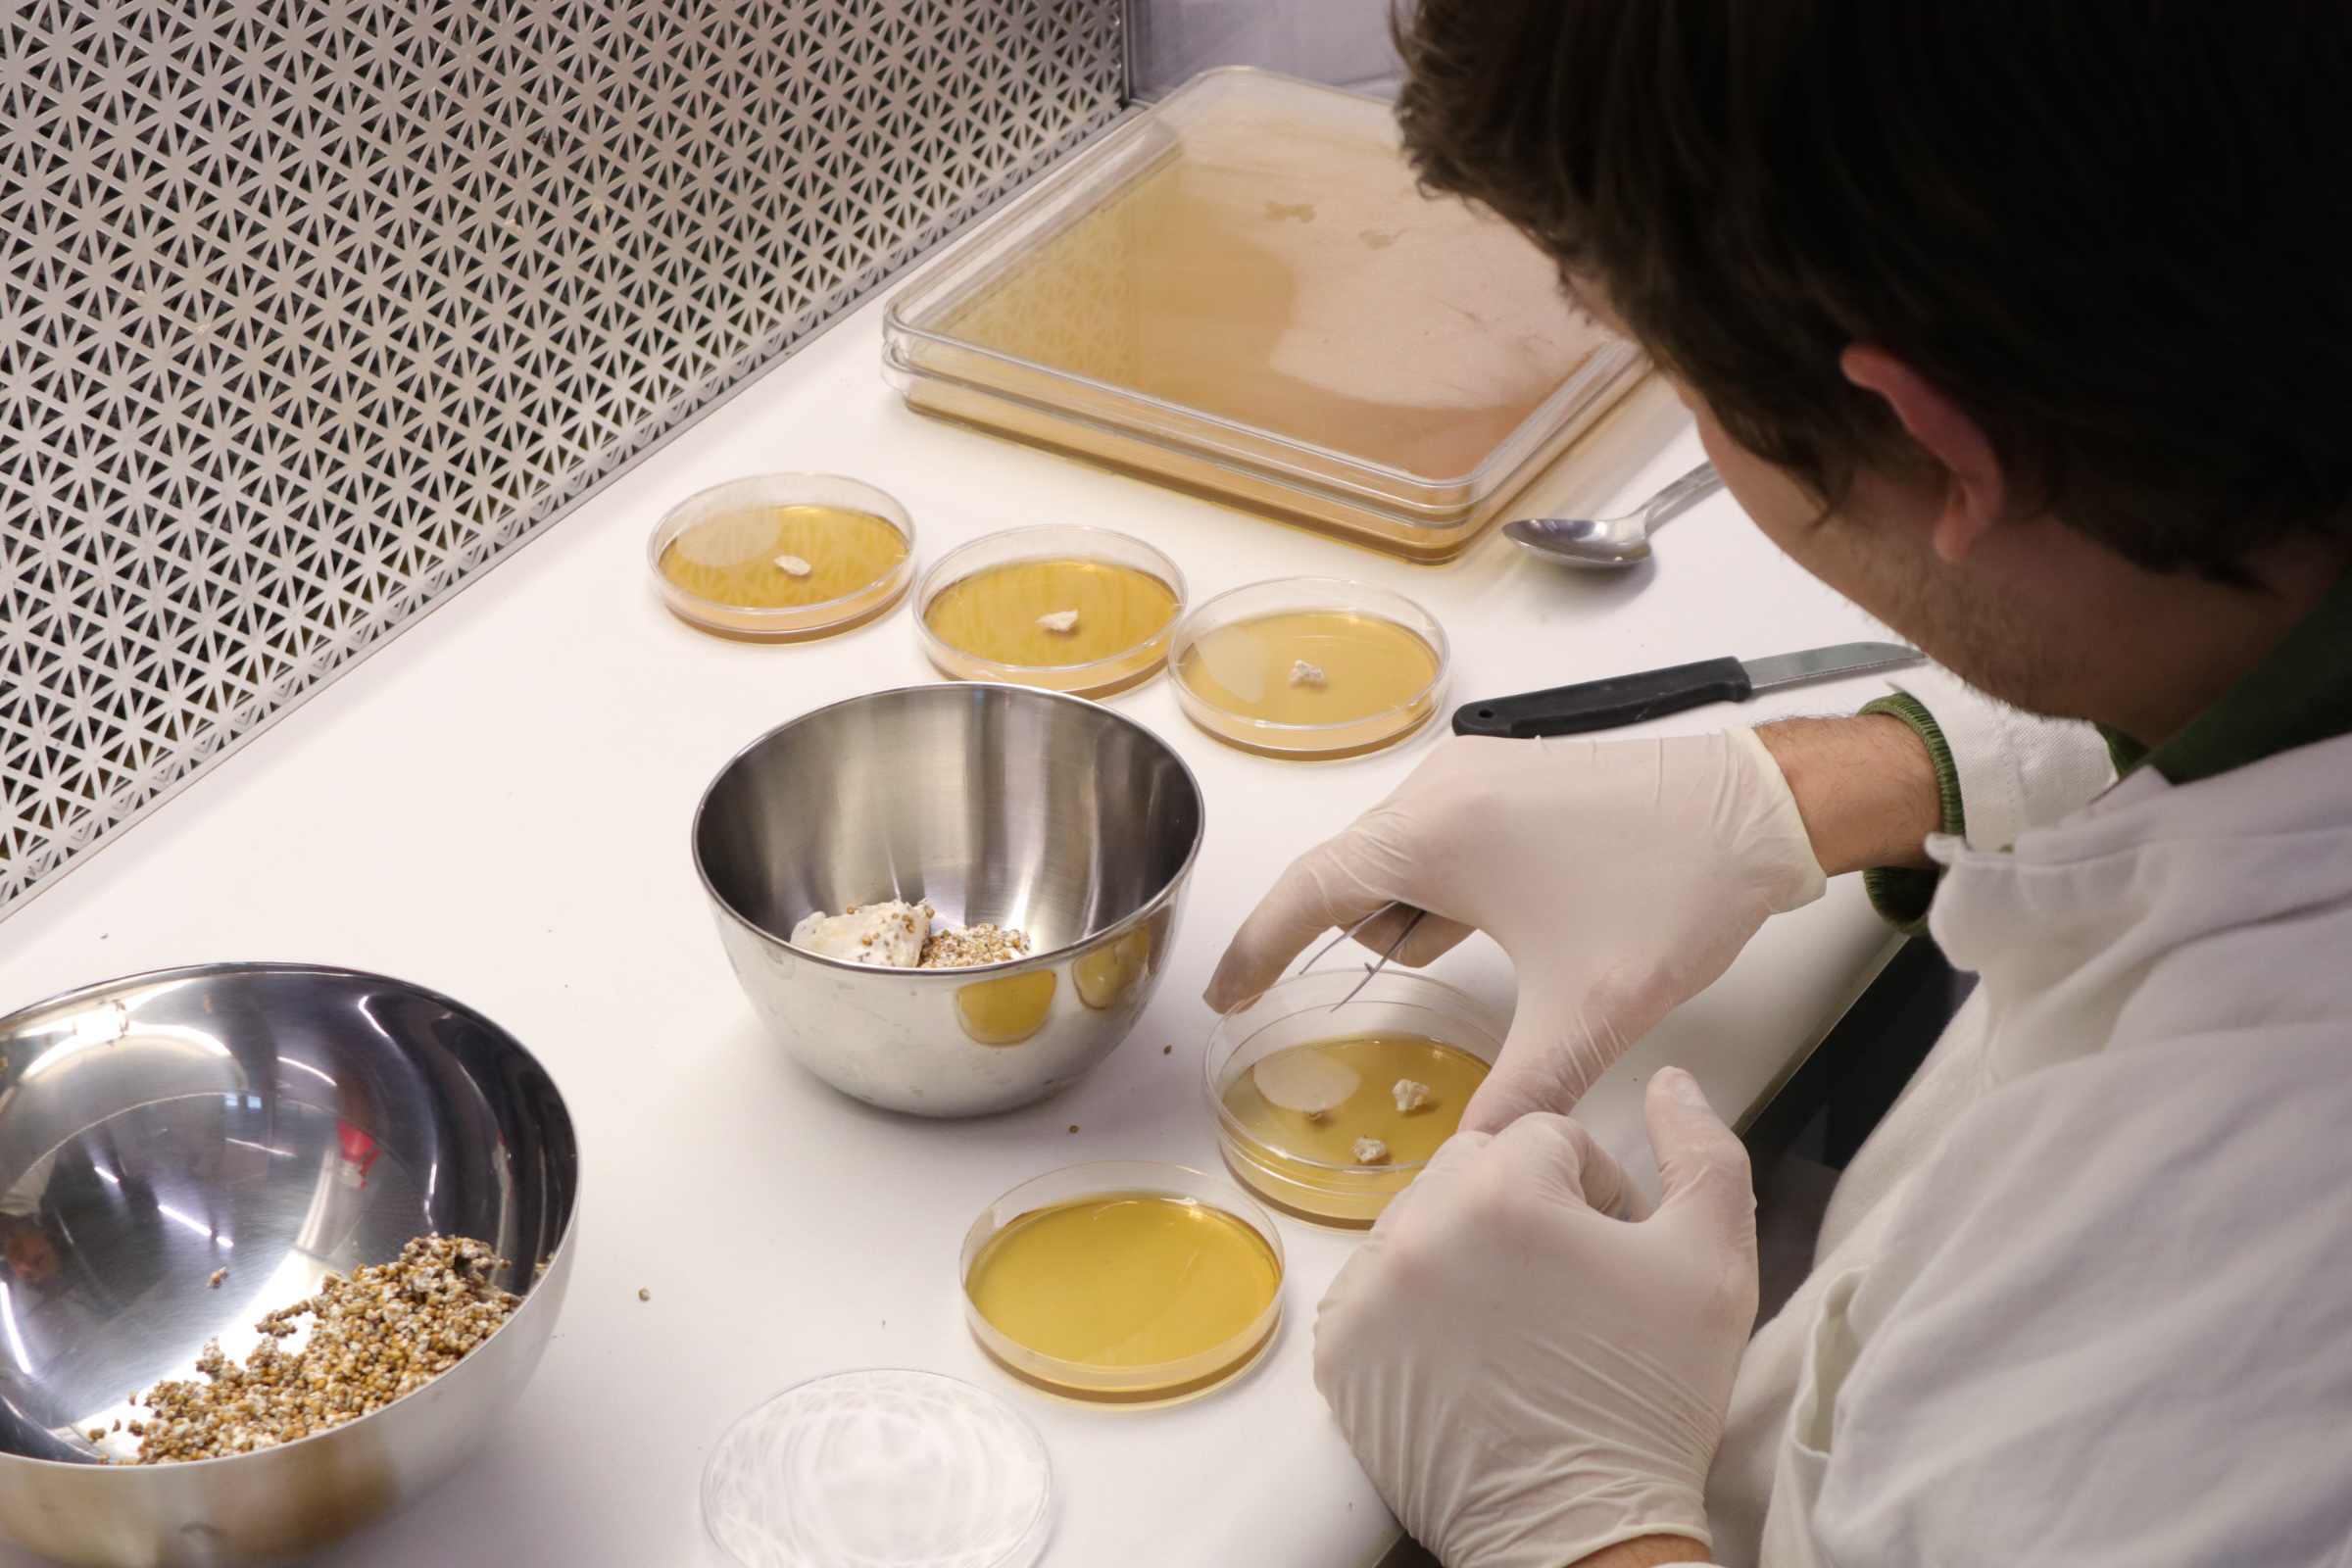
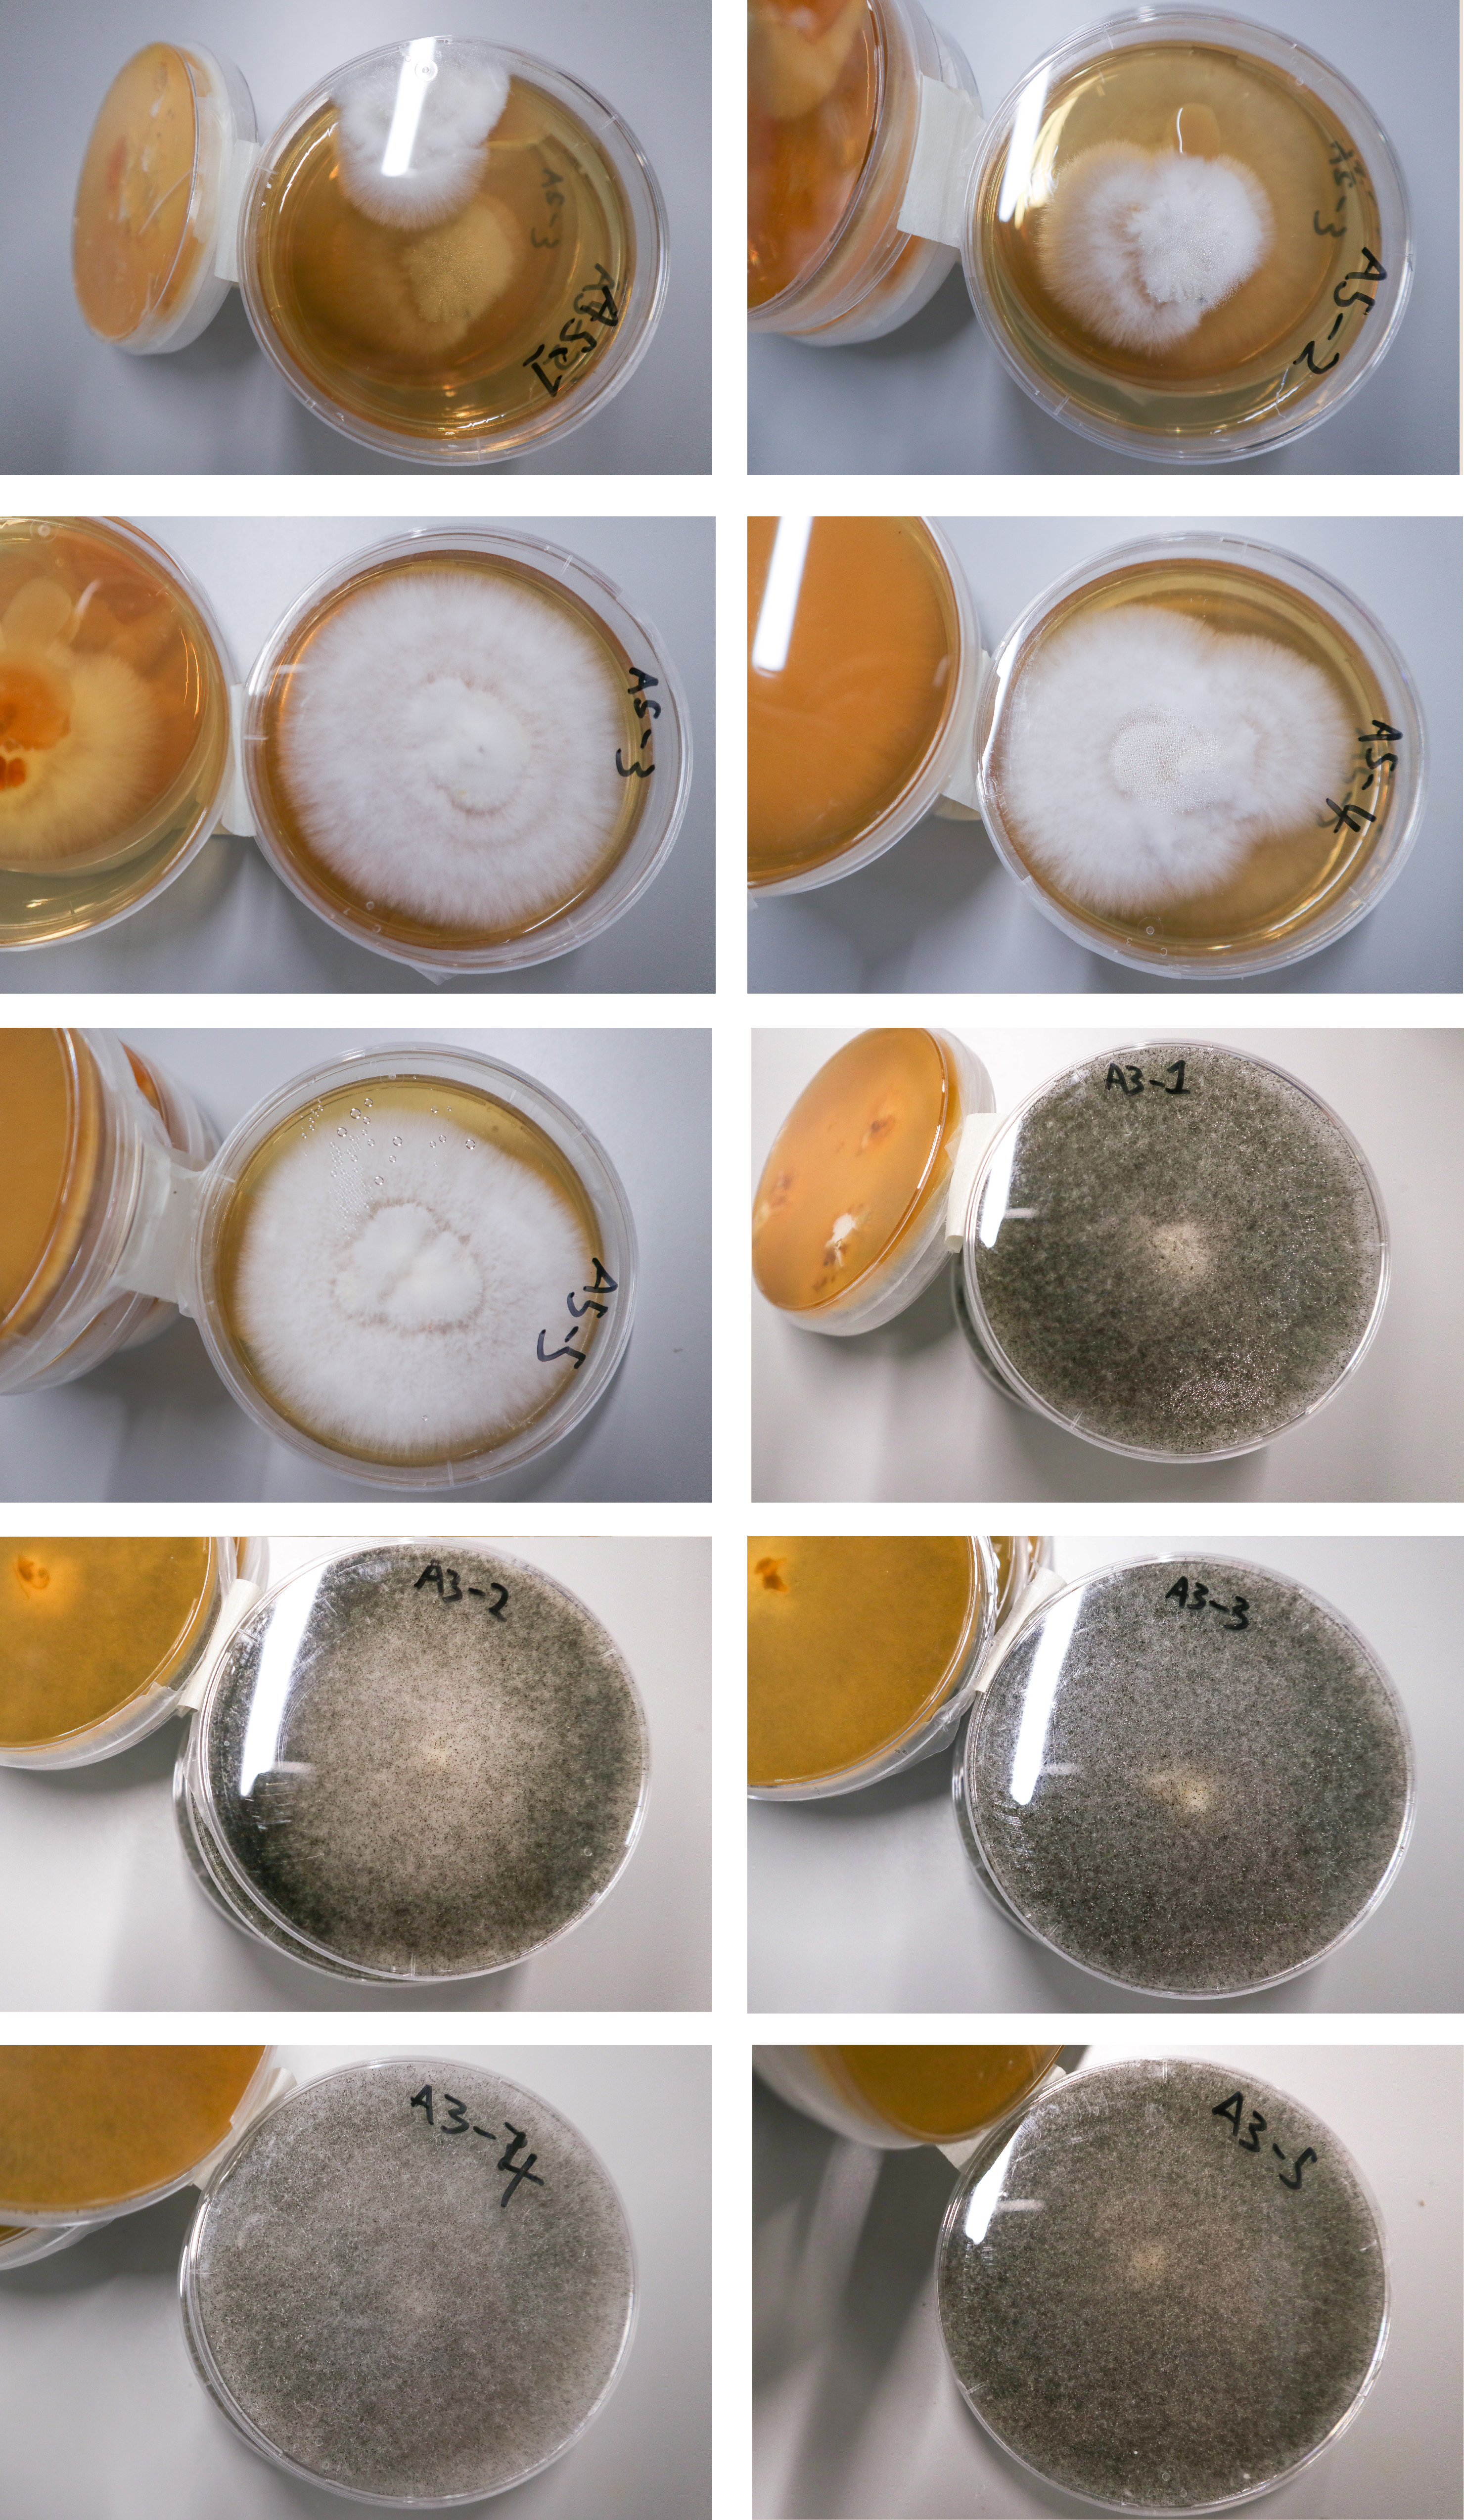
Generation 2: Isolating A3 & A5
I cut samples from A3 and A5 and inoculated 5 new agar (MYA) plates for each.
Day 1

The samples from A3 grew much faster and in a more tomentose (fluffy) manner but after 1 day were all showing at least some signs of contamination from the black bread mould. Perhaps this contamination was already somehow present in A3. That might offer some explanation for A3’s stopped growth.
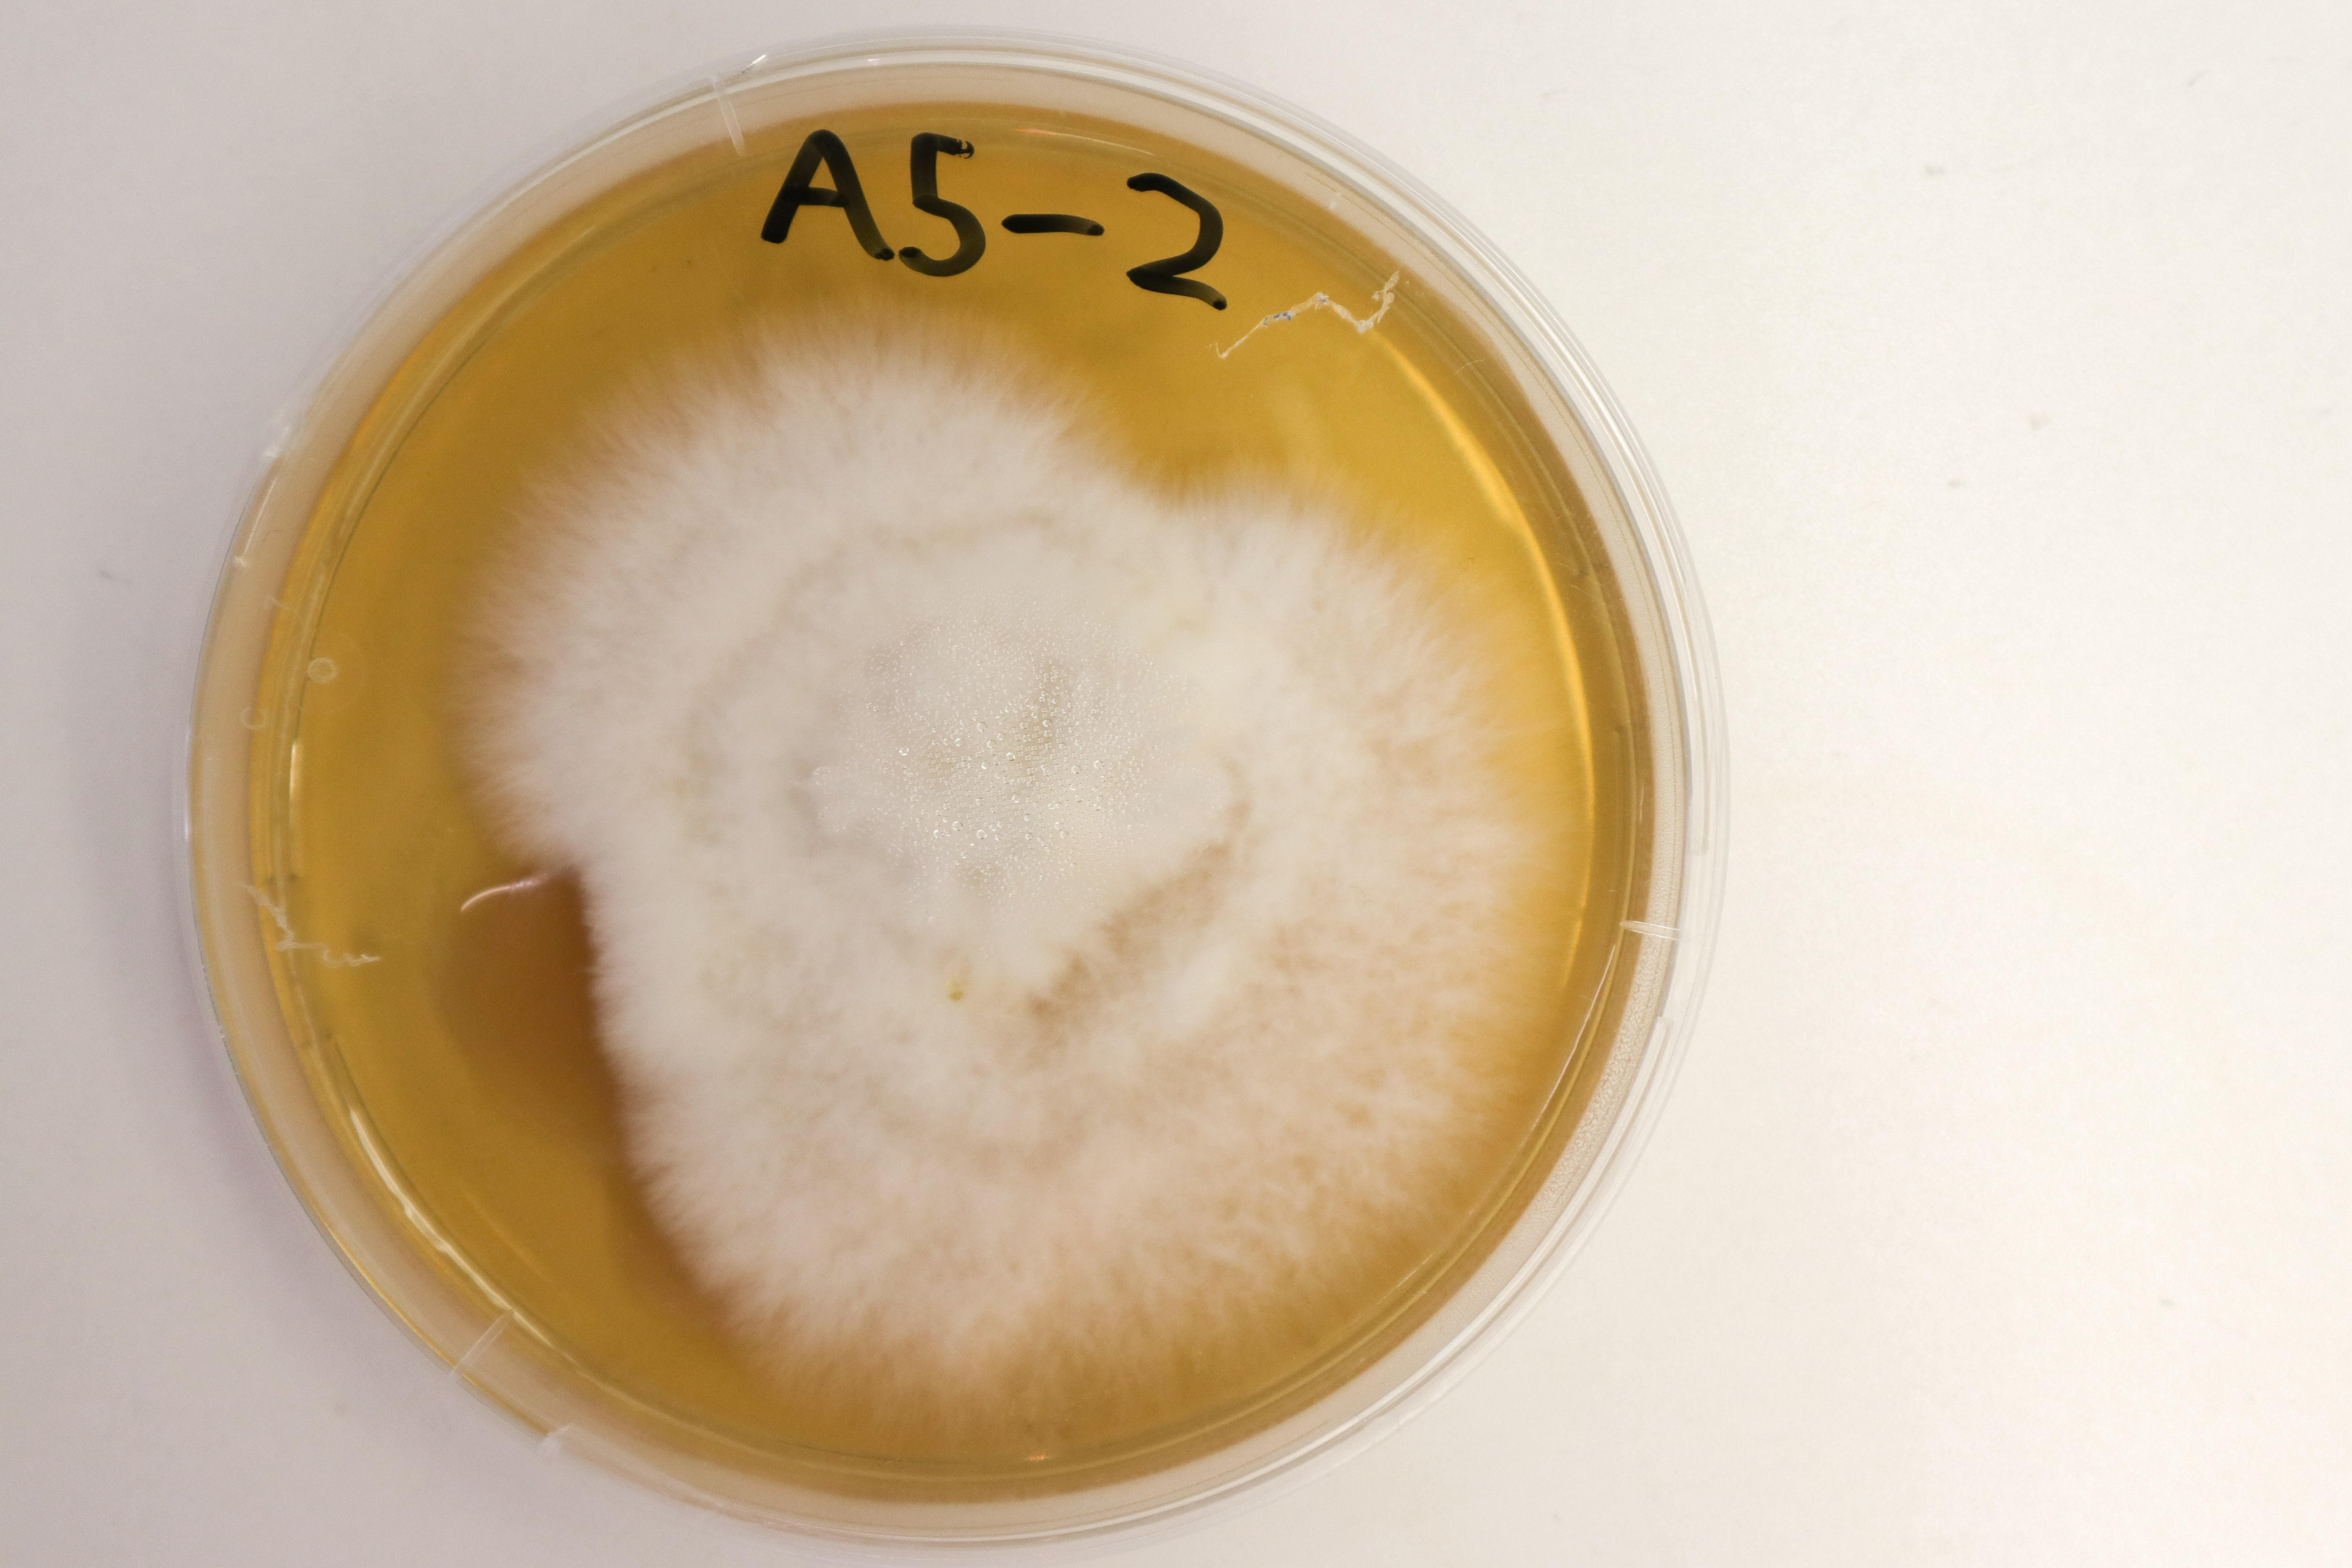
The A5 samples, on the other hand, were showing ordered growth outwards along the surface of the agar. As seen in A5-2:
Day 5
The A5 samples have grown faster and in a more rhisomorphic manner in the second generation than in the first generation. This is a good sign that the isolation is working, providing me with faster, more rhizomorphic growing colonies of mycelium.
A5-1 & A5-2 had not grown out as far or as uniformly, although A5-1 rolled to the side of the agar plate and so is not useful for comparisons. A5-2 seems to contain many strains of mycelium in comparison to A5-3 & A5-5 in particular, whose growth is in a relatively even circular form. This implies that A5-3 & A5-5 contain an isolated strain of mycelium. In contrast, A5-4 contains 2 distict “rings” of mycelium growth. Implying 2 or more strains are present.

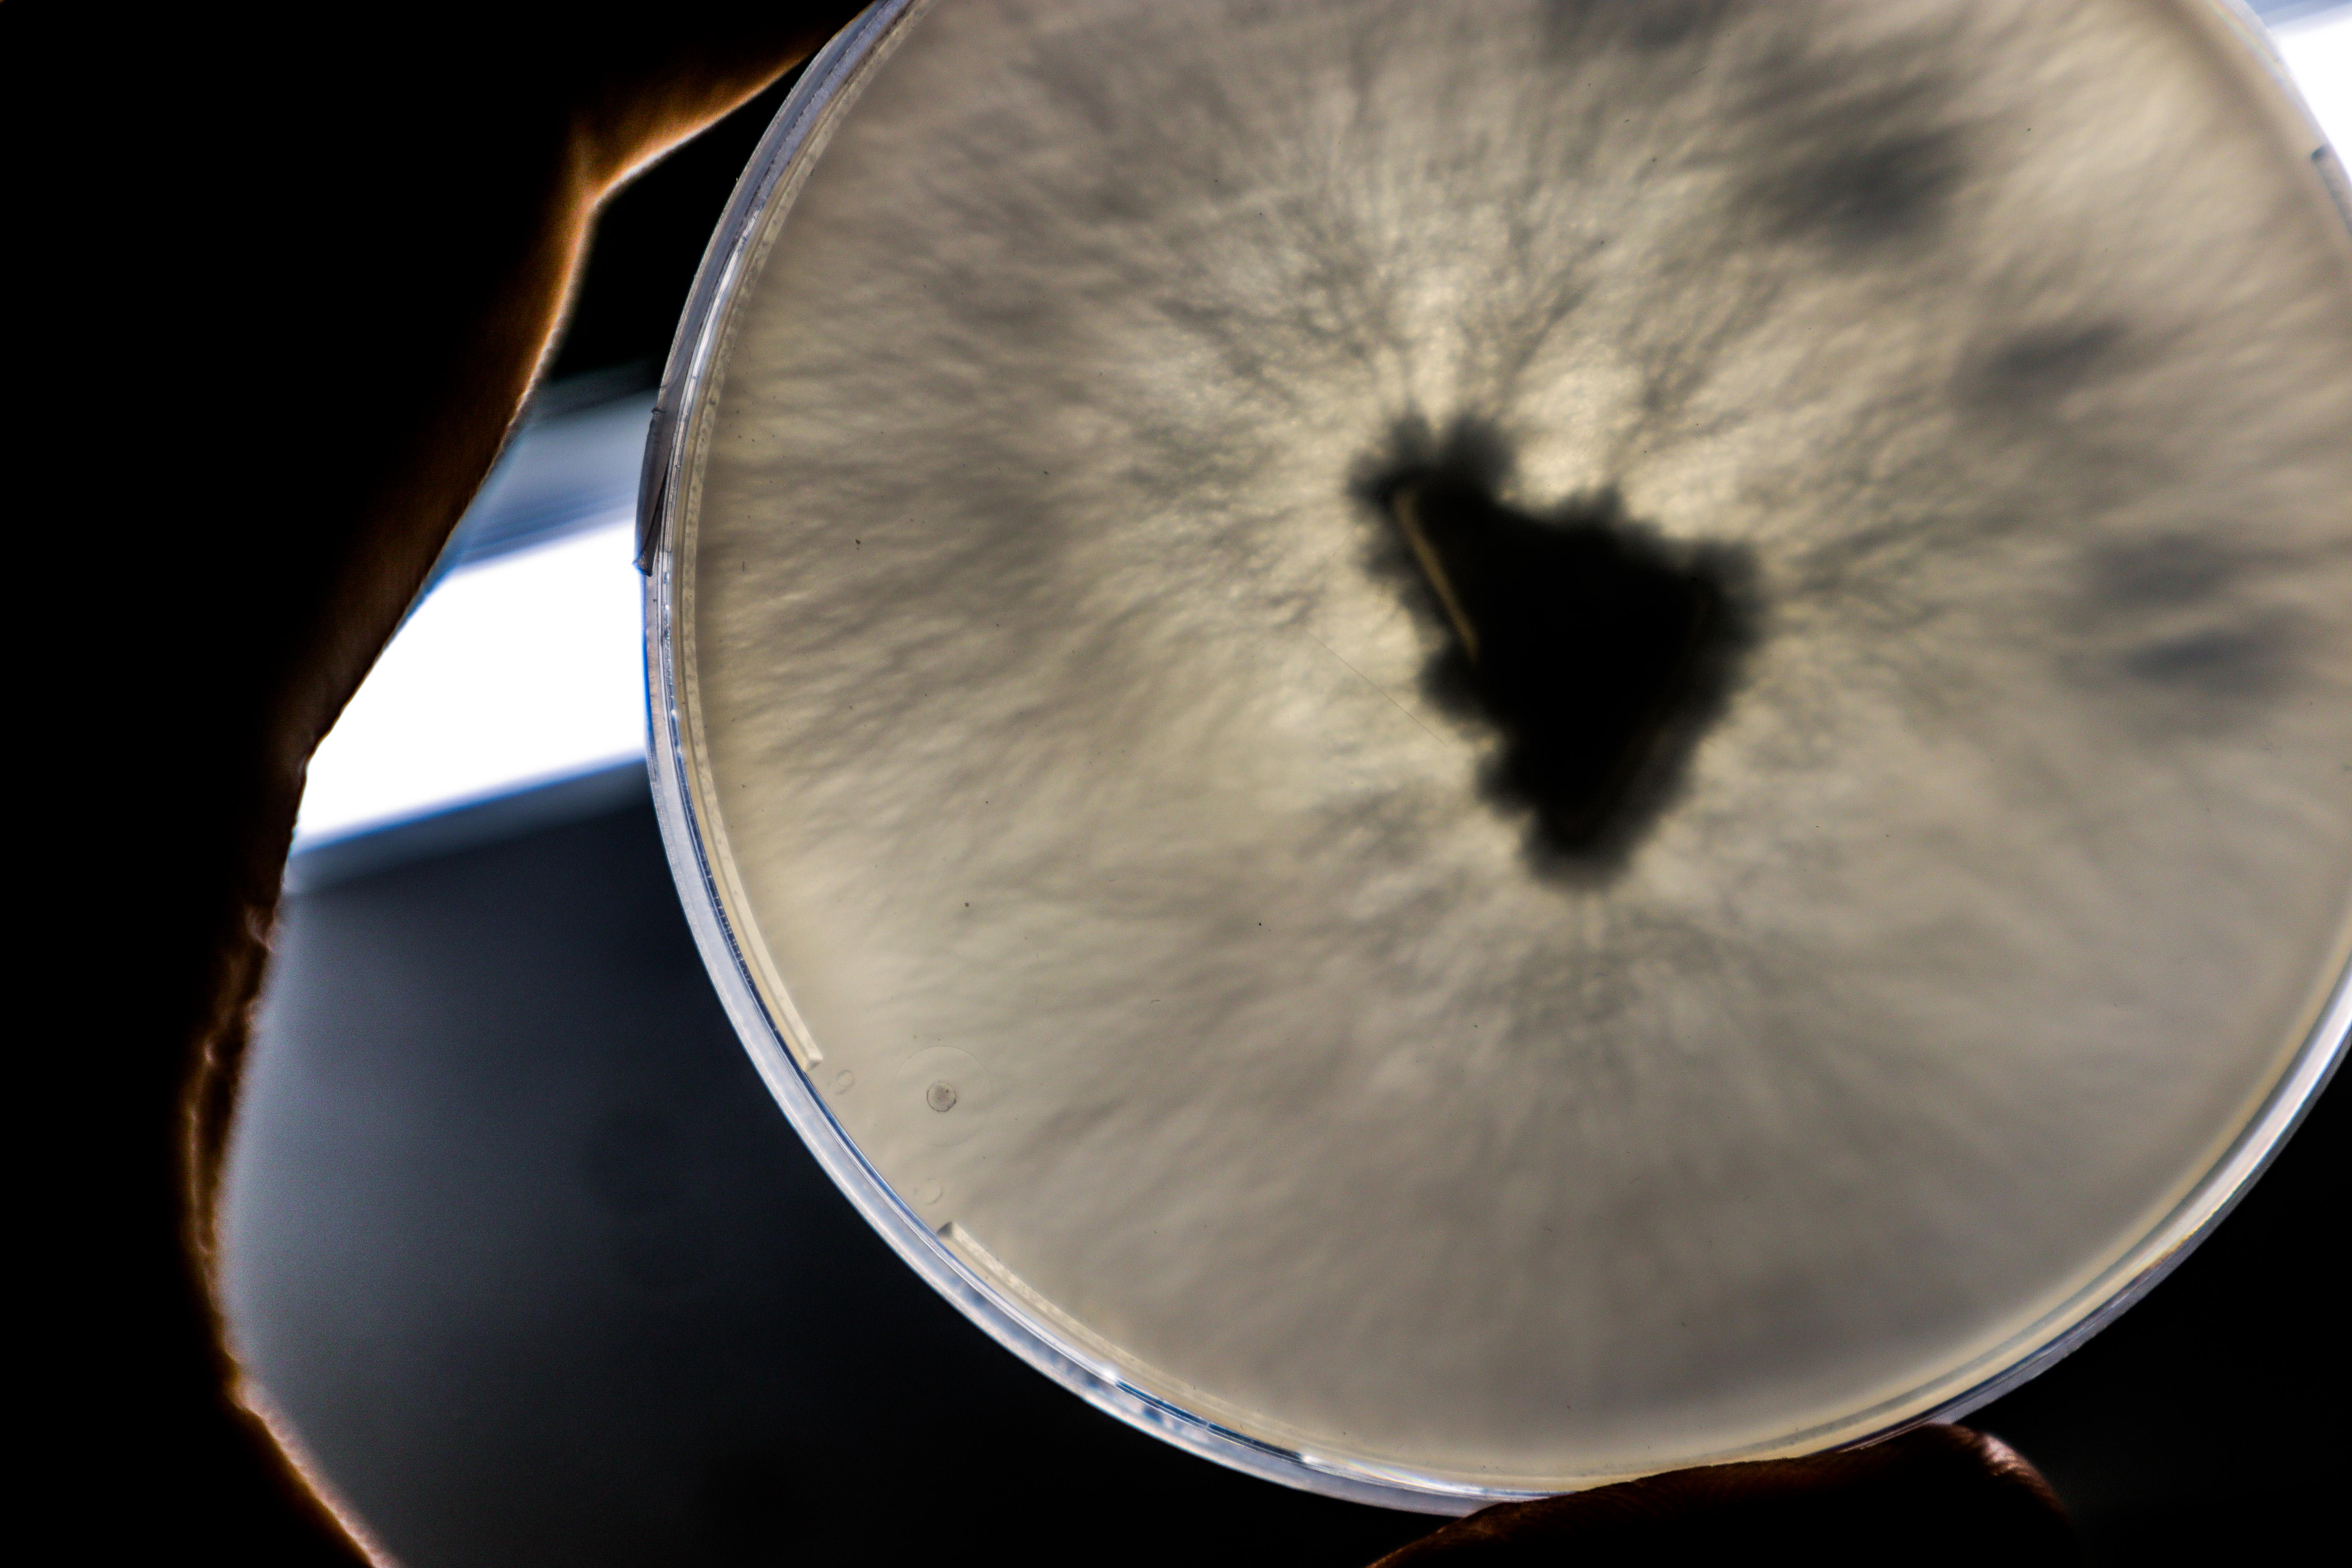
This ordered, outward growth can be seen clearly when looking at the back of the agar plate with some light behind:

End of 7 days
After 7 days, samples A5-3 and A5-5 had continued their, ordered outward growth to cover the entire plate.
A5-1 & A5-2 lagged behind in growth.

A5-4 has also grown to cover almost the entire surface of the agar. 2 strains of growth are still visible, with the strain on the bottom half (relative to the above photo) seeming to have won out.

Generation 3
I used PDYA ( Potatoe Dextrose Yeast Agar) with added activated carbon for the next round of isolation in order to give the Ganoderma mycelium more and a greater variety of food in hope of increasing the “health” of the colonies.
I read adding activated charcoal can be beneficial here:
Potato Dextrose Agar Recipe from Reddit post: “Rhizomorphic Mycellium on Agar” https://www.reddit.com/r/shrooms/comments/7mso04/rhizomorphic_mycellium_on_agar/
However the charcoal didn’t dissolve. Smaller particles remained suspended in agar nut larger ones sunk to the bottom:

The A5 samples:
A5-3,A5-4 & A5-5 were selected to transfer to the new agar mix.
6 samples were cut in triangle shape from the freshest growth at the edges of each plate and inoculated on 2x PDYA plates and 4x PDYA + AC (Activated Charcoal) plates each for comparison.
They were incubated once again at 26 Celsius for a week.
Progress
Day 4:
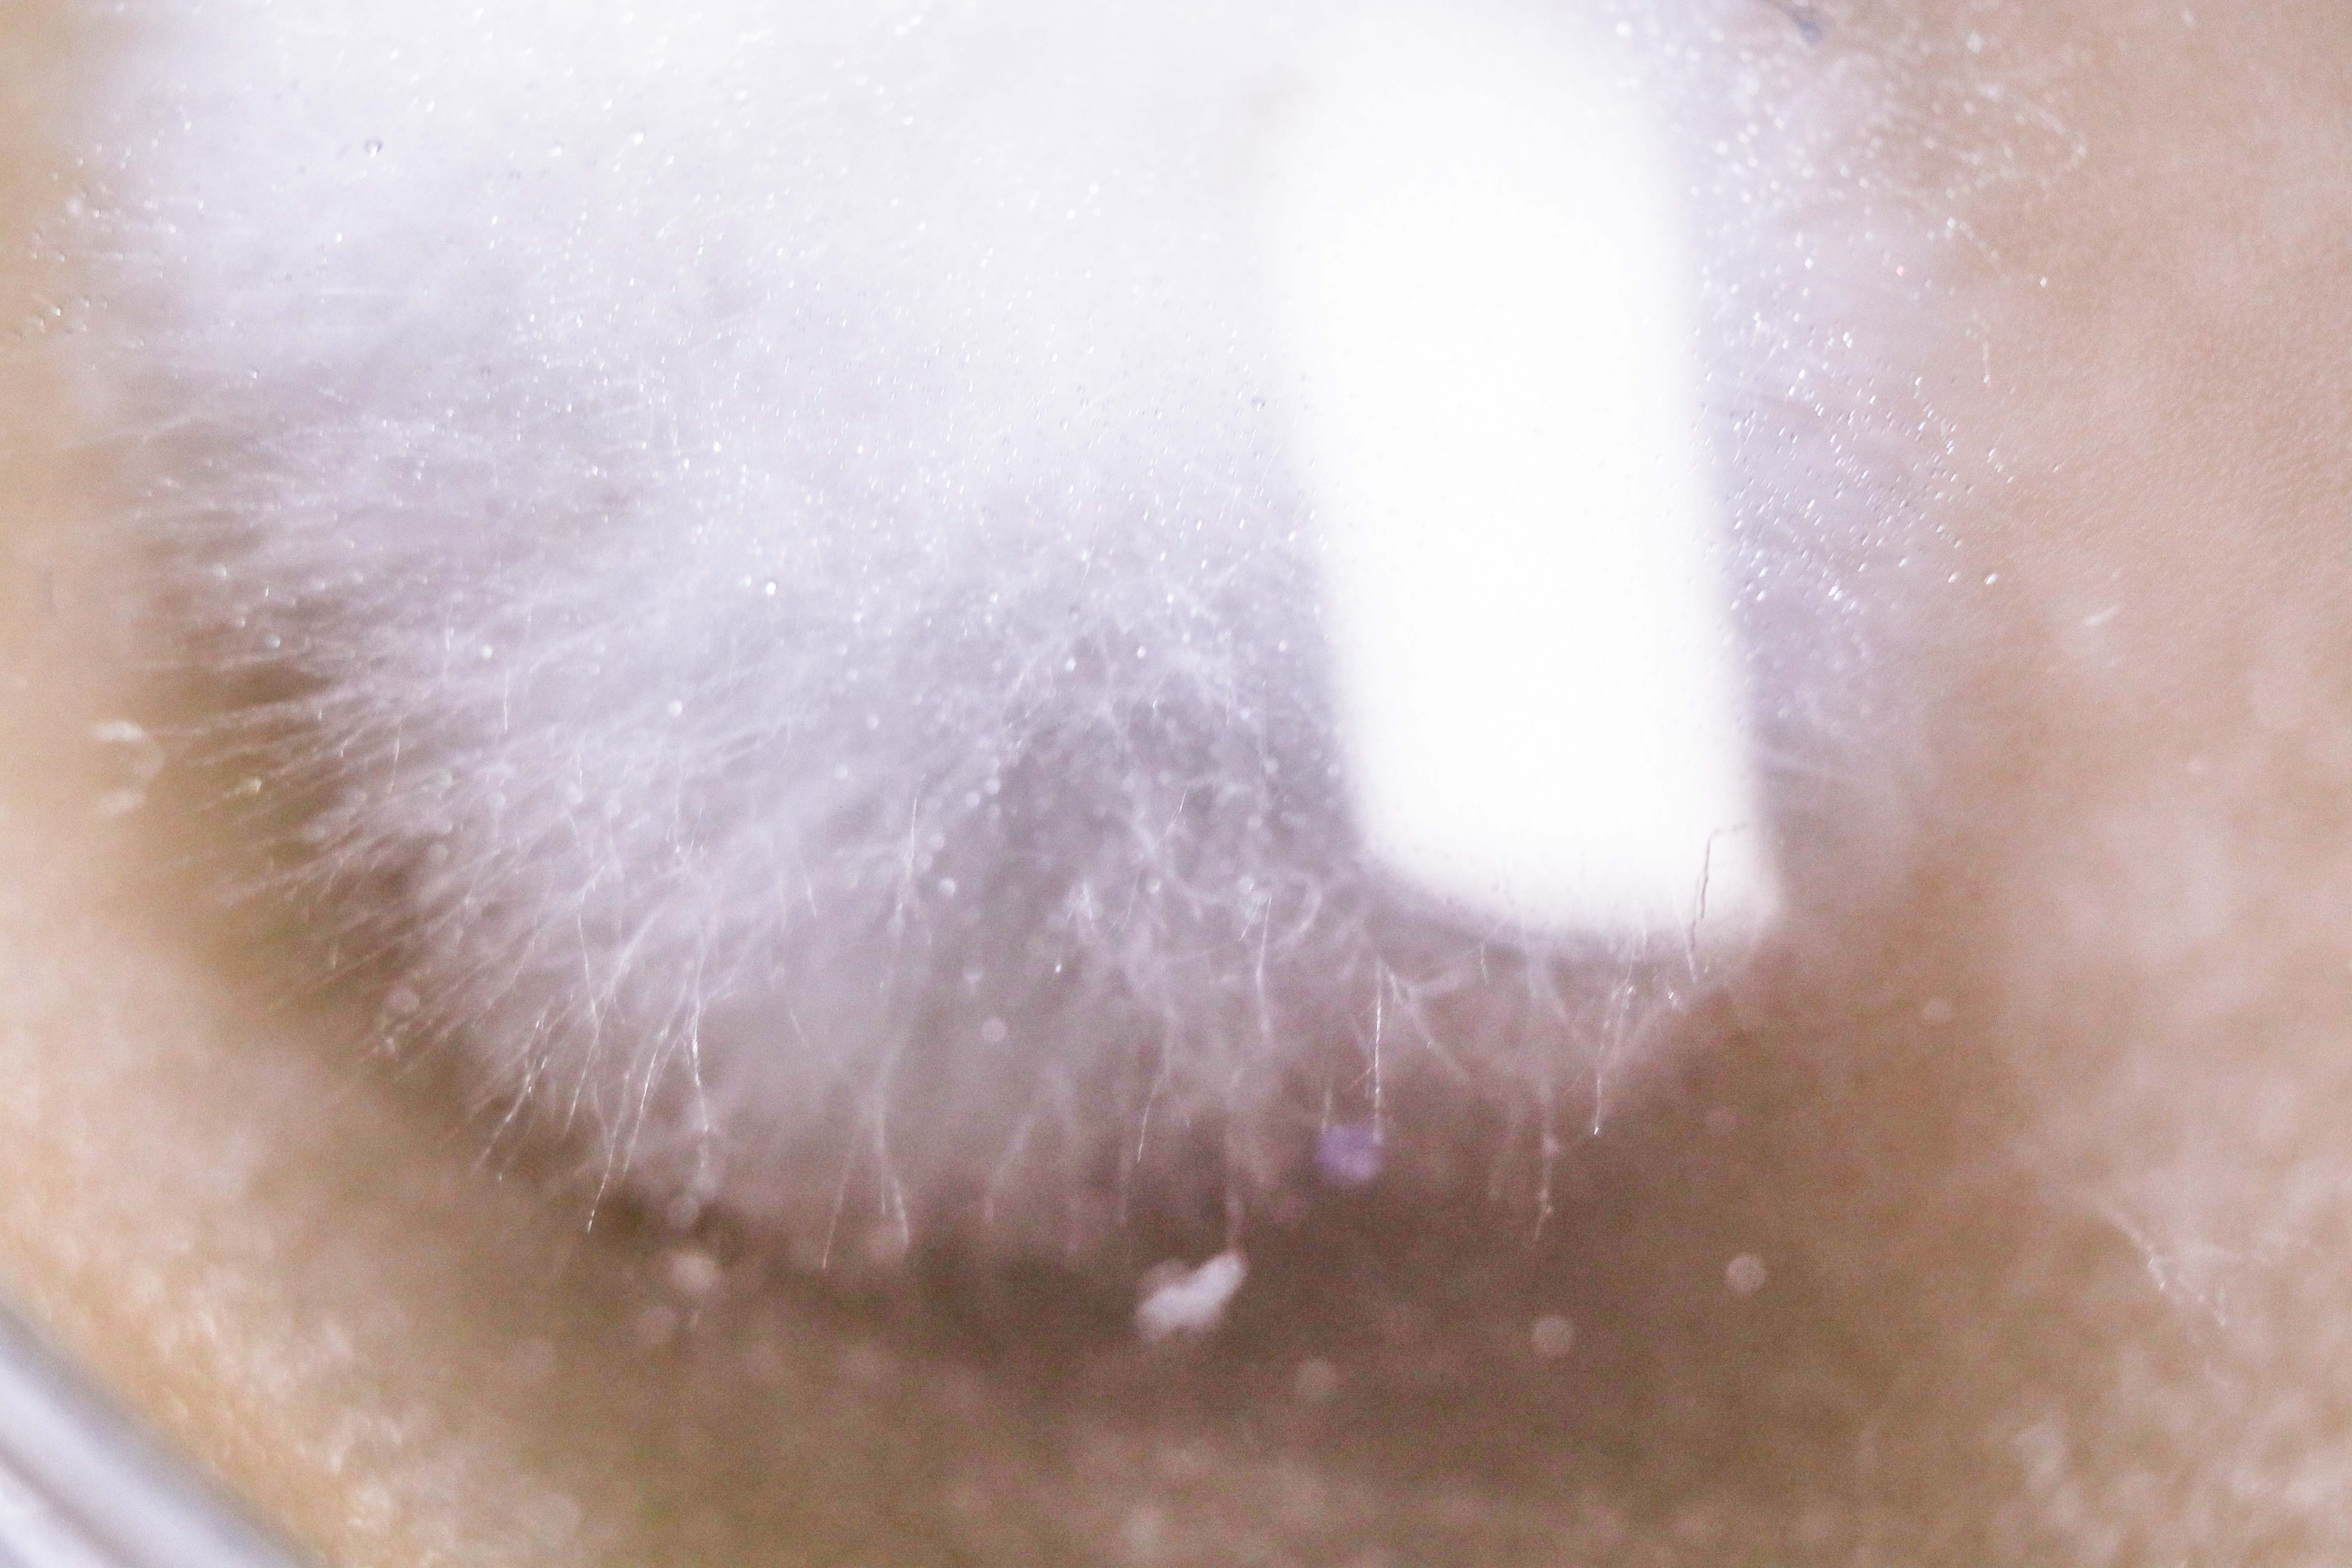
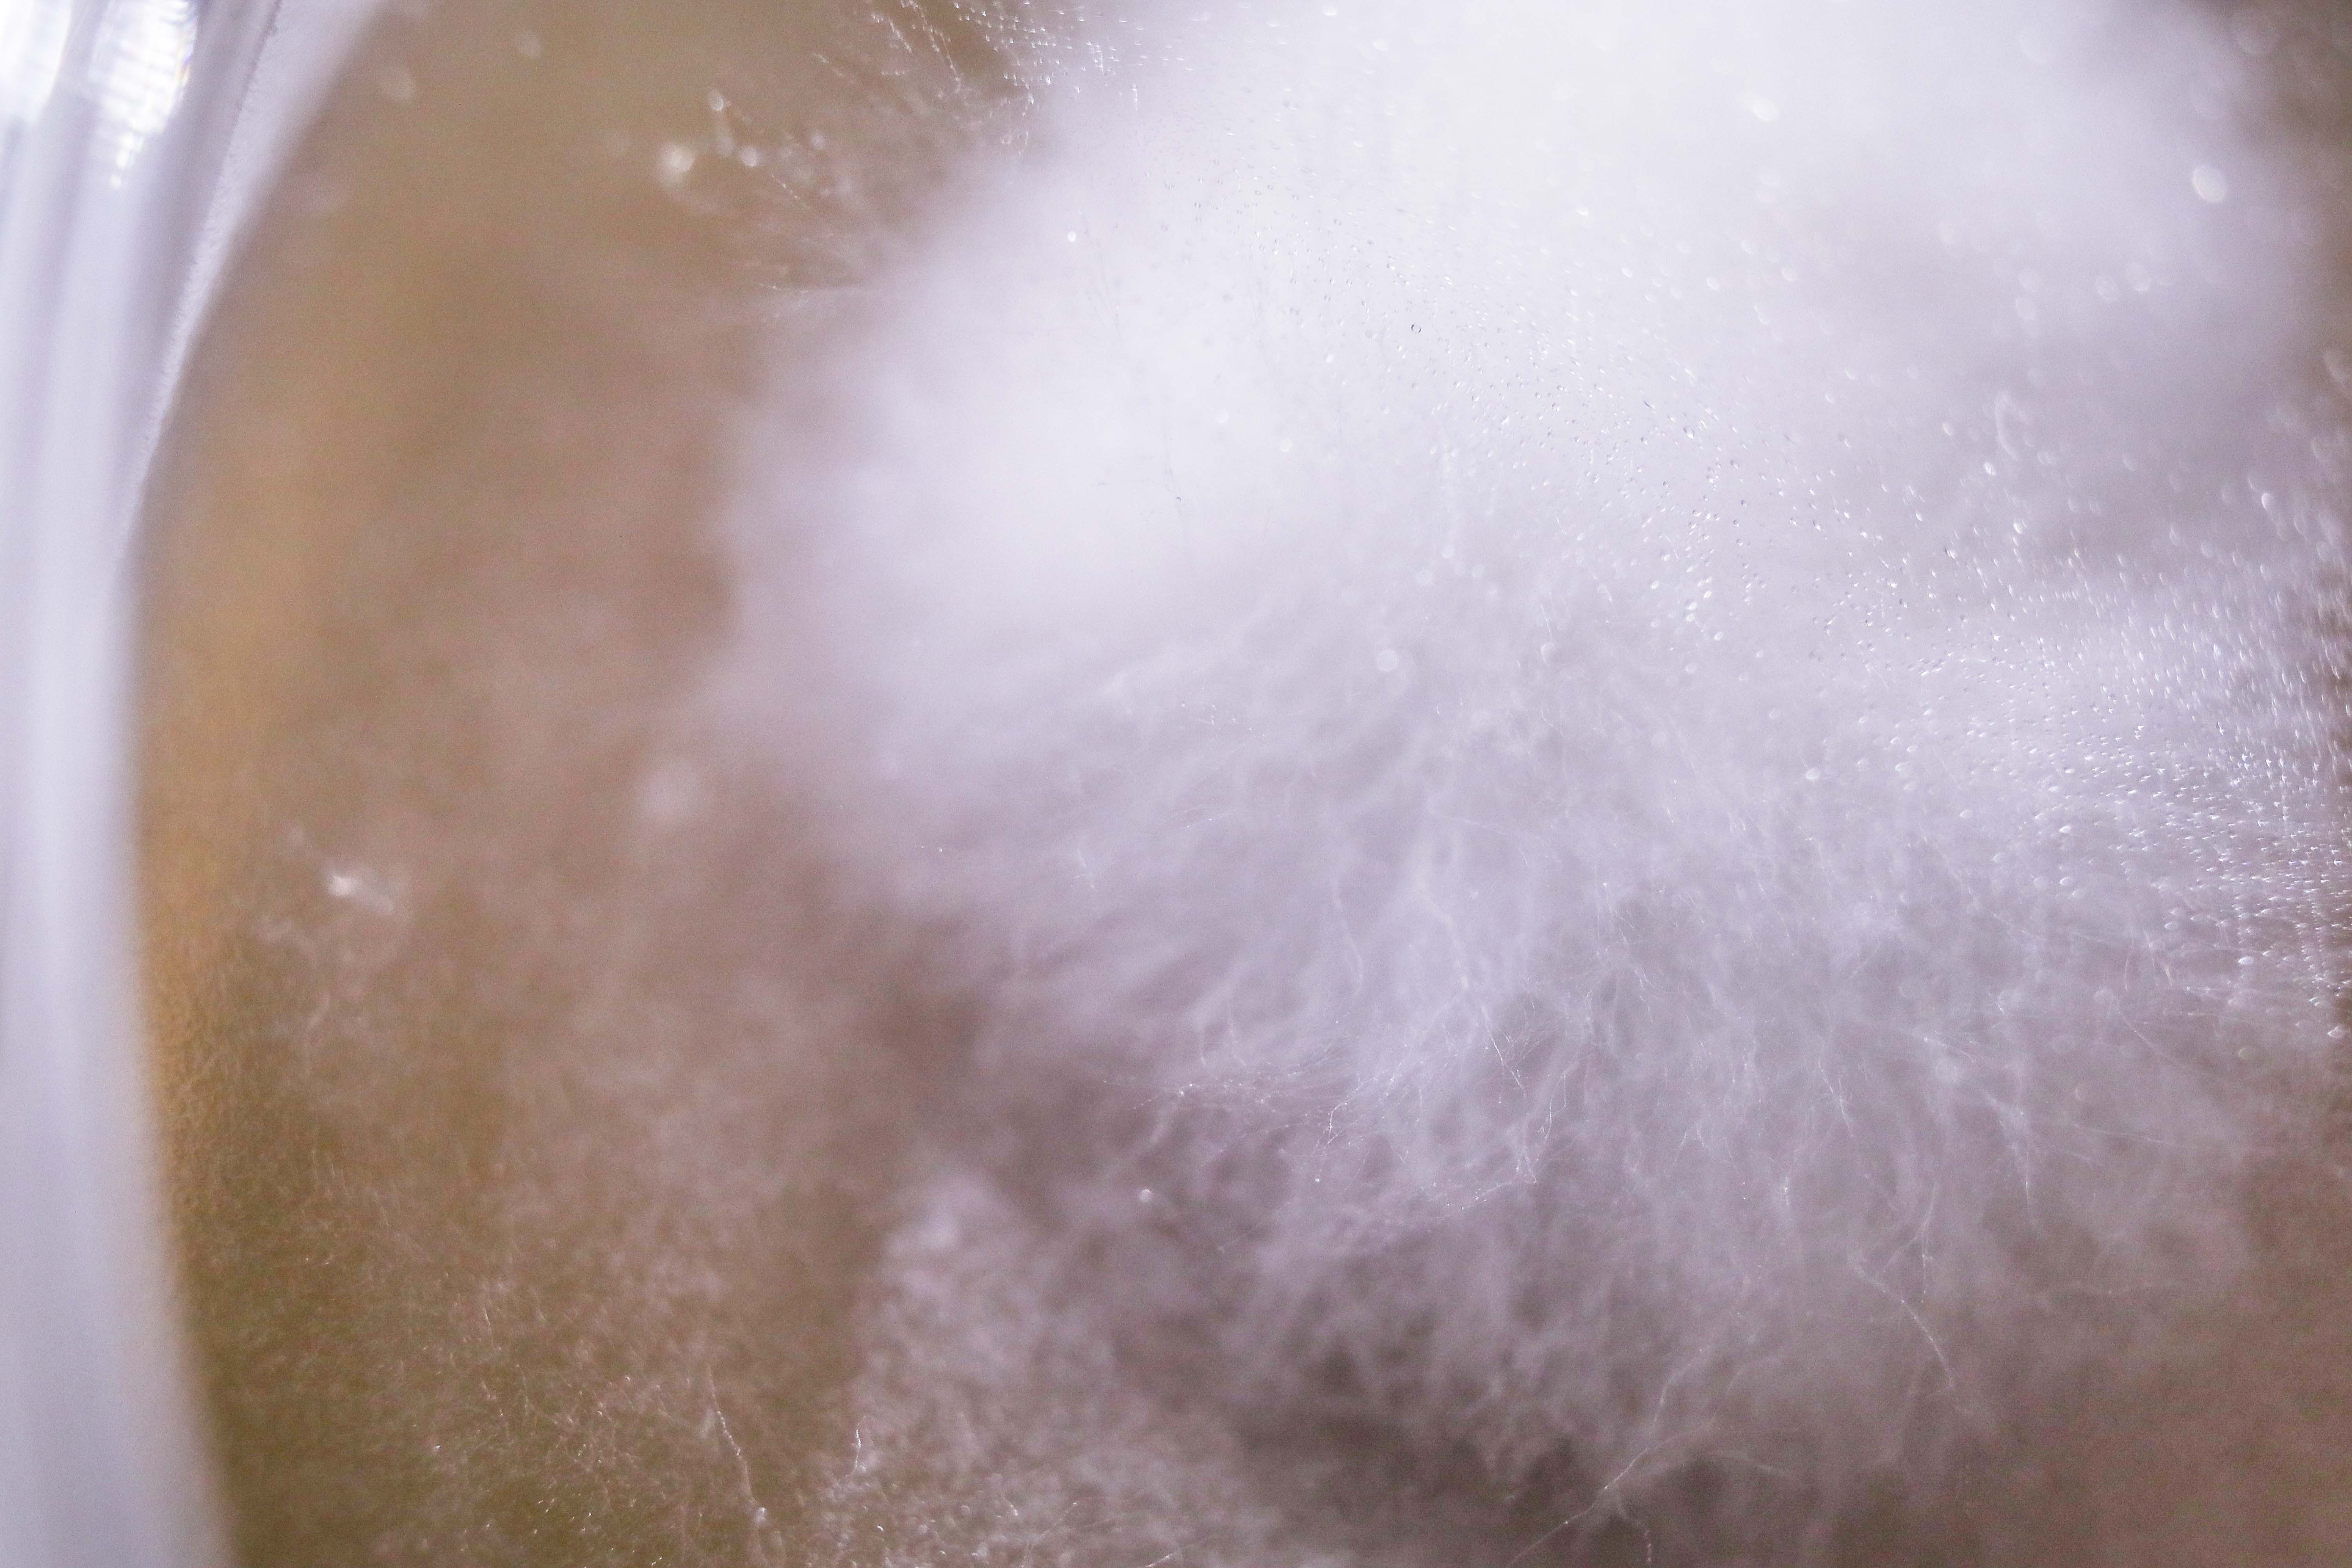
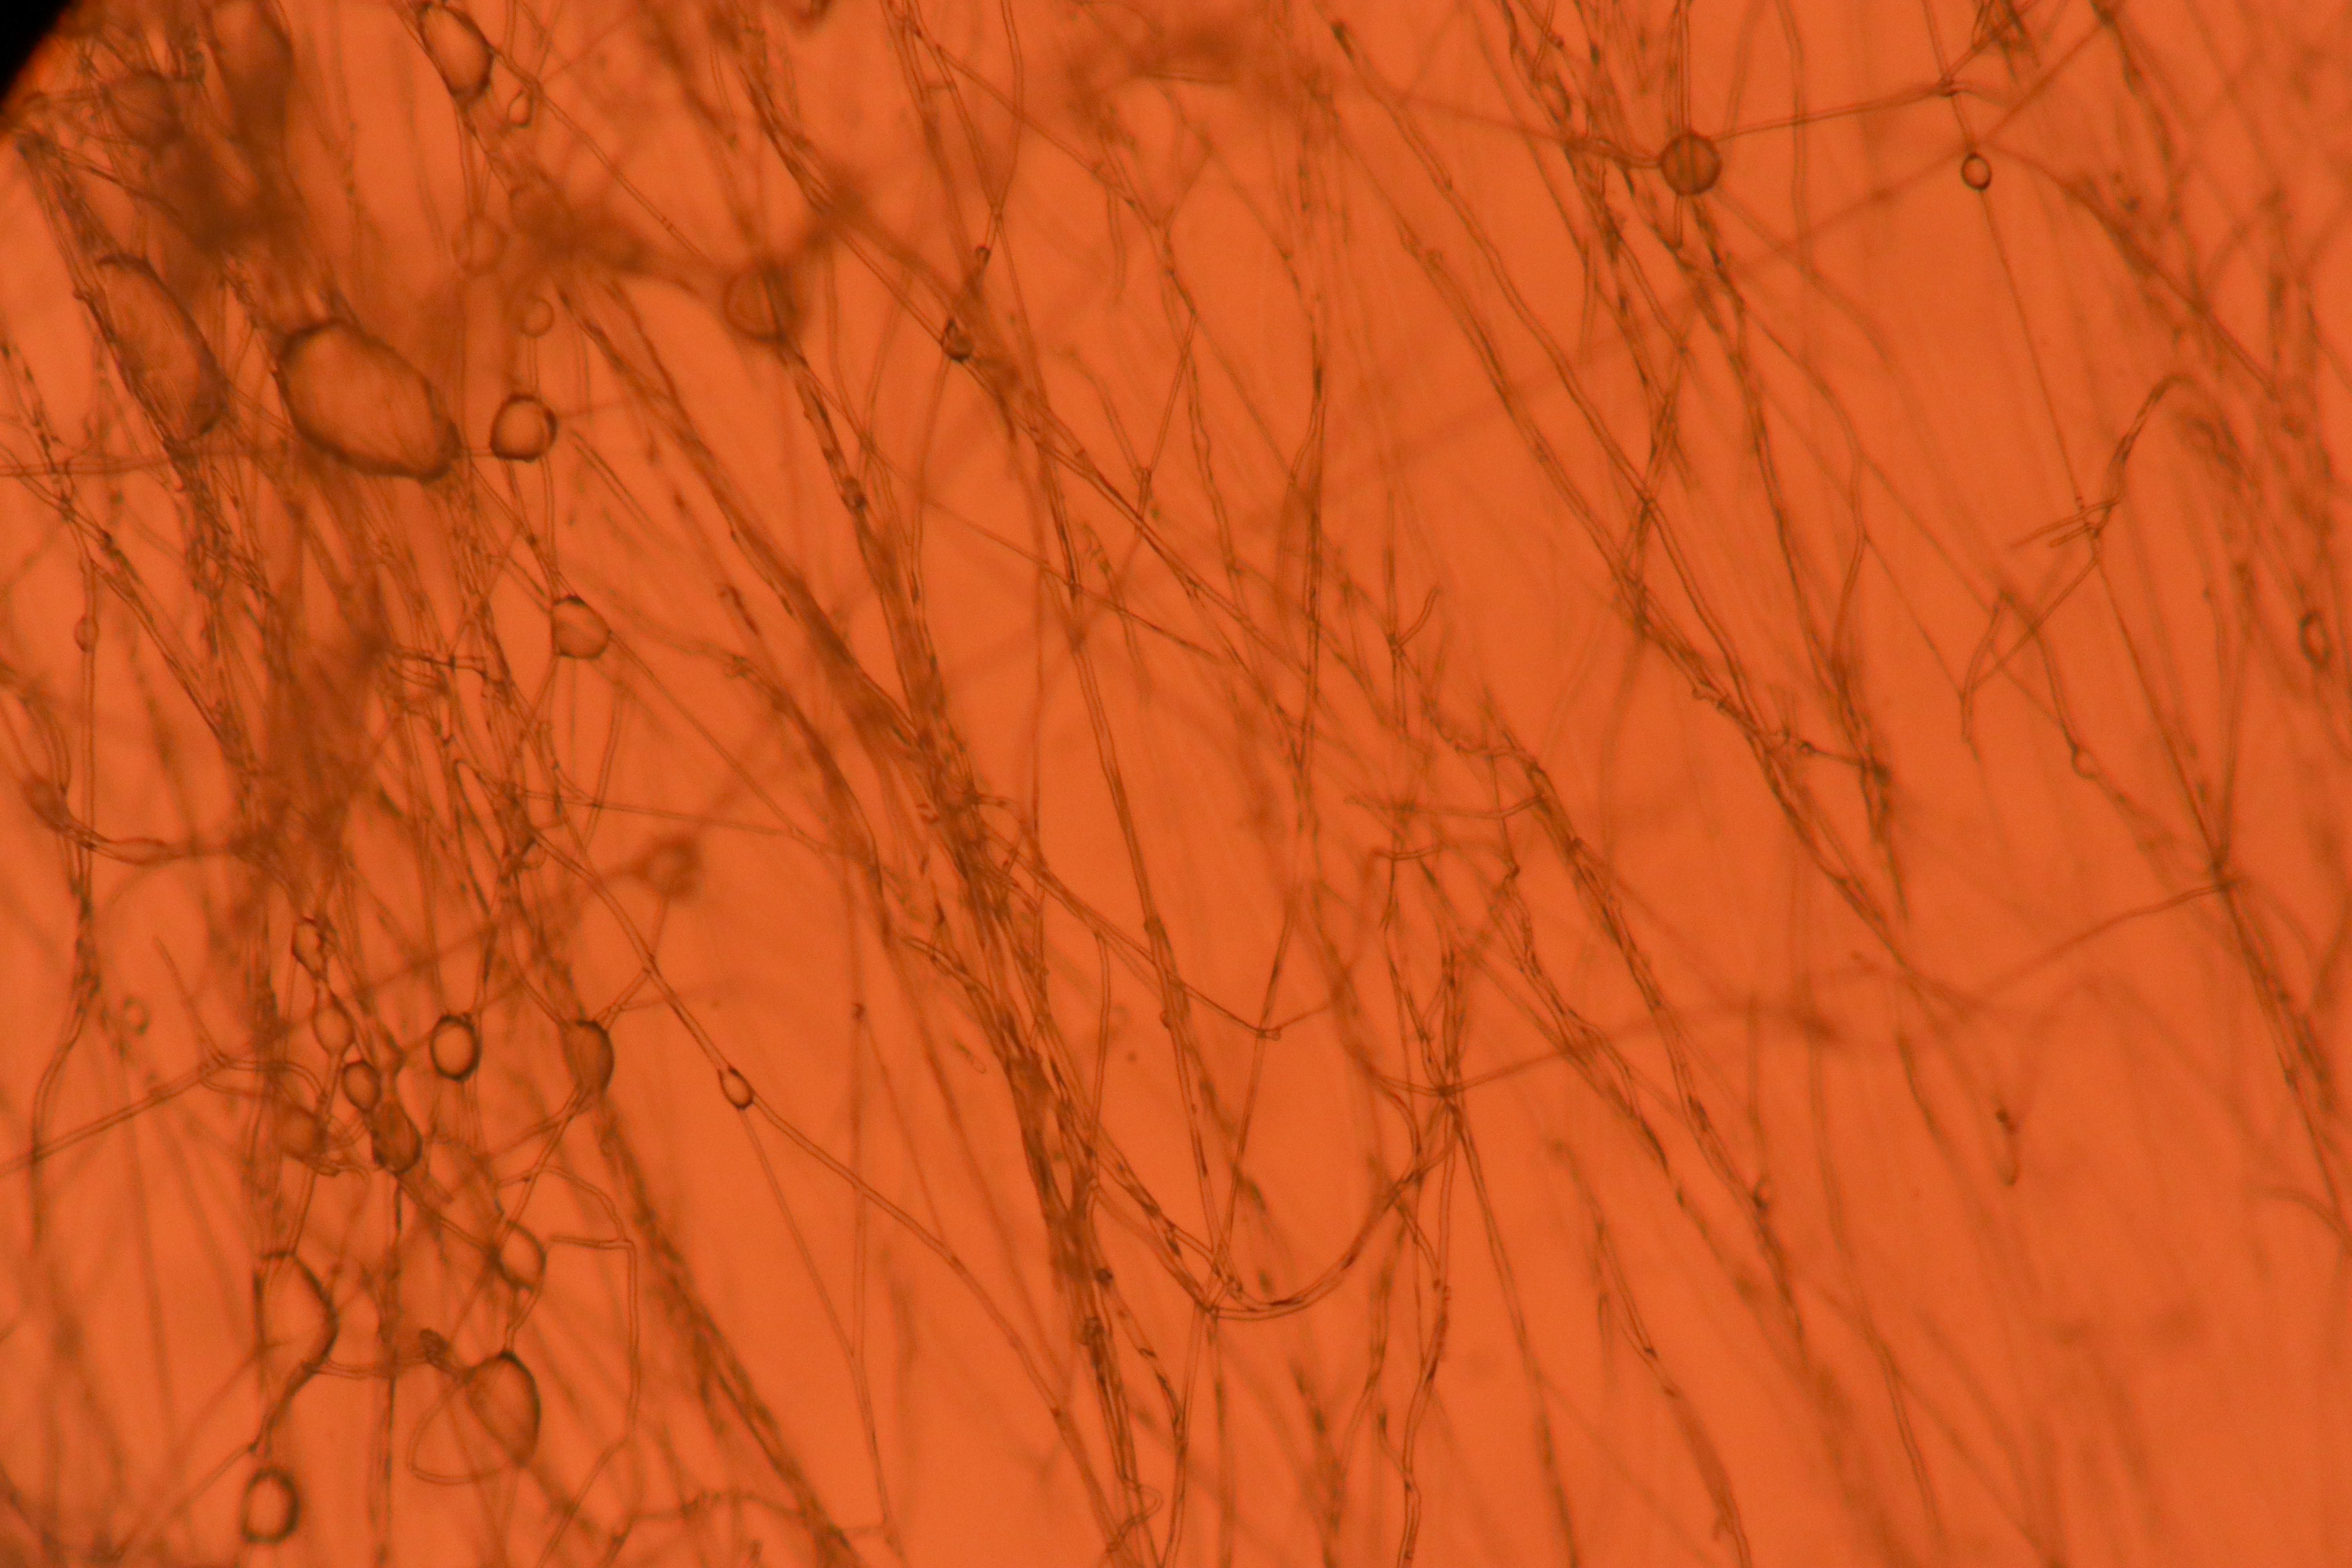
Close Ups


Day 6
Several of the plates this round were equally fast growing and rhizomorphic. I decided to let this round of plates grow out for another 6 days to see how they behave when the whole agar plate surface has been colonized.

Day 12 - End
The samples this generation grew noticeably slower and in a more rhizomorphic manner when compared to the previous. This could be from the change in nutrients to potato dextrose yeast agar with activated carbon.
I think that either the rhizomorphic growth is the mycelium spreading out to find more food because the nutrients it wants (Ganoderma, in this case.) aren’t as available in the PDYA as were previously, in the MYA. Or this generation could be strains which tend to grow in a rhizomorphic manner and have been successfully selected from the bet of the last generation of plates. i.e. my isolation worked. It could also be a combination of the two factors. Or something else entirely.
I’ll have to read and find out which factors have been found to influence this.
Some samples this generation did not have the activated carbon added because I didn’t think it would dissolve (It was bought from a health shop). The picture show the activated carbon didn’t make a noticeable difference.
A5-3-3 was selected for its dense rhizomorphic growth which didn’t become tomentose around the edge of the plate after it had been fully colonized, as did some of the samples.
Microscopy Photos
Generation 4
MYA with 50% of nutrient concentration ( yellow colour is from supermarket yeast )
This generation has some thicker rhizomorphs near the centre than previously seen. This could be because a larger wedge than before was used, so there is more mycelium to begin with. The wedges were also placed mycelium side down onto the fresh agar plate when inoculating this time and I think this makes sense to do from now on. The mycelium has direct contact with the new agar/ nutrients.
7 Days
There was condensation so I took photos from the bottom side.

The growth of this round of samples is visually less “fluffy” than the last. The isolation of rhizomorphic strains seems to have been successful. The nutrients are different however making it hard to compare.
Next I transferred the “winner” from these samples back to the MYA ( 3 petris) to see how this strain behaves on each nutrient mix. Here are the results after 6 Days:
A5-6-3-2-1


A5-6-3-2-2

A5-6-3-2-3

When transferred to MYA the Ganoderma samples grew noticably thicker and faster, with more tomentose growth than the previous PDYA grown samples. I have stored these final 3 in the fridge and will use them in the jewellery on agar and to make mycelium/ flax materials. This effect of the nutrients available on the growth of the mycelium is something I can manipulate to create the ideal conditions for a “visually interesting” mycelium to grow in my jewellery.
The effect on growth rate is interesting for me because it is important that the mycelium jewellery doesn’t grow too slowly or too quickly. The wearer must be able to notice the difference from day to day. The jewellery should not be entirely finished growing after just one night, for example. The wearer must be given the time to form a bond with their mycelium. From my own tests wearing my previous prototype, I think 1-2 weeks is the right time frame for this. I think I can control the growth rate with the nutrient concentration but if the reduced concentration of nutrients makes the mycelium grow in a fluffy mat then that isn’t what I’m looking for (not saying I’ve written off tomentose mycelium entirely!).
Conclusion
Update 5/3/21: Stage 2
Until now I have been working with an unknown culture of an unknown Ganoderma species which I found in the fridge. I started with this because it was what was available for me to get started with immediately - to gain experience working with mycelium on agar. The purpose of the selection and re-plating process so far has been to clean up this strain from any contaminants and to select for “ropey” rhizomorphic growth. Work with growing and selecting further species will be done with already somewhat isolated, healthy cultures which I have been given or purchased. With these I estimate to be able to cut the time and number of selection/re-growth cycles needed to find my “jewellery worthy” specimen in half.
My new protocol for isolating if needed is:
1. Grow out 3 samples from the aquired species to fill a 90/100mm PDYA Petri with the species. Incubate at 25 Celsius.
There should be no contamination and you can continue to step 2, if there is: cut out a healthy section, re-plate on PDYA and repeat step 1.
2. Select the petri with the most isolated mycelium strain ( look for evenly long, outward growth with the desired form of growth such as rhizomorphic or tomentose) Take 6 triangular sections from regularly spaced intervals from the newest mycelium at the edges of the dish. See my photos earlier in this page for visual guide.
3. Grow these 6 samples out on MYA petri dishes.
If you are happy with the level of isolation and/or the selected properties of one of or all of the samples. You can seal with parafilm and refrigerate them for storage for a few months. They should be grown out every couple of months on new agar.
If you feel they require further isolation or selection, repeat steps 2 and 3.
Isolation and selection of other species of mycelium will be posted on the page “Photo Library: Mycelium on Agar”