Research Stage 2 26/11/18 - 3/11/18:
Parts:
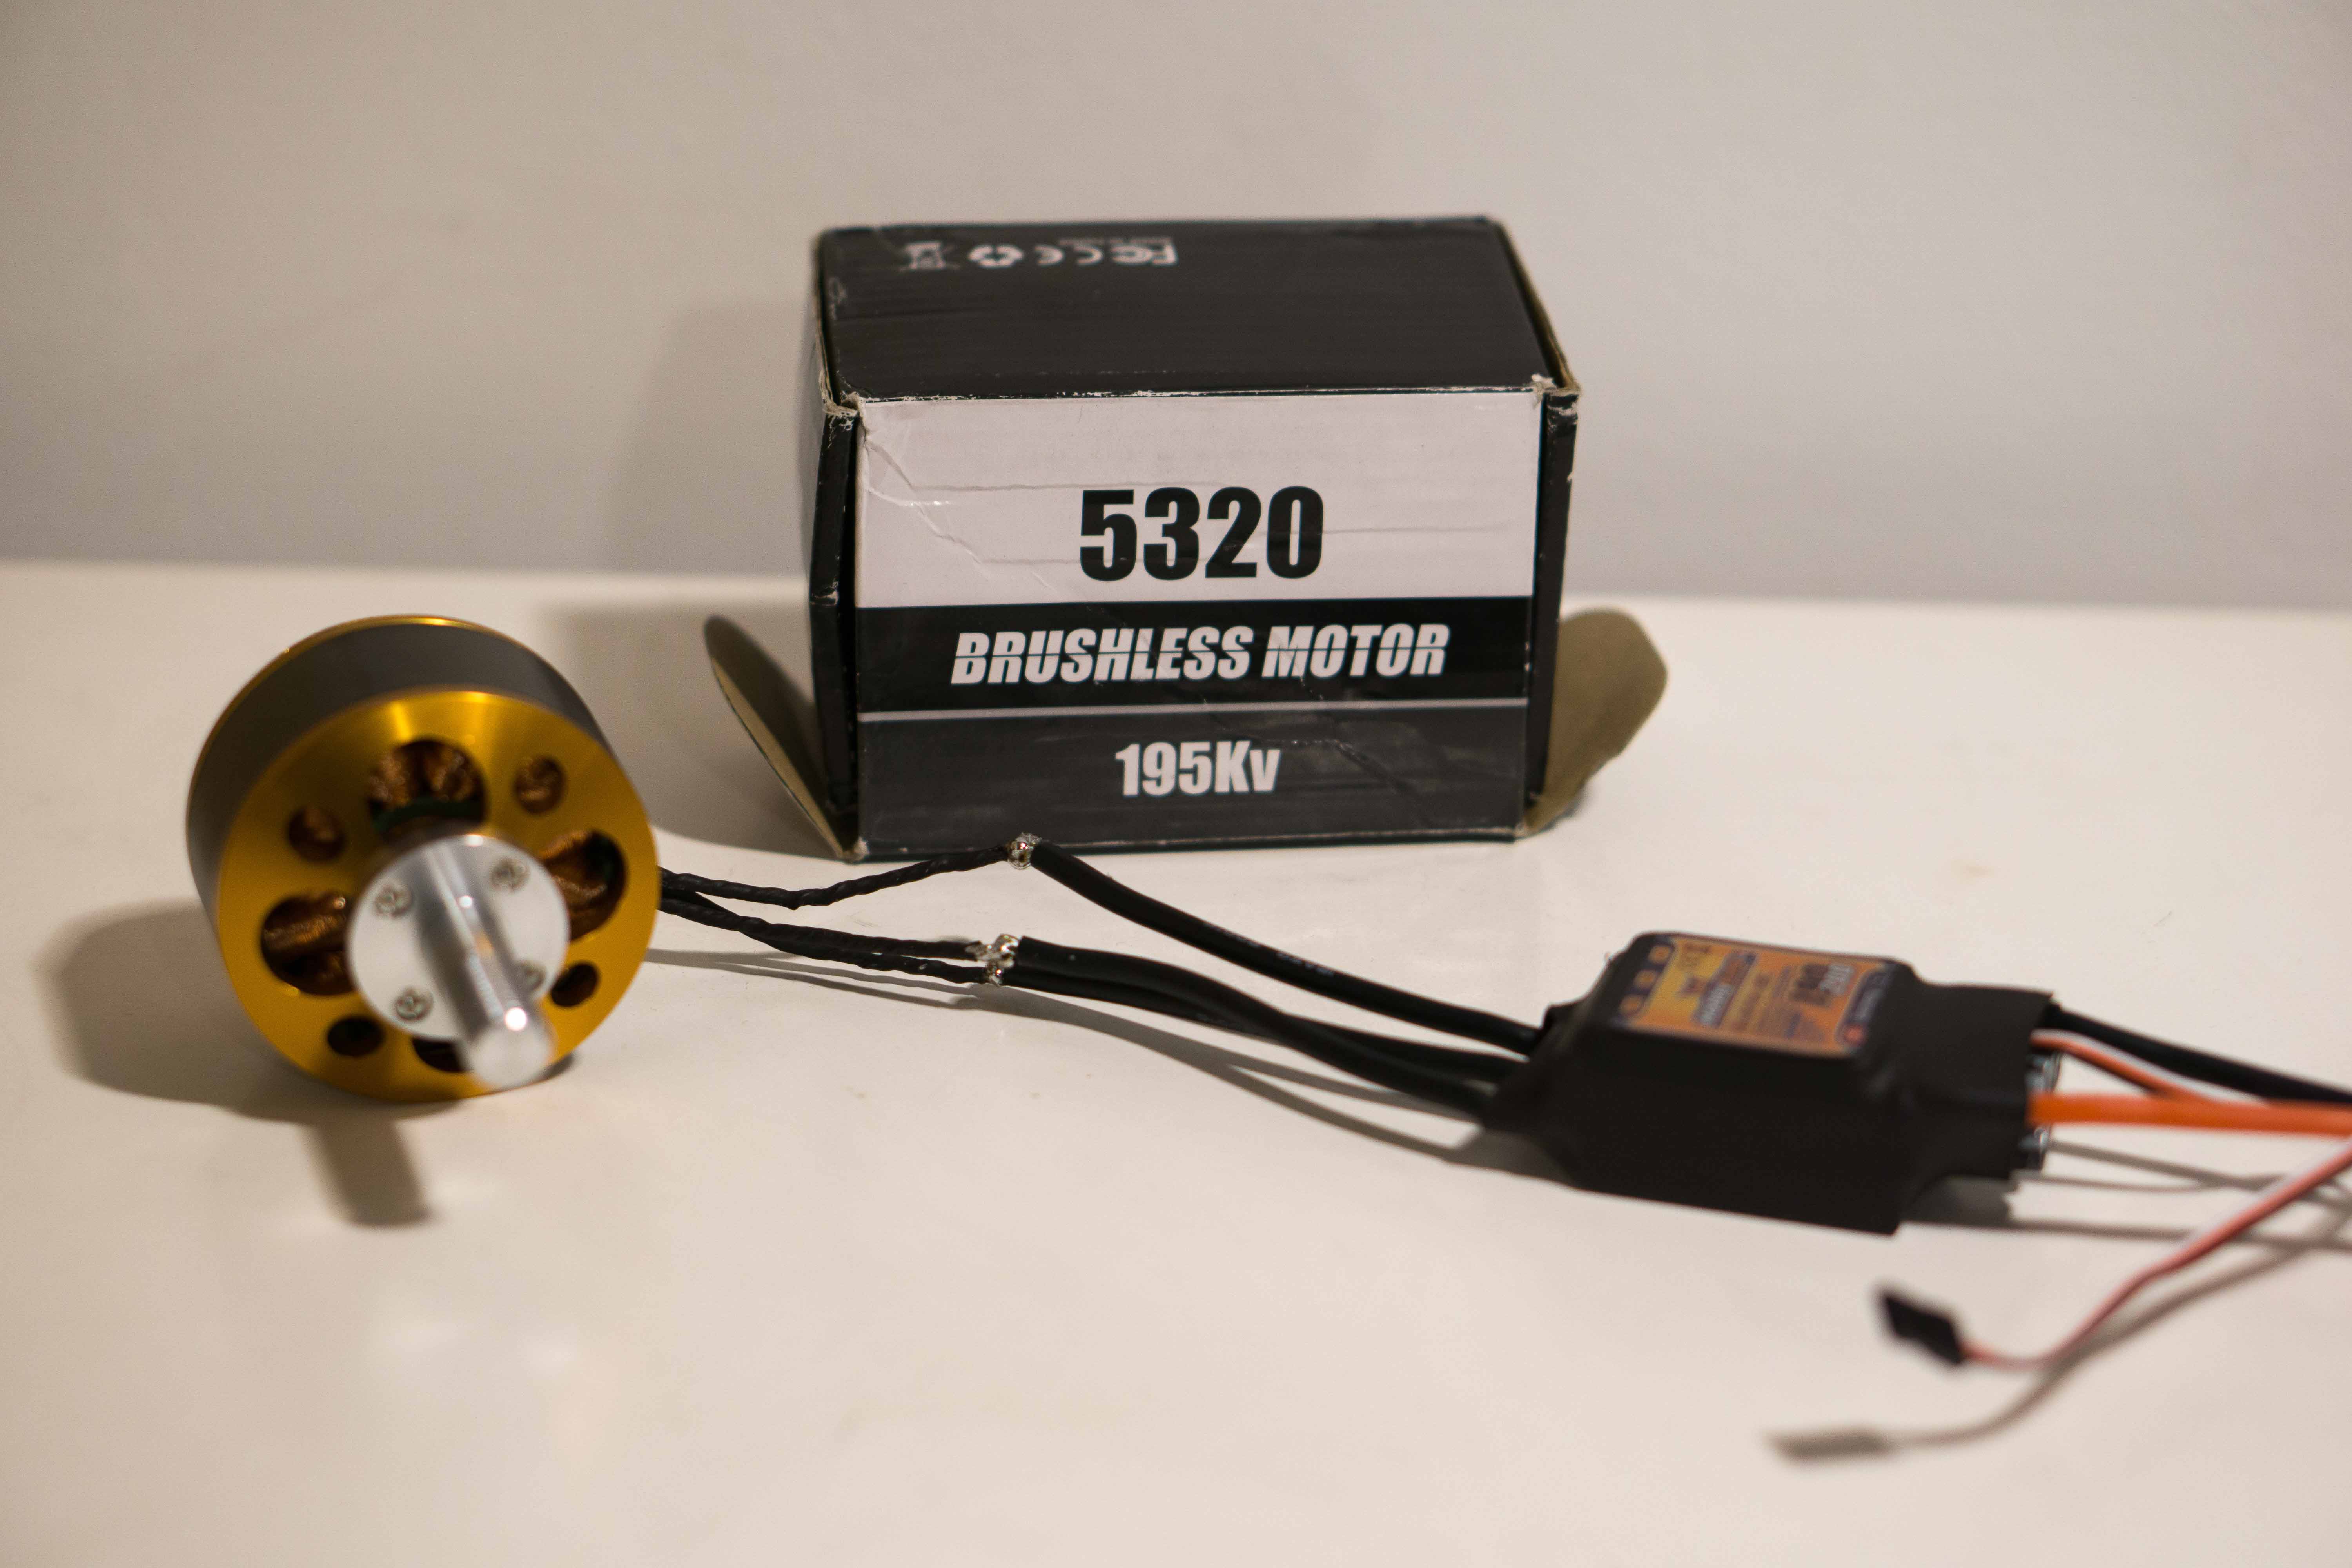
For my first prototype (P1), I chose to use the most simple equipment I could find to mock-up the power system for my motor. For this test, I just wanted to produce a mock-up that would allow me to adjust the speed of the motor with a throttle of some kind, using batteries which are similar in voltage to those I plan to use in my final version.
Parts used:
Motor:
https://hobbyking.com/en_us/kd-53-20-brushless-outrunner-195kv.html?wrh_pdp=1&___store=en_us
ESC:
https://hobbyking.com/en_us/hobbykingtm-ss-series-190-200a-esc-opto-only.html
Batteries:
https://hobbyking.com/en_us/turnigy-2200mah-3s-40c-lipo-pack.html
Arduino Uno:
https://store.arduino.cc/arduino-uno-rev3
I also used some jumper wires and a 50k Ohm linear, sliding potentiometer, as listed in the tutorial I used here
Bench Test*
Electronics:
 
Laser cut mount to enable clamping to desk:
 
All set up:

Test Video:
Results:
The motor increases and decreases RPM as the potentiometer is adjusted. Now that I know the control works, I can build a way of mounting the setup onto a bike for a first working mock-up.